Did you know that drawing a straight line on Gimp is similar to the process used on another raster editing software called Photoshop?
Drawing a line in Gimp is quite simple; you just need to choose your favorite brush tool, click the line’s starting point while holding down the Shift key, then drag the cursor to the line’s ending point.
When you click the endpoint, your chosen brush draws a straight line between the two spots. Release the Shift key after drawing the line. I will go into a detailed step-by-step guide in the next paragraphs. But first, what are path tools in Gimp?
What are Path Tools in Gimp?
Curves such as the bézier Curves are a type of complex selection that can be made using the Paths tool. They are similar to Lasso but have the adaptability of vectorial curves.
You can save, import, export the curve text, edit it, and use the path tool to paint. Geometrical figures can also be made with the use of paths. Paths each have their own dialogue box, which is called dialog.
How to Draw Lines in GIMP
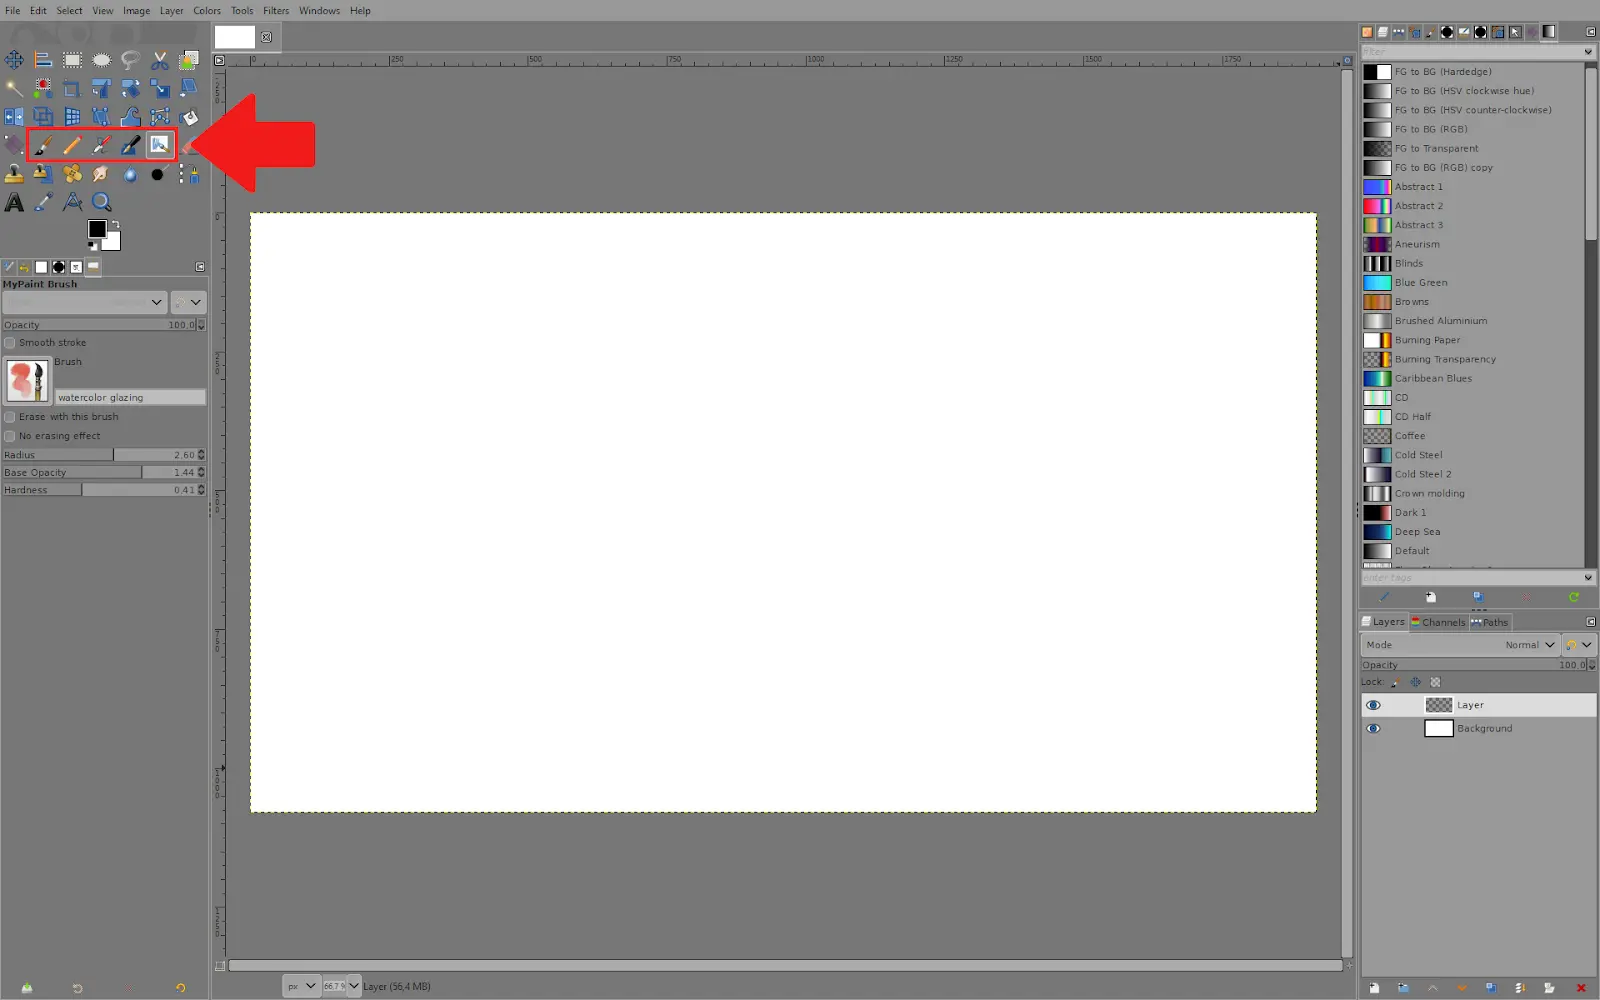
1. Once you start Gimp and open a project, you are presented with a few tools that you can draw with.
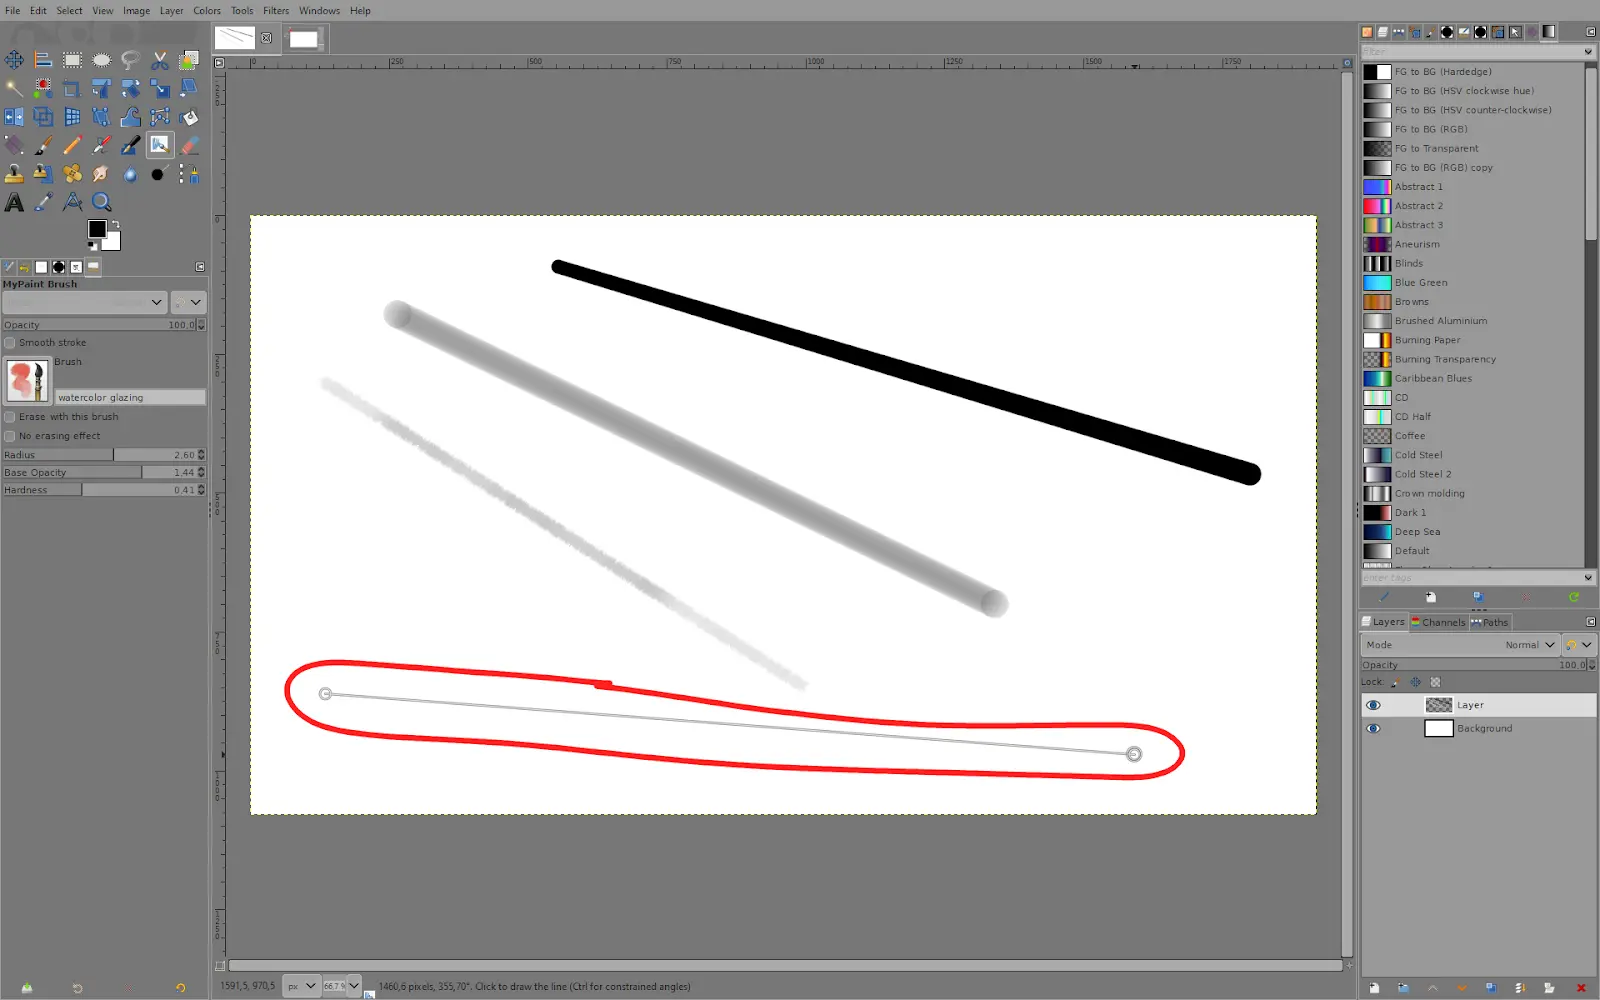
2. To draw in Gimp with any of these brush tools, start by clicking once to ceate the starting point for your line. Then hold Shift while you move your mouse, and you will see a line appear. When you click again, it will finalize the line.
3. If you want to create a horizontal or vertical line, do the same, but this time also hold down Ctrl. This way, the line will be locked to a few options and making a perfectly angled line will be easy.
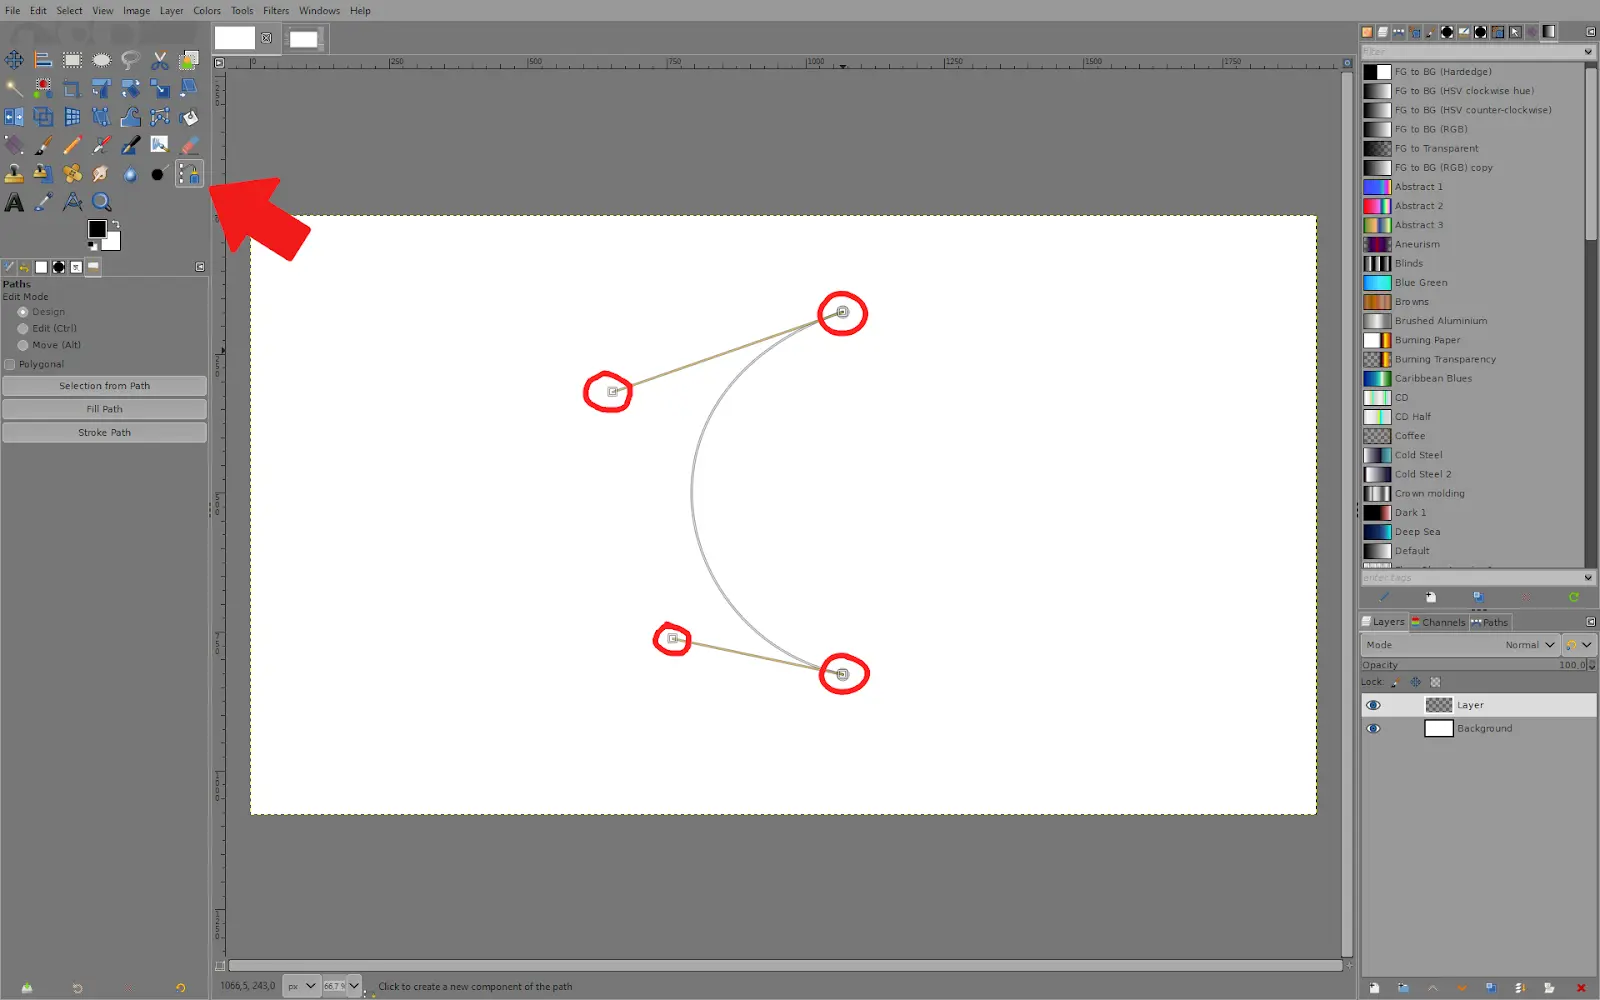
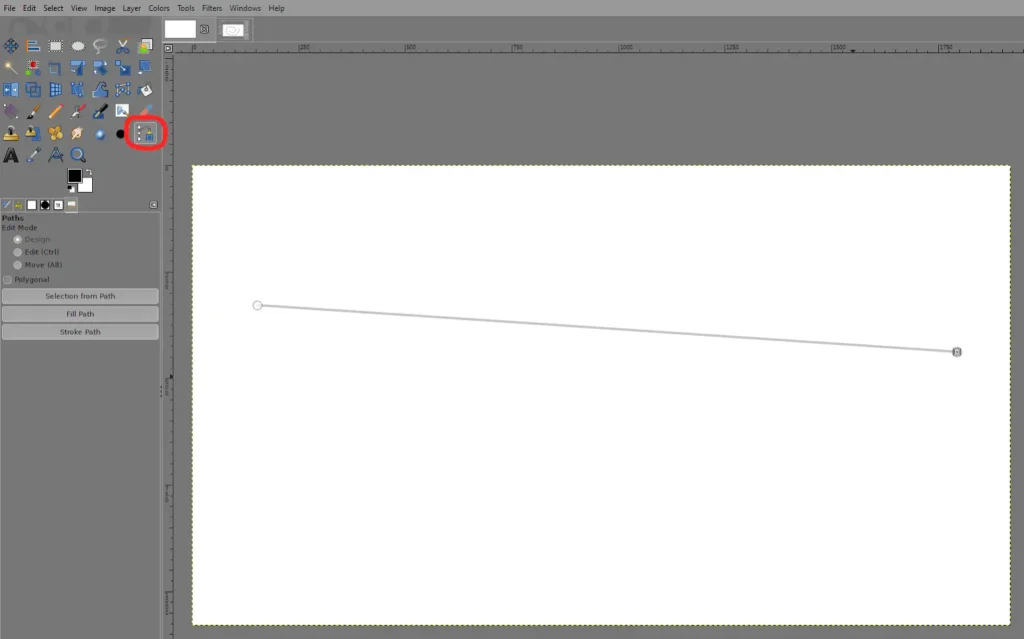
4. To make curved lines, one way is using the ”Paths Tool.” You can click on the canvas and create different connected points, and use these knobs to shape the path however you like. Once you have designed your path, you can create a selection for it by pressing Enter.
5. To create smooth lines, activate the ”Smooth stroke” option. This makes it easy to draw smooth shapes.

6. To create a dotted line, first, use the Paths Tool to create a line.
7. Then go to Edit – Stroke Path. In this menu, choose ”Pattern,” then your line width, and then under ”Line style,” you have the option to pick a dotted line. Once you are happy with it, click on ”Stroke”.
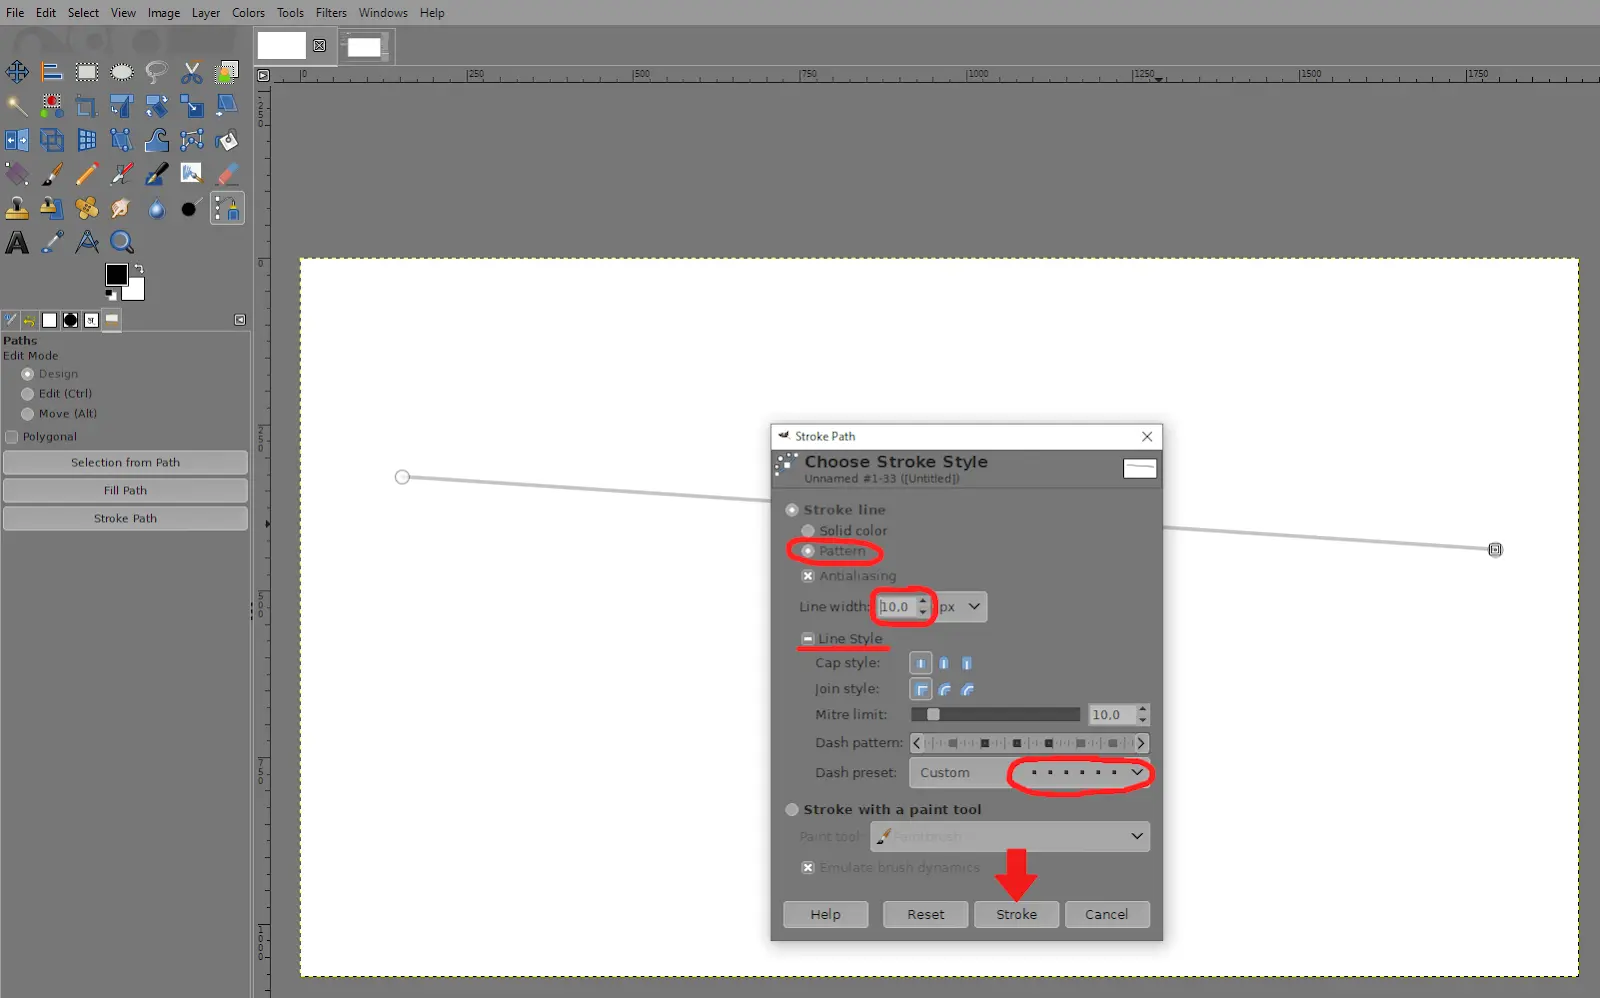
8. Now, you have a dotted line.

Path Tool Vs. Pencil/Brush Tool: Which is Better to Draw a Line?
One of the advantages of using the path tool is that it allows you to change the thickness of the line after you have drawn it. However, you will have to delete the line and start all over to change the thickness when using the pencil or brush tools.
On the other hand, the benefit of using the line tool is that it allows you to lock your lines into a 15 degrees angle if you wish.
Drawing Lines Using The Shift Key
You can draw a line in Gimp using your brush and pencil tool. When you draw a line using your brush and pencil, it is usually complicated because the line will follow the path of your hand. You will need to learn more about path if you are going to use Gimp effectively. For instance, the path tool is crucial in knowing how to draw a circle in Gimp.
Below are a few steps you can follow to draw a straight line using the Shift key.
Step 1
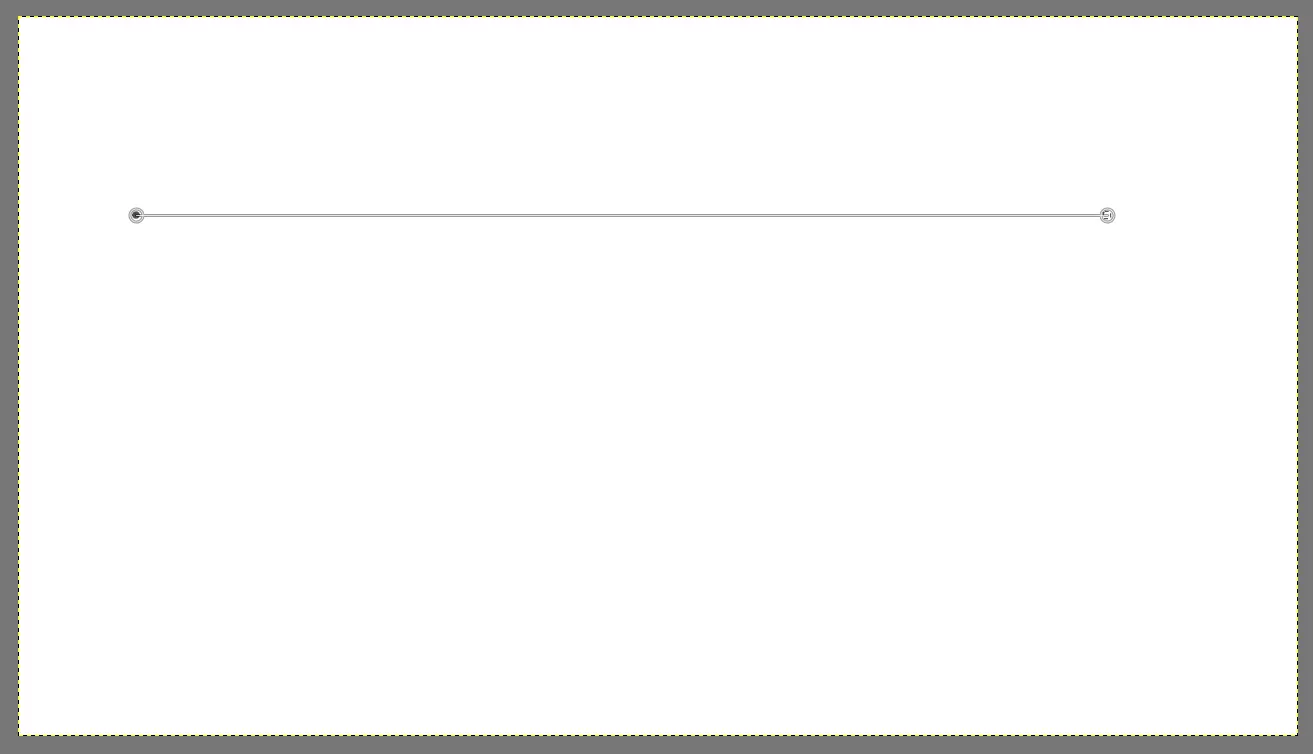
To make a point, click once on your canvas while holding Shift on your keyboard. Now, a guideline should start at the location of the point that follows your mouse movement:
Step 2
While holding the shift key, click again to create another point, which would complete your line. While drawing, you can hold your control key to lock the line onto the horizontal or vertical axis, which would help you draw a straight line.
You can repeat this using your brush tool. The shift key also plays a role when you are resizing an image using Gimp.
Leave a Reply
You must be logged in to post a comment.