Illustrator offers multiple tools and shapes that can be used to create a triangle. The two most common ways of creating a triangle in Illustrator are: using the “Polygon” tool and the Pen tool.
The “Polygon” tool can be found in the tools palette, it allows you to create a triangle by adjusting the number of sides on the polygon. Once the tool is selected, you can set the number of sides to 3 and then click and drag on the artboard to create the triangle shape. The “Polygon” tool also allows you to adjust the size, rotation, and roundness of the triangle.
Another way to create a triangle in Illustrator is by using the Pen tool. The Pen tool allows you to create a triangle shape by clicking and dragging on the artboard. The Pen tool is a more accurate tool than the “Polygon” tool but it’s a bit trickier to use if you are not familiar with it. After you have drawn your triangle shape, you can adjust the stroke and fill attributes using the toolbar options.
Let’s get into the details.
How to Make a Triangle in Illustrator
Making a Triangle is very easy. There are a couple of ways to make a triangle in adobe illustrator.
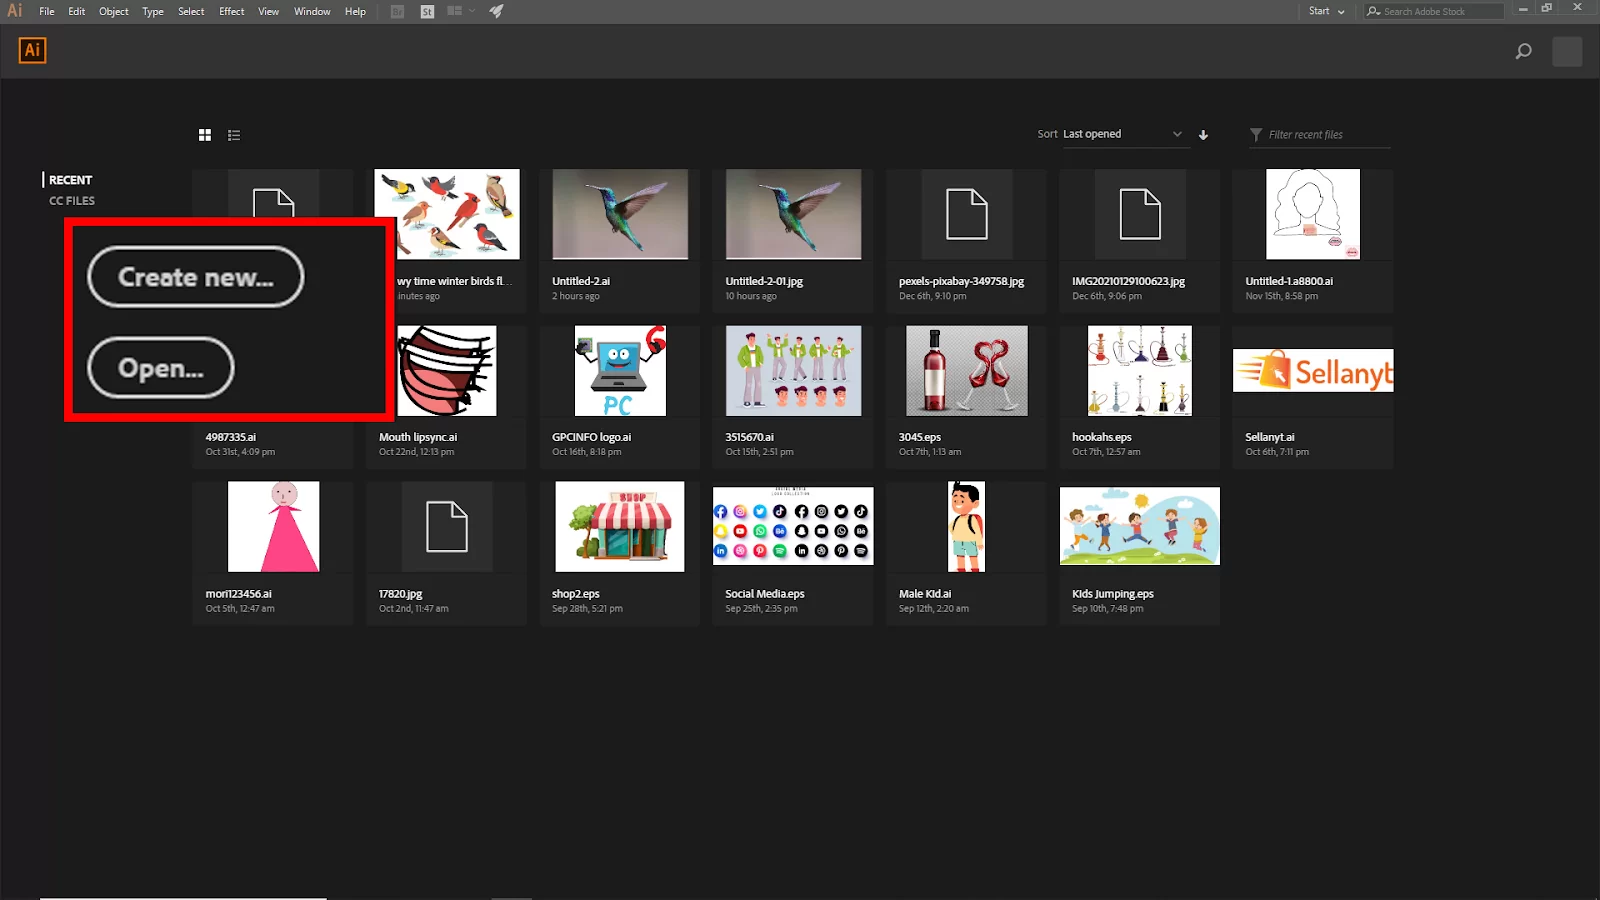
First, we need to open Adobe illustrator. And create a blank project, click Create New, or you can go to File > New for the short key win [Ctrl + N] or Mac [Cmd + N].
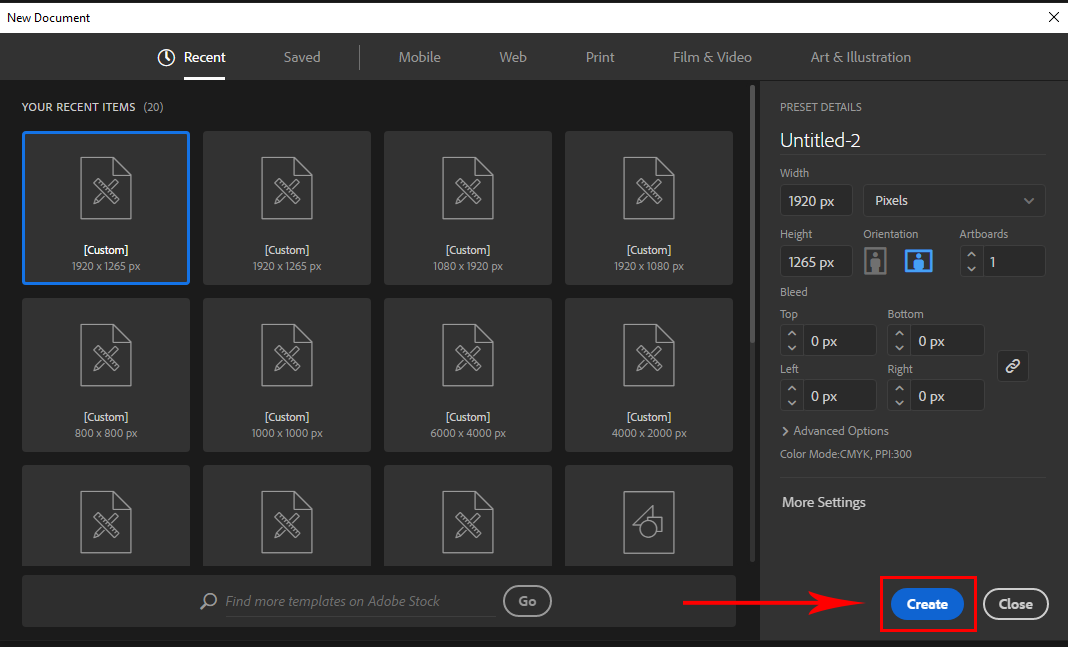
And you will see your New Document panel open. Here you find the artboard setting. Click Create to create your new artboard.
If you have an existing file, go to File > open and then select your File. Short Key win [Ctrl + O] and Mac [Cmd + O]. To import your image, you can use drag and drop. Just drag your image from your file and drop it in illustrator.
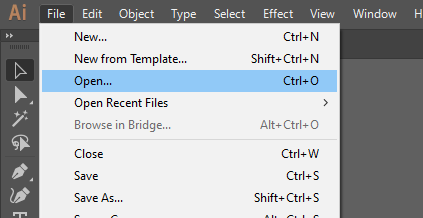
Or you can go to File > open and select your image from the file. Short Key win [Ctrl + O] and Mac [Cmd + O], Then click Open.
Here are 3 popular methods to make a triangle in illustrator.
Method 1:
In this method, we will be using the polygon tool. To make a Triangle, select the Polygon tool from the toolbar. You will find the polygon under the rectangle tool.
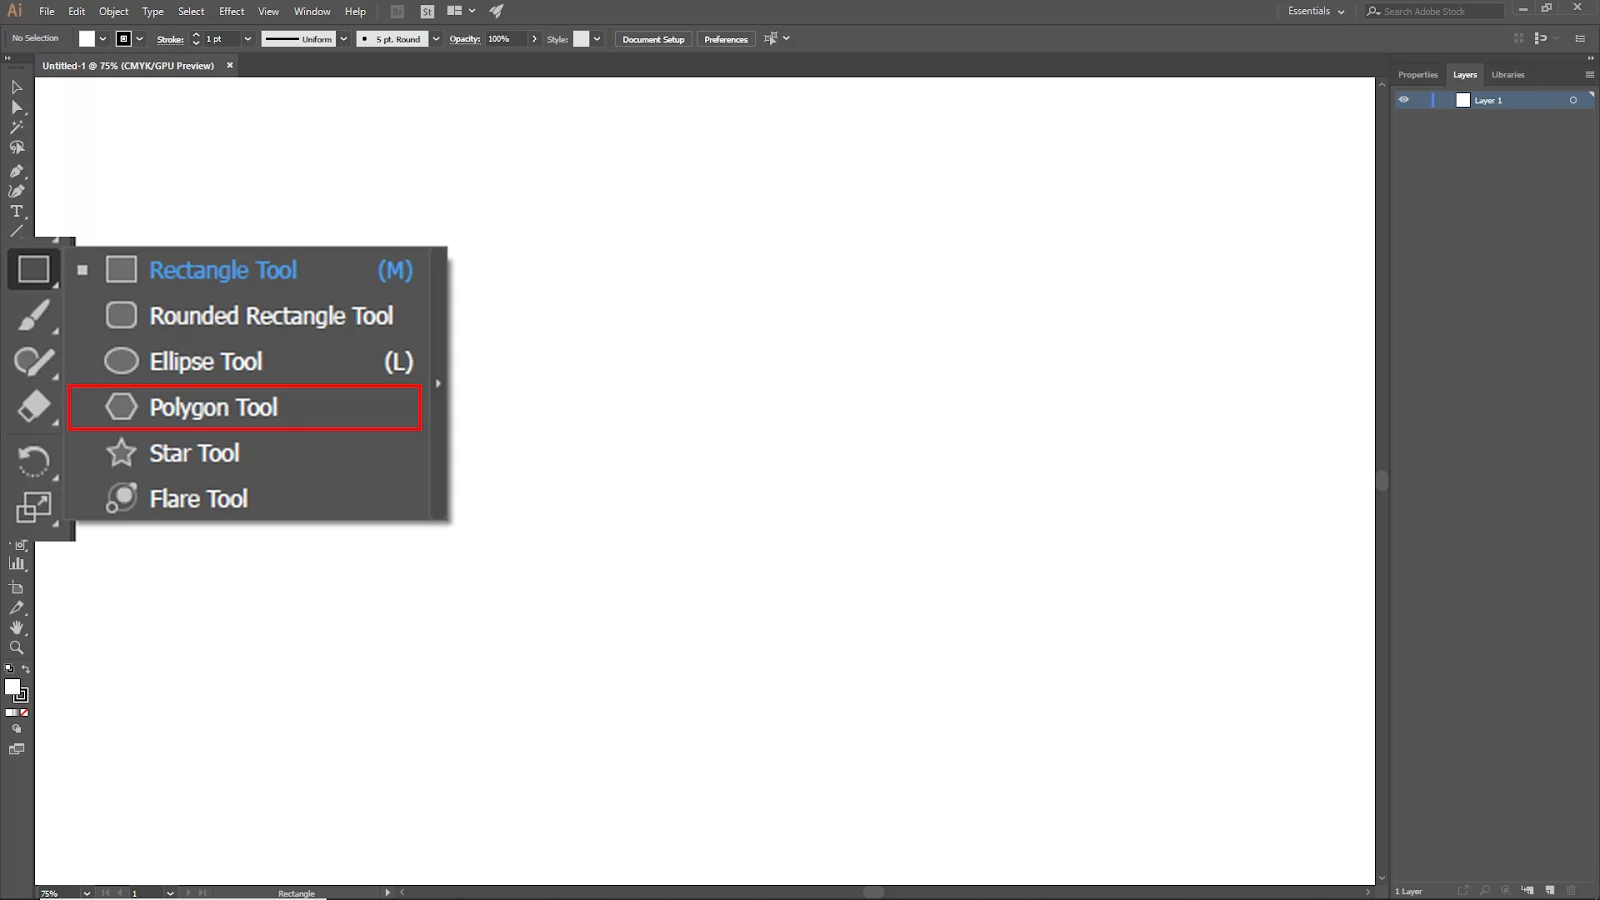
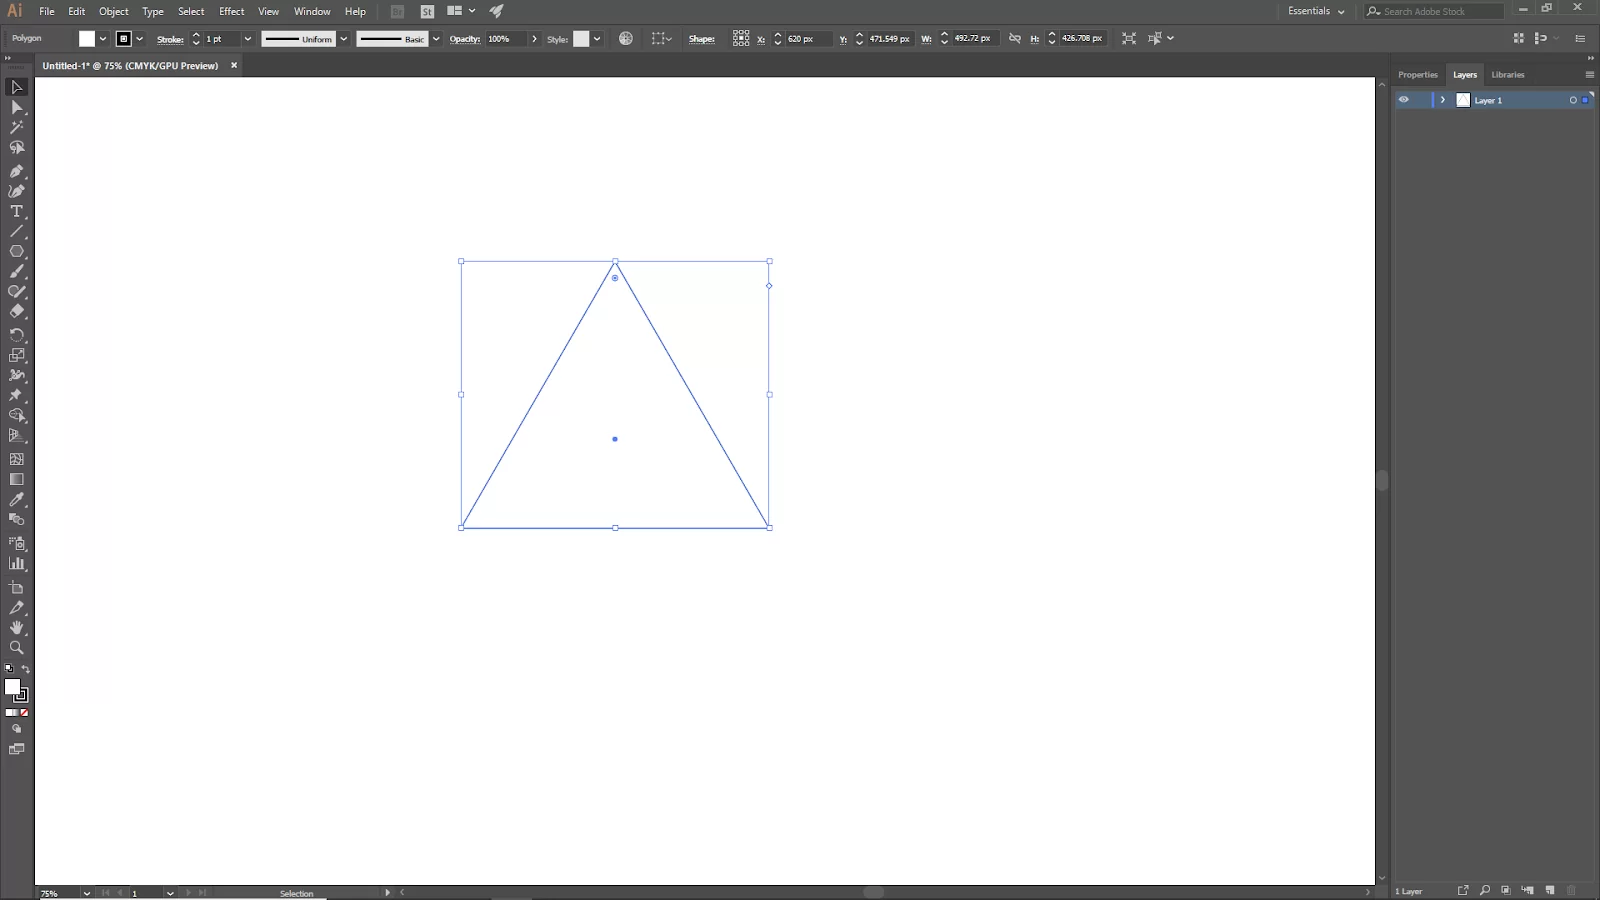
Click and drag to create a polygon shape, hold it and now click the down arrow key on the keyboard until the triangle emerges. Now your triangle is ready to use.
Method 2:
We will also be using the polygon tool in this method. First, select the polygon tool under the rectangle. Now click on the artboard you should see the polygon panel will open.
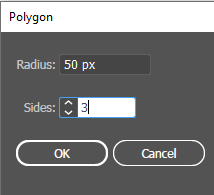
Input the slide value for the triangle. It should be 3 and set the radius. The radius used for the size of the shape increase for a bigger shape. Now click ok your triangle should be created.

Method 3:
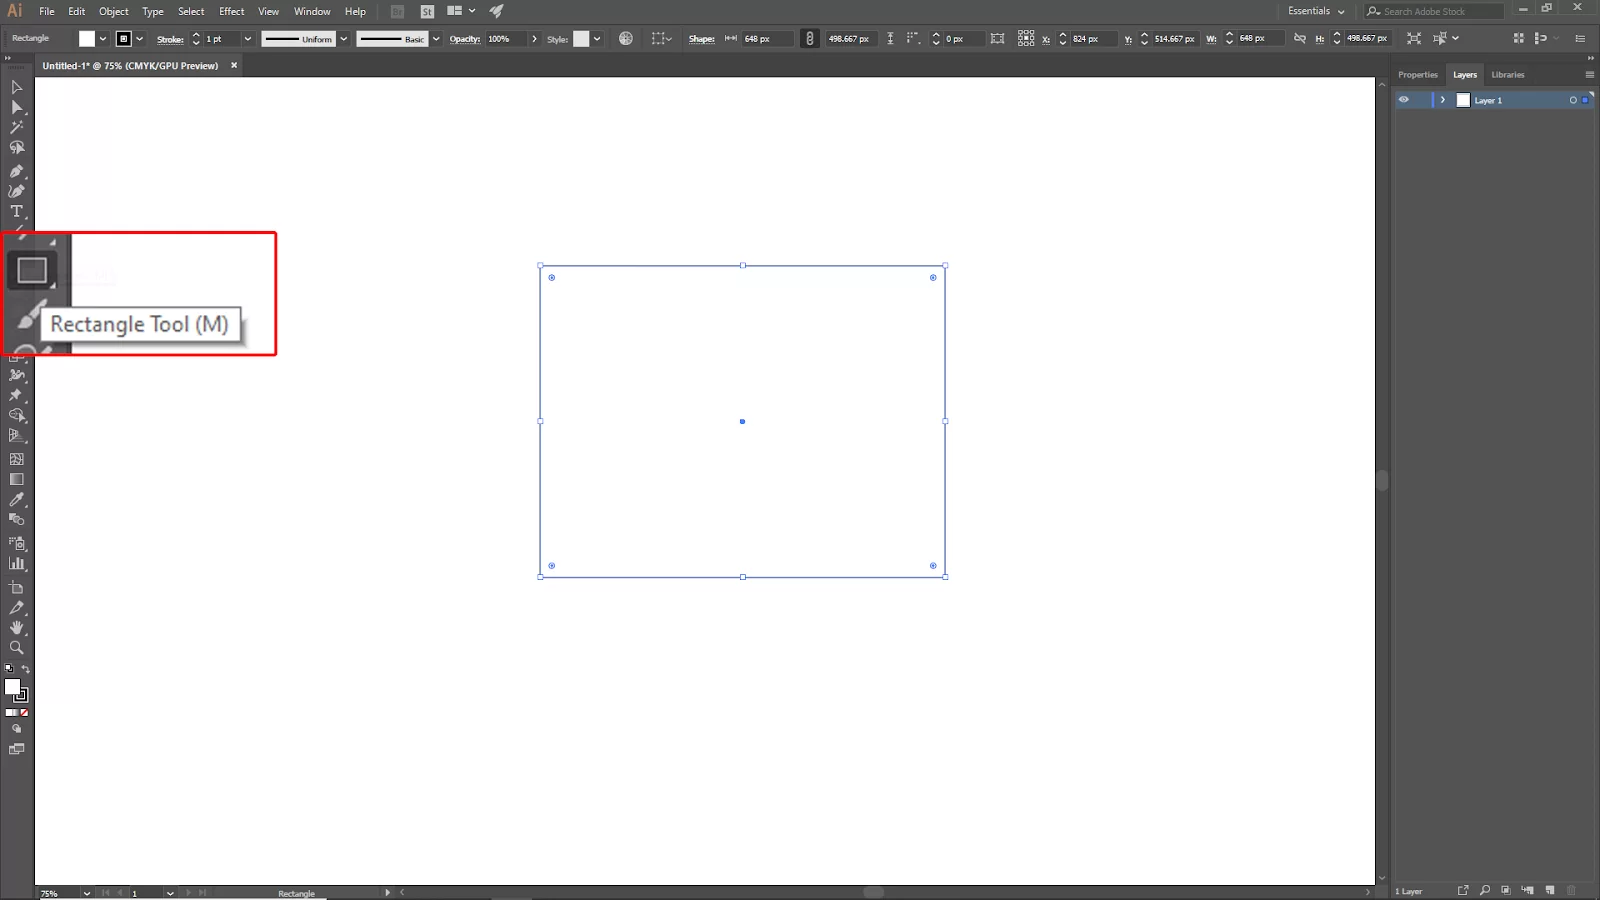
In this method, we will be using the rectangle tool. Select the rectangle tool, click, and drag to make a rectangle.
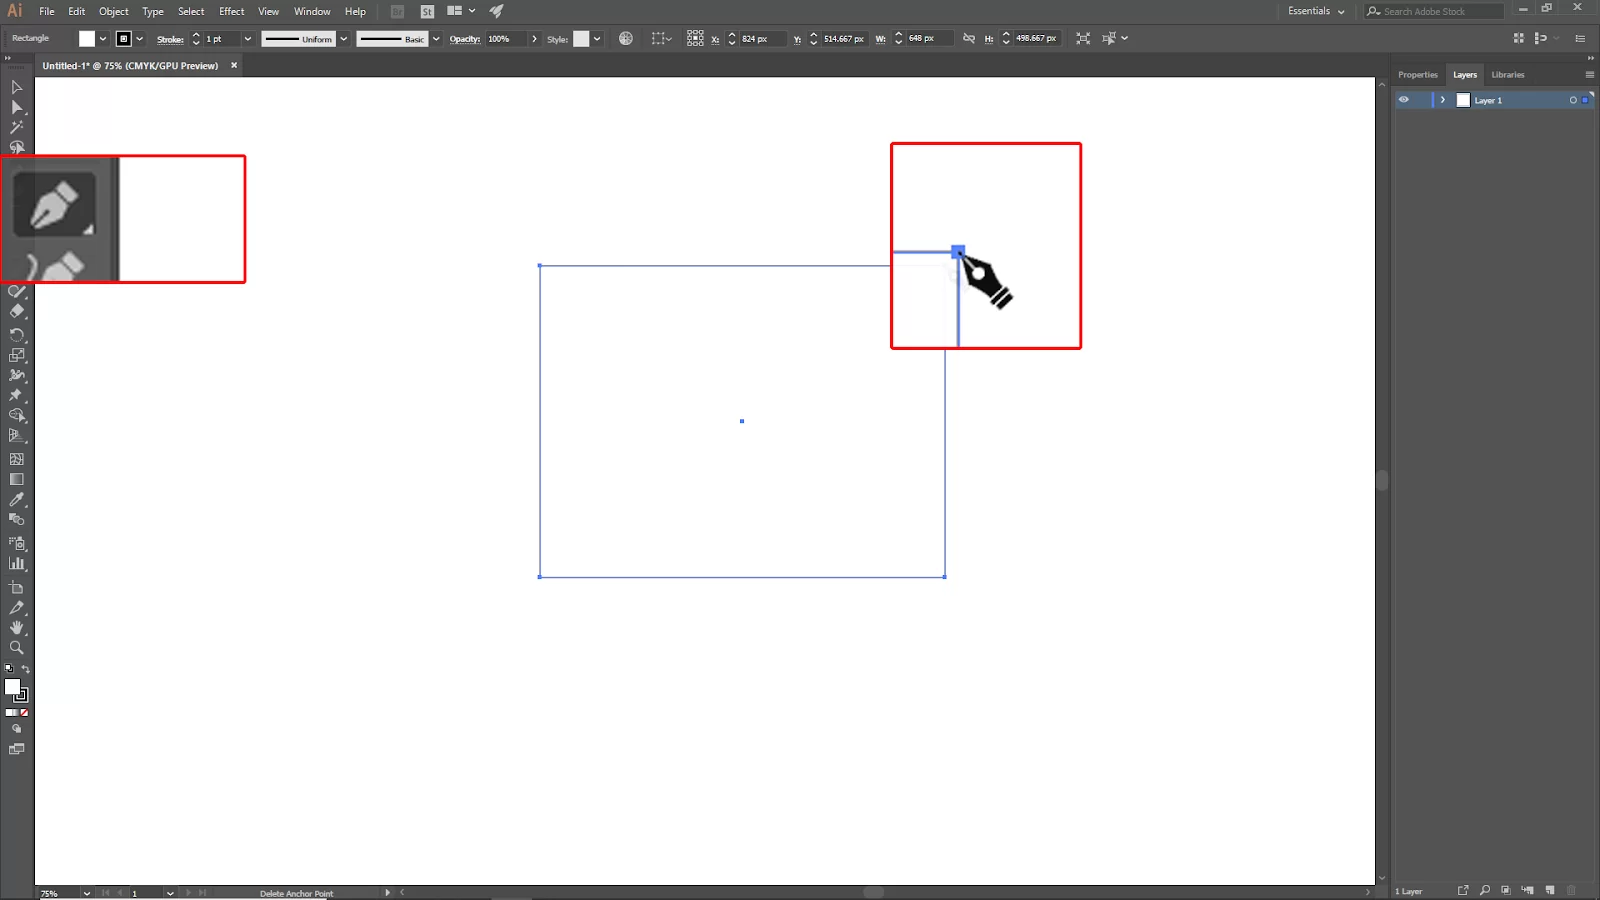
Now go to the toolbar again and select the pen tool. Click any corner or point of the rectangle.
Your triangle should be created.
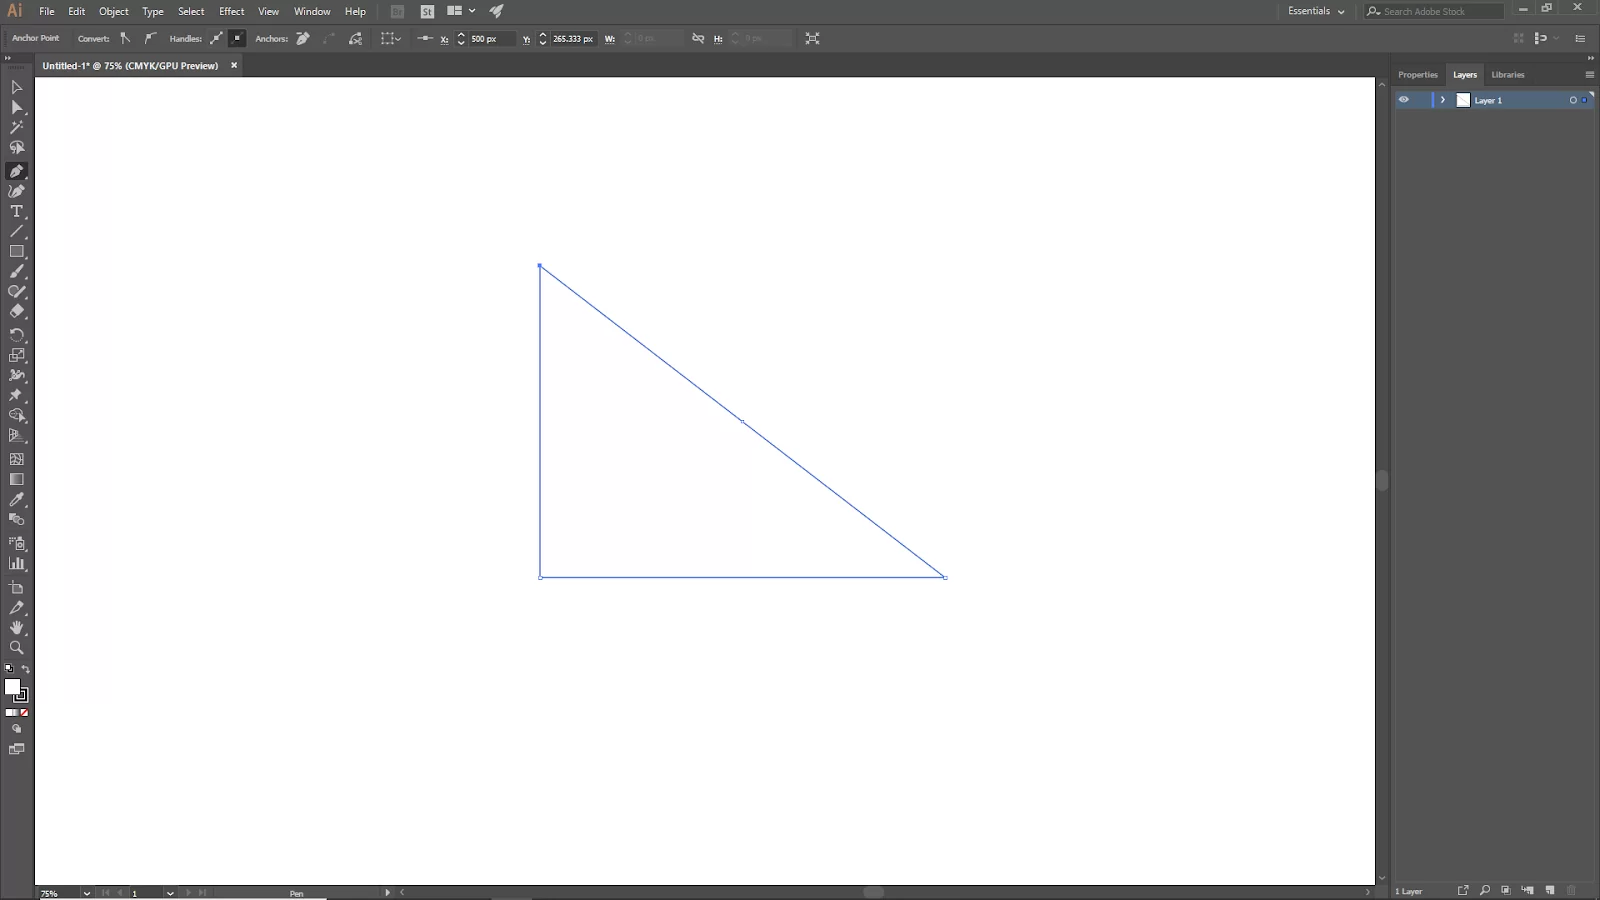
How to Make a Right Triangle in Illustrator
To make a right triangle, create a square or rectangle by choosing the Rectangle Tool (M). Hold down the Shift key while dragging to build a perfect square quickly.
Select one of those anchor points using the Direct Selection Tool (A), then use the Remove Selected Anchor Point control panel button to delete it. The anchor point you want to remove can also be easily selected using the Delete Anchor Point Tool (-).
How to Make a Perfect Triangle Using Illustrator
To make a perfect triangle in illustrator, click on your artboard after selecting the Polygon Tool. As soon as you have set the size of the triangle you are about to make and enter 3 into the Sides input box, click OK.
If you are not sure what artboards are, check out our in-depth article on what are artboards.
An equilateral triangle will result since the Polygon Tool is designed to produce shapes with equal angles at their corners.
Making a Rounded Triangle in Illustrator
To make a rounded triangle in illustrator, start by setting the corner’s radius as desired by selecting your triangle with the Direct Selection Tool (A), concentrating on the control panel.
You may also choose effect> Stylize > Rounded Corners while your triangle is still chosen. Click OK to activate the effect after setting the radius as desired.
How To Make a Triangle Using The Star Tool
Follow the steps below to make a triangle using the triangle tool.
Step 1
The Star Tool works similarly to the Polygon Tool. Finding the Star Tool in the Toolbar is the first step. When you right-click the rectangle icon using the Rectangle Tool, a submenu displays; select the Star Tool, which is indicated by a star icon.
Step 2
Your cursor will turn into a plus-like sign with a dot in the center once you’ve chosen the Star Tool. Click it once after bringing it to your artboard. After you click, a dialog box with star settings appears. You should put 200 in the Radius 1 field and 100 in the Radius 2 field of the Radius fields. Finally, change the value of the Sides field to 3, then click the OK button to see a triangle.
When utilizing the Star Tool to create a perfect triangle, you will observe more path points available than when using the Polygon Tool. The path points are in the center of the lines joining the triangle’s two corners. Any path point can be chosen with the Direction Selection Tool; then, you can drag it to alter the triangle’s shape.
How To Make a Triangle Using The Pen Tool
Follow the steps below to make a triangle using the pen tool.
Step 1
If you are looking for the Pen Tool, one of the best clues is to know that the Pen Tool has an icon of a pen tip. So, first, check the Toolbar for it or use the keyboard shortcut by hitting P.
Step 2
When you are comfortable creating a triangle with any angles, the Pen Tool is the ideal option. With the Pen Tool, you have a lot of versatility and creative freedom. Use the Pen Tool to make a triangle form on the artboard by clicking three times; the last click will return you to the original first route you made.
How to Make a Triangle Using The Shaper Tool
Follow the steps below to make a triangle using the shaper tool.
Step 1
The first step is to go to the Toolbar and look for the Shaper Tool. The Shaper Tool has a stick icon with an erratic circle or forms underneath it. You may have the Basic Toolbar open and need to switch to the Advanced Toolbar if you can’t see your shaper tool.
To see your shaper tool, click the three dots at the Toolbar’s bottom and click then select the choices button with a checklist icon in the dropdown menu’s upper right corner. Next, select Advanced from the second dropdown choice.
Step 2
Click on the artboard wherever you choose and use the Shaper Tool to make a rough triangle form. Your drawing movement doesn’t need to be perfect because to create a triangle, you only need to move your cursor in the direction of a triangle. Your drawing motion must be tiny because a larger drawing activity can result in a large triangle.
We also recommend that you check our in-depth article on how to modify text path using Illustrator.
Leave a Reply
You must be logged in to post a comment.