One of the essential tools for making vector graphics in Adobe Illustrator is the Pen Tool. The Pen Tool is quite cool and can be used for various tasks.
The Pen Tool, which can be found in the Toolbar, is also the most potent drawing tool in Adobe Illustrator. The Pen Tool may be used to duplicate any curves you require. It can also be used to construct and update pathways and anchor points. These anchor points are important because they play a role when you are curving a text in Illustrator.
You should note that the Pen Tool does not work like a normal tool. However, what the Pen Tool does is draw vector paths. A path usually has a beginning and an end, and other points, angles, curves, and shapes can be path components. A path can thus be anything from a straight line to curves.
Let’s get into how to use and maximise this cool feature.
3 Methods to Use Illustrator Pen Tool
The pen tool is all about anchor points. Any lines or shapes you create, you are connecting anchor points together. You can create straight lines, and curve lines, and you can add or delete anchor points to make any shapes you like.
First, we need to open Adobe illustrator. And create a blank project, click Create New or you can go to File > New for the short key win [Ctrl + N] or Mac [Cmd + N].

Your New Document panel will open. Here you find the artboard setting. Click Create to create your new artboard.

If you have an existing file, go to File > open and select your File. Short Key win [Ctrl + O] and Mac [Cmd + O].
Method 1: Creating straight lines
Step 1:
Select the pen tool from the toolbar or you can press [ P ] on the keyboard.

Now click and release into your artboard to create your first anchor point.

Then create another anchor point. Hold shift when you create the second anchor point to create perfectly straight lines. Check our in-depth article on how to draw dashed lines in Illustrator.
Step 2:

Keep clicking and releasing to create paths until you get your desired shape.
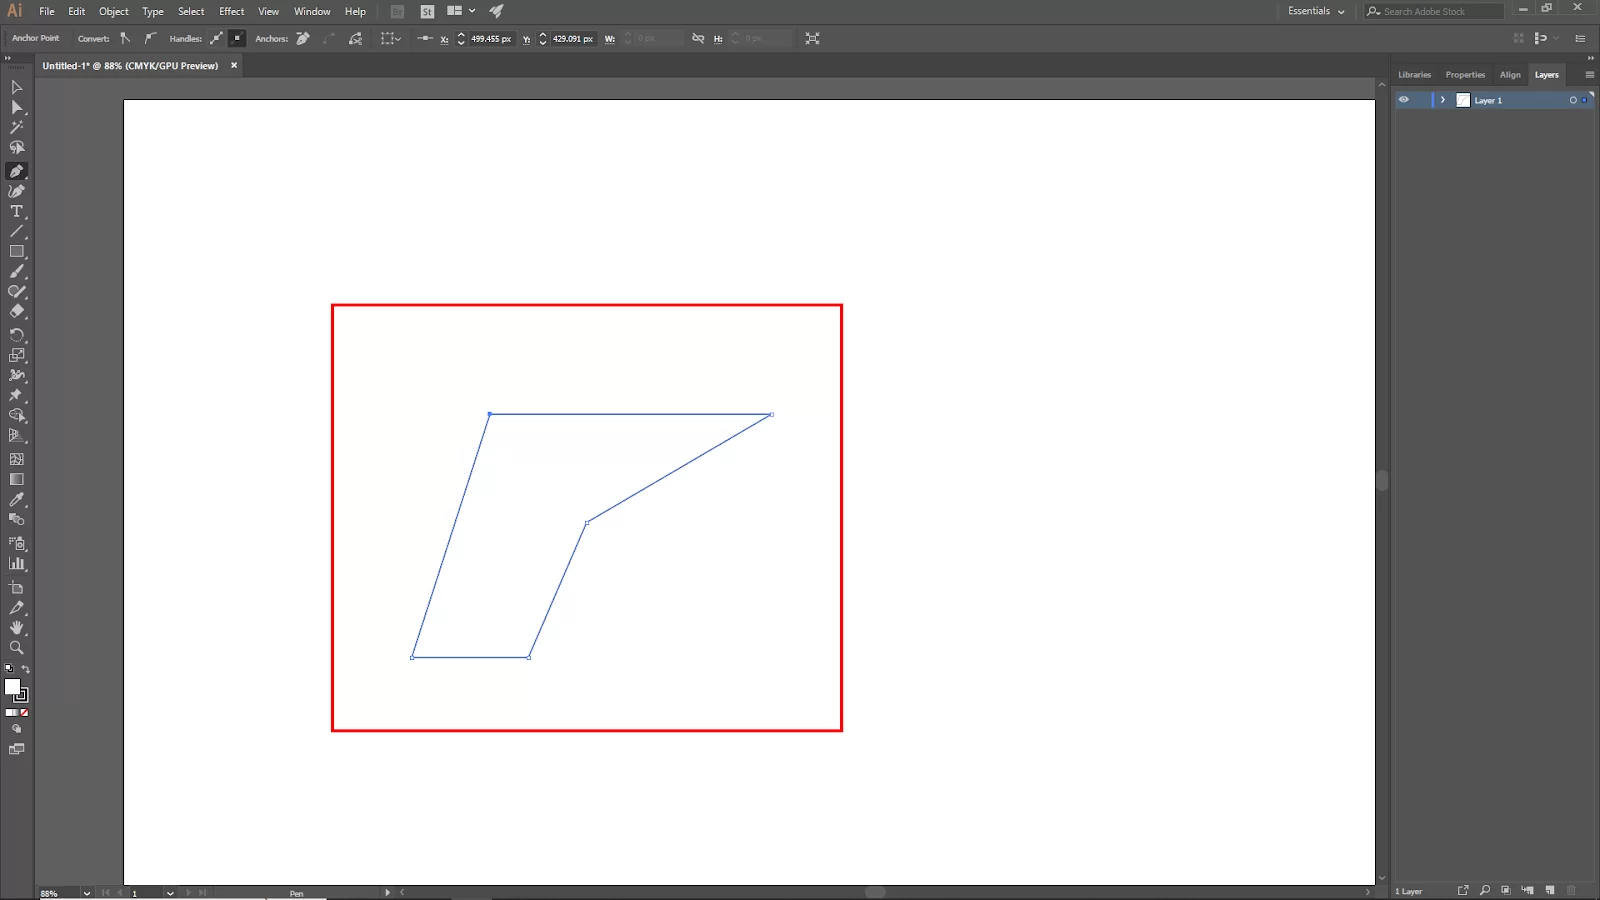
If you are making a shape, you will have to close the path by connecting the last anchor point to the original one. When you close the paths the ending point should be black as you can see from the top left corner. If you have made any mistake in creating the shape just click [ Ctrl + Z ] to undo the move.
Method 2: Drawing curved lines

Let’s start by creating the first anchor point. When you curve the path, instead of just clicking and releasing, you should have to click, drag to create a direction handle, and release to create a curve.
You can click the direction handle and move around to adjust the curve. You can always edit the curve using the Anchor Point Tool. for short key [ shift + c]

With the path and the anchor point tool selected, click and drag on the anchor point to edit the curve, and release when you are satisfied with the curve.

You can also use the anchor point tool to edit on either straight curve path. For example, you want to add a curve into a straight line.

Method 3:
Adding/Deleting anchor points
Select your path and then select the pen tool. Click on the path to add a new anchor point.
To delete an anchor point, make sure you selected the pen tool to hover over the pen tool on the anchor point that you want to delete and the pen tool will automatically change to the delete anchor point tool.
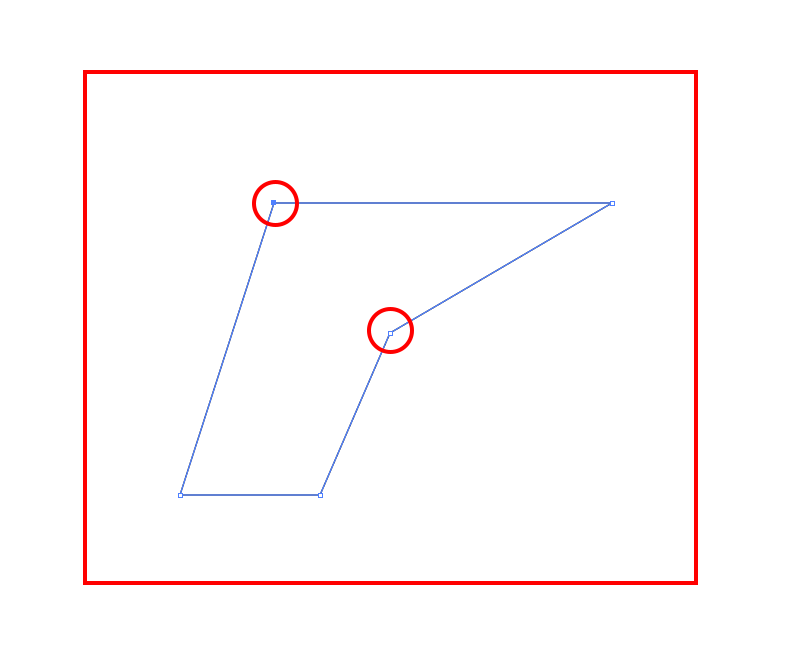
You should see a little minus sign next to the pen tool. Now just click on the anchor point that you want to delete your anchor point should be deleted.
Joining Lines Using The Pen Tool and Fixing Pen Tool Filling in Illustrator
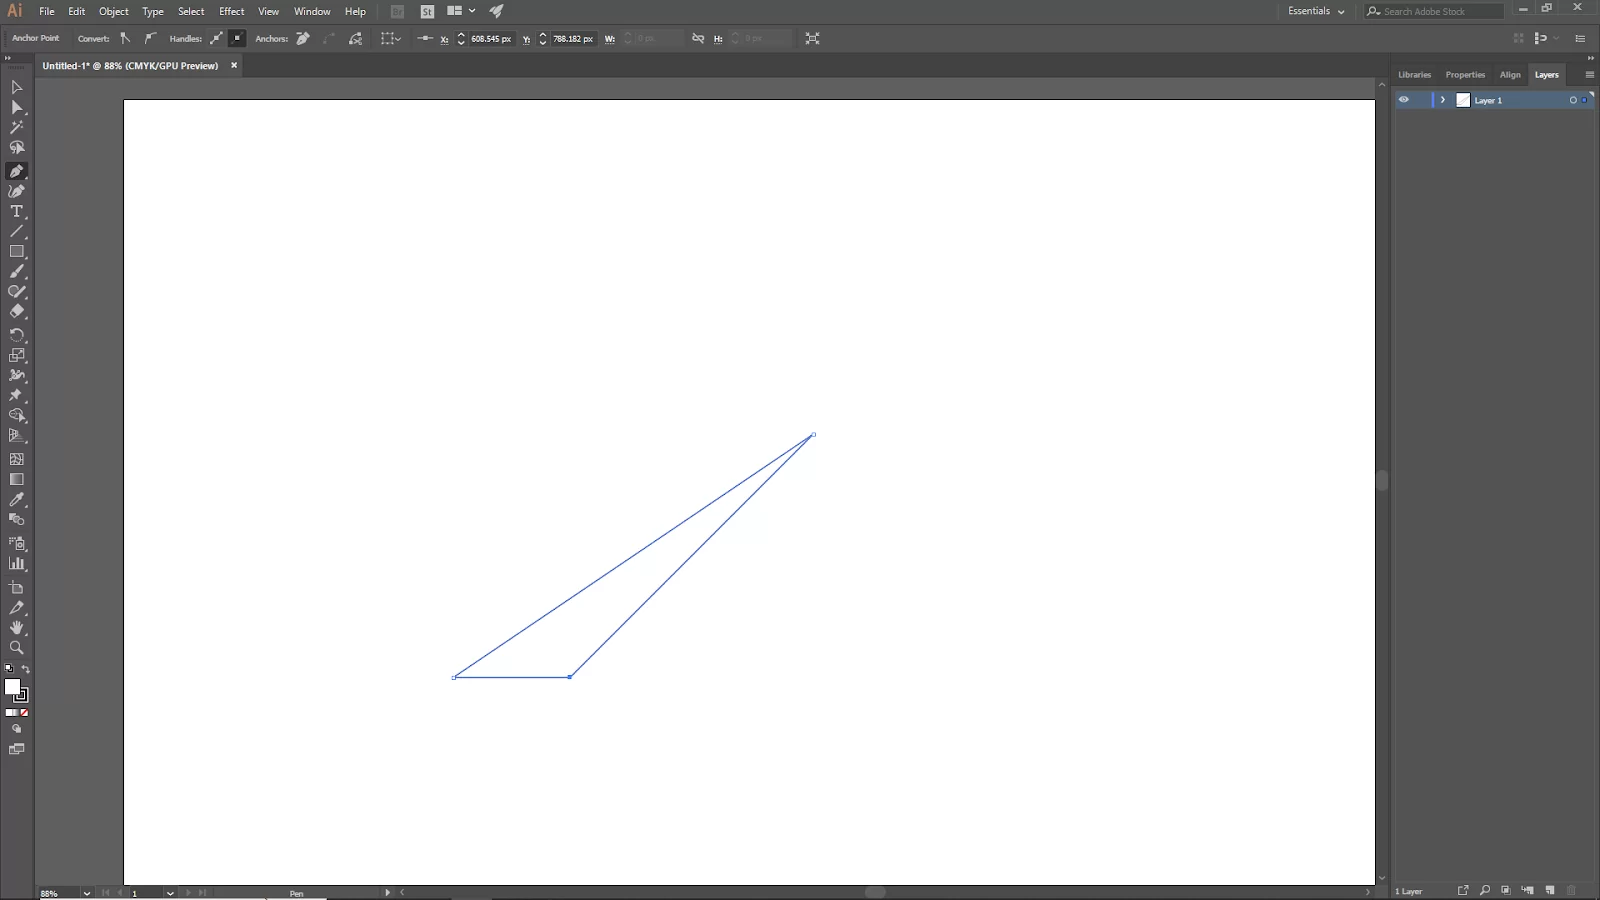
If you close the path unintentionally, you can continue working on it by selecting the most recent anchor point. Start by clicking on the last anchor point of one of the paths and then click on the anchor point where you want your route to link if you want to connect the two paths or lines. Alternatively, you can combine two pathways using the direct selection tool by moving two paths together where their anchor points overlap.
When you draw using the pen tool, you make strokes. However, your color fill typically activates on its own, which may make your pen fill color instead of making strokes. Before you start drawing, set the stroke and fill. Set the fill to none. Also, set the stroke to whichever weight you like and the stroke color of your choice.
Editing Lines Using The Pen Tool
It would help if you kept in mind that you can alter paths with the Anchor Point Tool. The Anchor Point Tool is ideal for editing paths. Directly behind the Pen Tool symbol is the Anchor Point Tool. Select the path and the Anchor Point tool to modify the produced curve. The anchor point can then be edited by clicking and dragging. When you are happy with the curve’s new appearance, you can release it. The Pen Tool also plays a role when you are drawing an arrow in illustrator.
Adding or Removing Anchor Points Using The Pen Tool
With the Pen Tool, adding and deleting anchor points is simple. It only takes a few clicks to add or delete anchor points by choosing the Pen Tool. Start by choosing one of the paths you’ve established. Next, select the Pen Tool. Click the route with the plus symbol or minus sign to add or remove existing anchor points.
When deleting anchor points, there are several ways involved. You can try an alternative method by choosing the Pen Tool. Next, hover over an established anchor point. The Pen Tool immediately switches to the Delete Anchor Point Tool when you hover over an established anchor point. The negative sign will be seen next to the Pen Tool. Select the anchor points that you want to delete by clicking them.
Leave a Reply
You must be logged in to post a comment.