Curving text allows you to create unique, interesting designs by manipulating the shape of the text to fit a specific design element. This can add an extra level of visual interest to your designs.
I’ve personally found that curving text helps me to make better use of space in a design, especially when working with limited space. Plus it helps to improve readability in certain situations, such as when working with small text or text in a circular shape
How to Curve Text in Adobe Illustrator
Curving text in illustrator is very simple and easy. Here are 3 steps to curving your text.
Step 1:
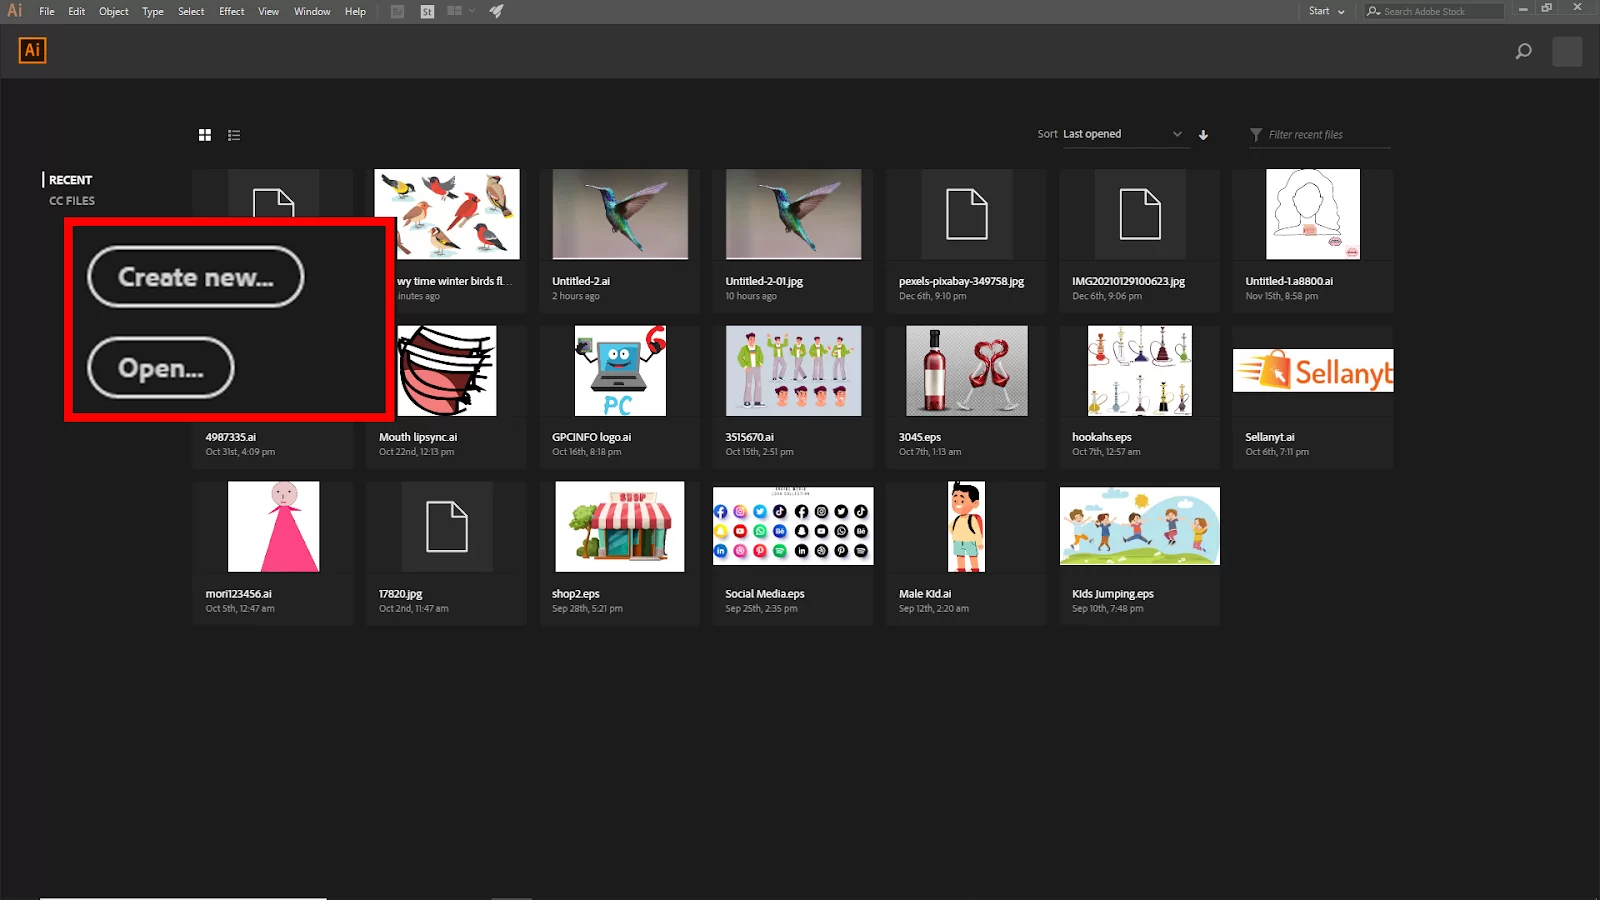
First, we need to open Adobe illustrator and create a blank project, click Create New or you can go to File > New for the short key win [Ctrl + N] or Mac [Cmd + N].
And you will see your New Document panel will open. Here you find the artboard setting. Click Create to create your new artboard.

If you have an existing file, go to File > open and select your File. Short Key windows [Ctrl + O] and Mac [Cmd + O].

Step 2:
Select the text that you want to curve, or you can create a new one. To create your text go to the toolbar and select Type Tool (T). Now click and type your text. And then, select the text that you want to curve.

Now go to the Effects tab on the upper bar, and you should see Warp. Click on that. Here you can find all the curving effects of a text.

Step 3:
Now click on Arc, and voila!—you have a warped text. After clicking on Arc your warp option will open, and you can change the settings as you want.
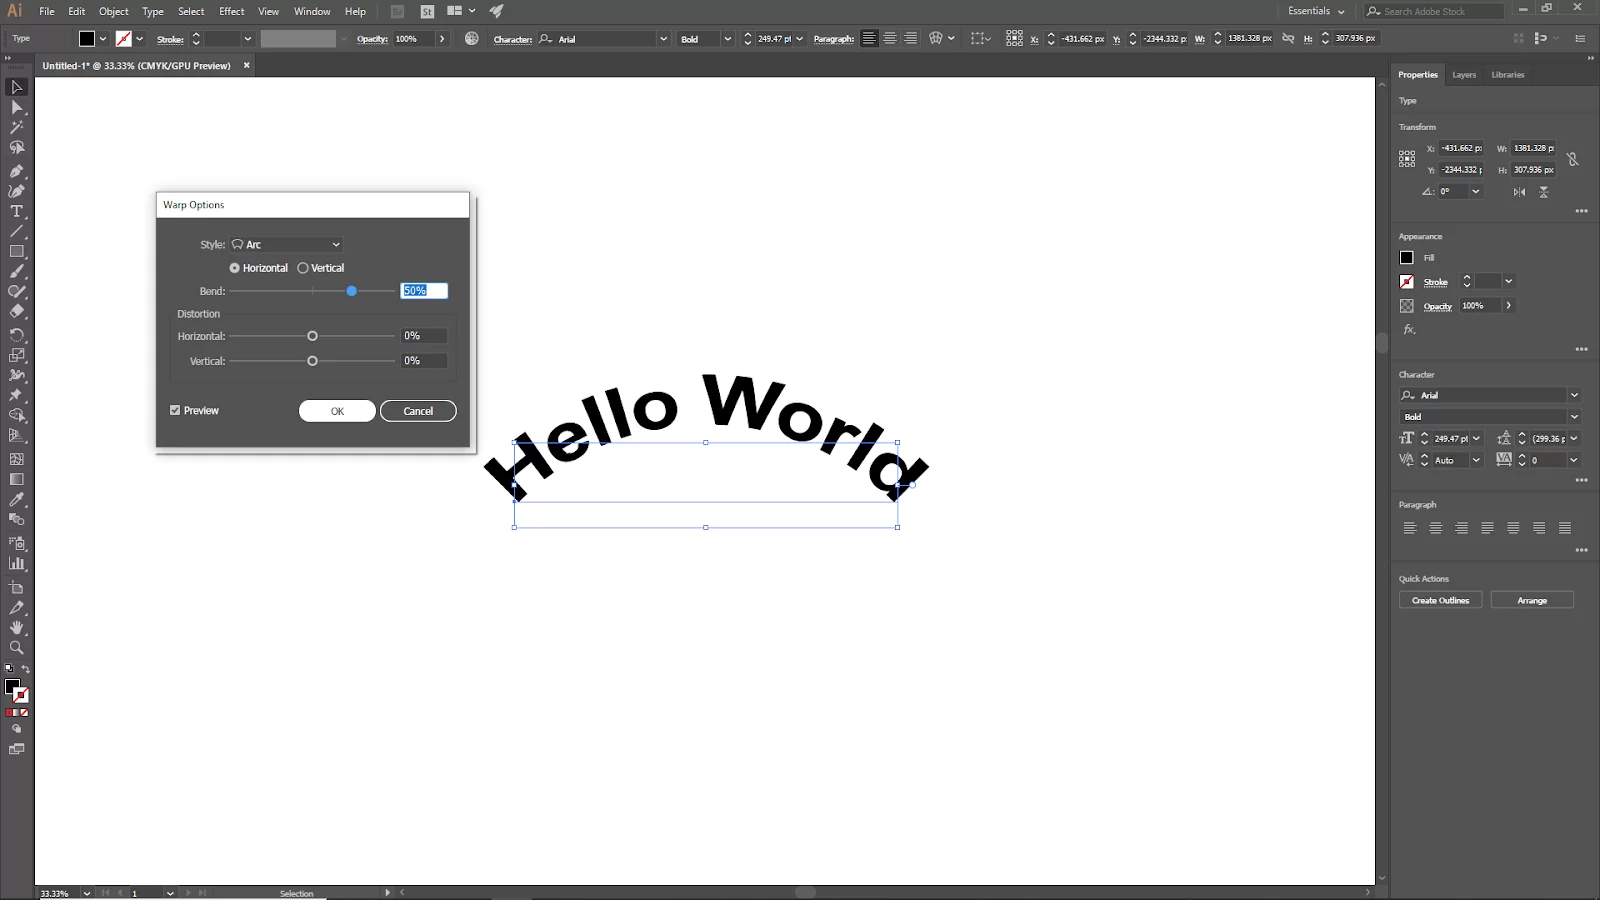
After changing the setting, click ok. And your curve text is ready to use.
Curving Text Using Warp
There are numerous choices to bend text with the simple-to-use warp tool. Follow the steps below to curve text using warp.
You can add close to 15 different effects to your text by going to Effect > Warp.
Select an effect you want, tweak the Bend or Distortion parameters, and then click OK if you’re satisfied with the results.
Curving Text By Typing on a Path
You have the most freedom to modify curved text using typing on a Path. Start by using the Ellipse Tool to create an ellipse. As a shortcut, you can press L. On a path tool, choose the type and then toggle the ellipsis.
Clicking will display some random content; erase it and type your own. By repositioning the control brackets, you can change the text’s position. The Ellipse tool also comes in handy when you are drawing a circle in Illustrator.
Using The Envelope Distort To Curve Text
Using envelope distortion allows you more flexibility to customize the details of your text.
Step 1
The first step is to Choose a text.
Step 2
Next, select Object > Envelope Distort > Make with Mesh from the menu.
Step 3
The number of columns and rows should be entered. The more significant the number, the more intricate and specific it becomes. The number of anchor points to alter will therefore increase. It is important to learn about anchor points because they are a big part of editing in Illustrator. Anchor points can also be used when creating a gradient in Illustrator.
Step 4
Finally, opt for the Direct Selection Tool. Alternatively, you can use shortcut A.
Leave a Reply
You must be logged in to post a comment.