To draw a circle in illustrator, you will need to use the Ellipse tool. The Ellipse tool is also used when drawing a circle using Gimp. After creating a circle in illustrator, you can specify its dimensions using the transform tab and enter the heights and widths you desire.
You can fill the circle with the desired color and change the color of the circle’s borders and the border’s thickness. We will explore the details further in this article; read on.
2 Steps to Make a Circle in Illustrator
Step 1:

This is the easiest way to make a circle in illustrator. Go to the toolbar and select the Ellipse tool under the rectangle tool. Right-click on the Rectangle tool and you will find the Ellipse tool. Or you can use the short key by pressing [ L ] on the keyboard.

Now hold shift, click and drag your canvas to make a perfect Circle. And your circle is ready to use.
Step 2:
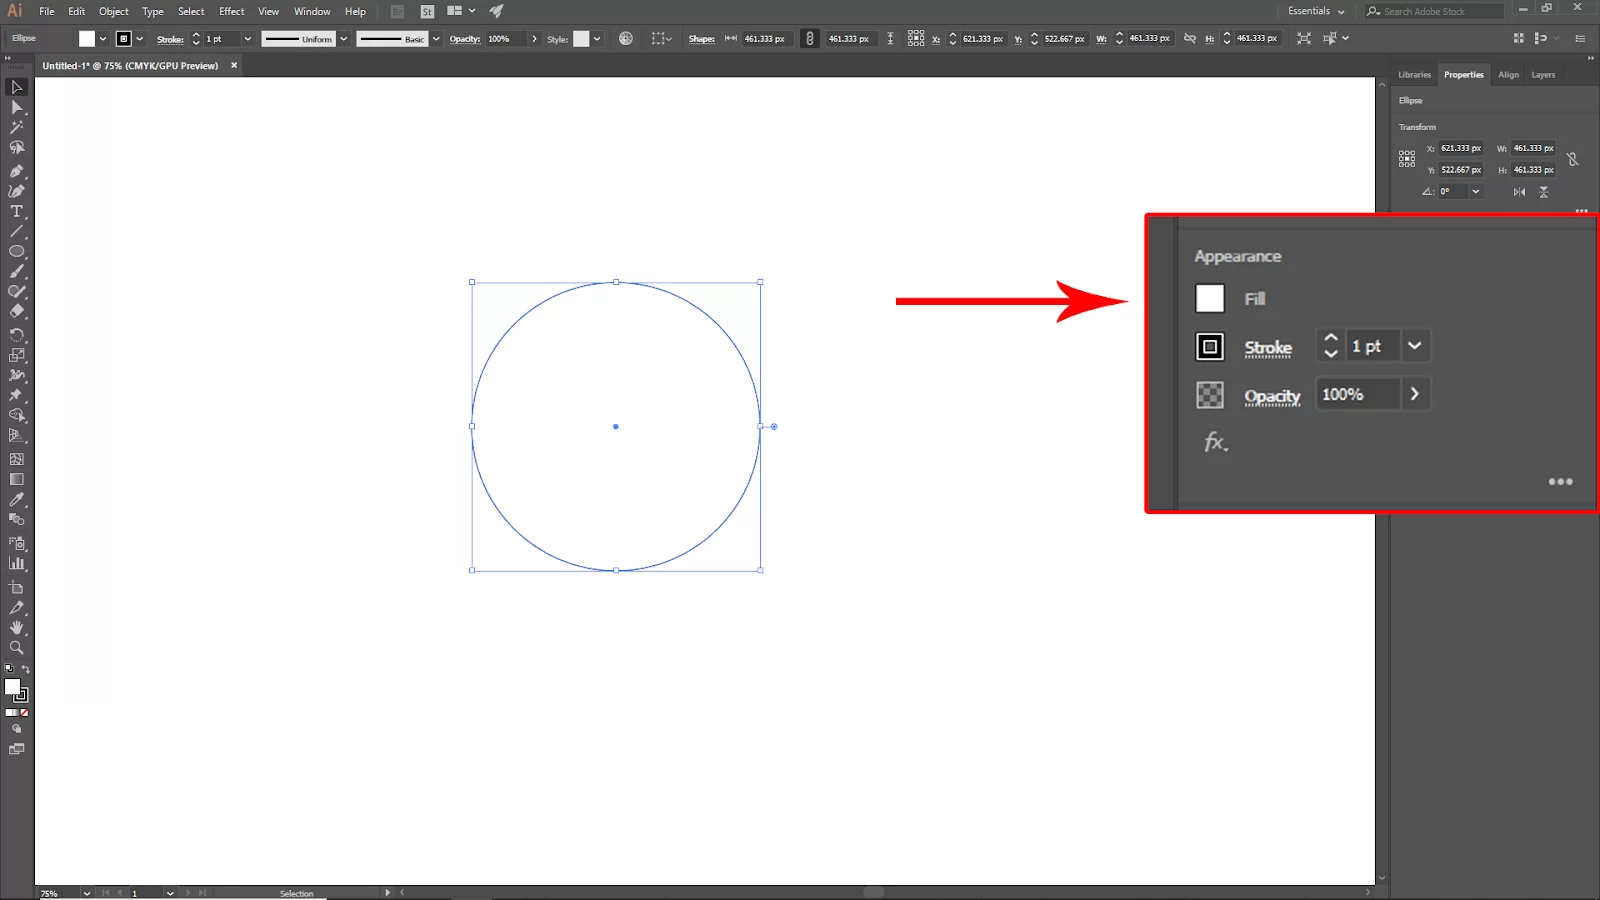
To change the color of the circle, go to Properties. You will find it by going to Window > Properties. Here you will find the stroke and fill color setting.

Now click on the Fill color pallet and choose your desired color. You can also increase the Stoke value.
Ellipse Tool Missing From Toolbar in Illustrator
The Ellipse tool is critical in drawing a circle, whether on Gimp or Illustrator. If you discover that your ellipse tool is missing from the toolbar, here is how to fix the problem.
Step 1
Start by clicking the three dots at the bottom of the Tools panel.
Step 2
A menu will appear. From the menu that appears, choose Advanced. The Advanced toolbar contains all the needed tools. Your tools may also disappear because the workspace of your illustrator changes.
Step 3
You may save your customized workplace by displaying and hiding the tools and panels you wish. Select New Workspace, after which it automatically gives it a name, and the name will be displayed first in the workspace list. So, if something vanishes, you can select your workspace from the list, or, if necessary, you can press R.
How To Create a Circle With Centered Vertical and Horizontal Gaps in Illustrator
Here is how you can create a circle with a centered vertical and horizontal gap in illustrator.
Step 1
Start by creating the circle shape using the Ellipse tool.
Step 2
Next, remove the fill-in-the-circle.
Step 3
Give the circle a stroke as thick as the width you desire.
Step 4
Go to object > expand. This can be found in the top horizontal menu.
Step 5
Next, create a rectangle as thick as you want the gaps to be.
Step 6
While the rectangle is still selected, hold the shift and select the circle. Next, use the alignment options to center it horizontally and vertically relative to the circle.
Step 7
Next, select the rectangle the press Ctrl + C. This would enable you to copy the shape.
Step 8
Press Ctrl + shift + V to paste exactly the first way the initial rectangle is pasted.
Step 9
Then right-click the currently selected shape and go to transform>rotate. In the dialog box, enter 90 degrees and press enter.
Step 10
Select the two rectangles and go to pathfinder and merge them.
Step 11
Next, select the newly formed cross and the outline circle using the pathfinder.
How to Make a Circle Transparent in Illustrator
There are a couple of techniques you may use in illustrator to make circles transparent. Using the opacity feature is one option. Choose Object > Transparency > Opacity, then select the circle.
Choose a number between 0% and 100%. The circle can also be made transparent by using the layer styles tool. Layer > Style > transparency can be selected after selecting the circle. Set the screen to blending mode.
If you enjoyed reading this article, you can also read our article; colorizing on illustrator.
Leave a Reply
You must be logged in to post a comment.