When painting your objects in your illustrator software, the fill command is used to add color in areas inside the object. You can also add gradients, fill and pattern swatches to the object. There is a range of colors available in illustrator software. How are fills enabled? It is quite simple. Fills are enabled by using the tools panel or the keyboard shortcut associated with the tool. If you are still looking for your fill, you can remove it using illustrator.
3 Methods to Fill in illustrator
Method 1:
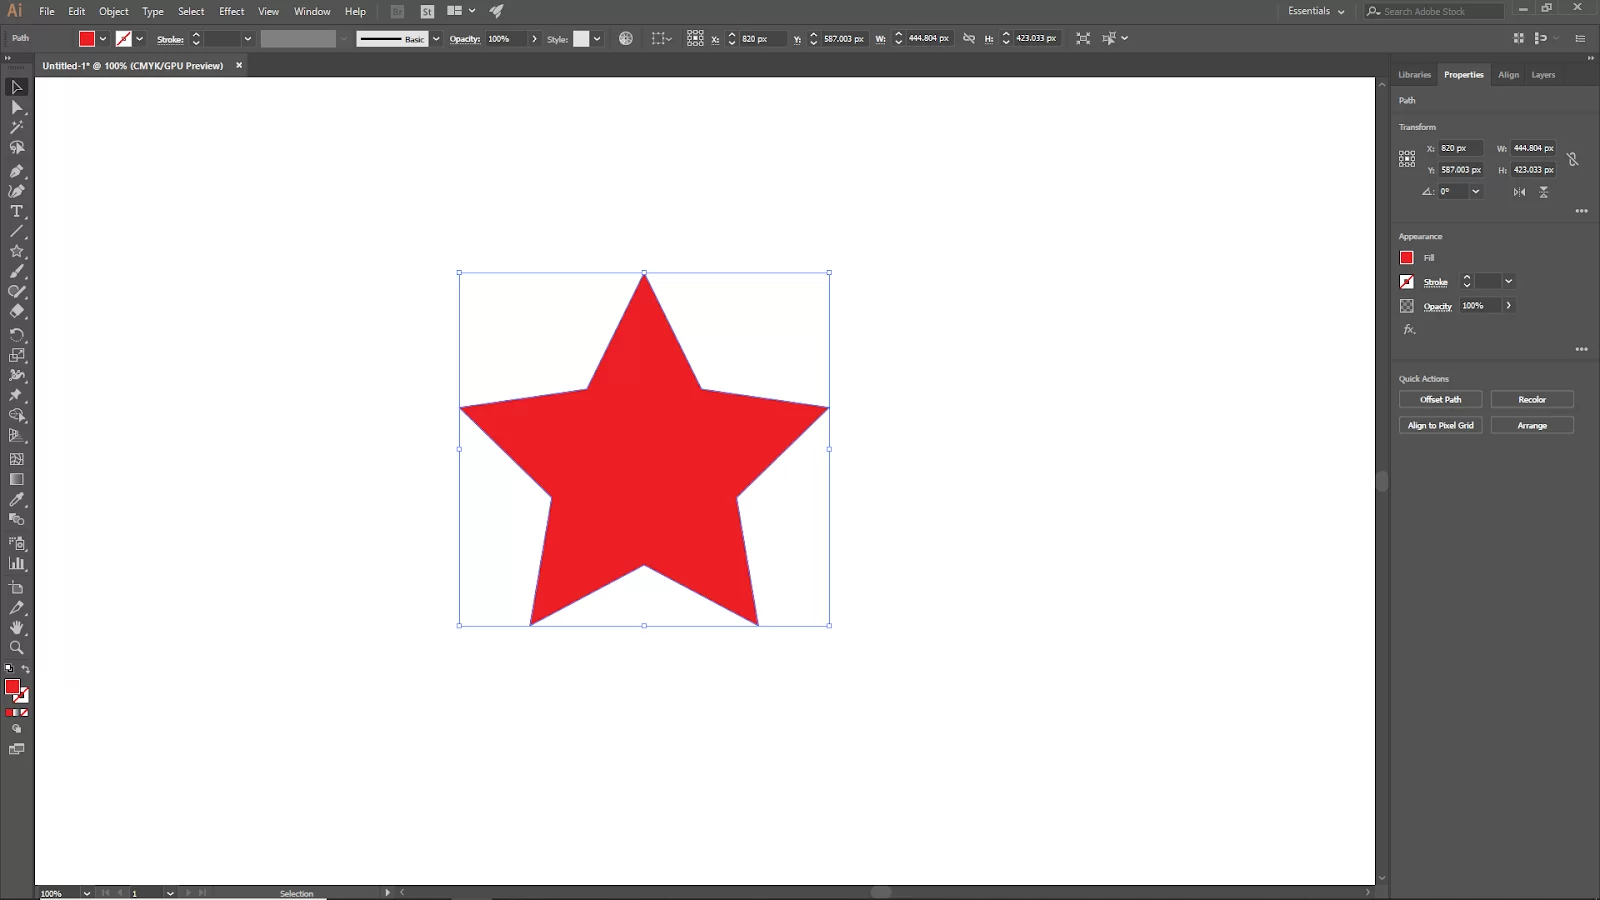
You have to make an object or shape. The fill and stroke options are usually off and just show the path. Follow these methods to fill your shape or object.
In this method, we will be using the Fill and stroke option under the toolbar. Select the shape or object that you want to Fill. Now under the toolbar, you will find a Fill and Stroke Icon.

Double-click the Fill icon to apply color to the shape or object that you have selected. You should see a color panel open, now choose your desired color then click ok.

Your shape will be Filled. You can use the same method for Stroke.
Method 2:
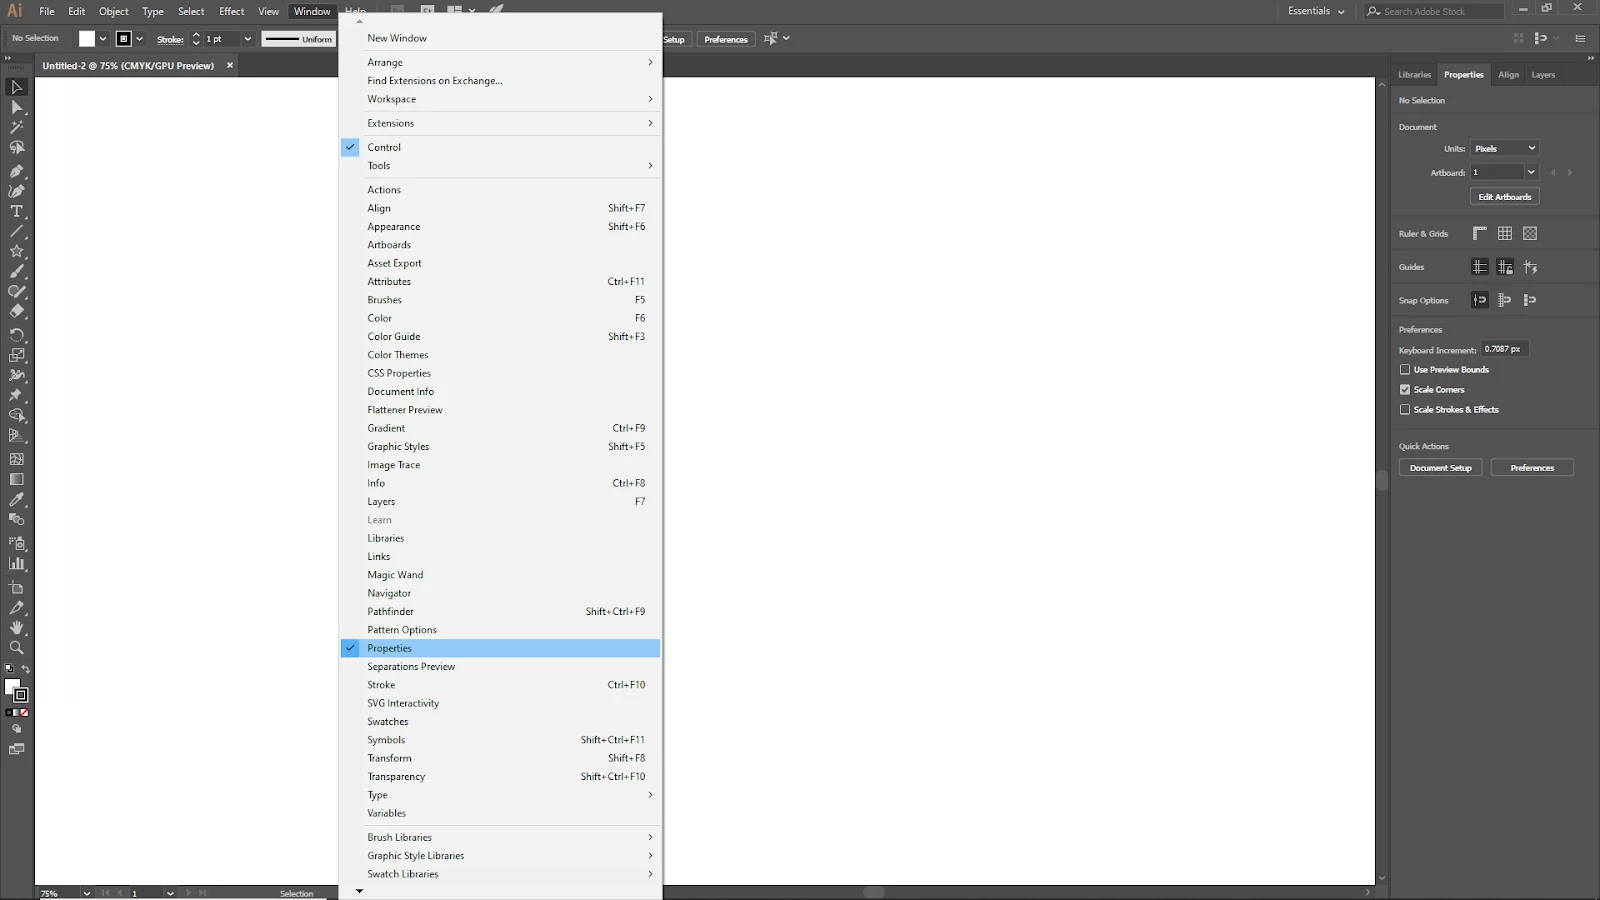
In this method, we will colorize the shape with properties panel. First, select the shape or object that you want to Fill. You will find the properties panel in the top right corner if you can’t go to Window > Properties.
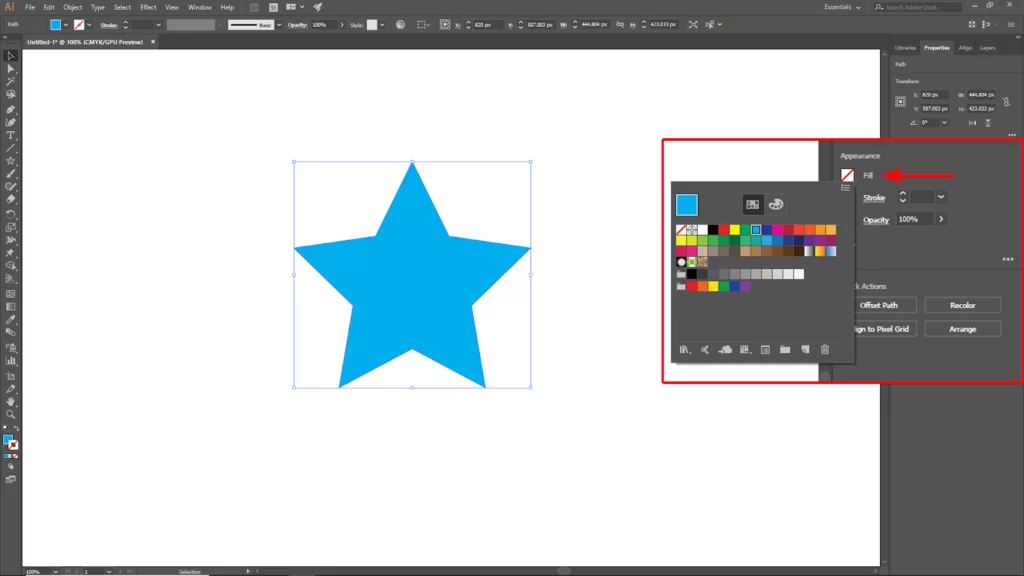
Here you will find the Fill and Stroke Option. Click on Fill, and the color swatches will open. Now choose your desired color to apply to the shape.
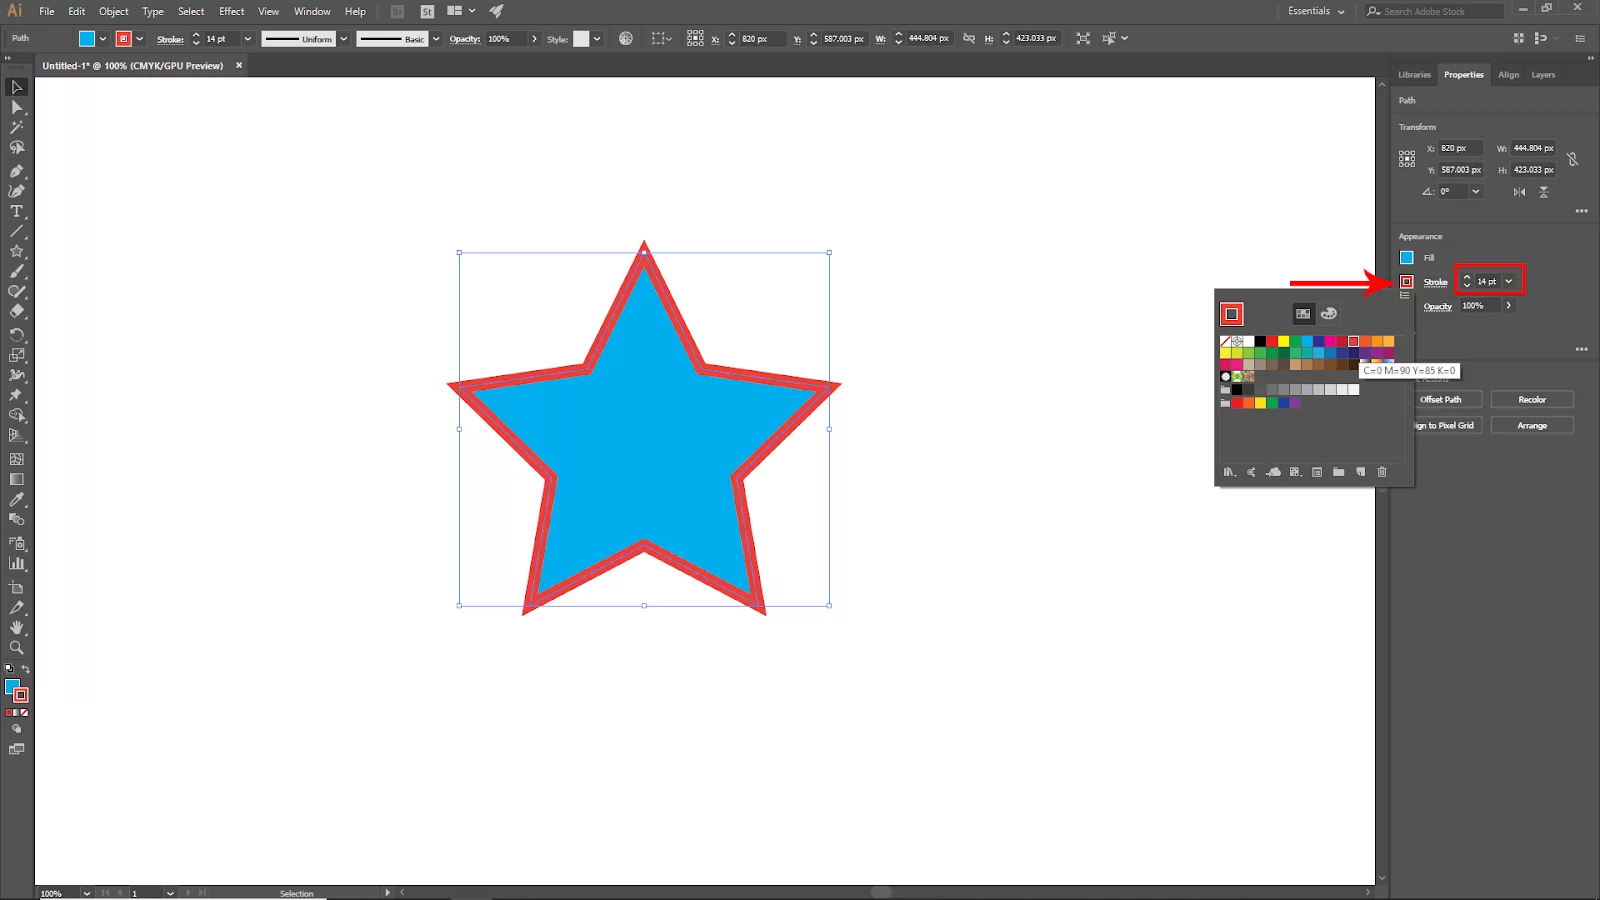
Here you can also increase the stroke value. To increase the stroke thickness.
Method 3:
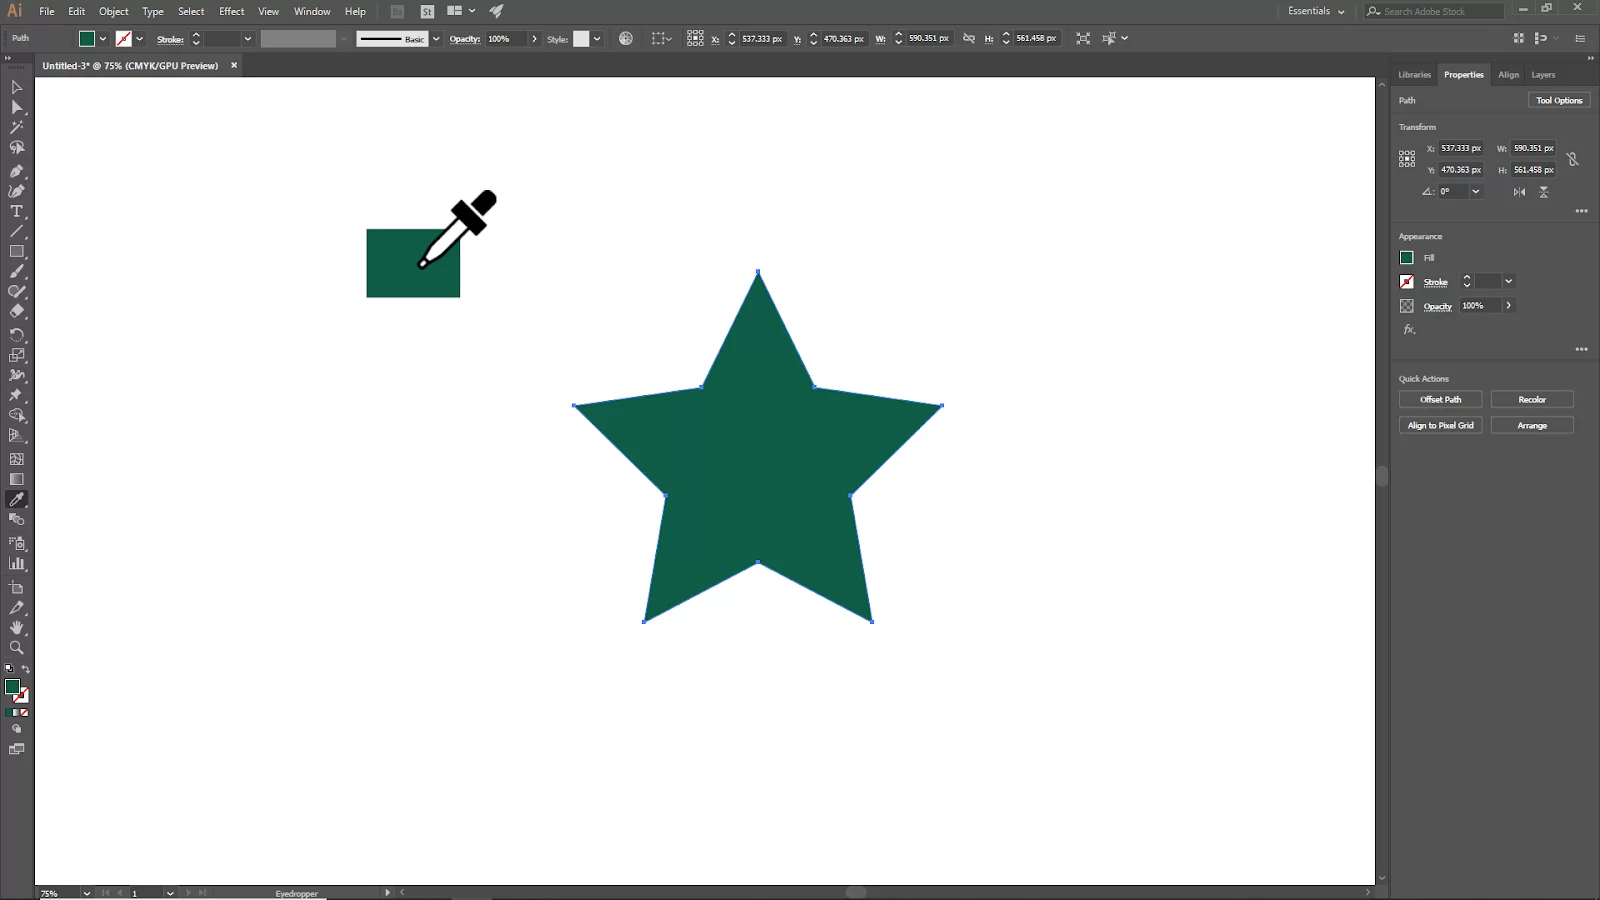
If there is another shape or object in the Artboard is in Fill Color, then this method will work. If you don’t know what an Artboard, check our article on what is an Artboard article to gain an in-depth understanding.
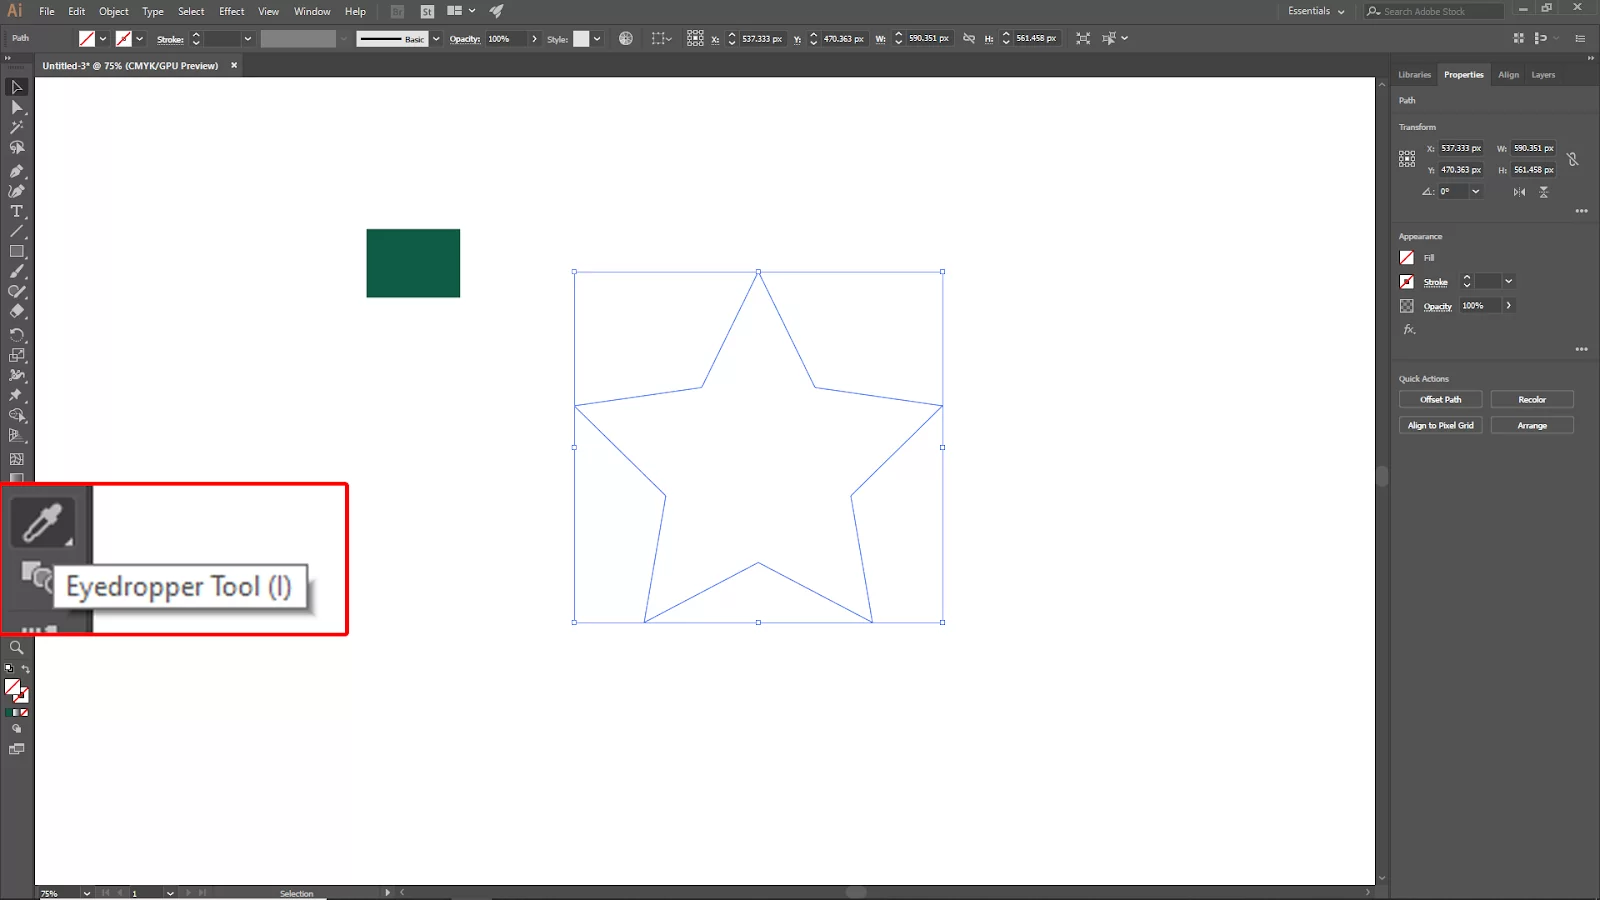
In this method, we will be using the Eyedropper tool to Fill the shape or Object. As usual, select your shape or object. Then go to the toolbar and select the Eyedropper Tool. Or you can use Short Key for this Press [ I ] On the Keyboard.
Now select the shape with the Eyedropper tool just click. And then it will automatically apply all settings of the shape and fill your shape or object.
How to Fill Using The Color Panel/Swatches
You can compare filling your object with The Fill & Stroke option to filling using the Color panel. Before you fill using the color panel, a color from a color palette or the CMYK or RGB values must be entered. Window > Color on the main menu will bring up the Color panel.
Select the object, adjust the sliders, or enter the color hex code to select a fill color. If you want to launch the color picker, double-click the color box. You can click the flip button if you want to add stroke color.
If you want to use a pre-set color, go to Window > Swatches. This will bring up the panel where you may select your object and pick a color.
How To Fill Color Using The Paint Bucket
The paint bucket tool might not appear on the standard toolbar, but you can access it by selecting Edit Toolbar from the drop-down menu or pressing the K key. Below are the steps to fill the color using your paint bucket tool.
Step 1
Choose the item you wish to colorize in illustrator.
Step 2
To open the Live Paint Bucket, press the K key. Click to make a Live Paint group will appear when you hover the pointer over the chosen item.
Step 3
Select an object in the Color Picker, then click on the fill color you picked.
How To Fill Color Using Paintbrush
Using the paintbrush to fill color is basically what you did when you first learned to color inside the lines using colored pencils in one of your first drawing classes. When using the paintbrush tool in Adobe Illustrator, you will need to add color, and this technique performs well when you are coloring open paths.
Pick a stroke color and brush style, then start coloring by selecting the Paintbrush Tool (B) from the toolbar. That’s all! Simple as ABC.
The Fill Tool and Its Functions
There are different tools in Adobe Illustrator that you may use to fill things with color in addition to the actual Fill Tool. The Fill Tool is located in the toolbar of illustrator.
Filling up an area involves adding color or other features. To make things simpler for you, illustrator refers to the addition of color or a gradient to an object. The solid square icon in the toolbar represents the Fill tool. Alternatively, you can use the keyboard shortcut X to launch the Fill Tool. When using the X key, you may change between Fill and Stroke.
We also recommend that you see our step-by-step guide on How to turn off perspective grid in illustrator.
Leave a Reply
You must be logged in to post a comment.