Colorizing an image in Adobe Illustrator is a great way to add a pop of color and bring new life to an otherwise dull or grayscale image. Using the “Color” tab in the “Object” panel of illustrator, you can alter the color of an object.
You can open the “Color” tab in the “Object” panel and choose the object you wish to modify the color from the list. Use the “Edit Colors” function in illustrator whenever you want to change the color of an object. This will enable you to modify an object’s color without impacting other design elements.
Let’s review the steps:
3 Methods to Colorize in Illustrator
Method 1:

In this method, we will be using the Fill and stroke option under the toolbar. Select the shape or object that you want to colorize. Now, under the toolbar, you will find a Fill And Stroke Icon.
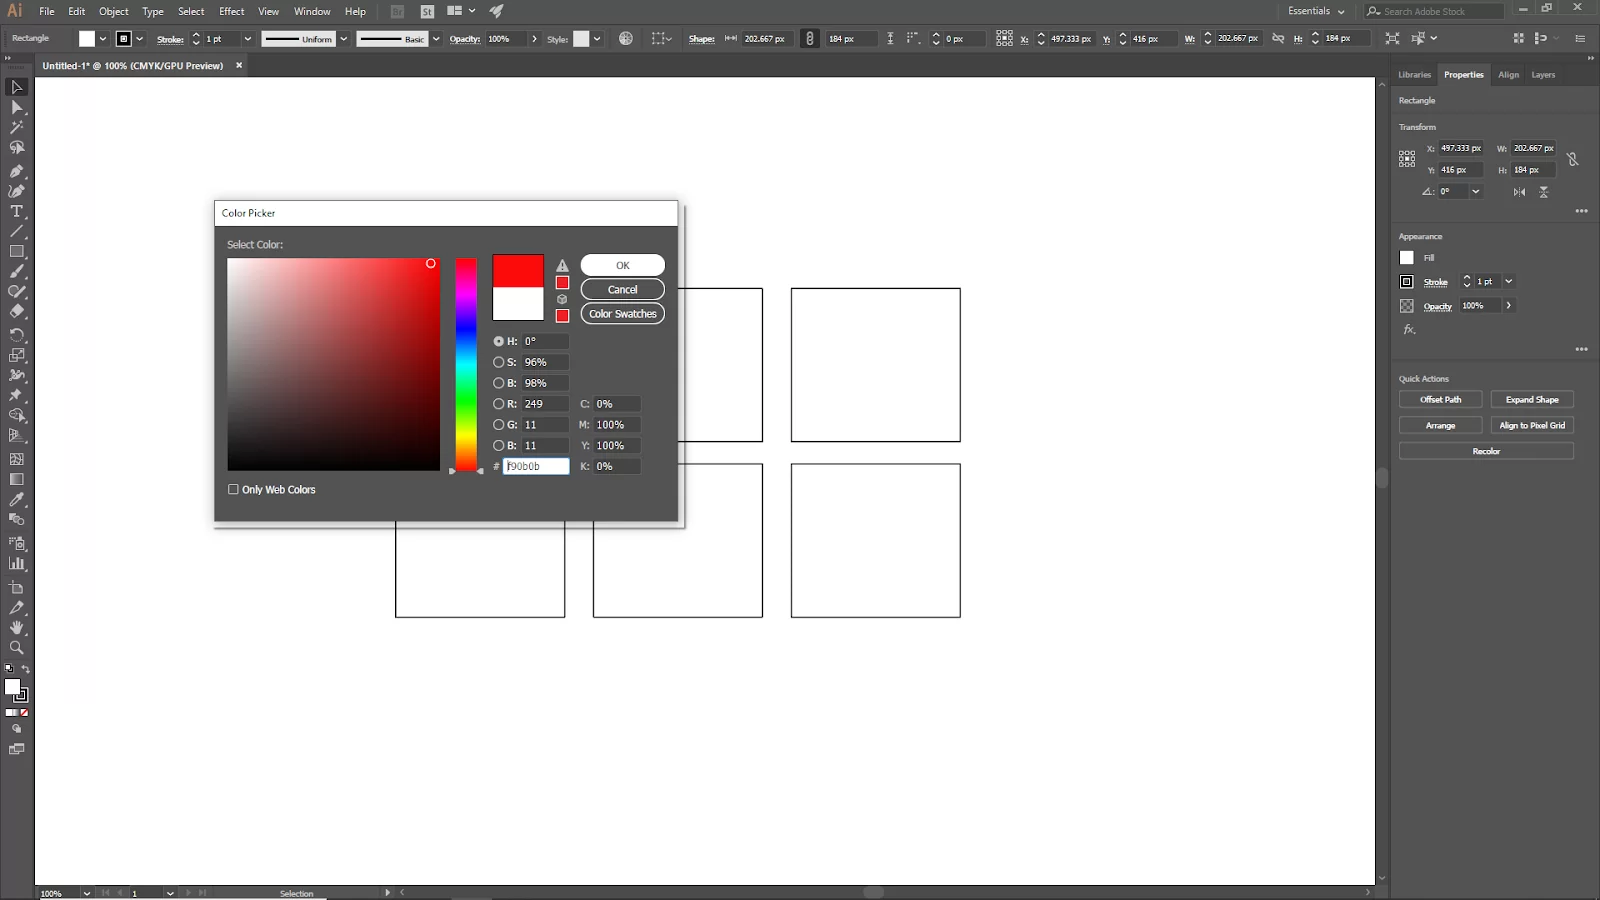
Double-click the Fill icon to apply color to the shape or object that you have selected. You should see a color panel that will open now. Choose your desired color, then click ok. And your shape will be colorized. To learn how to colorize in Illustrator, you can always read our detailed guide on that subject matter.
Method 2:

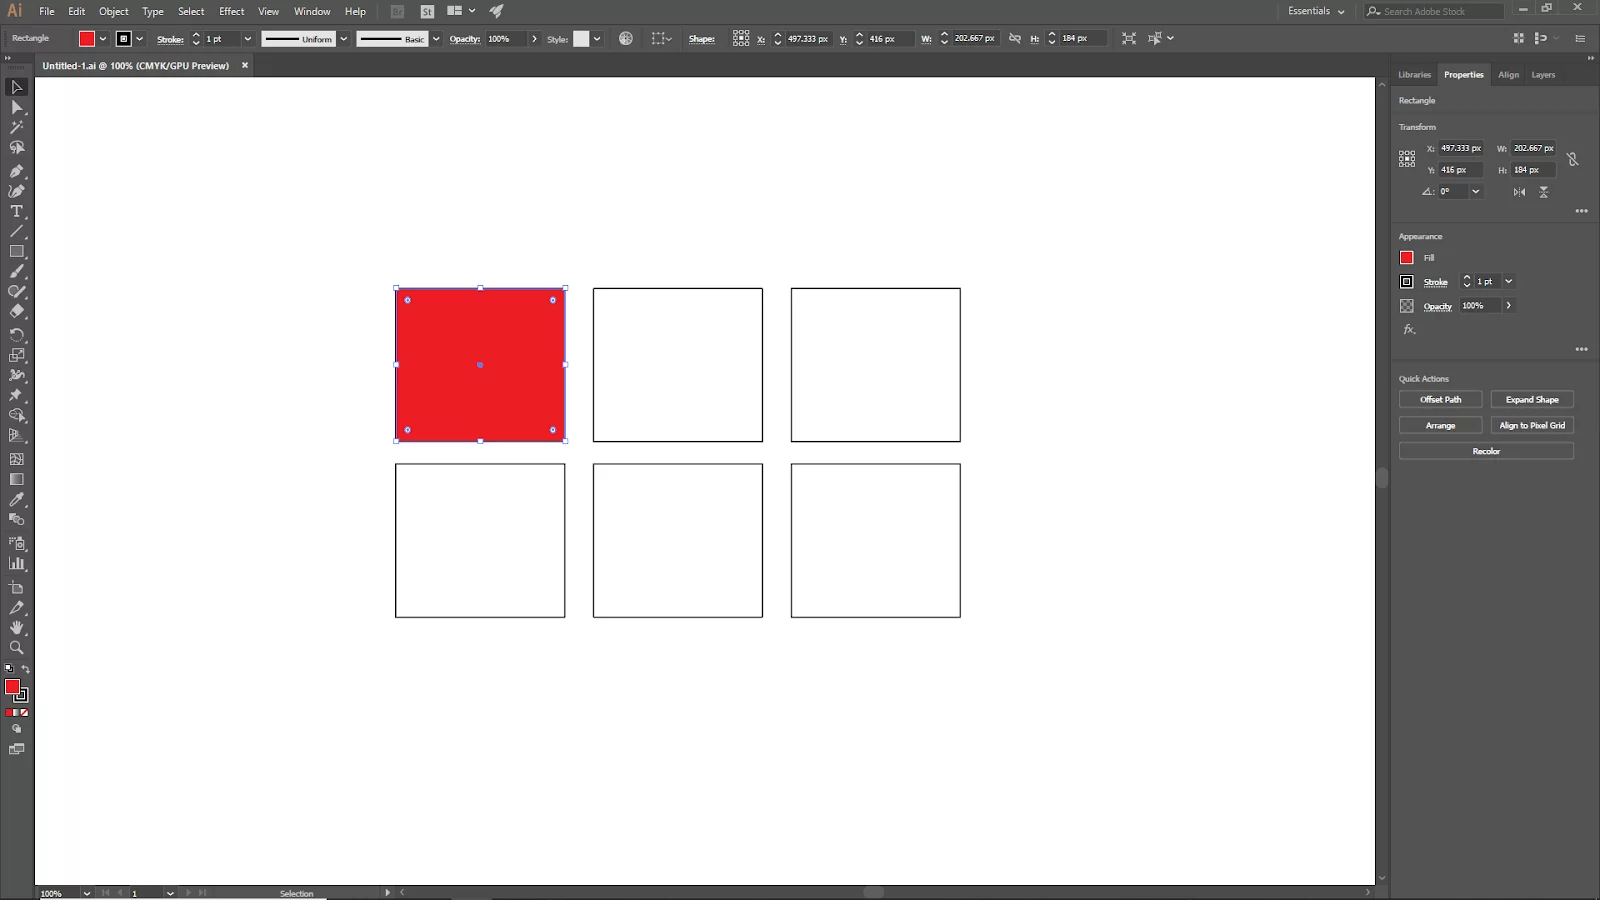
In this method, we will colorize the shape with the properties panel. First, select the shape or object that you want to colorize. You will find the properties panel in the top right corner if you can’t go to Window > Properties.

Here, you will find the Fill and Stroke Option. Click on Fill, and the color swatches will open. Now choose your desired color to apply to the shape. Here you can also increase the stroke value to increase the stroke thickness.
Method 3:
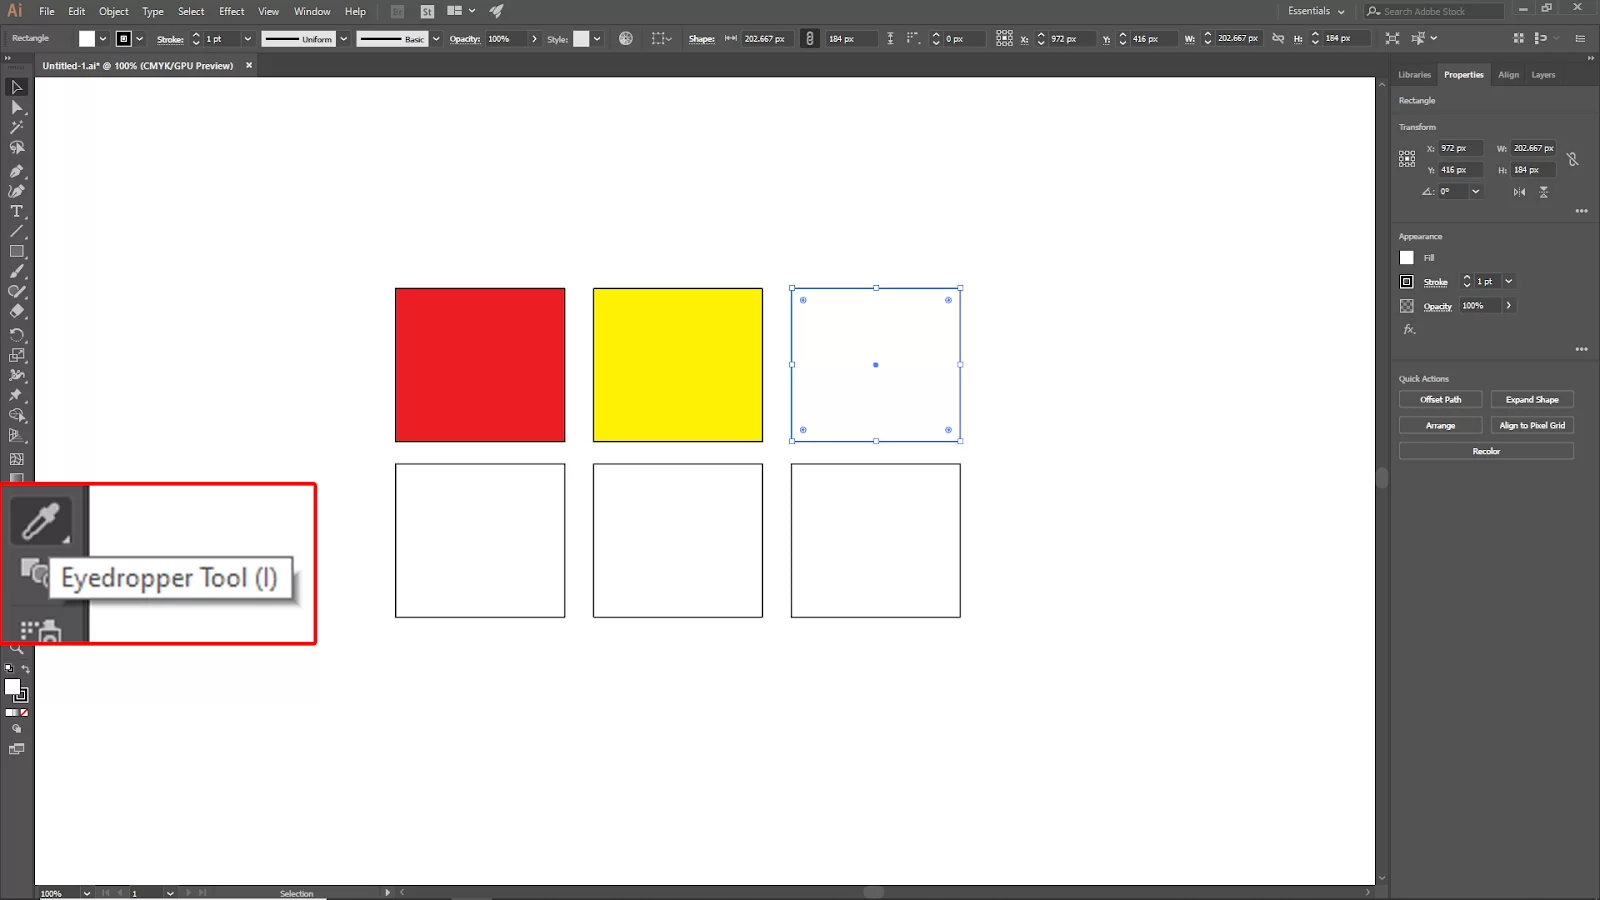
This method will use the color picker tool to colorize the shape or Object. As usual, select your shape or object. Then go to the toolbar and select the Eyedropper Tool. Or you can use Short Key for this Press [ I ] On the Keyboard.

Now select the color with the Eyedropper tool just click. In this picture, as shown, we select the first shape color. And then click on the shape, and it will automatically apply to your shape or object.
Tools For Color Selection in Illustrator
In illustrator, you may choose colors for your artwork from various tools and dialog boxes. The requirements of your artwork will determine how you choose a color.
For instance, you should choose colors from the swatch library if you wish to employ a specific set of company-approved colors. Use the eyedropper or Color Picker to enter precise color values, or if you wish to match your colors to those in other pieces of art. Below are some of the best functions for choosing a color in illustrator.
- Color Picker
The “color picker” offers a color spectrum to choose colors visually. It also has color value text fields so you can define colors manually and color panels.
- Swatches and Swatch Libraries
The software usually provides individual and group colors. Swatches and libraries already exist, or you can make your own. Libraries can also be imported.
- Eyedropper Tool
When you click, the “eyedropper tool” samples colors from your artwork.
- Panel in Color
“Panel in color” offers a color spectrum, color value text boxes, and individual color sliders. From the “Color panel,” you can choose the colors for the fill and stroke. You can make inverse and complimentary colors for the current fill or stroke color and a swatch from the selected color using the “Color Panel’s menu.”
- Guide Panel for Colors
The “guide panel” gives you a variety of harmony rules to pick from when forming color groups with the base color of your choice.
- Dialog Box Edit Colors/Recolor Artwork
The “Dialog box edit color” is a tool for accurately defining or modifying the colors of a color group or piece of artwork provided in this dialog box. The other component of this tool allows you to decrease or convert your colors for output and recolor your artwork utilizing colors from a color group.
- Add Selected Command Group Button
The button for “New Color Group or the Add Selected Colors command” makes a color group that contains the hues used in the artwork you have chosen. The Swatches panel contains both this command and the button.
You can also see our guide on how to fill color in Illustrator.
How to Change Color Mode in Illustrator
Using illustrator, you can change a “color mode” from RGB to CMYK. While RGB is the default “color mode,” which uses Red, Green, and Blue to create colors, CMYK uses Cyan, Yellow, and Magenta.
Step 1
To change the color mode in an Illustrator file, open it.
Step 2
Click the “Mode button” in the Illustrator toolbar. You’ll see the “Mode panel” appear.
Step 3
Select “Color Mode” from the Mode panel’s buttons. It will display the “Color Mode panel.”
Step 4
Select the “CMYK button” in the “Color Mode panel.” The color mode will switch to CMYK once the “Color Mode panel” closes.
Step 5
Select the “Mode button” in the “CMYK panel.”
Step 6
Select the “RGB button” in the “Mode panel.” Open up the “RGB panel.”
Step 7
Select the “Mode button” in the “RGB panel.” When the “Mode panel” closes, RGB will become the default color mode.
Step 8
Select the “CMYK button” in the “RGB panel.” A “CMYK panel” will now appear. The color mode will switch to CMYK, and the “Mode panel” will close
If you enjoyed reading this article, you will also like our article on how to import fonts in Illustrator.
Leave a Reply
You must be logged in to post a comment.