Warp Text is a feature in design software that allows the user to manipulate the shape of text, often by distorting or bending it to fit a certain design. This can be achieved through the use of various tools and settings, such as the Warp tool in Illustrator. This feature is commonly used for creating unique typography, logo designs, and other creative projects.
I’ll show you the two methods I often use to warp text in Illustrator.
How to Warp Text in Illustrator
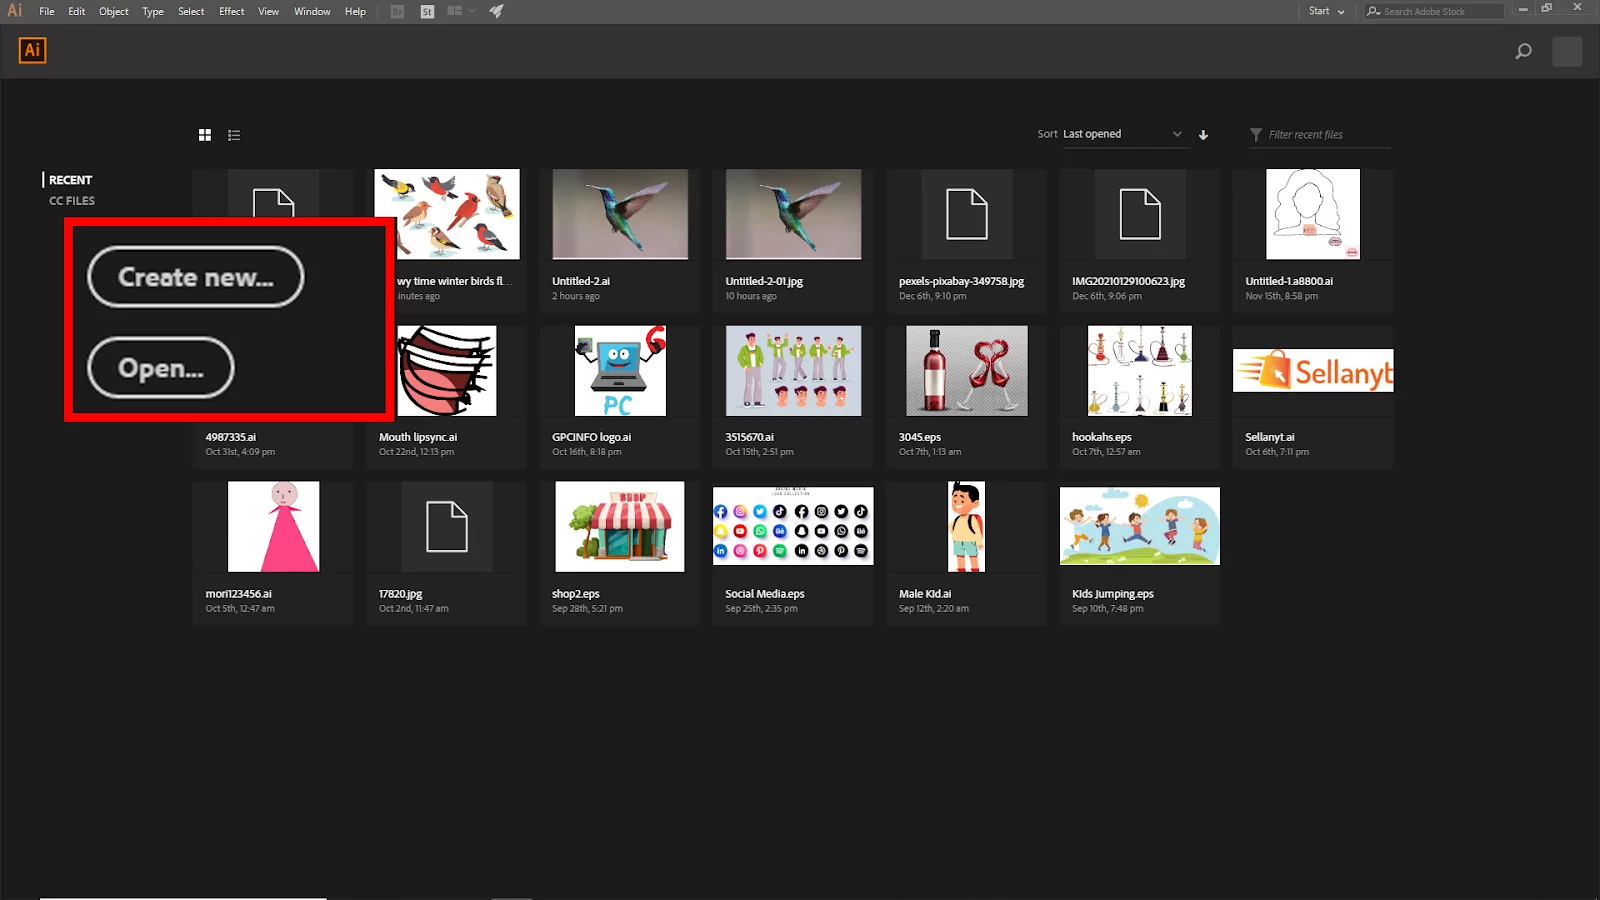
First, we need to open Adobe illustrator. And create a blank project, click Create New or you can go to File > New for the short key win [Ctrl + N] or Mac [Cmd + N].
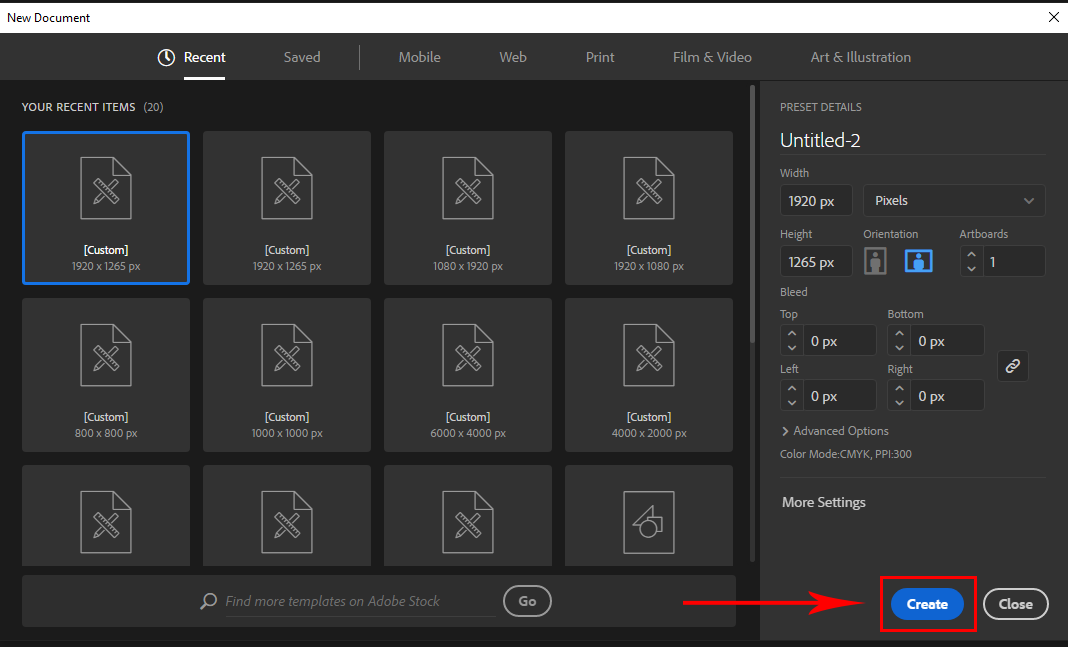
And you will see your New Document panel will open. Here you find the artboard setting. Click Create to create your new artboard.
If you have an existing file, go to File > open and select your File. Short Key win [Ctrl + O] and Mac [Cmd + O]. To import your image you can use drag and drop. Just drag your image from your file and drop it in illustrator.

Or you can go to File > open and select your image from the file. Short Key win [Ctrl + O] and Mac [Cmd + O], Then click Open.
Method 1:
Step 1:
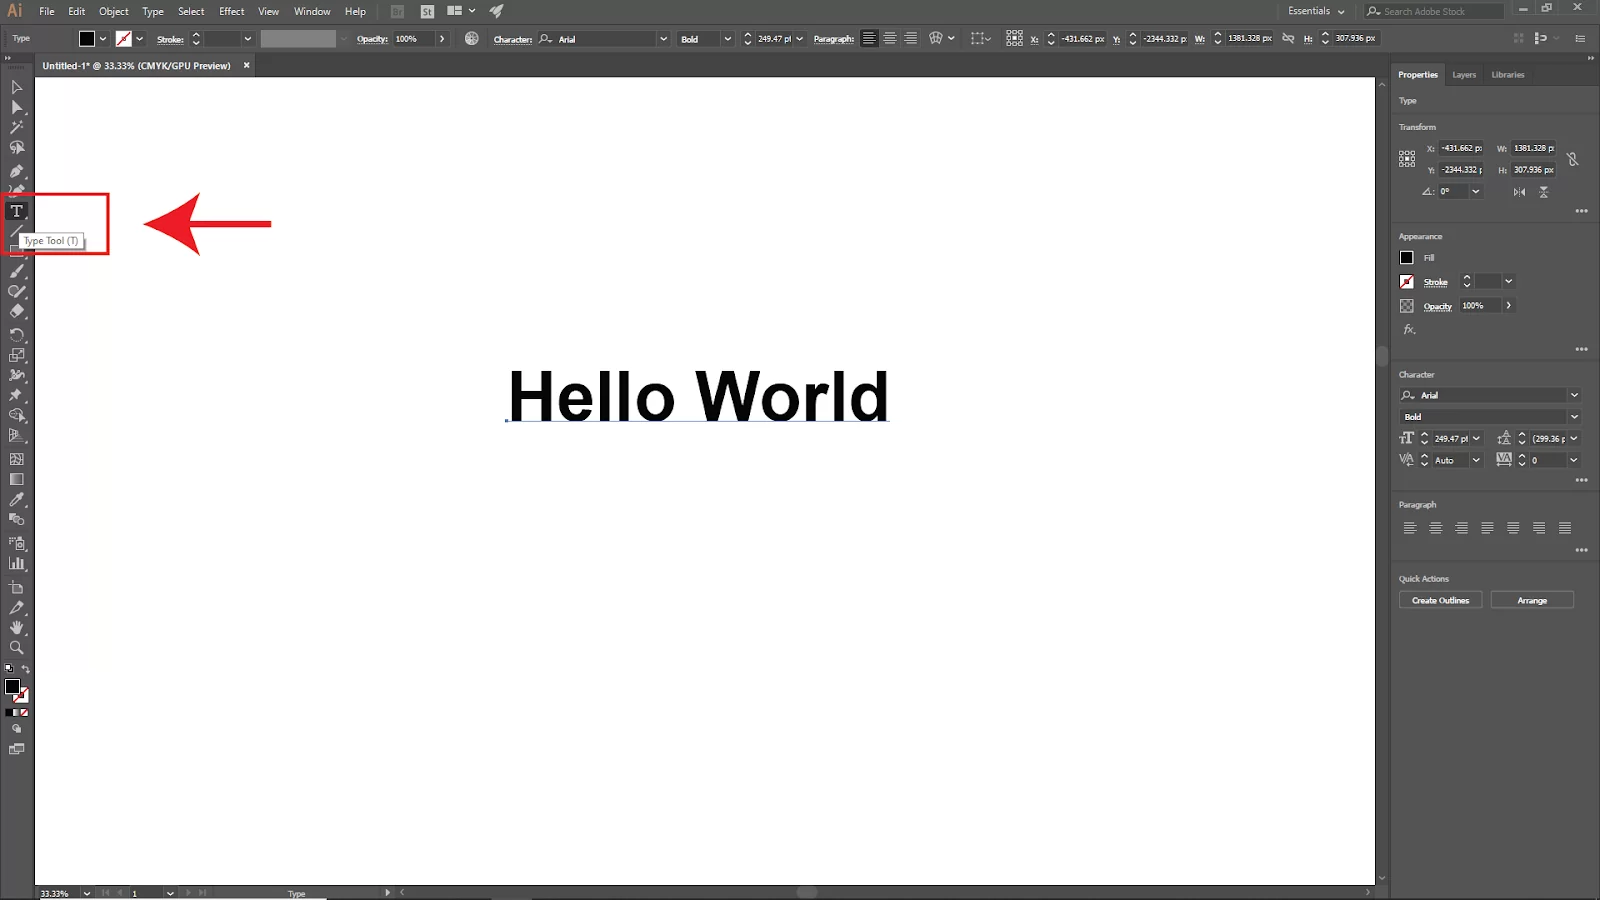
Select the text you want to curve or create a new one. To make your text go to the toolbar and select Type Tool (T). Now click and type your text. And then, select the text that you want to warp.
If you are curious about other tools in Illustrator apart from the type tool, then check out our detailed article on how to use the blend tool in Illustrator.
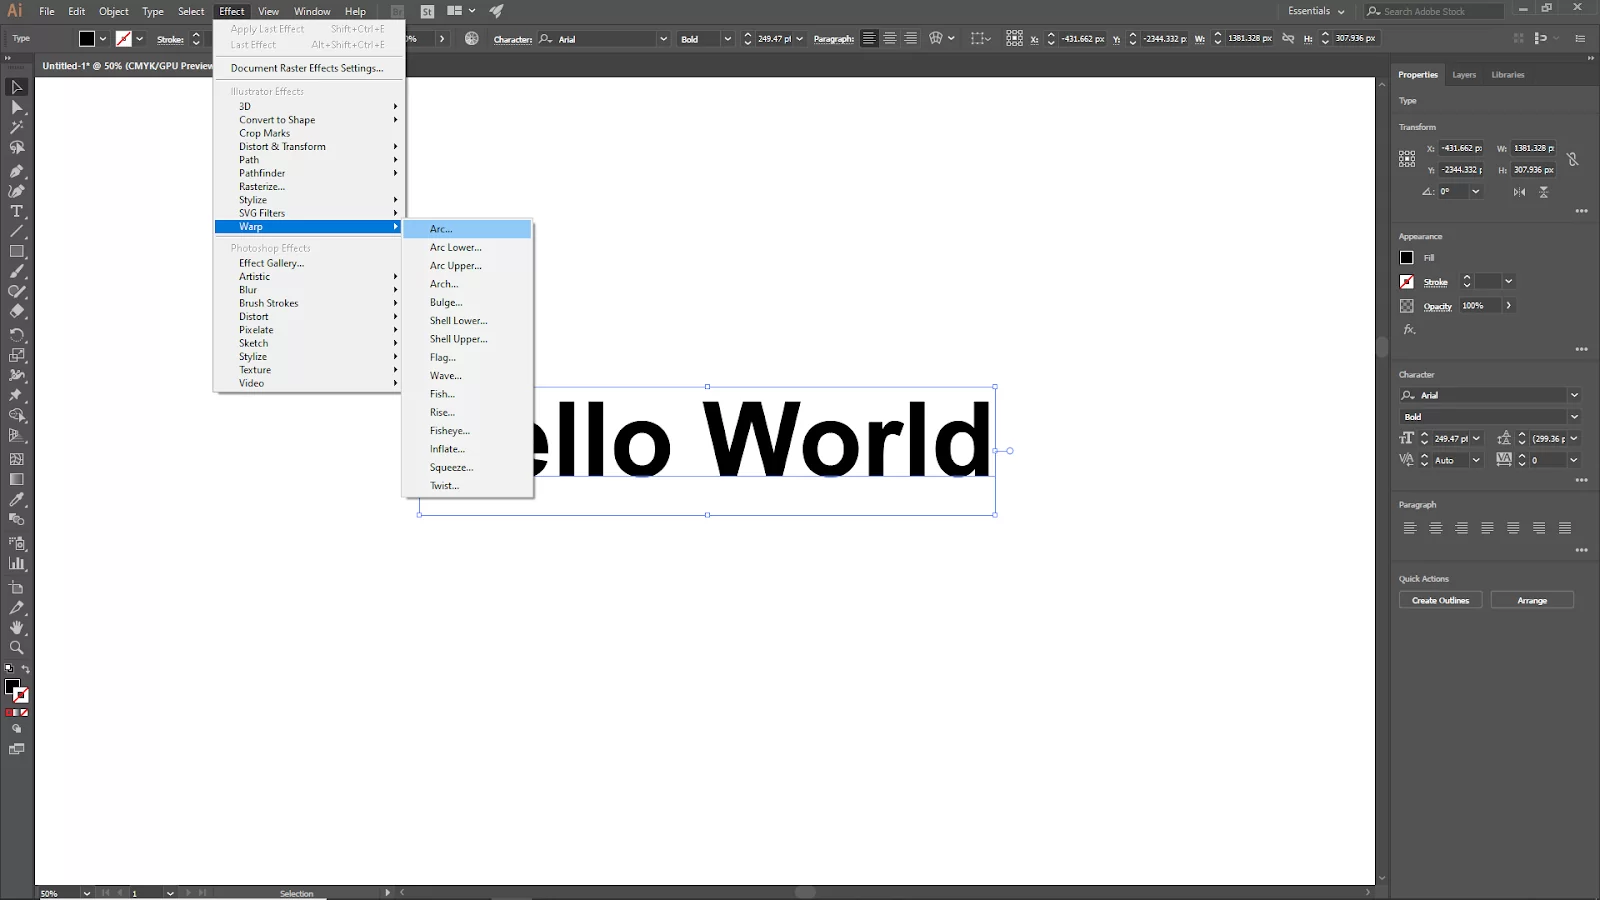
Now go to the Effects tab on the upper bar, and you should see Warp. Click on that. Here you can find all the warping effects of a text.
Step 2:
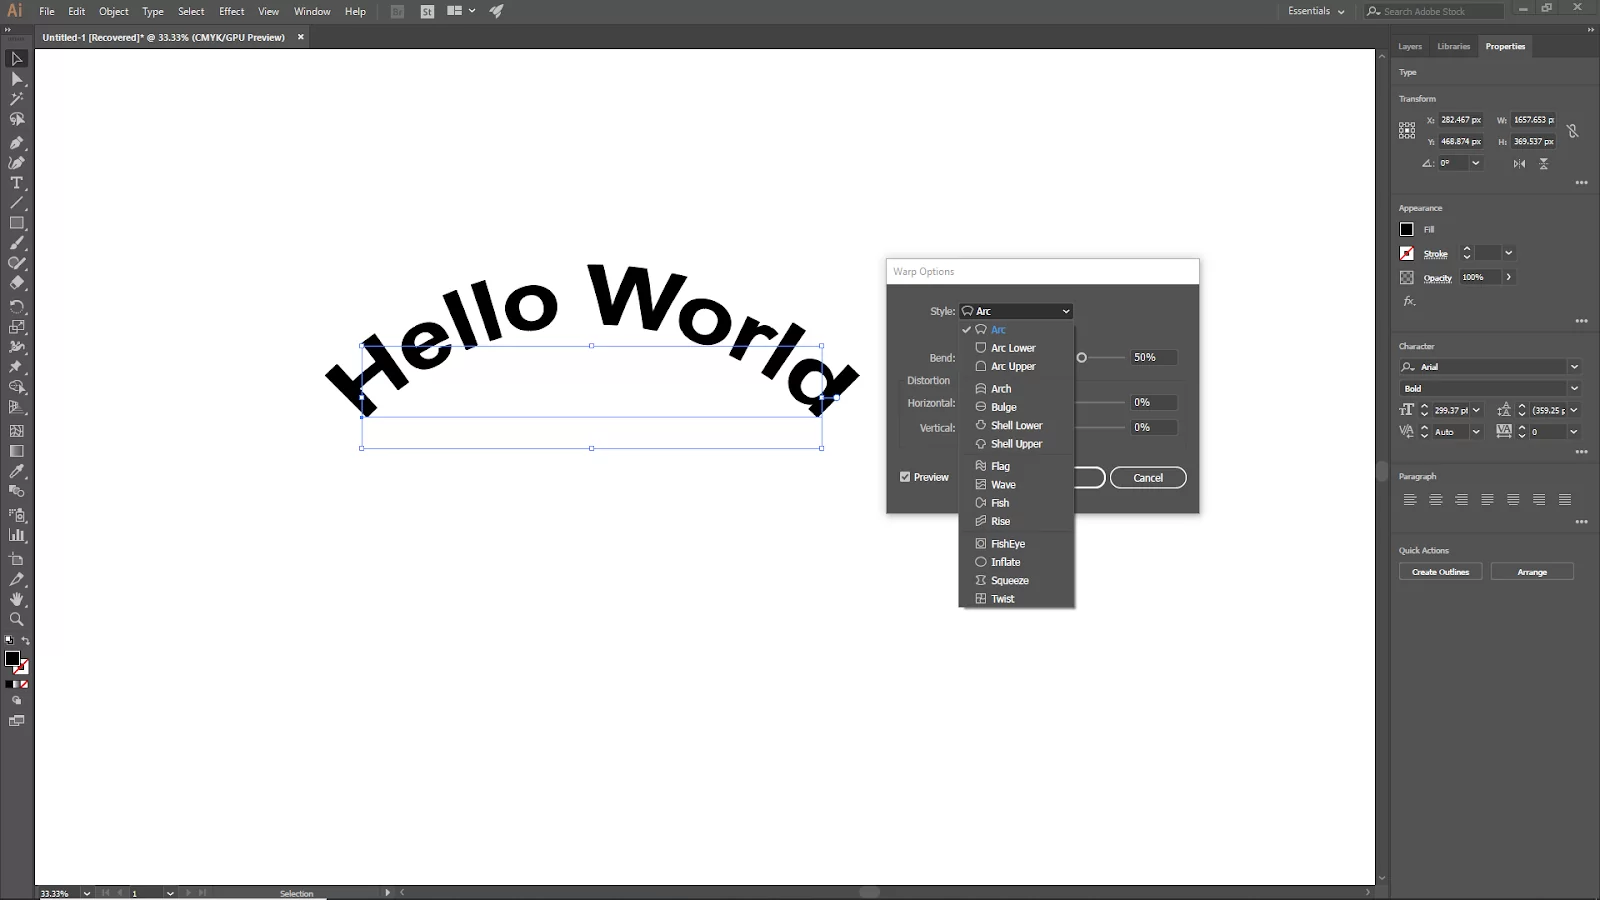
There are many preset text warp effects from this option. If you click on the drop-down menu of the style, you will see 15 text style options to discord the text. Here is an image of what each style looks like.

Step 3:
Choose any style and choose Horizontal or Vertical. Check the preview box to see the text preview how the text looks as you adjust the settings. If you choose vertical, it will look like this,

let’s stay with the horizontal position. Move the bend slider to adjust the bend value. The arc is larger when you further drag the slider from the center. If you drag it left side, the text will arc in the opposite direction.
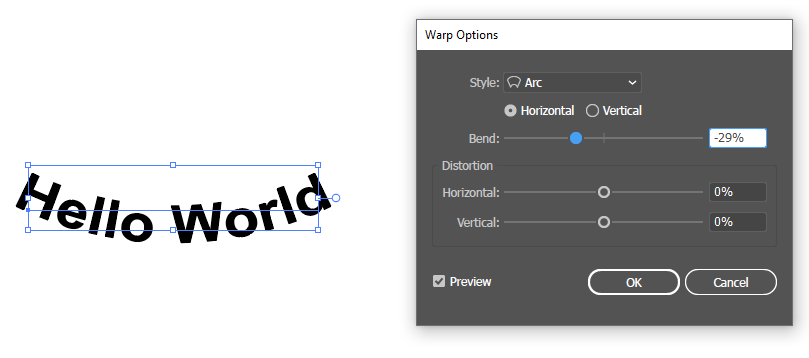
Now adjust the horizontal and vertical values, click ok, and your warp text is ready to use.
Method 2:
Step 1:
This method allows you to discord the text freely because there is no preset style. We will be using the anchor point to discord the text.
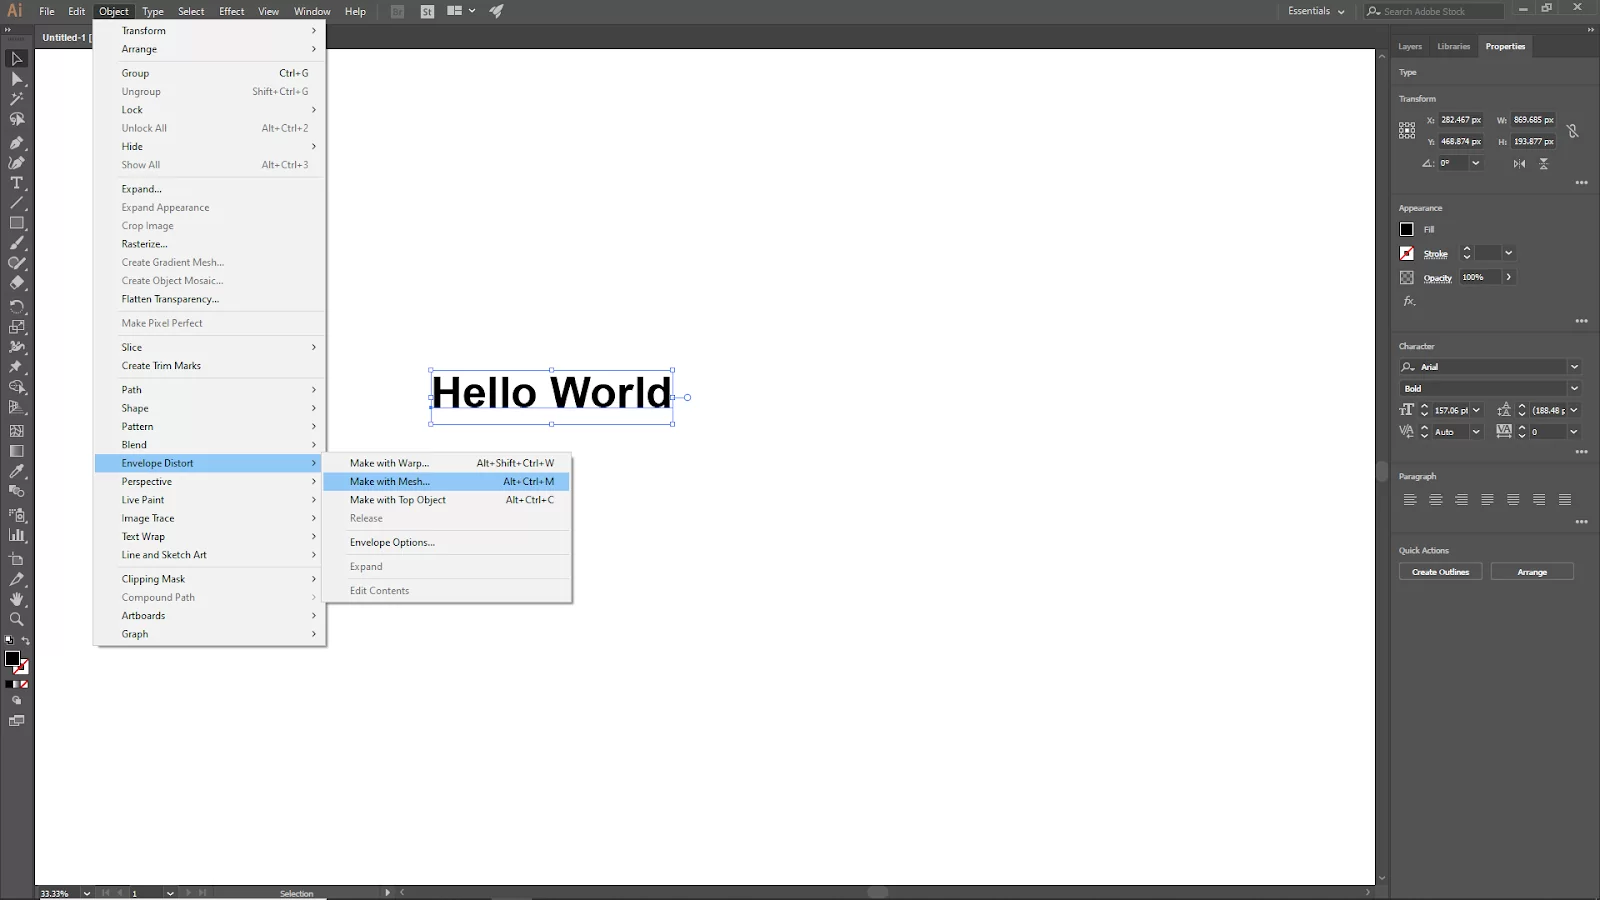
Go to Object > Envelope Discord > Make with Mesh or you can hit win [ Alt +Ctrl + M ] or Mac [ Option + Cmd + M ].
Step 2:
Now you will see there is an Envelope Mesh Panel Open. input the columns and rows and click ok.

If you put more columns and rows, you get more anchor points, which means more details discort you can make.
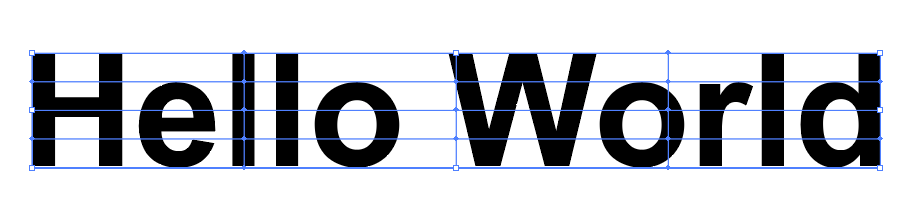
Now click on the direct selection tool from the toolbar or you can press [A]. and click on the text, you will see anchor points. Click and drag the anchor points to distort the text.

Method 3:
In this method, we will use shape to warp the text.
Create any shape you want and bring the shape in front of the text. To bring it front select right-click and go to Arrange > Bring to Front or short key win (Shift + Ctrl + [ ) or Mac (Shift + Command + ]).
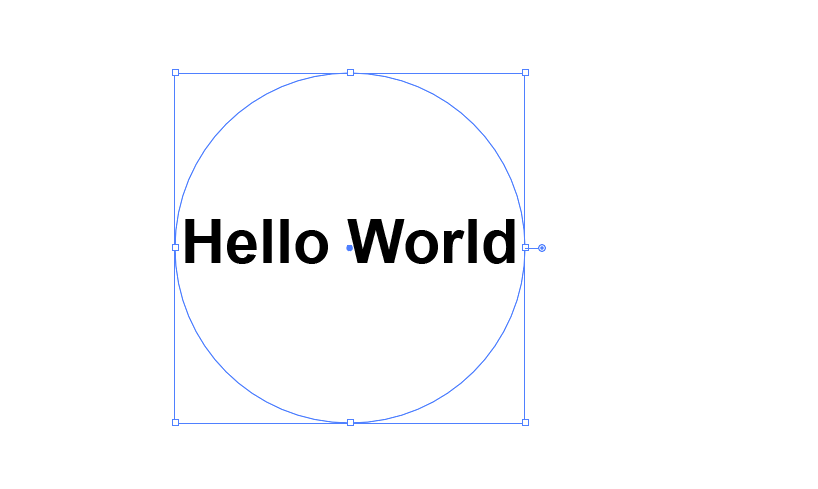
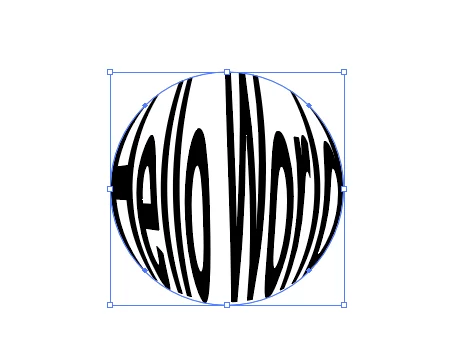
Now select both objects and go to the upper bar Object > Envelope Discort > Make with Top Object.

Your text is ready to use. You can do this same method with the other shapes.
How To Distort and Transform
Although you could use all of the choices from this effect (Distort and Transform) on text, let’s concentrate on the text form distortion instead of text effects. Below are two options from Distort & Transform for changing the text’s distortion. The first one is the free distortion, and you can follow the steps below to use it.
Step 1
Begin by navigating to the overhead menu after choosing the text. Choose Free Distort under Effect > Transform & Distort.
Step 2
To deform the text, move the anchor points around. Finally, click OK when you are done.
The next one we will look at is the twist; follow the steps below to use it.
Step 1
Your text can be twisted by angle. Select Effect > Transform & Distort > Twist, and input the angle value. That is all! Easy right?
What Does it Mean To Warp Text and When is It Necessary?
Warping text is a really simple concept to grasp. It means to bend a regular, straight line of text into a curved shape like an arc, circle, or wave. Text-bending is another name for achieving this effect.
Graphic designers, even on other raster editing software, frequently use the function of text warping. It may be important in some circumstances to fit the text inside a shape, like a logo. After drawing a circle in Illustrator, text warping can be used to bend a text over the circle. In other instances, it can infuse a simple design with some creativity and energy. You’ll frequently find yourself bending text for various projects, such as Fitting text into badges and logos, formatting text to match packaging design, producing creative editorial designs, and creating great user interfaces.
We also recommend that you read this article on curving texts using Illustrator.
Leave a Reply
You must be logged in to post a comment.