Adobe Illustrator has a variety of designs, including gradients. Gradients are a smooth transition of colors from one to another which can add depth and dimension to designs. The software offers multiple ways to create gradients, from using the gradient tool to using the gradient panel.
This quick and easy guide will explain the process of making a gradient in Illustrator, covering the necessary steps.
How to Make a Gradient in Illustrator
Here are the steps to make a Gradient:
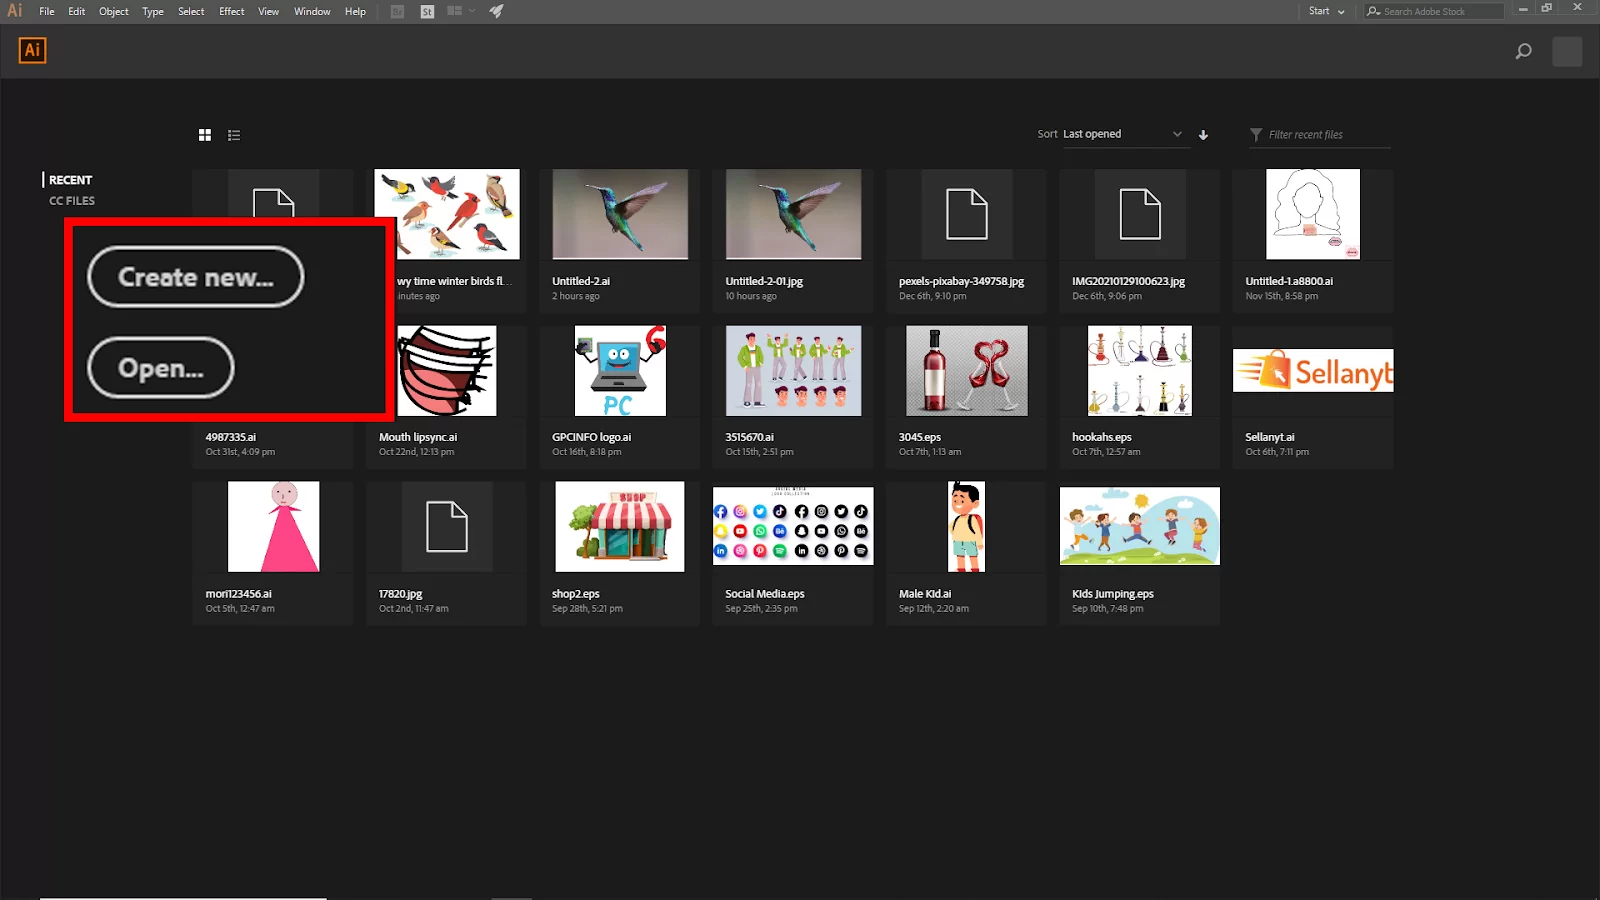
First, we need to open Adobe illustrator. And create a blank project, click Create New, or you can go to File > New for the short key win [Ctrl + N] or Mac [Cmd + N].
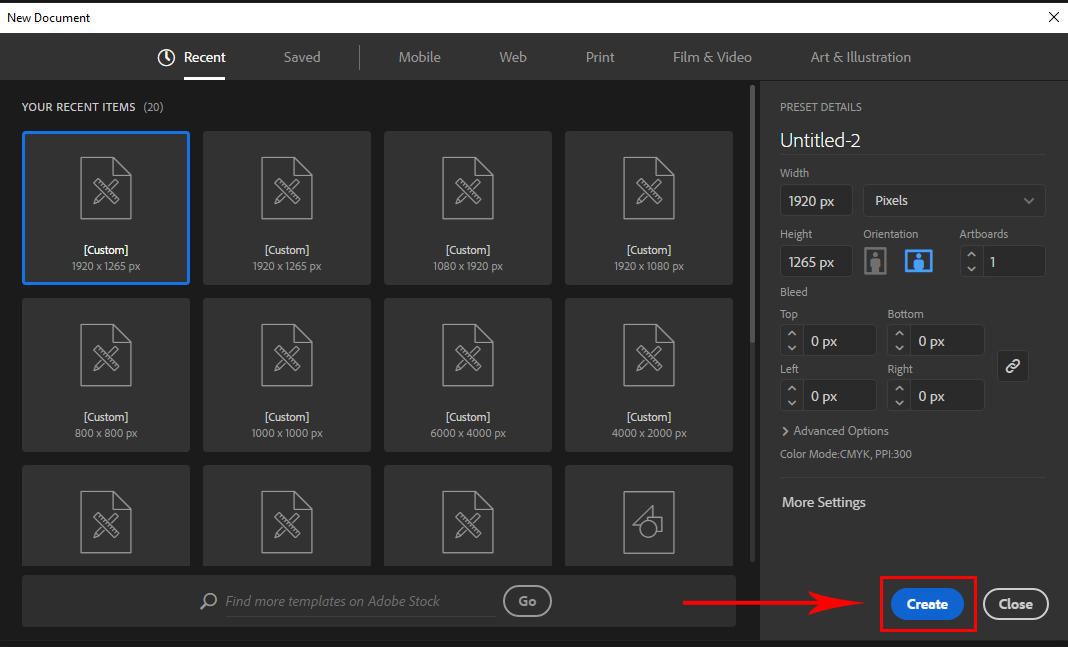
And you will see your New Document panel will open. Here you find the artboard setting. Click Create to create your new artboard.
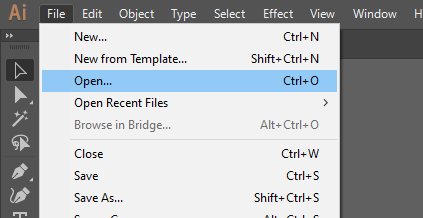
If you have an existing file, go to File > open and select your File. Short Key win [Ctrl + O] and Mac [Cmd + O].
Step 1:

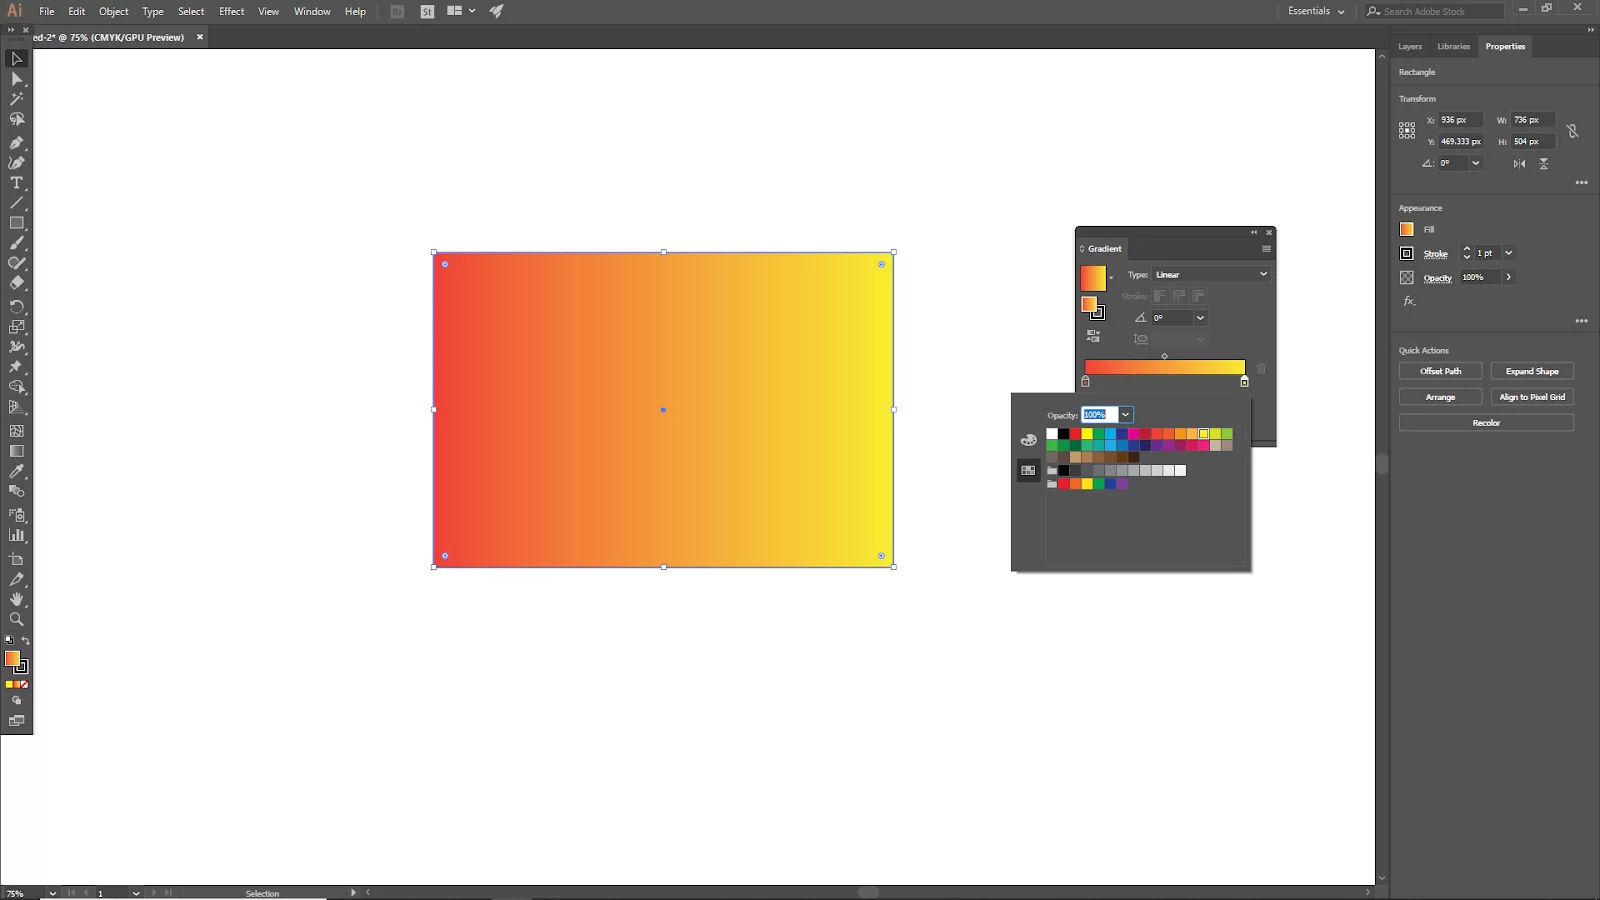
Create the shape that you want to apply the gradient to. In this step, we use the rectangle shape. Select rectangle tool. Click and drag to create a rectangle.
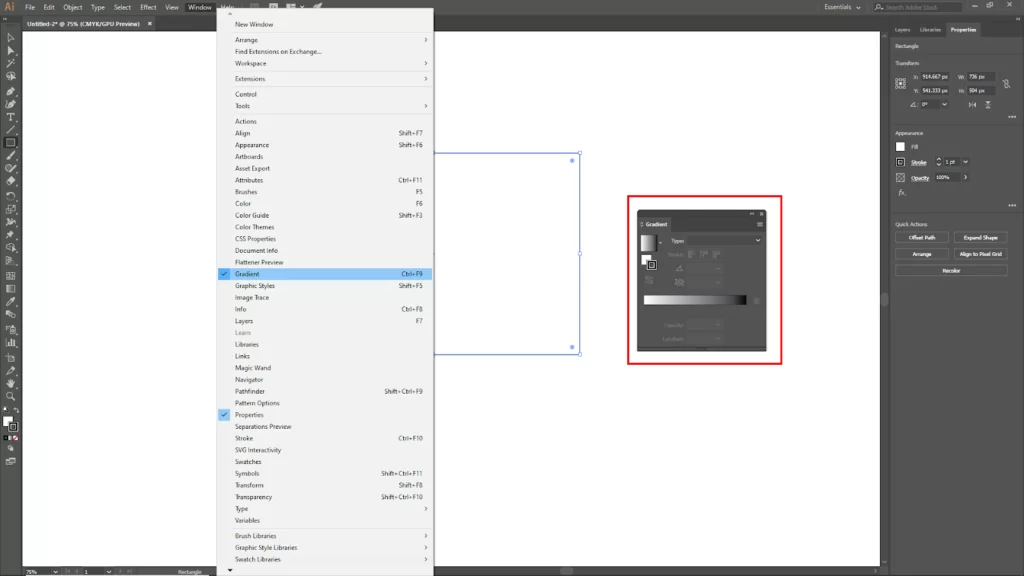
Now go to the Gradient panel, if you can’t find it then go to the upper bar Window > Gradient.
Step 2:
Before applying the gradient, make sure your shape has the fill color. Select your shape and Click on gradient sequence to apply the gradient. You will see a circle at either end of your gradient slider. These are known as gradient stops.
You can change the color by selecting them and then changing the color to match your desired swatch. You can also move gradient stops around your gradient slider at any time to customize your gradient further.
Step 3:
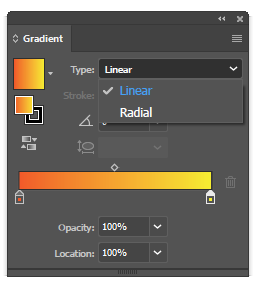
Now choose your gradient type, and there are three types of gradients; linear, radial, or freeform. In this step, we will use choose linear.
Step 4:
Select the gradient tool from the toolbar. You can also Press [G] on your keyboard for a shortcut. Click and drag to Position your cursor where you want to locate the highlight. Now your gradient is ready.

Understanding the Types of Gradient
Three types of Gradients can be created in illustrator, and they are;
- Linear
Use the linear gradient to smoothly transition colors from one point to the next.
- Radial
Use the Radial style of the gradient to create a circular pattern of color blending from one point to another.
- Freeform
Use the freeform gradient type to mix color stops within a form in a graduated manner, either in an ordered or random manner, so the blending seems seamless and organic.
There are two ways to apply a freeform gradient. The first is through points which can be applied in this mode to the region surrounding a color stop. The next way to apply the freeform is through lines. The line can be used to shade the region around a line.
We recommend you check out our article on how to colorize in Illustrator.
What is a Gradient Annotator?
Gradient Annotator shows in the object when you click the Gradient tool in the toolbar for the linear and radial gradient kinds. A slider known as the Gradient Annotator displays a starting point, an endpoint, and a midpoint. It also displays two color stops for the beginning and ending points.
The radial gradient’s focus point, origin, and spread can be changed using the Gradient Annotator. Also, a linear gradient’s angle, location, and spread can be changed using Gradient Annotator.
Once the gradient annotator has been added to the object, you can add new color stops, specify new colors for specific color stops, modify opacity settings, and move color stops around using either the Gradient panel or Gradient Annotator. If you want to hide or show the Annotator, you should go to view and then head to Hide Gradient. You will also have to go to Annotator and go to Show Gradient Annotator. If you are enjoying this piece, we also have an interesting article on how to draw circle in Illustrator that you will like.
How To Apply a Predefined Gradient
The White, Black gradient is automatically applied when you first use the Gradient tool to apply a gradient. The last gradient you used is added to the item if you have already used a gradient.
However, you can choose from a predefined collection of gradients Illustrator offers using the Swatches panel or the Gradient panel. In the Swatches window, you may also create a gradient and save it for later use. To apply a Predefined Gradient from the swatch panel, follow the steps below
Step 1
Start by accessing the Swatches panel, then select Window > Swatches.
Step 2
Next, click the drop-down arrow in the top-right corner of the Swatches window. Select the gradient you want to use by clicking Open Swatch Library > Gradients from the list.
Step 3
Finally, select Show Gradient Swatches from the Show Swatch Kinds drop-down list to limit the Swatches panel to only showing gradients.
How To Create and Apply a Radial Gradient
Follow the steps below to create and apply a Radial Gradient.
Step 1
The first step is to select the object. After selecting the object on the canvas, choose the Gradient tool. In the Control panel or Properties panel, the Gradient Type buttons are visible.
Step 2
To apply the Radial gradient to the object while it is selected, click Radial Gradient and select Radial Gradient from the Gradient panel. In the Gradient section of the Properties panel, select Radial Gradient.
How To Create and Apply a Freeform Gradient
Follow the steps below to create and apply a freeform Gradient.
Step 1
Start by selecting the object on the canvas. After selecting the object on the canvas, choose the Gradient tool. In the Control panel or Properties panel, the Gradient Type buttons are visible.
Step 2
To apply the Freeform gradient to the object while it is selected, click Freeform Gradient.
Press the Freeform Gradient button in the Gradient panel, and finally, Select Freeform Gradient under Gradient in the Properties window.
Did you enjoy reading this article? Then see our in-depth article on how to mask in Illustrator.
Leave a Reply
You must be logged in to post a comment.