Background removal in Adobe Illustrator is one of the easiest things you can do, thanks to the software’s built-in “magic wand” tool. This tool is perfect for images with a clear distinction between the background and the subject, making it easy to select and delete the background in just a few simple steps.
I’ll show the step by step of background removal in Illustrator. With these instructions, you’ll be able to easily remove any unwanted background, leaving you with a clean, isolated image that’s ready to use in your designs.
2 Steps to Remove Background in Illustrator
To remove a background first, we need to open Adobe Illustrator and then import our image to Illustrator. Here are 2 steps to remove the background.
Step 1:
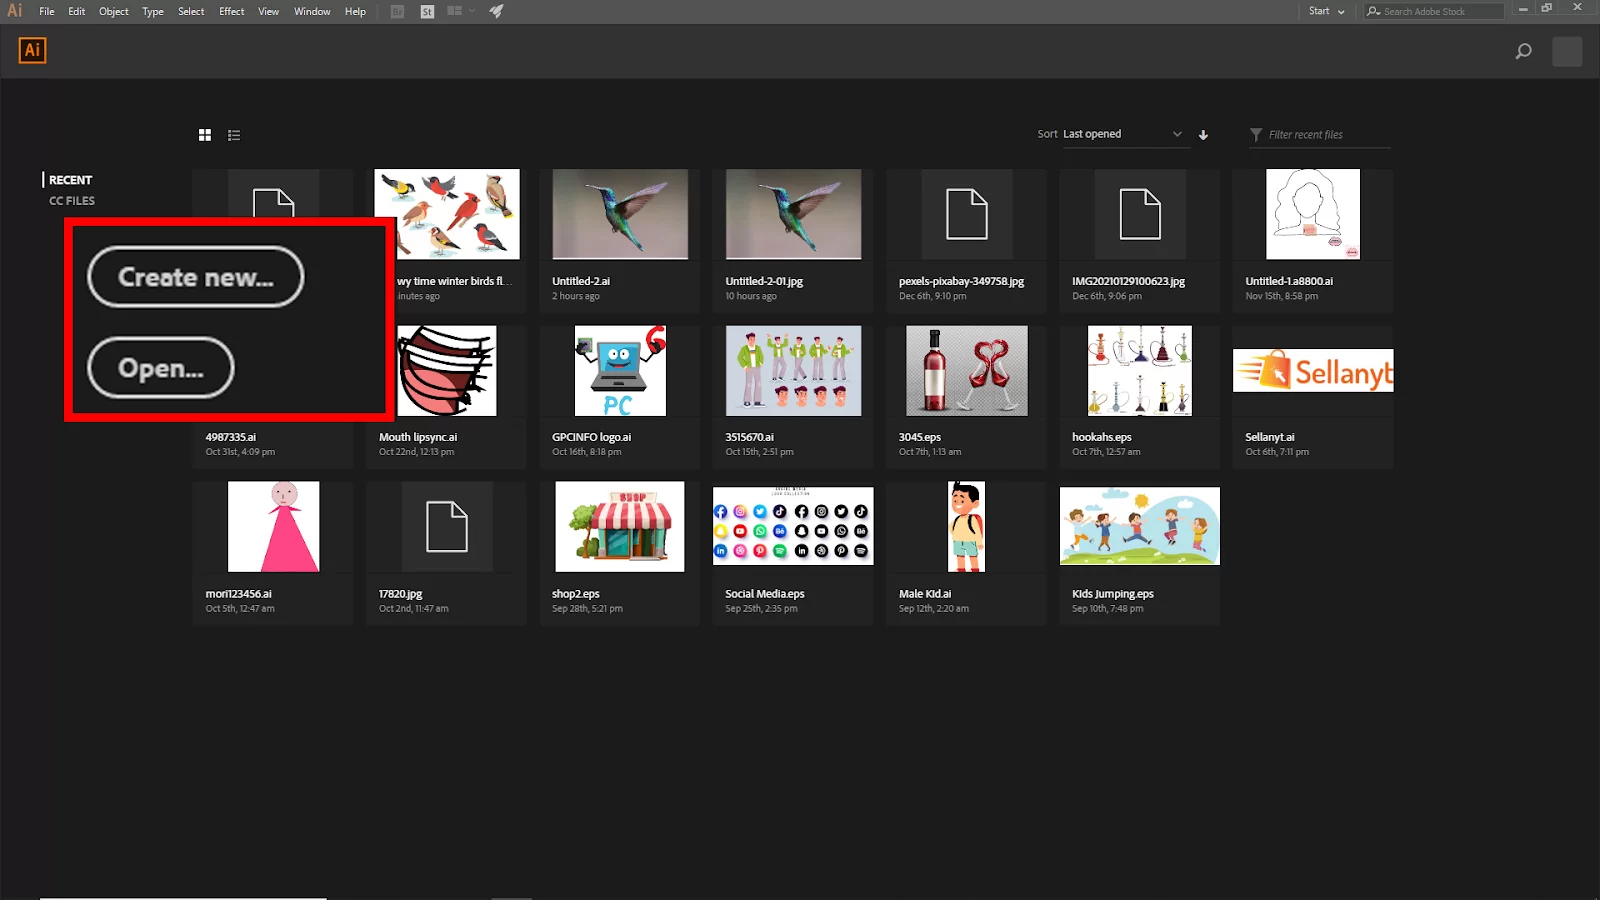
First, we need to open Adobe Illustrator. And create a blank project, click Create New, or you can go to File > New for the short key win [Ctrl + N] or Mac [Cmd + N].
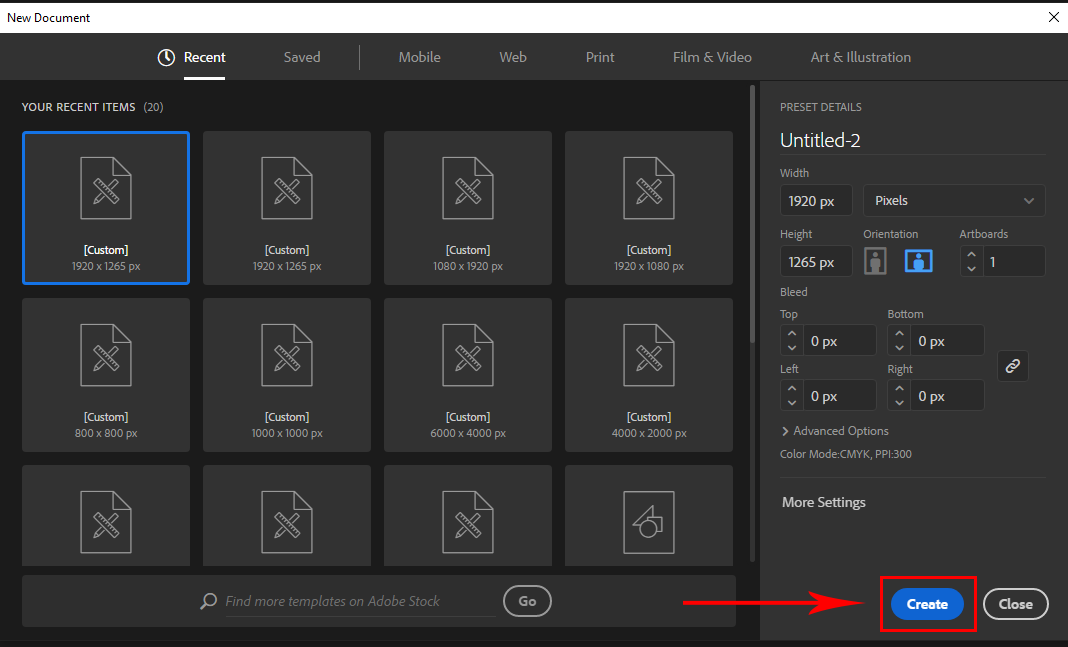
And you will see your New Document panel will open. Here you find the artboard setting. Click Create to create your new artboard. If you are not sure about how to use artboards, our what are artboards article can help.

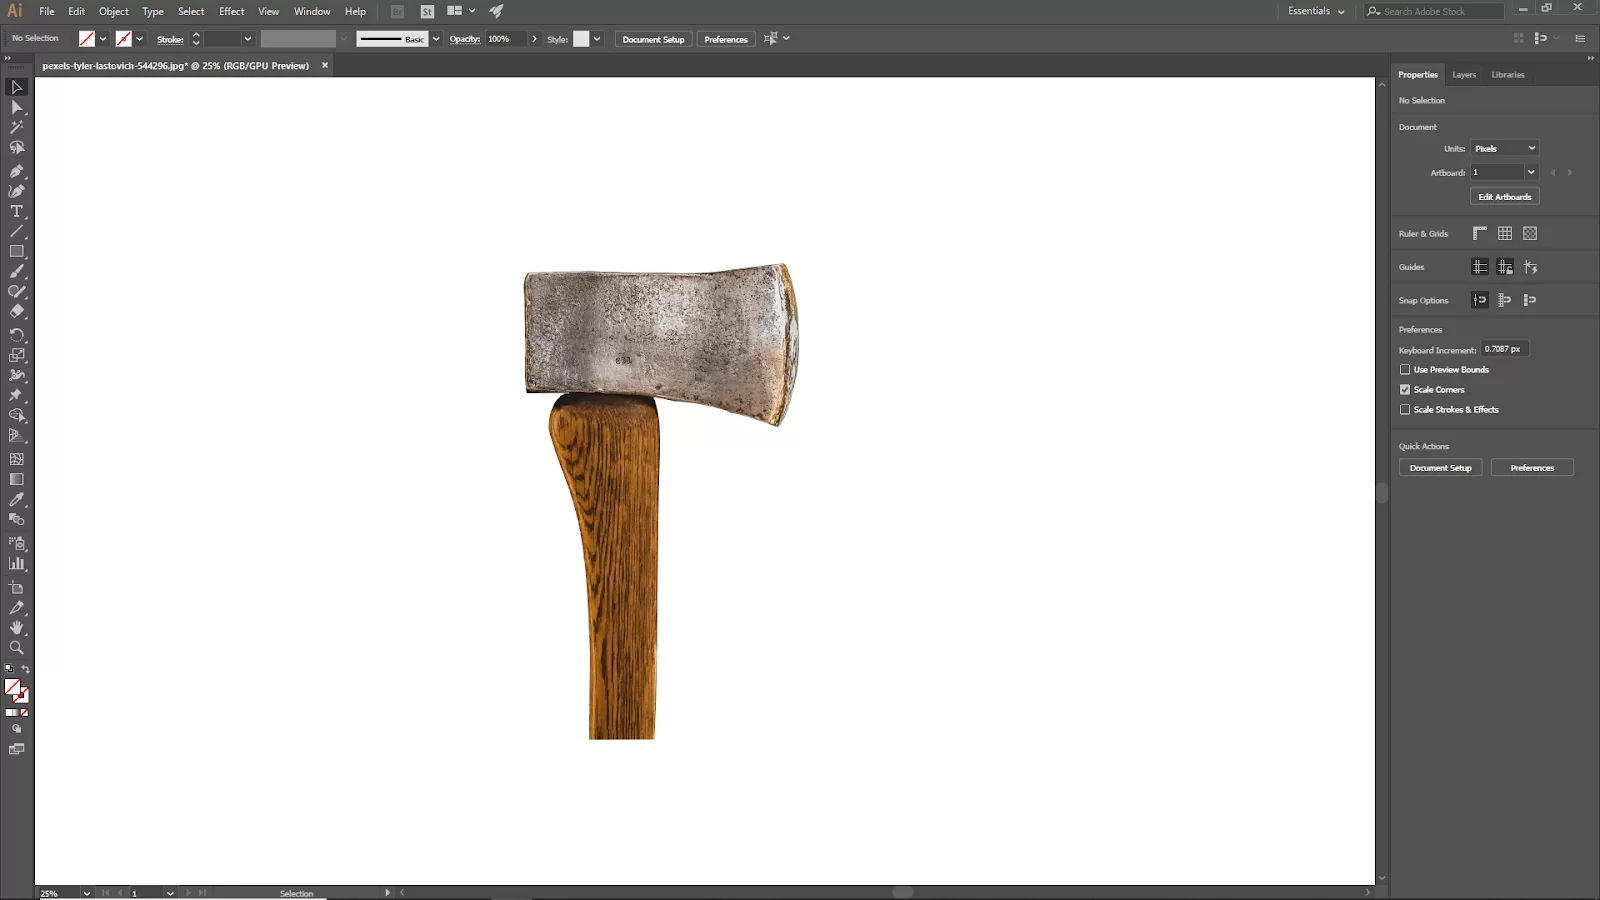
If you have an existing file, go to File > Open and select your File. Short Key windows [Ctrl + O] and Mac [Cmd + O]. To import your image, you can use drag and drop. Just drag your image from your file and drop it in Illustrator.
Or you can go to File > open and select your image from the file. Short Key win [Ctrl + O] and Mac [Cmd + O], Then click Open.
Step 2:
To remove the image background, we will be using a clipping mask. First, select the pen tool from the toolbar, or you can click [P] to select the pen tool. Make sure the Fill color and stroke are off.

Now select the image with the pen tool. To select with the pen tool, click and drag outside of your image.

After outlining the part of the image you want to keep with the pen tool, you need to remove the background. Now select both image and the outline that you created with the pen tool and right-click on it. You should see Make Clipping Mask. Click on Make Clipping Mask.

Now your background should be removed, and you can save this as a png.
Using an Image Trace to Create a Vector and Remove a Background in Illustrator
Working with vectors is one of the most important things you should learn while using Adobe Illustrator. Did you know that computer math is used to create vectorized graphics? Vectorized graphics are highly pixelated even when you zoom in close and are clearer than common photos like JPEGs.
One thing Illustrator does exceptionally well is the ability to distinguish between the backdrop and the topic. The software also excels at getting rid of white backgrounds. Follow the steps below to use image trace to create a vector to remove a background in illustrator.
Step 1
The first step is to open a file from your computer and drag it into the workspace to add an image.
Step 2
Use Window > Image Trace to turn it into a vector. For the best results, select High Fidelity Photo or whichever of the other two presets best suits your image.
Step 3
Next, select View > Show Transparency Grid, or on a Mac, Shift+Command+D, Shift+CTRL+D, respectively. This will make the checkerboard backdrop that denotes transparency visible.
Step 4
Select an object or the Direct Selection tool and then select Expand from the dropdown menu. Your vector will become a form, and the anchor points will be displayed. You can remove background elements by clicking and selecting them.
Using Magic Wand or Pen Tool to Remove Background
Using a clipping mask in Illustrator is another method for removing the backdrop. Photographs within this object’s range are visible because it obscures or masks other images.
The mask and the items concealed are known as a clipping set. They can include all of the objects in a group or layer, or you can choose which ones to include. Although you can mask plain old JPEGs and other file types, your clipping mask will be a vector.
When you wish to choose elements of your project that share traits, such as sections or pieces, the Magic Wand comes in handy. You can click on areas to add or remove them from the tool.
Step 1
Zoom in immediately after opening your object. The accuracy with which you can mask your object will determine the mask’s quality. The zoom tool is accessible via the toolbar or by pressing Z.
Step 2
Select your image’s most emblematic area by clicking it. Select the image with the attributes you want to select. Elements that match will be chosen via the Magic Wand tool.
Step 3
Hold down Shift while clicking another area of the image that contains the things you want to include in your selection
Step 4
If you’ve selected too many objects, you can remove them by pressing the Alt or Option if you use the macOS.
Step 5
The settings on the toolbar can be changed if you want to increase accuracy. For example, you can concentrate on almost identical choices in terms of color, opacity, or stroke weight. You can also alter the probability that the algorithm will choose a particular option in each section.
For the Pen Tool, follow the steps below.
Step 1
Zoom in immediately after opening your object. The accuracy with which you can mask your object will determine the mask’s quality. The zoom tool is accessible via the toolbar.
Step 2
Start by opening the Pen Tool open. Select the No Fill option and your preferred stroke color. Clicking around the image and making anchor points will help you create your outline. The line that connects them can then be changed by drawing new straight lines, forming curves out of the dots, or splitting them.
Step 3
The initial anchor point should be clicked to seal your shape once you have established the best-fitting outline.
Leave a Reply
You must be logged in to post a comment.