The Clipping Mask tool in Illustrator is useful for masking one object using another. The process consists of placing one object over another and then using the Clipping Mask tool to hide the parts of the top object that extend beyond the boundaries of the bottom object. This can be used to create a variety of effects such as creating a cut-out or a shape within a shape.
The Clipping Mask tool can also be applied to vector shapes, images and text. In this guide, you will learn how to create and adjust Clipping Masks and how to use them to improve your designs.
4 Steps to Make a Clipping Mask
Here are 4 steps to make a clipping Mask in illustrator.
Step 1:
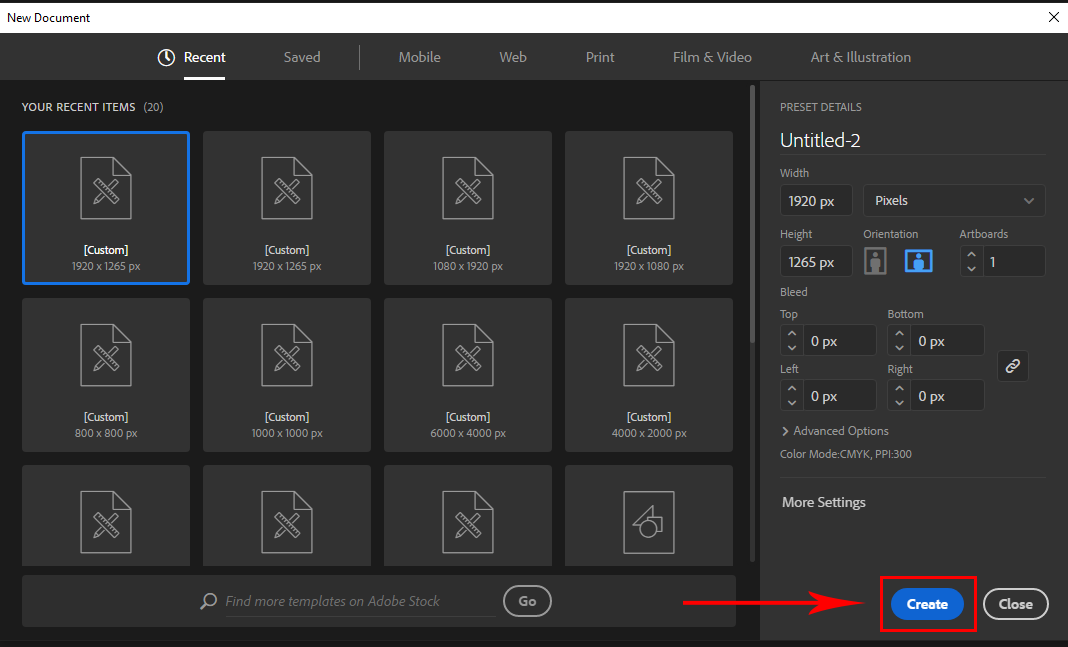
First, we need to open Adobe illustrator. And create a blank project, click Create New or you can go to File > New for the short key win [Ctrl + N] or Mac [Cmd + N].

And you will see your New Document panel will open. Here you find the artboard setting. Click Create to create your new artboard.
If you have an existing file, go to File > open and select your File. Short Key win [Ctrl + O] and Mac [Cmd + O]. To import your image, you can use drag and drop. Just drag your image from your file and drop it in illustrator.
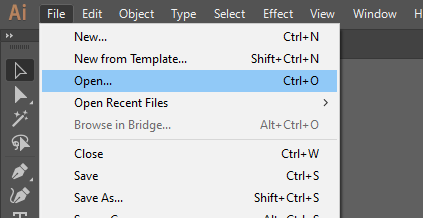
Or you can go to File > open and select your image from the file. Short Key win [Ctrl + O] and Mac [Cmd + O], Then click Open.
Step 2:
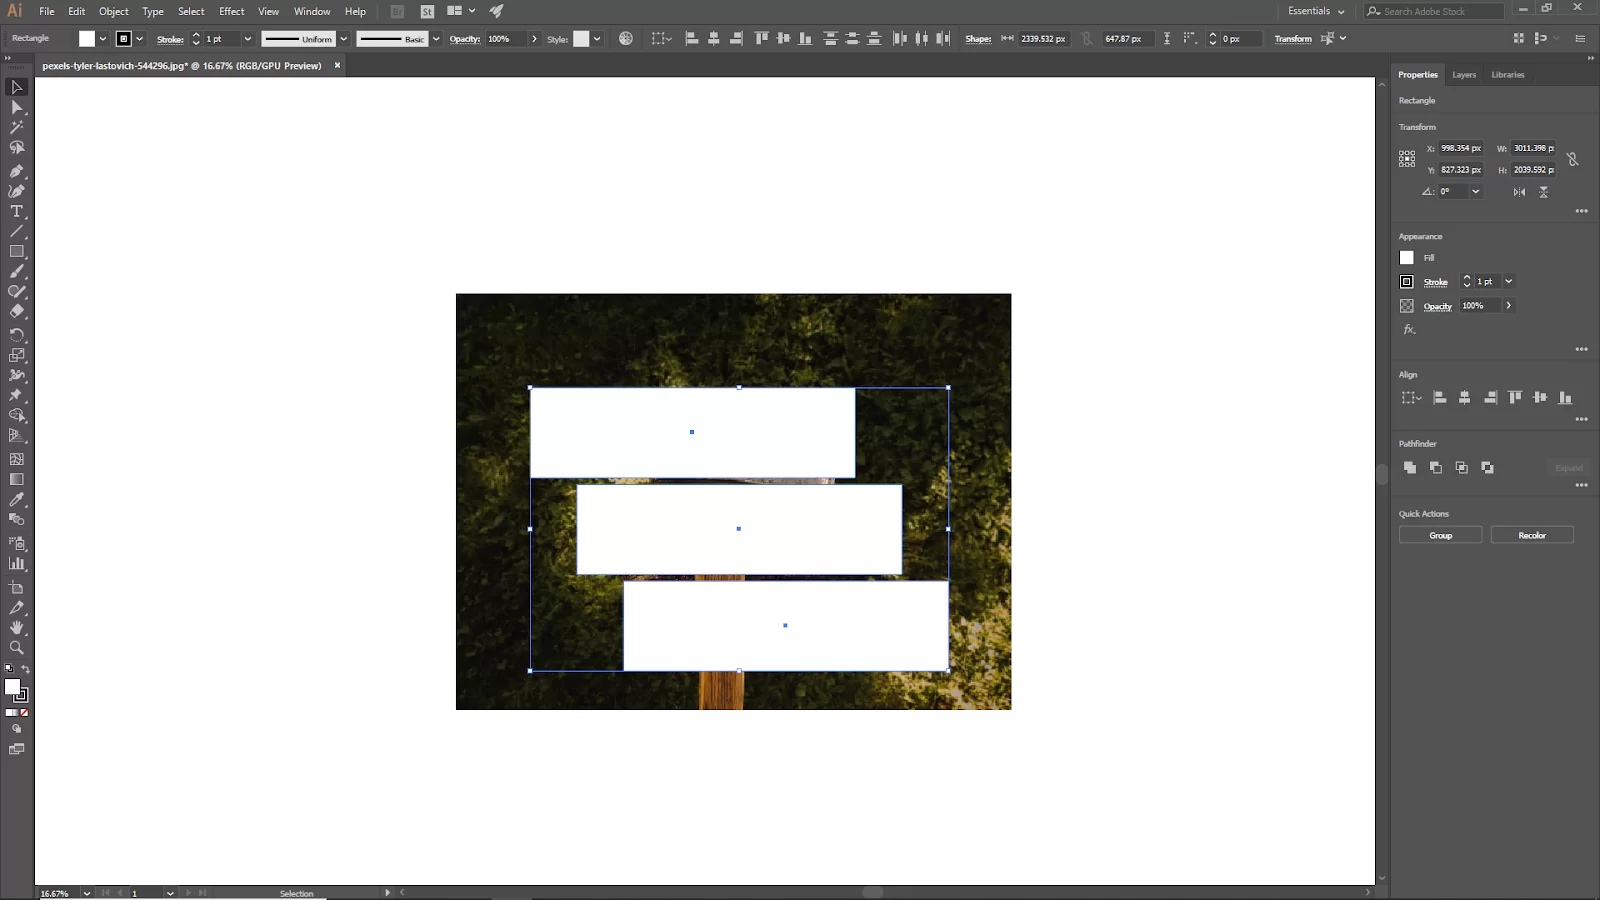
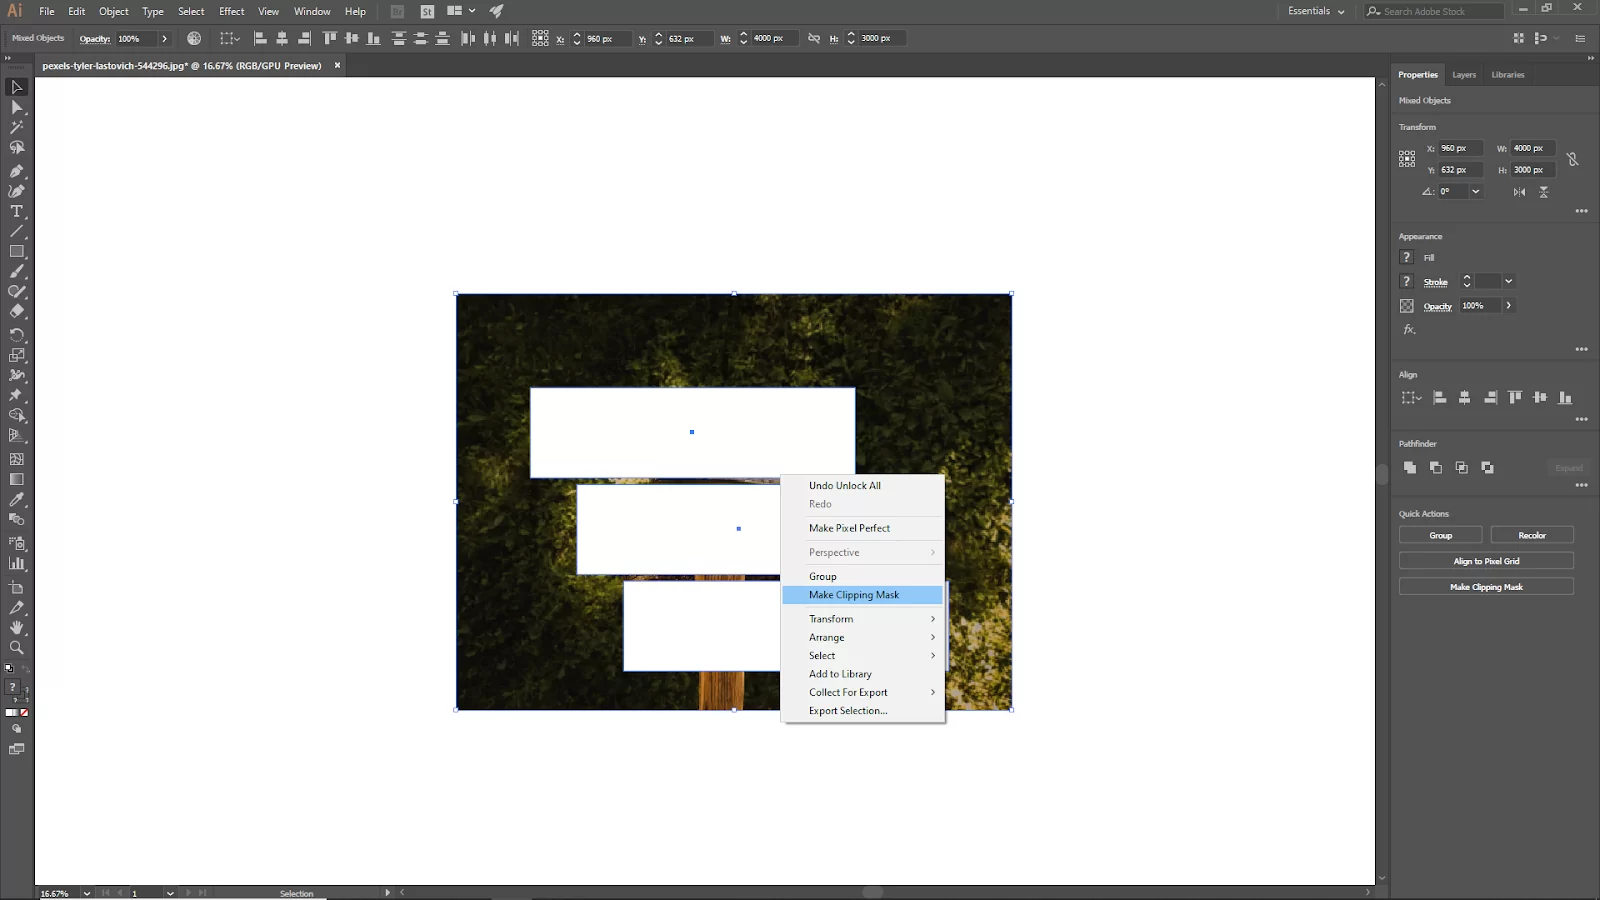
To make a clipping mask, you need to put your masking object in Front of the shape or image that you want to mask with the object.

If there are multiple objects on top of the masking image, you need to compound them first and then do a clipping mask if there is one object, you don’t need to compound it.
Step 3:
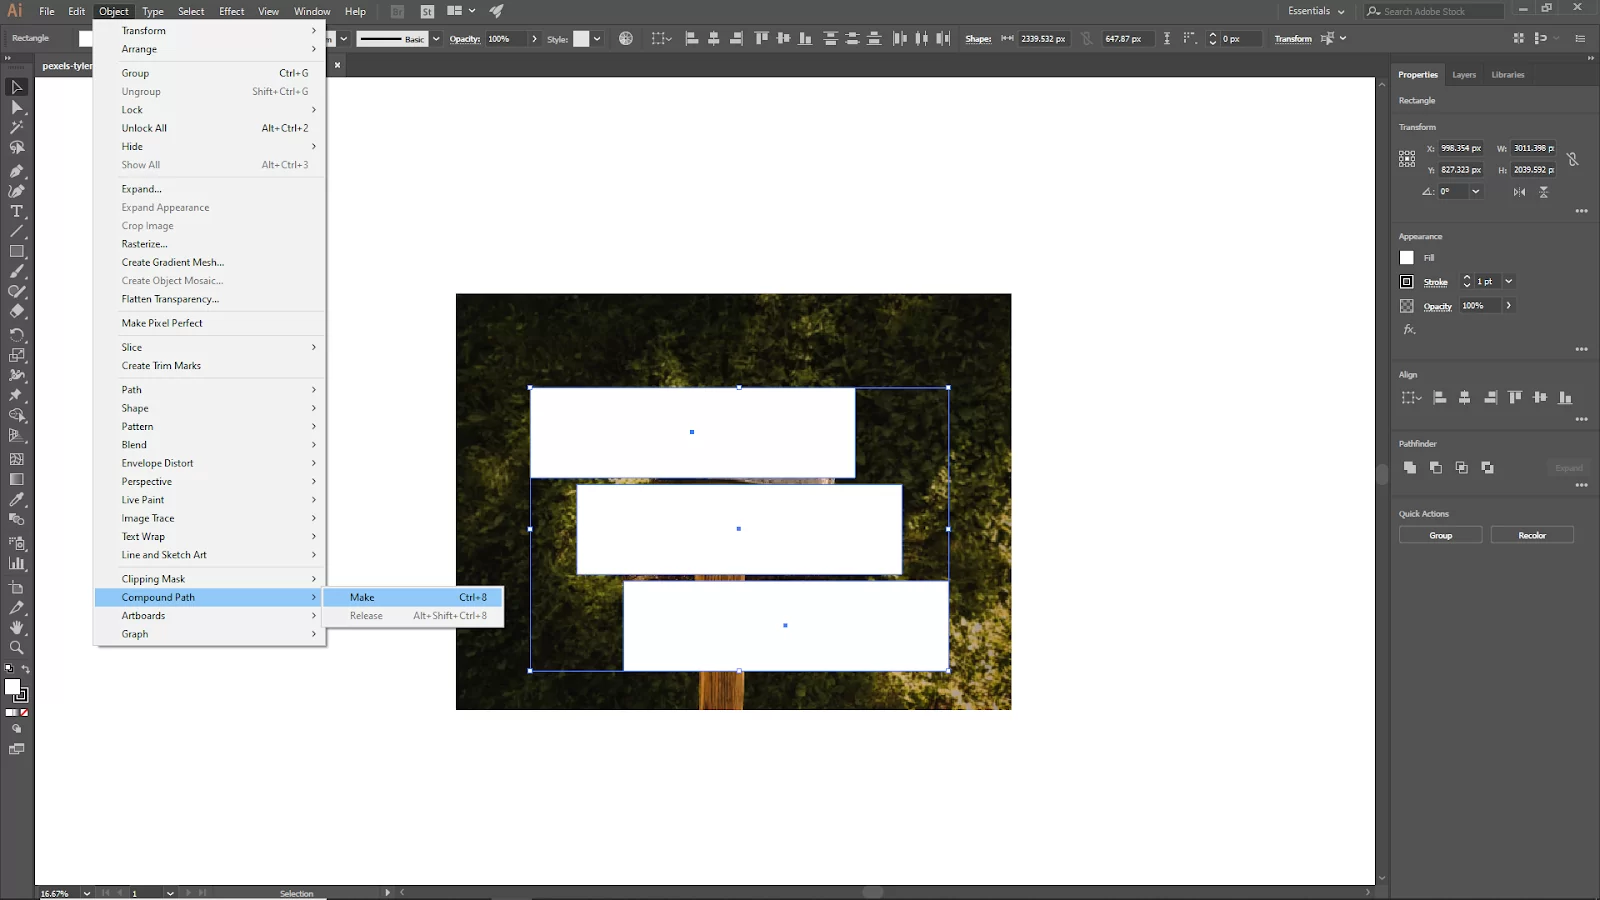
To compound the objects select all and go to Object > Compound Path > Make, or you can hit wind [Ctrl + 8] or Mac [Cmd + 8].
Now select both objects, right-click on and select Make Clipping Mask, or use the short key win [Ctrl + 7] in Mac [Cmd + 7].
Or you can go to Object > Clipping Mask > Make.
Step 4:
Now your clipping mask should be ready.
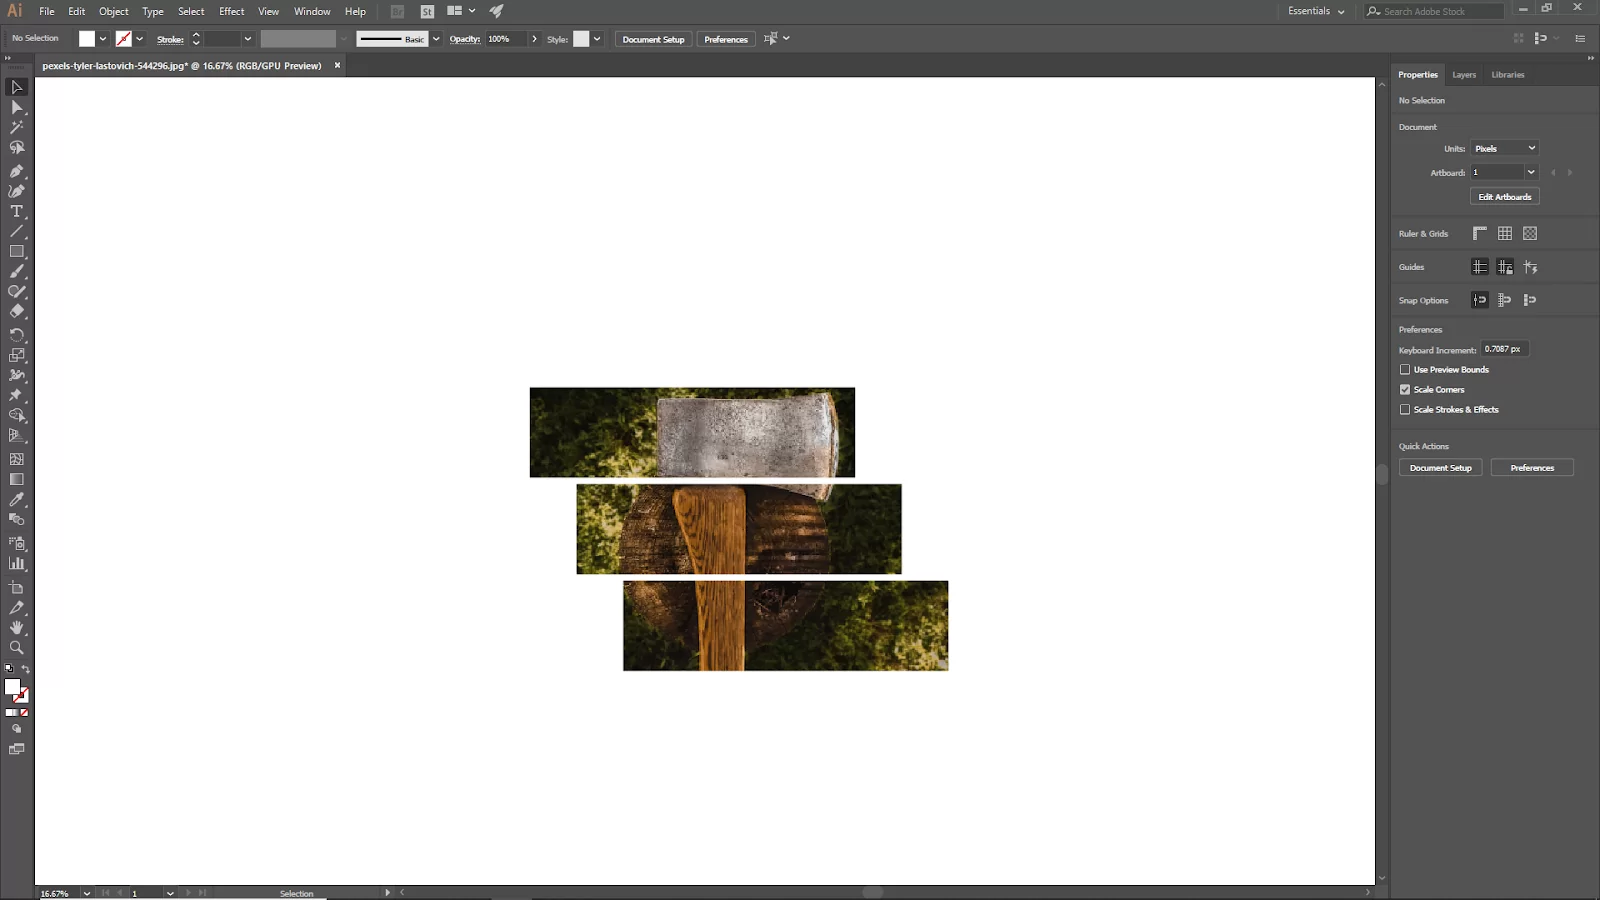
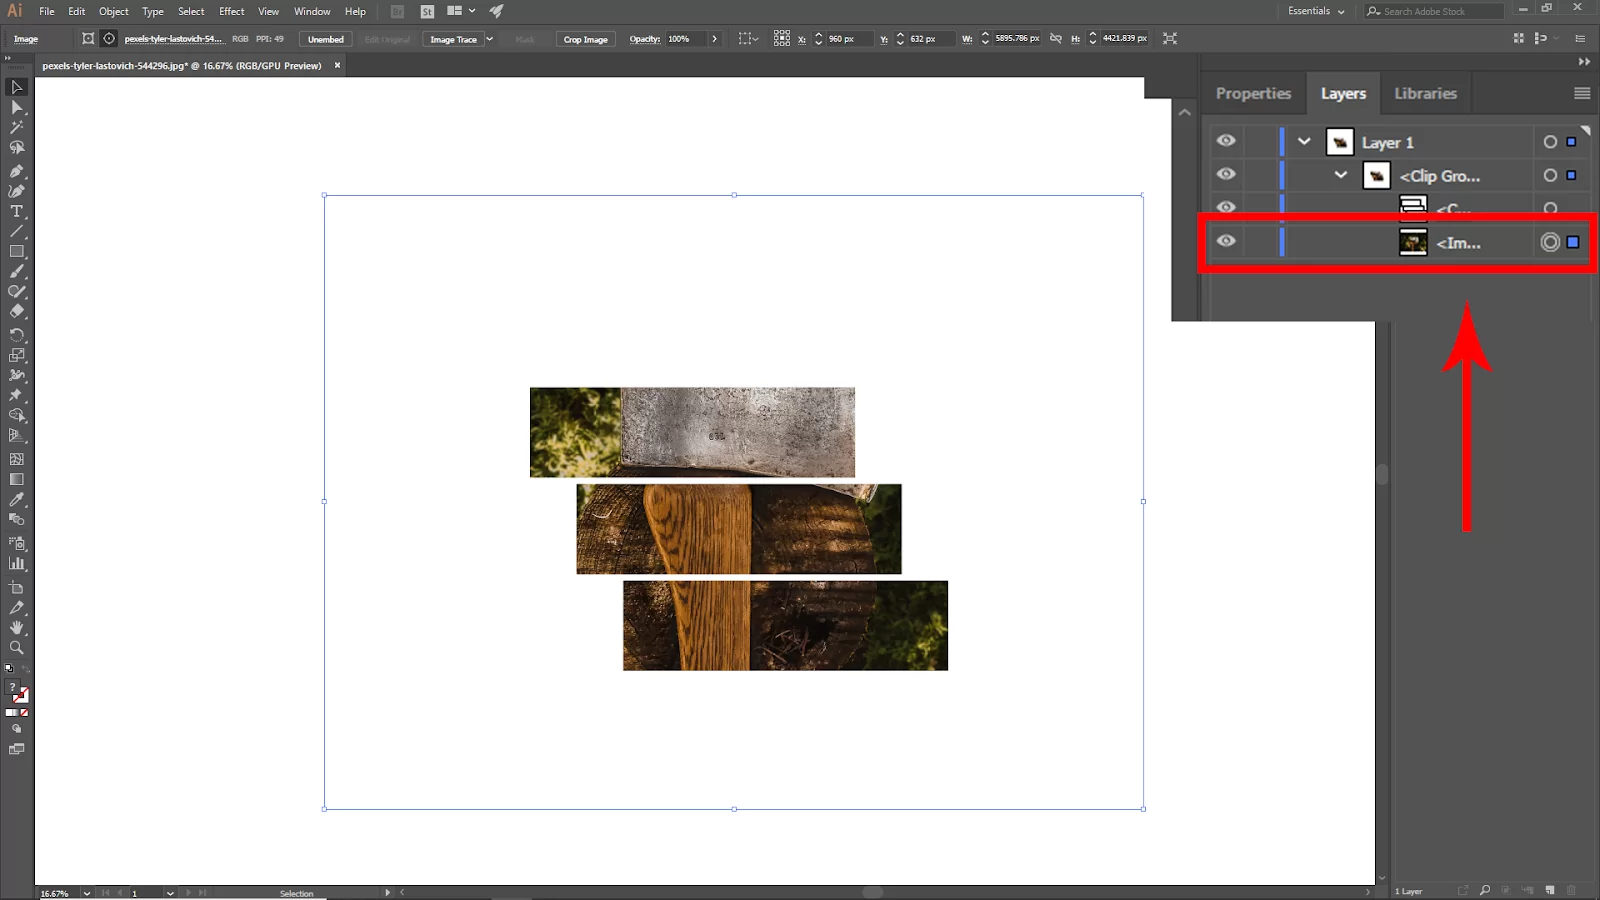
To scale up the inside image that you have masked, go to layer and select the image layer, and you should see the rectangle of the image now, you can scale up your image.
If you want to add some more objects or shapes to the mask.

Create your shape and then put the layer of the shape inside the clipping mask layer your shape will go into the masking image.

Clipping Mask: What are They?
A clipping mask is a shape also known as a clipping path that hides everything behind it. The clipping mask also leaves only the contents of the clipping path visible.
A photo cannot be a clipping path; only a vector object can. But whatever you choose can be the item below it—a raster image or even a vector illustration. A few things you want to note about the clipping mask is that the clipped objects must be in the same layer or group.
Also, with the clipping mask, one or more objects can be clipped but you can have only one clipping path. Finally, the clipping path must always be on top of the object you are attempting to clip.
Quick Alternatives To Making a Clipping Mask
If you are using a Mac, the shortcut for making a clipping mask is command 7. If you are using windows, the shortcut is control 7. If you are not a shortcut person, you can also use the overhead menu by going to object>Clipping Mask>Make. Another quick alternative to making a clipping mask is by right-clicking on the mouse and then clicking Make Clipping Mask. You can also make your clipping mask by using the layer panel. Always remember that the clipped object must be in the same group or layer.
How To Fix Clipping Mask Not Working in Illustrator
Your clipping path must be in vector. As an example, if you want to add an image in the background of the text, the text has to be first outlined before a clipping mask is made.
Editing and Undoing Clipping Mask in Illustrator
If you are concerned about the clipping area, you can move the image below to just reveal the area you want to see by selecting Object > Clipping Mask > Edit Content.
To undo the clipping mask, either right-click and select Release Clipping Mask from the menu or use the shortcut (control/command 7).
Why Are Clipping Masks So Powerful?
The ability to work with rasterized pictures is the most potent feature of using clipping masks in Illustrator. Clipping masks are excellent when you are attempting to separate a subject from its context.
They also come in handy when you are creating creative word designs with images. Clipping masks are awesome when developing elements like headers and thumbnails when the contents must fit within a specific area.
Furthermore, Illustrator’s clipping masks are reversible and non-destructive. This implies that both subjects will instantly return to their original states (for the most part) if you ever release the clipping mask. Clipping masks are definitely a powerful feature in Illustrator, but there are also other tools that make Illustrator worthwhile. A good example of such tools is the Pen tool which is used when drawing a circle.
Leave a Reply
You must be logged in to post a comment.