Premiere Pro is a powerful video editing software used by professionals around the world to create stunning video content. In this tutorial, I’ll show you the steps to delete a project in Premiere Pro.
Before we begin, it’s important to note that deleting a project in Premiere Pro is a permanent action and cannot be undone. If you have any important media or information in the project that you want to keep, make sure to save it elsewhere before deleting the project.
Now, let’s get started on deleting a project in Premiere Pro.
How to Delete Projects In Premiere Pro
Unlike Undoing in Premiere Pro, deleting is permanent. To delete a project in Premier Pro you need to locate the project first. To find it first open Premier Pro and the home panel you will find your Project Files.
Suppose I want to delete the New 01 Project as shown in the image.
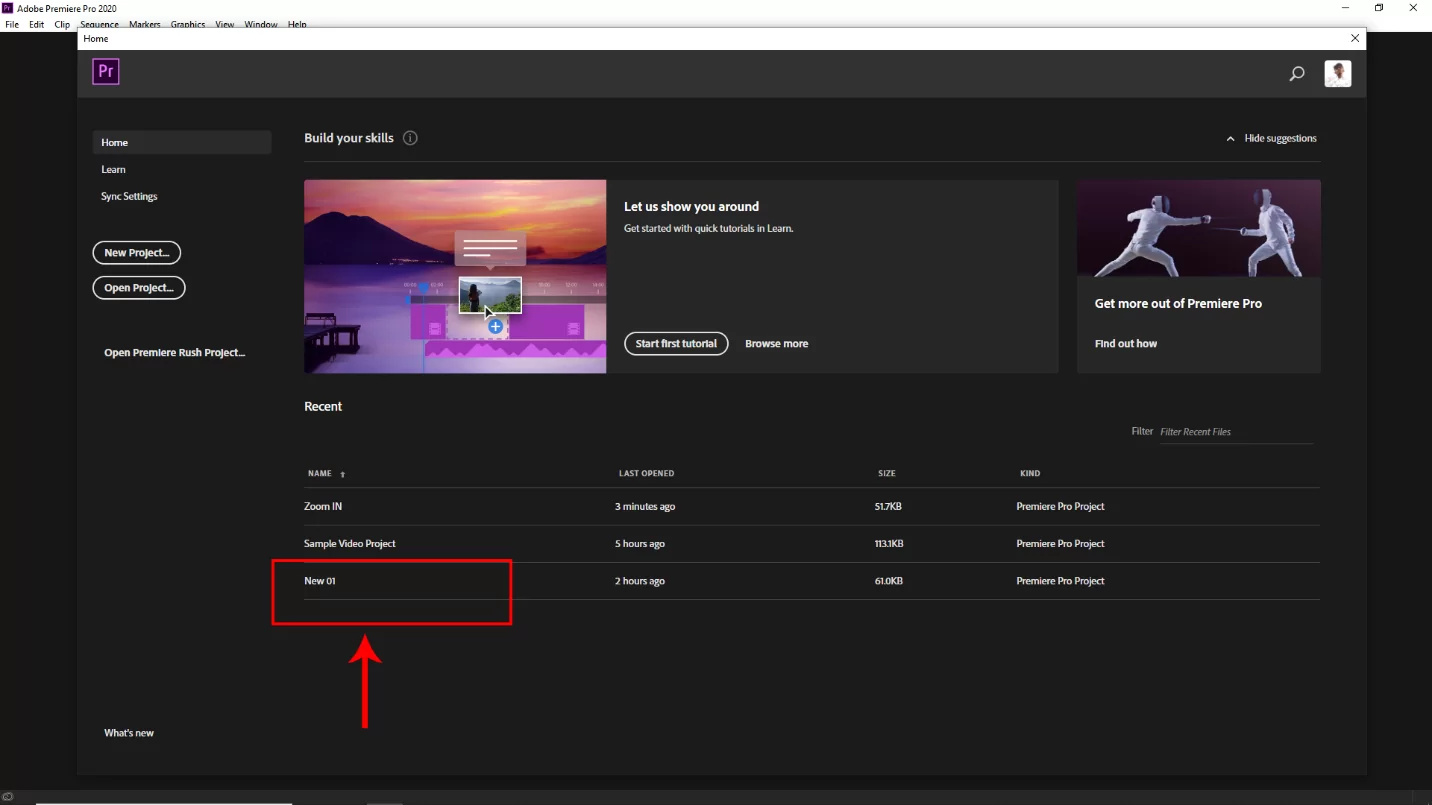
To find this Project File Location just place the mouse cursor on the project and you will see the location of the project.

Now go to that location in your computer file.

Select the project file and press the delete key on your keyboard. Now your project should be deleted.
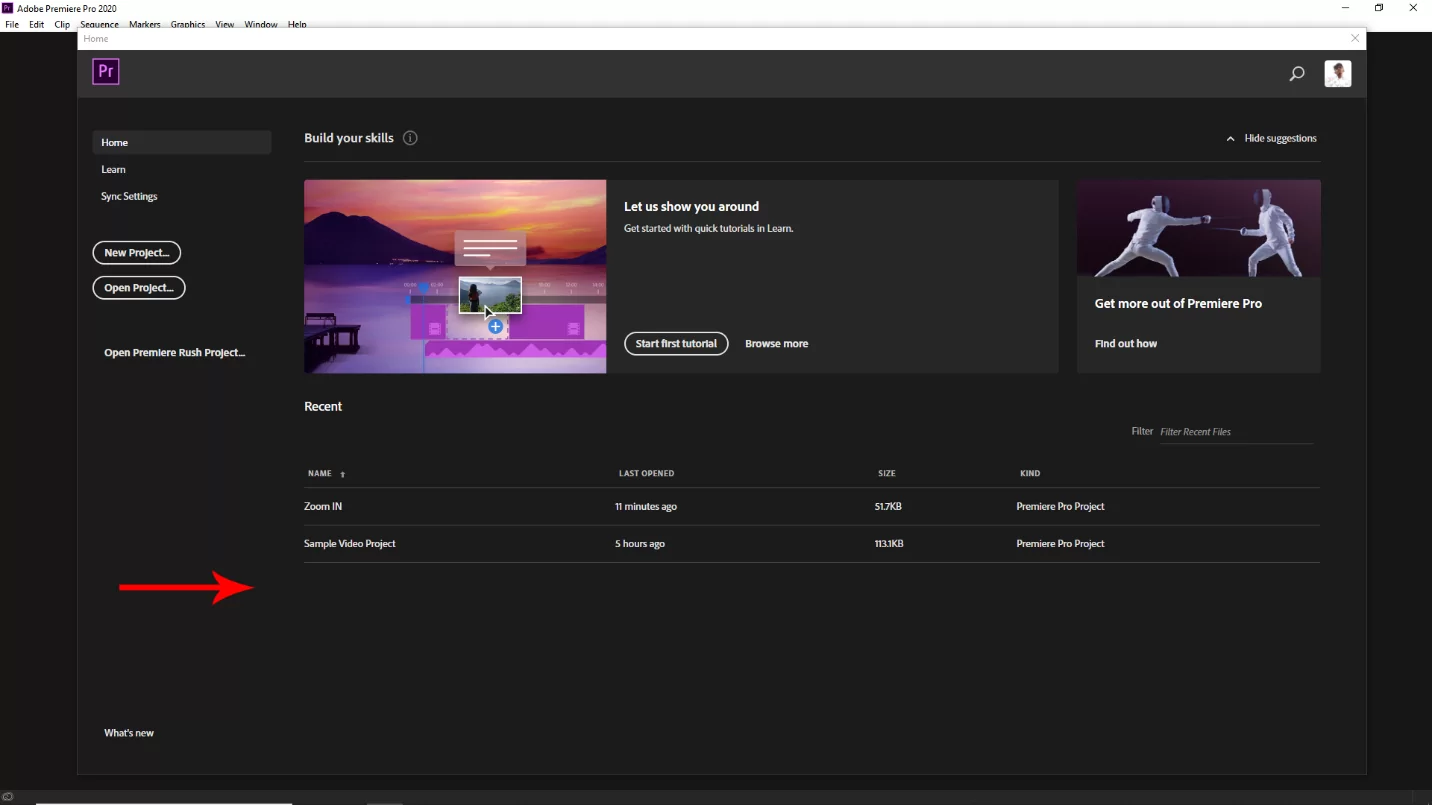
And it will disappear from the home panel in premiere Pro.
Also, you may enjoy reading our article on how to zoom in and out using Premiere Pro.
How to Delete Recent Projects in Premiere Pro
When you open your Premiere Pro, you will be shown different recent projects. If the project that you want to delete is on the list, all you have to do is right-click on the name of the project.
An alert window will appear, displaying the location of the Premiere Pro project file on your computer. You can then use your explorer to follow the prompts. You will have to Locate, pick, and remove the project. The next step is to shut off Premiere Pro and restart it. The project will no longer be listed in your recent projects.
You can repeat the procedure above to eliminate numerous projects. It is important to note that Adobe Premiere Pro should be restarted after wiping all the files—The entire recent list will be cleared as a result.
How to Delete Cache in Premiere Pro
You might be trying to delete your projects because your Premiere Pro is lagging or having other issues. If that’s the case, you should try deleting the cache first.
The cache does not only take up space, but it will also slow down your computer. You can clear your cache in Premiere Pro by following the below steps.
Step 1
Start by accessing the media cache. To access the media cache, select Edit Menu > Preferences.
Step 2
Using the dialogue box, you can clear the system’s media cache files or all unused cache. Click OK after selecting a choice. Immediately you click OK it will start clearing up the cache leaving you with free space.
Deleting Rendered Files in Premiere Pro
There are times when Premiere Pro may find it difficult to open old rendered files. So, the best solution is to delete them. Deleting old rendered files will also help free up space on your PC. Follow the steps below to delete rendered files easily from your Premiere Pro.
Step 1
To begin, choose Sequence Menu > Delete Render. This will remove rendered files.
Step 2
Once you’ve done the first step, a notification box will appear asking for your approval to continue or cancel. You need to click OK to begin the deletion procedure.
Step 3
Also, you can remove your project-related render files from window explorer by selecting the file’s render file folder or audio render option.
Deleting Unused Media From Premiere Pro
To delete unused media from Premiere Pro, you have to identify the clip you want to delete. You will need to navigate to the project channel to see the unused and used video clips.
You can know that a clip is in the sequence if it has a blue color under each thumbnail. The clip that does not have a blue color under its thumbnail isn’t in the sequence.
Once you identify the clips, you can delete the unused ones. However, if you want to delete unused video clips fast, go to Edit Menu and select Remove Unused. This will quickly remove the Unused clip from the project panel. Speaking about clips, remember that you can use Premiere Pro to split a clip
.
Leave a Reply
You must be logged in to post a comment.