If you’re looking for a design technique that allows you to create visually interesting and dynamic layouts you should use the curve text in InDesign. Curving text can be used to create a sense of movement or flow in a design, such as around a circle or along a diagonal line. It can also be used to create a more organic and natural feel, as opposed to the straight lines of traditional typography.
I’ll teach you how to quickly get started with the essentials of curving text in InDesign.
How to Curve Text in InDesign
Step 1
Create a document and make an eclipse image. Set the colours of the image that show properly

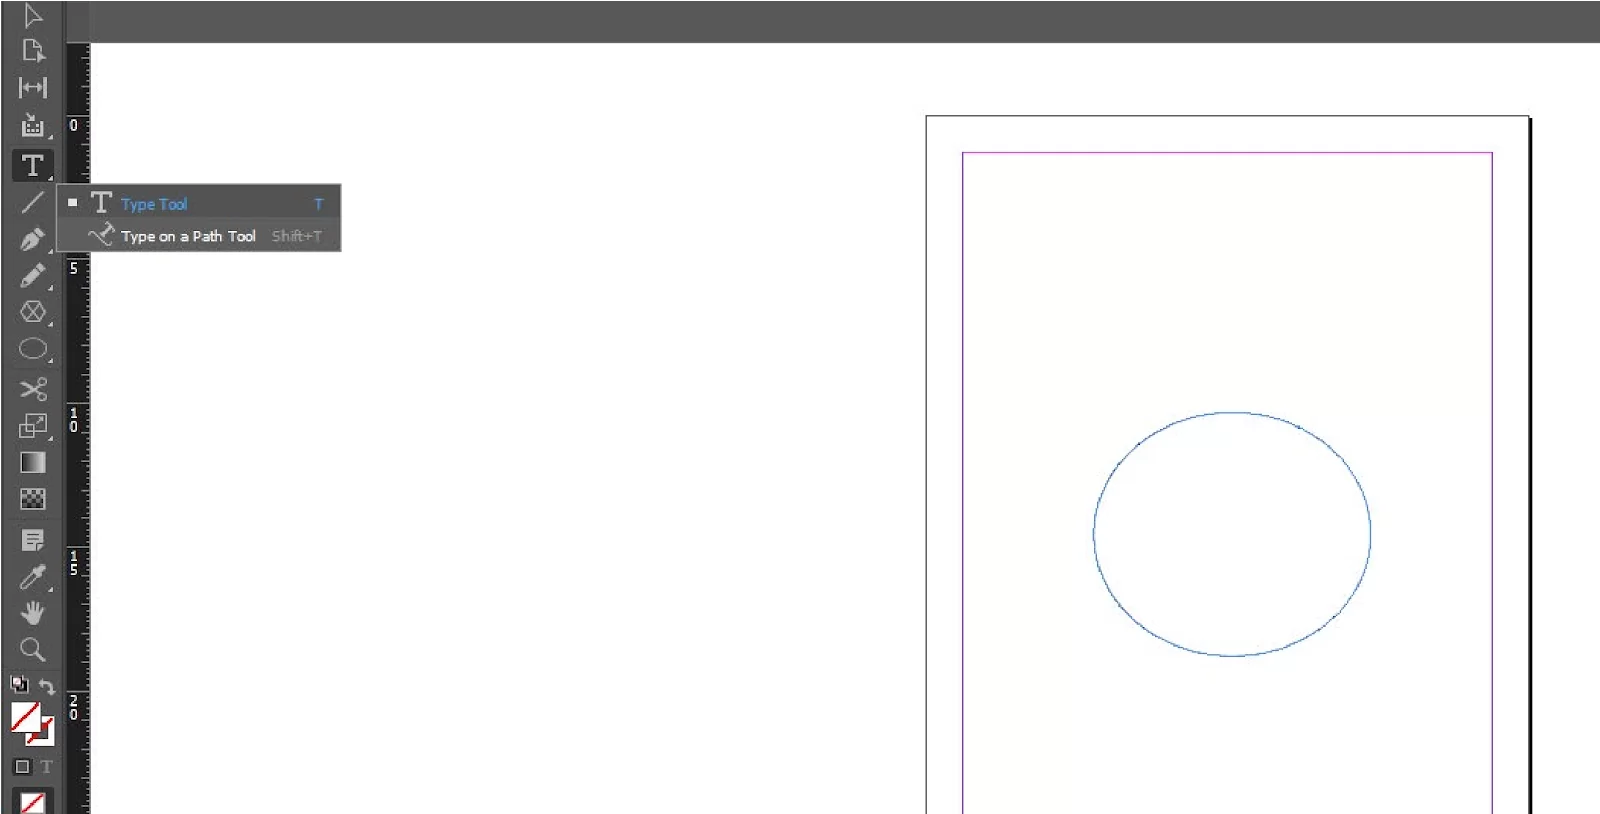
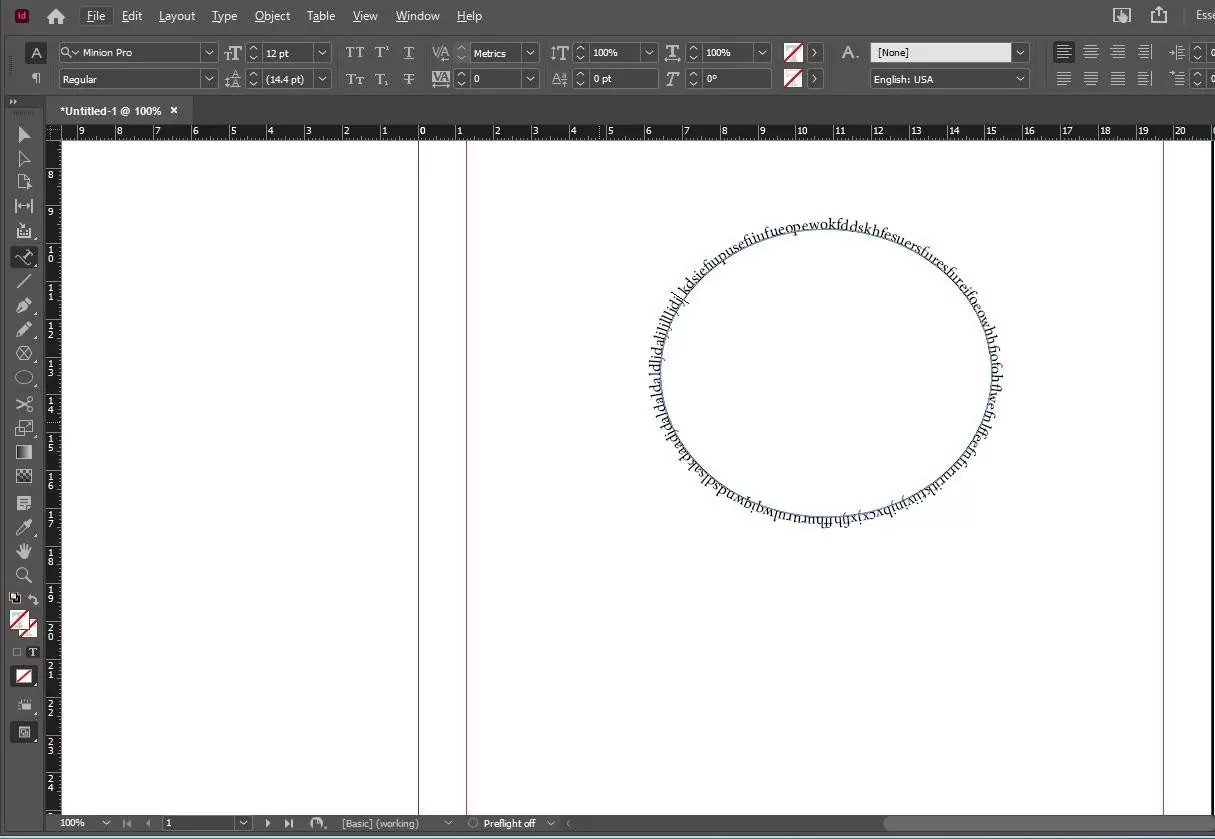
Now select the type on a path tool.
Click on this image and then type the required lines that show the curve text.
We also recommend that you see our step-by-step guide on how to change page size InDesign.
How to Create a Curved Vector Path in InDesign
One of the most important aspects of curving in InDesign involves curving a vector path. If you don’t know how to create a curved vector path in InDesign, you won’t be able to create curved text the way you want.
To place the text you want around a perfect circle, you may need to use the Ellipse tool. Alternatively, you can create a more freeform curved path using the Pen Tool.
To curve text around a circle, you should use the Ellipse tool. You can switch to the Ellipse tool by using the shortcut L. Alternatively, you can go to the Tools panel and find the Ellipse tool nested under the Rectangle Tool. To access the Ellipse Tool through the Tools panel, right-click on the Rectangle Tool’s icon, which will display a pop-up of all the tools nested in that location.
How about the Pen Tool? The Pen Tool is also used when a person wants to create a freeform curved path using the Pen Tool. You can switch to the Pen Tool using the Tools panel or by using the shortcut P.
To use the Pen Tool to create a circle, first, click in the main document window to place the first point of your curve. Next, click and drag to create a second point. Finally, adjust the curvature of the line between the two points. Go ahead to repeat this process as many times as you want till you’ve created the curve that you want.
You may notice that the shape doesn’t come out perfectly when you use the click-and-drag method. However, using the Direct Selection Tool, you can adjust each point individually. You can switch to the Direct Selection Tool using the Tools panel. Alternatively, you can use shortcut A.
You can also click one of the anchor points, and handles will appear. The handles allow you to control the angle of the curve when it reaches the anchor point.
If you want to control your path in a more advanced manner, you can open the Pathfinder panel by opening the windows menu. After selecting the windows menu, choose the Object and Layout Submenu. When you are done, click Pathfinder. In the Pathfinder window, you will see the Convert Point Section, which is very helpful for fine-tuning your lines.
If you liked reading this article, you will also like our in-depth articles on how to change text color in InDesign and how to highlight text in InDesign.
Leave a Reply
You must be logged in to post a comment.