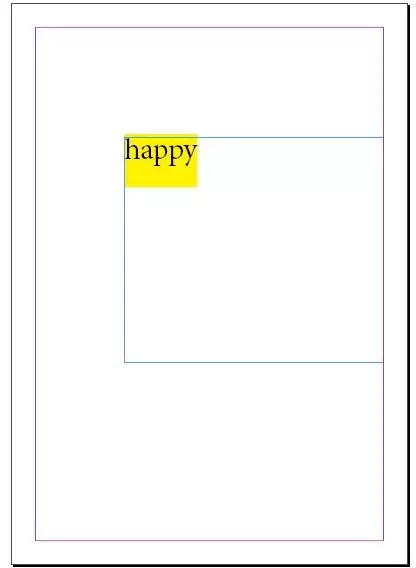
I find that highlighting text in InDesign is useful for a variety of reasons. It can be used to draw attention to specific words or phrases, such as headings, important quotes, or key information.
Text highlights can also be used to indicate changes or revisions in a document, making it easier for editors or reviewers to spot and address them. Additionally, highlighting can be used as a design element, adding visual interest and emphasis to a layout.
Highlighting can be done with different colors and styles, like bold, italic or underline, so it can also be used to create a hierarchy and structure in a document. We’ll show you the steps to start highlighting text in InDesign and adding visual interest to a layout.
How to Highlight Text in InDesign
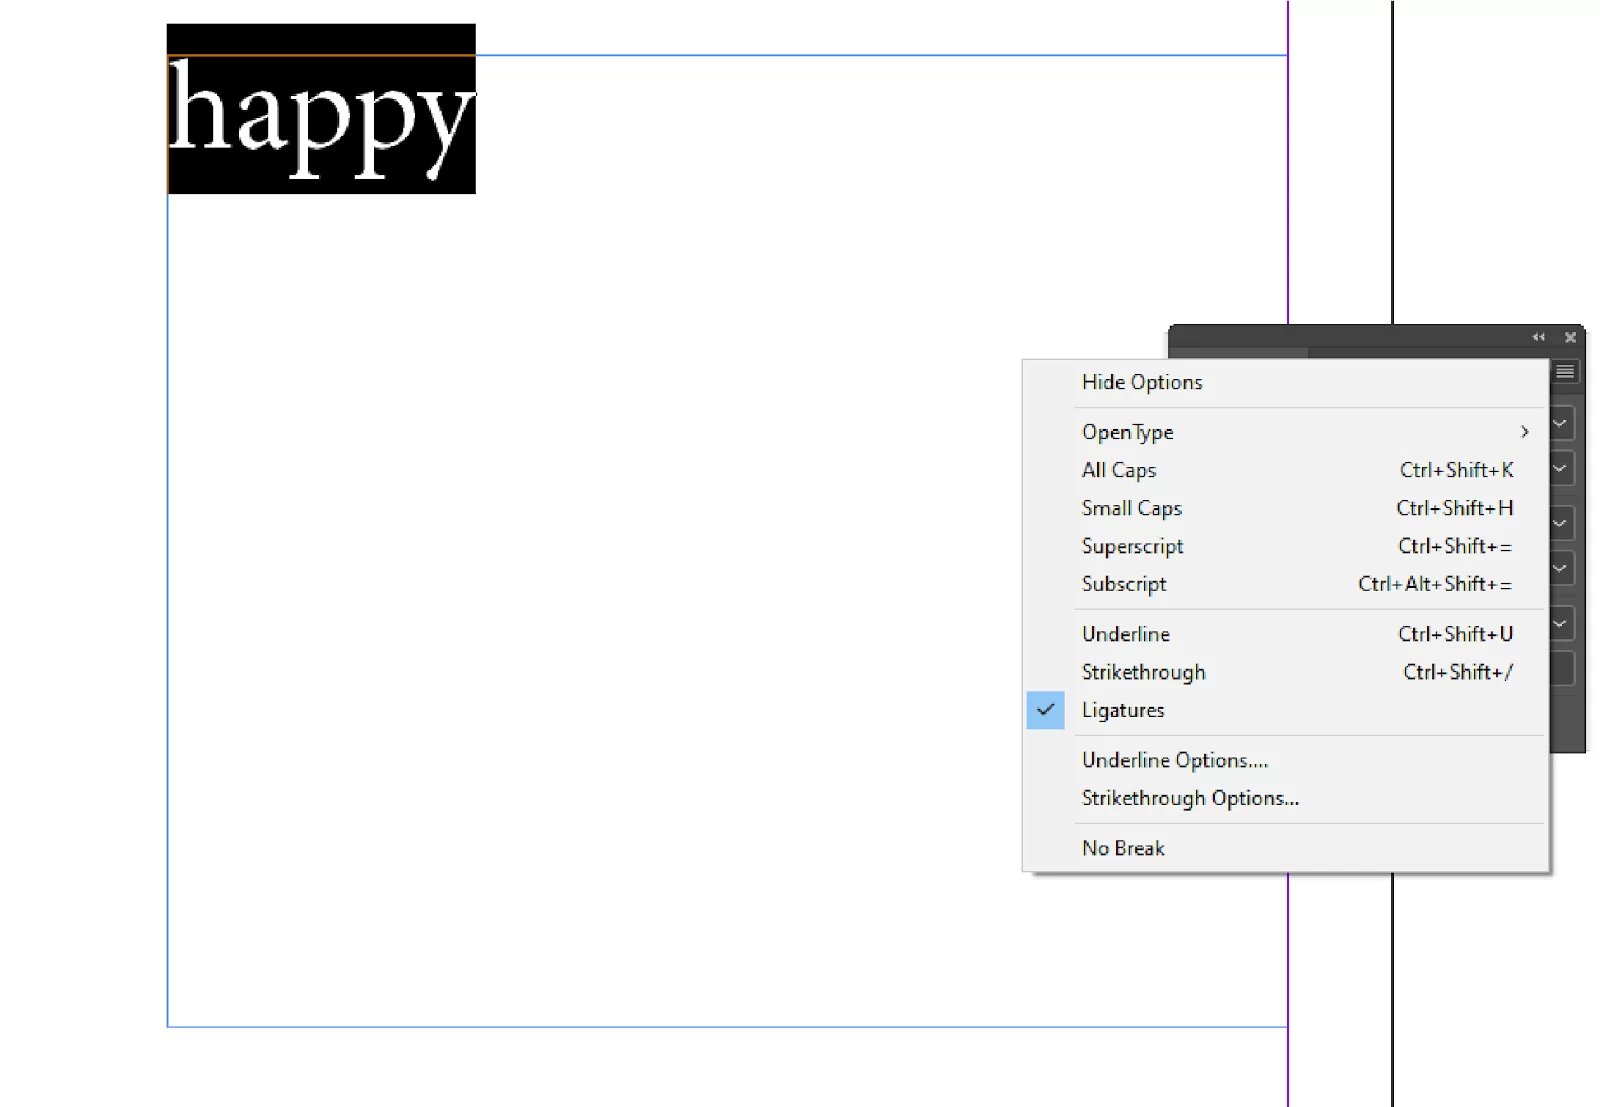
Select the text then click type>character then click on panel of characters then you see underline option click on it

on the underline option then change the value of the weight and offset and change the highlight colour that you need now you can highlight the selected text.
What is The Purpose of Highlighting in InDesign?
InDesign uses highlights as a way to show you information concerning the status of your text. It also warns you of any problems that you may need to resolve. There are times when the application will highlight the text at your command. However, there are also times when internal commands will cause InDesign to highlight a text. Some of the highlights represent transient conditions and at other times the highlight will continue till you intervene and correct the problem.
We also recommend that you check our guide on how to package an InDesign file.
When Does InDesign Use Highlighting?
Various conditions may warrant InDesign to use highlights. Below are some of them.
- Selection
When you type and place text in Adobe InDesign, selections can be used to choose what parts of the text you want to edit. When you drag the text tool through the text to select it, InDesign will highlight the characters contained within the chosen typographic range.
To limit your selections to specific words, sentences, or paragraphs, you can also double-, triple-, or quadruple-click. When you delete the selection, make a new selection within the same text frame, choose another object from your document, or switch to another page, the selection’s highlighting is lost.
- Find/Change
You can use this feature to find text based on what it says or how it is styled. Sometimes, this feature will also use both parameters to find the text. Whether you need to replace every instance of the word or you need to make a word bold wherever it appears, this feature comes in handy.
When you use this feature, Adobe InDesign will navigate to the first applicable instance of your search and highlight the text as a way of showing you its location. If you also want to use the change criteria, you can enter it and will alter the text that is highlighted.
- Missing Font
There are times when you may open an InDesign document and it will look as if you dragged a pink pen highlight over a text. This happens because InDesign is warning you that your file uses font software that isn’t available on your computer.
InDesign will flag it by highlighting whether the font is missing because you don’t have a copy of it or because you are using a variety with a different name. You can go through your document and make changes by hand or use Find/Change to look for all the content that needs to be changed. When you open the file in InDesign, take note of the “missing typeface” warning.
If you enjoyed reading this article, you will also like our guides on How to underline in InDesign and How To Link Text Boxes In InDesign.
Leave a Reply
You must be logged in to post a comment.