I find that I often have to change text color whenever I’m working on a project in InDesign. Changing the color of text helps make your document look more vibrant and eye-catching. With just a few clicks, you can easily adjust the text to any color you like, allowing you to create stunning visual effects. I’ll show you how.
How to Change Text Color in InDesign
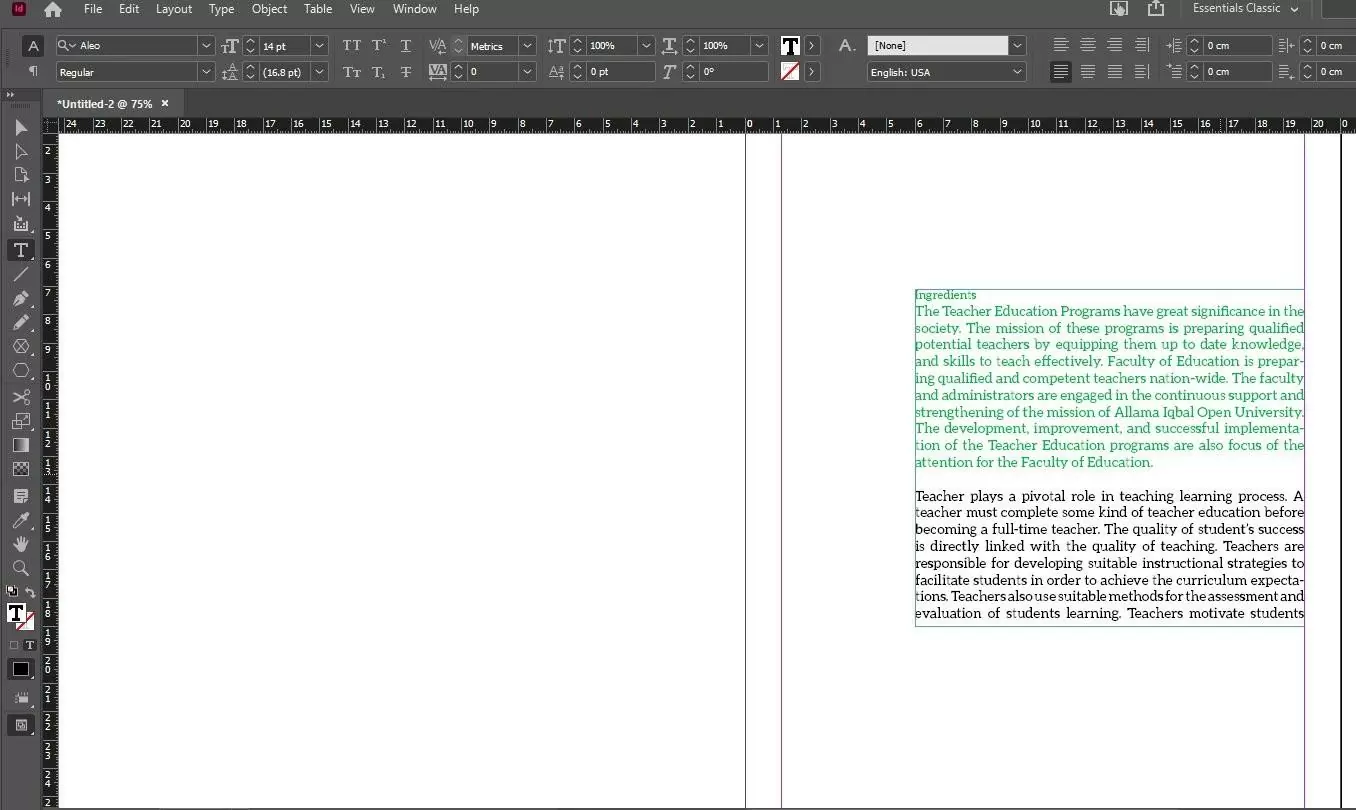
Select the text that you want to change its color, then click on the color picker, and it shows T double-click on it.

Double click here
After double clicking color picker menu will open
Select the required color. After selecting this, press ok, and this way color of the text will be changed.
You can also see our step-by-step guide on different ways to save in InDesign.
Alternative Method To Changing Font Color in InDesign
The Adobe InDesign change option can be used to apply formatting to a particular textual element. Follow the steps below to use the change option to change the font color.
Step 1
On the document menu, look for the edit option. When you see the edit option, go to the Find/Change option.
Step 2
The next is to go to the Active tab option on the screen and enter the particular text in the Find What Field. If there is any text in the Change To, delete it. If you want to check more options, you can click the More options in the dialog box.
Step 3
When you have clicked the more option you will see two more options. The two options you are going to see are the Find Format and Change Format.
Step 4
Another menu will open up in the dialog box. Now, go to the list and select the Basic Character Formats. Next, click on the Case tab and choose Small caps.
Step 5
The next step is to return to the list menu, pick Character Color, and select the next color. Return to the Find/Change tab after clicking Ok to save the changes.
Step 6
The changes that you have made in the above steps will reflect in the Change Format Field. The next step is to click Find Next and make the reasonable format changes that you want in your document.
Step 7
Finally, click the done button, which will save your changes. It is important to see if you are satisfied with the changes you’ve made. If you aren’t satisfied with the changes, you can redo it and start all over again.
Check out this information packed guide on how to open a PDF in InDesign.
Where Can The Color Picker Be Found?
To find the color picker, double-click either the fill icon or the stroke icon. The fill and stroke icons can be found in the Tools panel, and they can be used to open the color picker. Go ahead to use the RGB, LAB, or CMYK fields to define the color. Now click the Add swatch button to add your desired color to the Swatches. Finally, click ok to close the Color picker.
What is The Swatches Panel?
The Swatches panel is the main gateway to the color settings for fonts in InDesign. In the Swatches panel, you can customize your text’s fill color and stroke color. This allows for a wide range of creative designs, including the application of complex color gradients.
Designers often use swatch panels and Stroke panels interchangeably to create unique character sets for the projects they want to publish. The Swatches panel allows for extensive color editing opportunities, while the stroke panels are made to help users customize the weight of the stroke being used on the font.
If you enjoyed reading this article, you will also like to see our detailed guide on How To Make A Triangle In InDesign.
Leave a Reply
You must be logged in to post a comment.