You have created your text. Now you want to add font. Changing the font or adding font is a straightforward process in Illustrator. In this guide, I will show you how to add a font in Illustrator.
How to Add Fonts to Illustrator
Here are the steps to import and add fonts in Illustrator:
First, Select your text, then go to the properties panel in the right corner. That’s if you haven’t opened the properties panel.

Then go to Window > Properties.

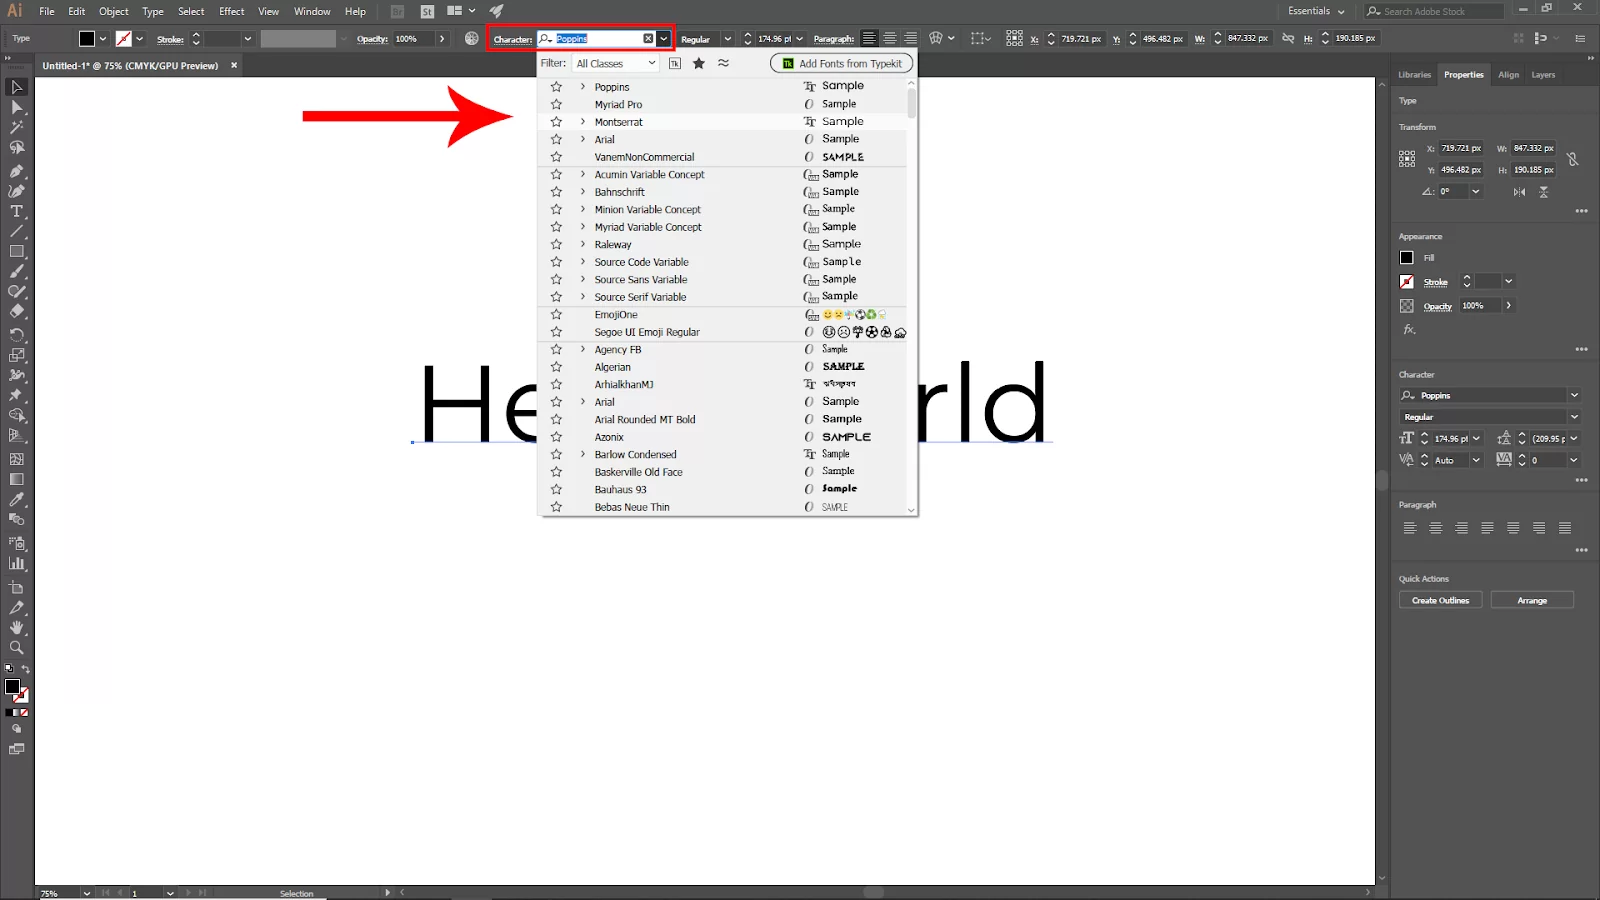
Under the properties panel, you will find the text font settings. Now click the dropdown arrow to select the font that you want to apply to your text. Now select your font. You can also change the size, add strokes, and color of the text under properties.
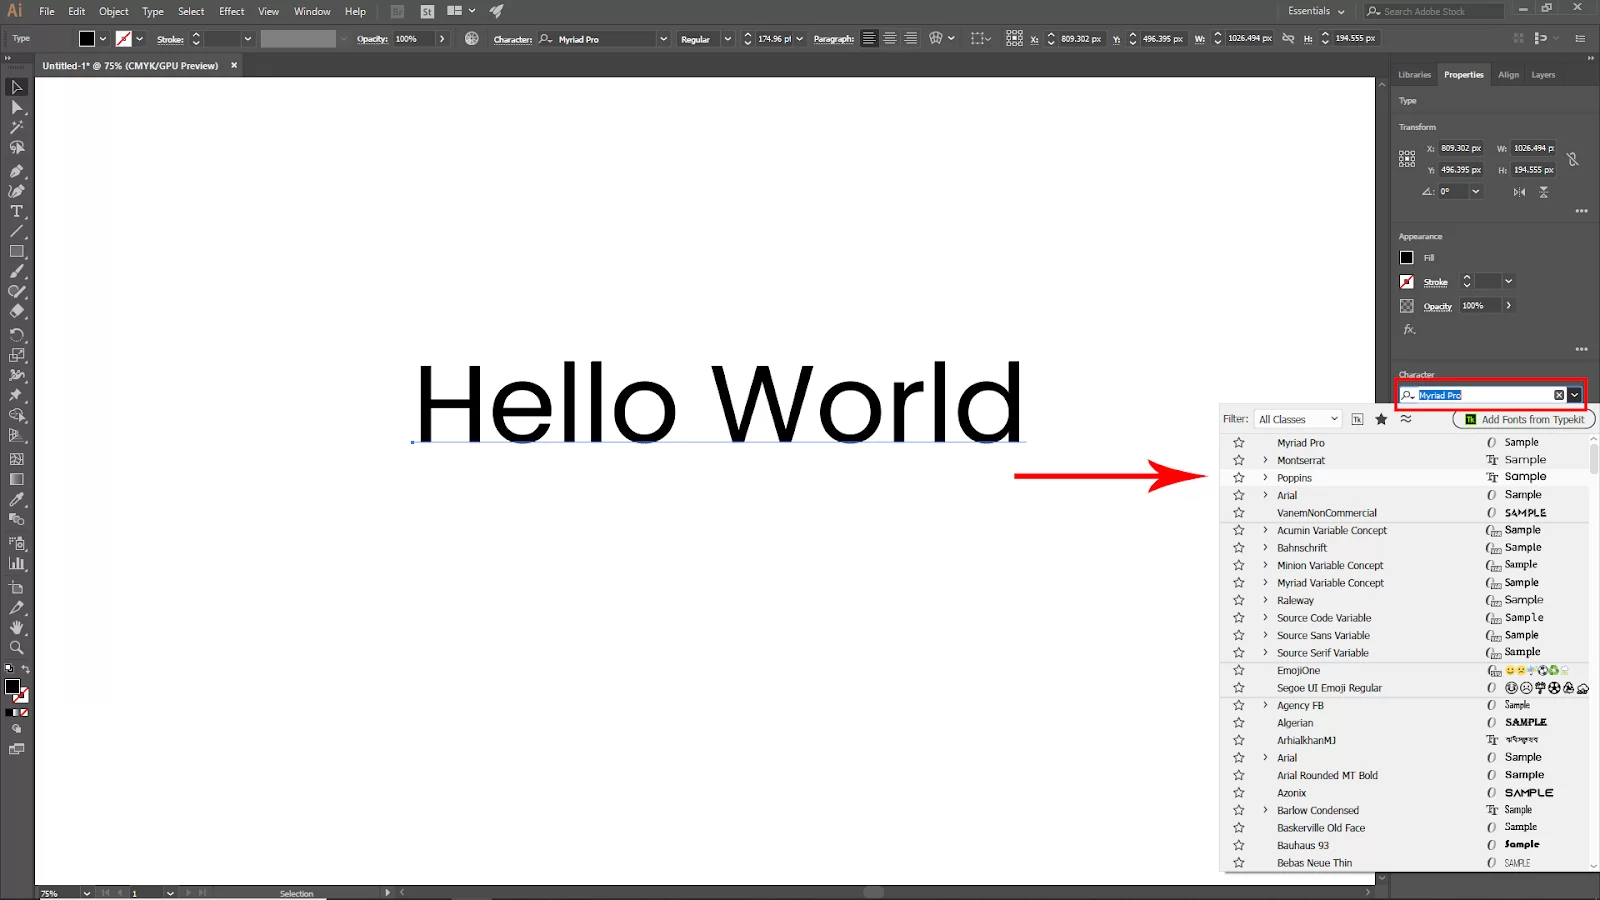
Another way to add font is to select your text go to the upper bar you will find the character bar and click the dropdown menu on the right side of the character bar. And select your font.
Also, see our step-by-step guide on how to use scissor tool In Illustrator.
Adding Font Using Adobe Fonts
To use a font style in illustrator, you don’t need to download it from Adobe Fonts; you can add it using Adobe fonts. You only have to click the activation button, and voila, you have your fonts ready to use. To add fonts using Adobe fonts in Adobe Illustrator, follow the instructions listed below.
Step 1
The first step is to choose a font from Adobe Fonts. By heading to All Fonts, you can search for fonts based on various tags, classifications, and features.
Step 2
You will be notified that the font has been successfully enabled by clicking the Activate Font button.
Adding Fonts By Downloading Them
Most fonts you obtain from the internet are in OTF or TTF format. To use them in illustrator, you must first install them on your computer. There are numerous places where you can get different typefaces, but if you want to use one for work, make sure to read the license information first.
Some fonts are not to be used with the creator’s information; if you use them without approval, you may be in trouble. Follow the steps below to download fonts for your illustrator.
Step 1
Start by downloading the font you want. Your downloads folder should automatically receive a zip file.
Step 2
You should see a font format file after double-clicking to unzip the file (either .otf or .ttf).
Step 3
The third step is to install the font after double-clicking the.ttf file.
How to Use Newly Added Fonts
It’s fairly easy to use your font with Adobe Illustrator. First, you must completely shut down and restart Adobe Illustrator after installing a new font. The freshly installed font might not display if you don’t restart your Adobe illustrator.
Select the text tool to begin adding your text. Be sure to choose the text you wish to modify. This can be an entire passage or simply a portion of it. Keep in mind that you need to know how to type on a path to master text addition in Illustrator. The font you want to use for the text can be found by scrolling through the Character dropdown menu. Once done, the text is altered to reflect the new font. Voila! You now know how to add fonts to your Illustrator.
If you enjoyed reading this article, check out our in-depth article on how to create a gradient in Illustrator.
Leave a Reply
You must be logged in to post a comment.