Like other publishing software, one of the features of InDesign is the ability to wrap text around objects, such as images and shapes. It’s important to know how to wrap text in InDesign because it’s a common design element.
We’ll discuss the steps to start text wrapping in InDesign and provide some tips for getting the most out of this feature.
How to Wrap Text in InDesign
Step 1

Type your required text and add an image.
Step 2
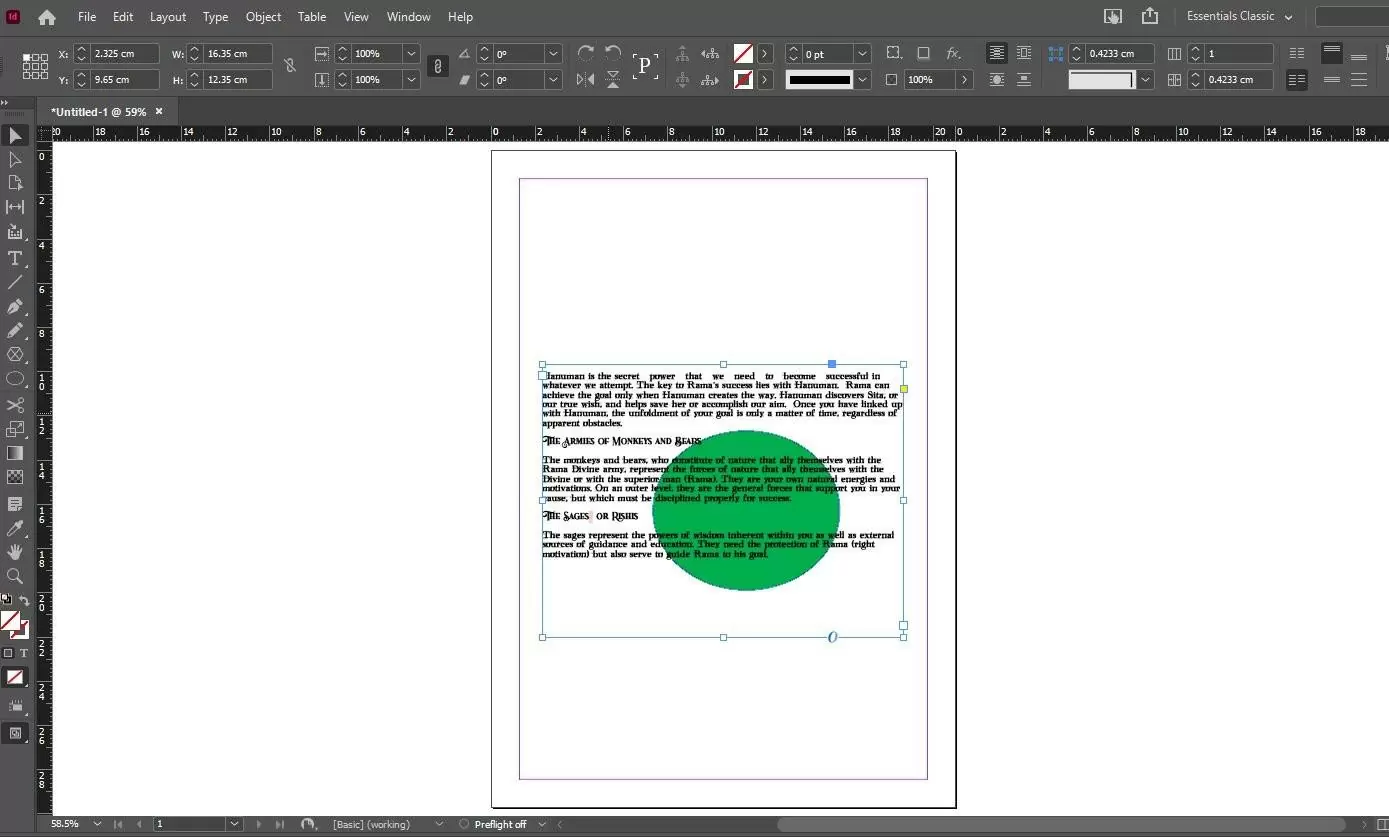
Now select all the text and images, then click window >textwrap.
Click WRAP AROUND OBJECT SHAPE as shown below.

In this way, you can wrap text easily
Also, see our information packed guide on packaging an InDesign file.
How To Wrap Text Around Simple Objects
Follow the steps below to wrap text around simple objects using InDesign.
Step 1
First, we need to display the Text Wrap panel by going to Window > Text Wrap.
Step 2
You can use the Selection Tool or Direct Selection Tool for the next step. These tools will help you select the object to wrap the text around.
Step 3
Click the desired wrap shape in the Text Wrap panel. For example, you can select the wrap around bounding box. The wrap around bounding box will create a rectangular wrap whose width and the selected object’s bounding box determine the height. This also includes any offset distances that you will specify.
Alternatively, you can also choose Wrap around object shape. This is also known as contour wrapping. The wrap around object shape creates a text wrap boundary that is the same shape as the frame you’ve selected.
If you choose the jump object, it will keep the text from appearing in an available space. Finally, you can also choose the jump to next column, which will force the surrounding paragraph to the top of the next column or text frame.
Step 4
For the fourth step, specify whether the wrap is applied to a specific side from the Wrap To Menu. Also, from the Wrap To Menu, you can specify whether the wrap will be applied towards or away from the spine. There are times when you won’t see the Wrap To Menu option. Choose Show Options from the Text Wrap panel menu if you don’t.
Step 5
Finally, specify the offset values. Keep in mind that positive values will move the wrap away from the frame, and negative values will move the wrap within the frame.
Here is a quick tip: If you can’t get the text to wrap around an image, ensure that the Ignore Text Wrap isn’t chosen for the text frame that isn’t wrapping.
Check out our in-depth guide on ways to save PDF in InDesign.
How To Wrap Text With Intelligent Subject Detection
You don’t need to use Alpha Channels or Photoshop paths to wrap text around the contours of a subject in InDesign. InDesign allows you to identify the main subject intelligently using Adobe Sensei inside an image and wrap text around the subject.
Step 1
Start by navigating the Text Wrap panel by Navigating and selecting Window > Text Wrap.
Step 2
Now you need to import the image and prepare the text that you want to wrap around a subject.
Step 3
For the third step, you need to select the image, and from the Text Wrap panel, select Wrap around object shape.
Step 4
Choose Type>Select Subject in the Contour Options section. When you do this, InDesign will display the anchor points around the subject.
Step 5
You should use the Pen Tool to delete anchor points. If you want to move and select anchor points, use the direct selection tool. When you are done, click Ok when the changes are done.
If you enjoyed reading this guide, you will also like our in-depth guide that answers the question “What Is Slug In InDesign?”
Leave a Reply
You must be logged in to post a comment.