Vector images are resolution-independent, meaning they can be scaled to any size without losing quality. This makes them perfect for creating graphics that need to be used in different sizes, such as logos or icons. Adobe Illustrator is best for vectorizing your normal pixelated image. I’ll share the 4 steps I use to vectorize an image in Illustrator.
4 steps to vectorize an Image in Adobe Illustrator
Step 1:
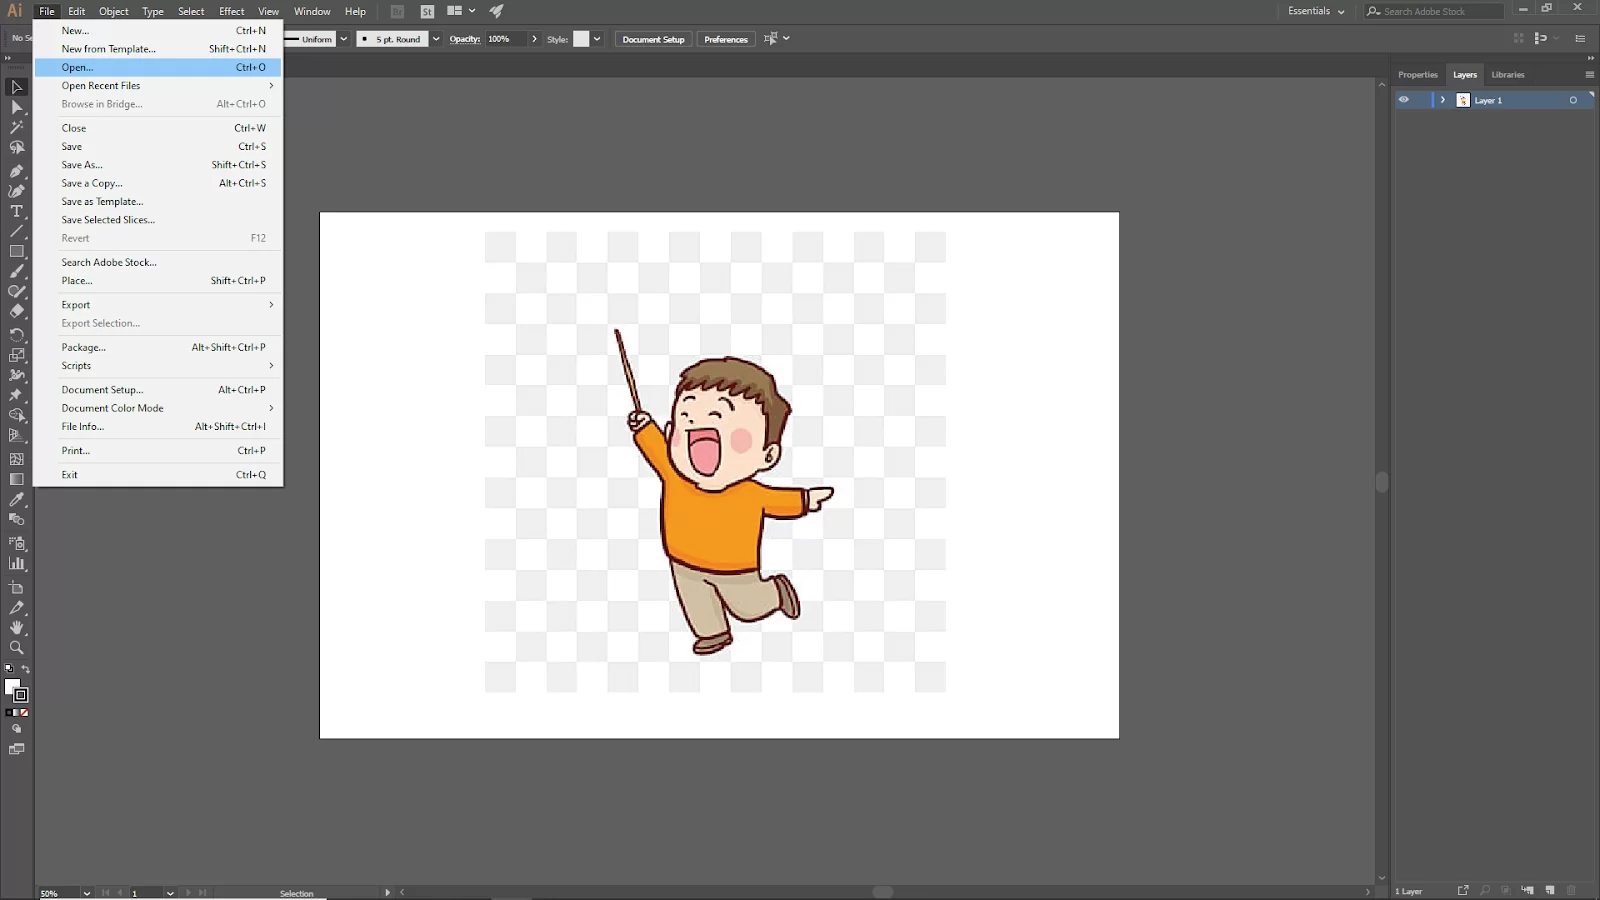
First, we need to open Adobe illustrator. And create a blank project, click Create New, or you can go to File > New for the short key win [Ctrl + N] or Mac [Cmd + N].

And you will see your New Document panel will open. Here you find the artboard setting. Click Create to create your new artboard.

If you have an existing file, go to File > open and select your File. Short Key windows [Ctrl + O] and Mac [Cmd + O].

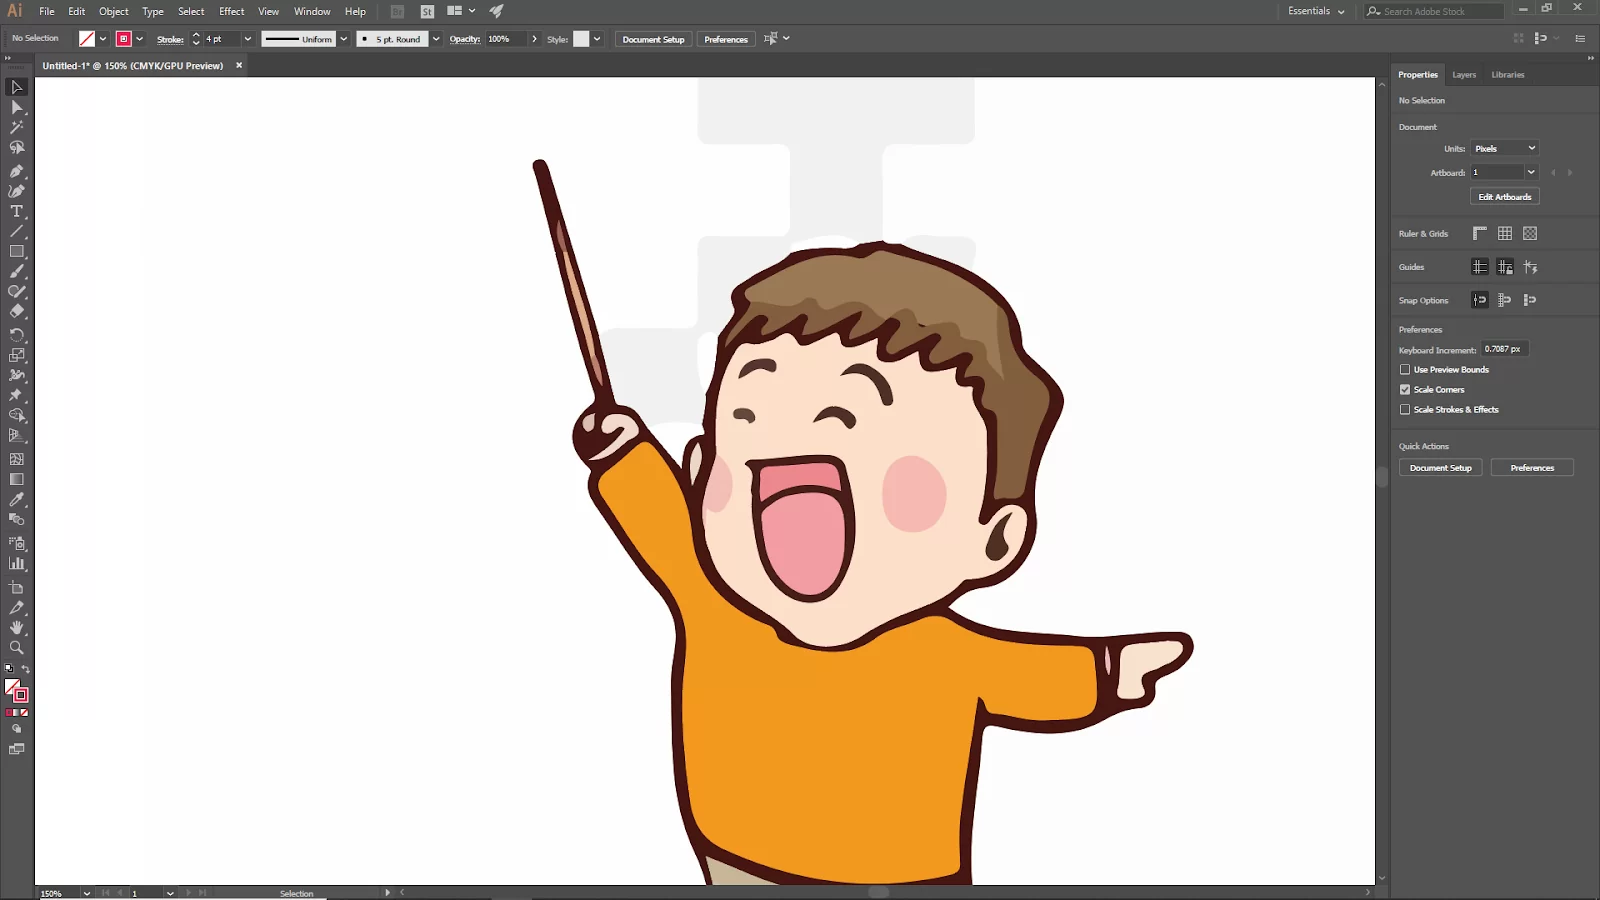
To import your image, you can use drag and drop. Just drag your photo from your file and drop it in illustrator. Or you can go to File > open and then select your image. Short Key windows [Ctrl + O] and Mac [Cmd + O].
Step 2:
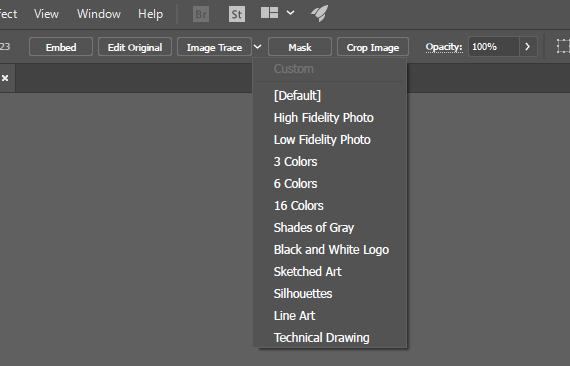
Click on your image, go to the upper bar, and see the Image Trace option. Click the image trace drop-down arrow you will see some options to vector your image. These options are used for different types of images.

Click on High Fidelity Photo then you should see a progress bar. The image will be vectorized, but if the ages are not perfect or smooth or the color is not acceptable. Then click [Ctrl + Z] or [Cmd + Z] to go to the previous position and click Low Fidelity Photo.
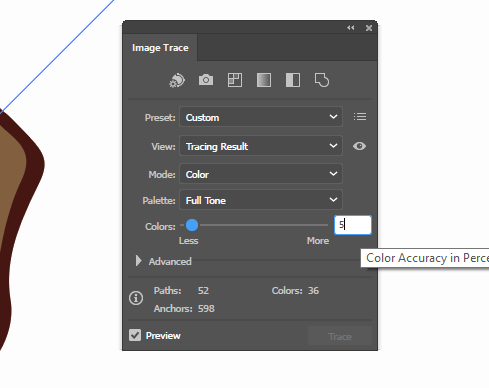
If a Low Fidelity Photo’s color is a little messy, you can adjust it with the Image Trace Panel.
Open the Image Trace panel to adjust the color perfectly. If you increase or decrease the value of colors, then the image color will be very sharp and smooth. For this image, the color value is 5. Choose your color value to match your image. It depends on how many colors are in your photo.
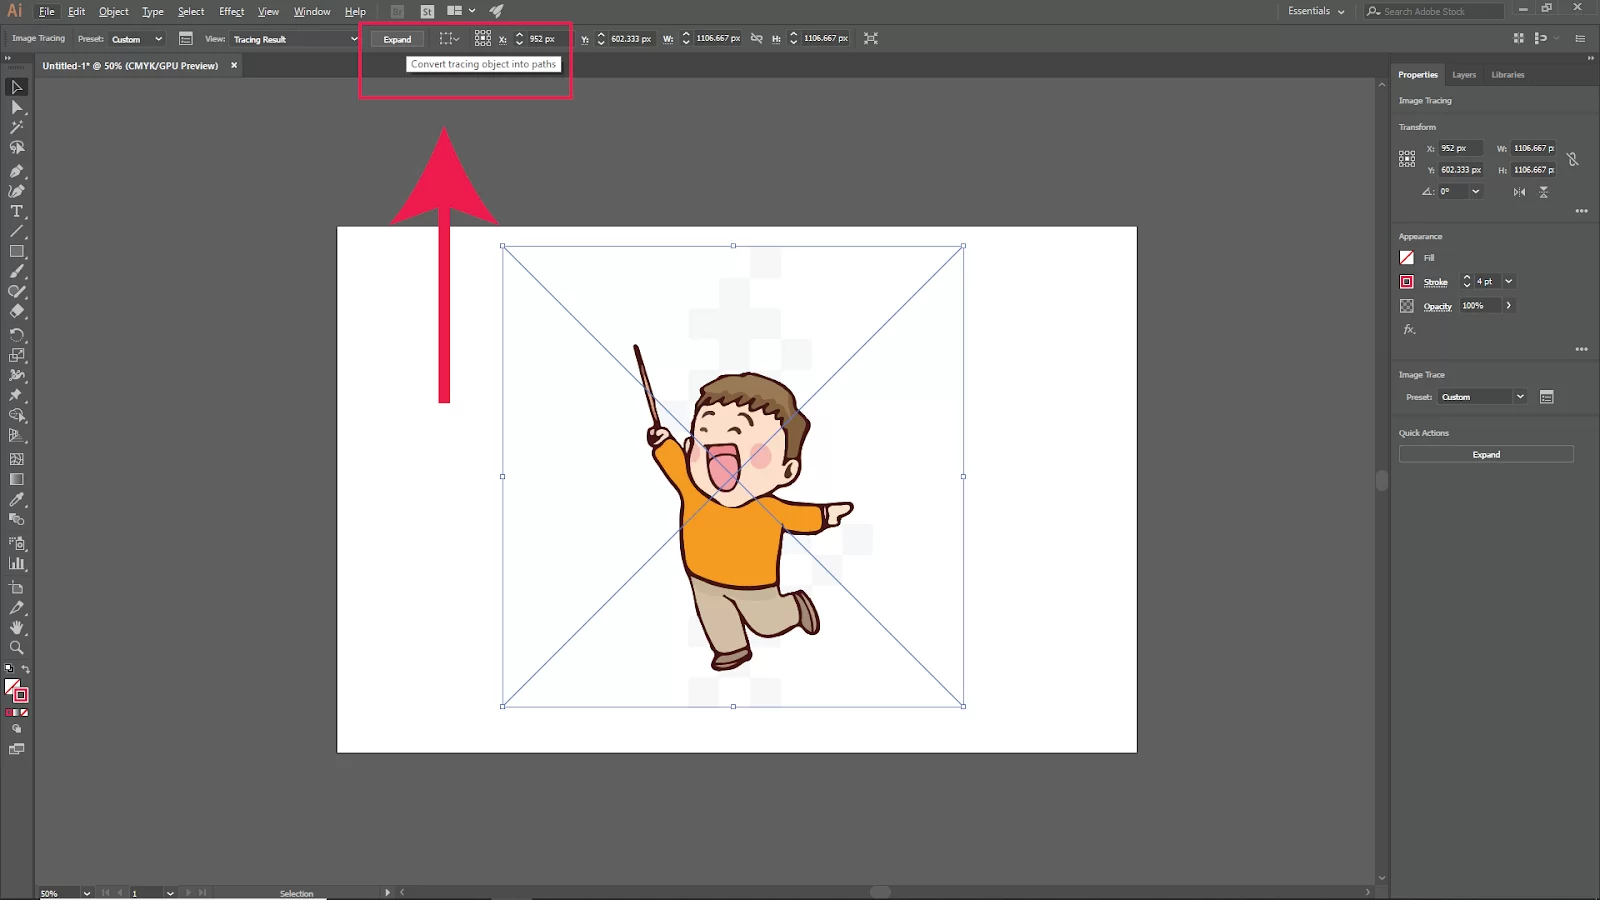
Step 3:
Now your image is ready to vectorize, click Expand on the upper bar. Now you should expand the image shape and color. You can change the vector image color now.
Step 4:
Remove the background and save it to your desired file format. Click on the direct selection tool to remove the background, select your background, and press delete.

But if your image background is also expanded in multiple shapes, click the direct selection tool and hold Shift to select other shapes in the background, and press delete. Now your vectorized image is ready.
We also recommended that you check our step-by-step guide on Add texture in Illustrator
Converting JPG To Vector Image in Illustrator
If you want a higher-quality image that is more suited for scaling and printing, you can opt to convert a JPG to a vector image. These easy steps will show you how to use Illustrator to convert a JPG image into a vector format.
Step 1
Start by launching illustrator by looking for its icon on your computer’s start menu. Alternatively, you can type the name of the software into the toolbar’s bottom search box. To start the program, double-click the icon when you’ve located it. Choose Start a new project when you reach the Illustrator start page. This will display a blank workspace.
Step 2
To begin, you must select the JPG file you wish to turn into a vector. To select JPG, choose file from the toolbar in Illustrator’s top left corner. This can be clicked to bring up a drop-down menu.
Choose open from this menu for the my computer tab window to open. If you are using a Windows device, you can also launch this tab by pressing the shortcut keys Ctrl and O.
Step 3
The next step is to use Illustrator’s tracing workspace after inserting your image. Choose a window from the menu that appears towards the top left of the screen to do this. Next, choose a workspace.
Choosing workspace brings up a new drop-down option. Proceed to the Tracing Option from this menu. Tracing Option might be in the center of this menu’s list of choices. By choosing this, you can change your workspace to suit your next actions.
Step 4
Double-click the JPG after moving your mouse over it. You will be able to access the settings of your image after you choose a picture. If you want a live preview of your changes, use the preview option in the tracing window.
Alternatively, you can wait until you’ve modified the picture parameter to preview your image. But the advantage of previewing your image is that it allows you to keep track of your progress and tweak it as necessary.
Step 5
Using the same tracing window, You can change the image’s color complexity parameters. You may wish to change the parameters because photographs frequently lose their original color when converted to a vector. By changing the sliding scale in the tracing window, you can lessen the number of colors displayed in your vector.
Step 6
An option for advanced adjustments can be found under the color complexity scale. Select the color complexity scale if you wish to bring up more in-depth controls. The path parameters are accessible through this menu.
This path parameter allows you to modify the appearance of your image’s edges by altering how closely the vector’s edge adheres to the pixels in the image. You can get your image’s edges to be smoother by losing the path.
Step 7
For the edges of your image, you can use extra parameters. Your vector will look cleaner as a result. Using the corners sliding slider, you can also choose how rounded the edges are. This scale can be found in the paths section.
The noise slider is located below the corners. This slider alters how the image’s pixels are organized. Reducing the number of pixels that appear outside of the tracing portion can be accomplished by lowering the image’s noise.
Step 8
To save your JPG as a vector image, Hover over save as on the file tab to save and export your vector artwork. It is important to make two copies of your image. You can save your image as a file with the Ai extension—Ai is a file for the Adobe Illustrator program.
One of the advantages of saving as an Ai extension is that you can go back and make modifications to your project. Enter a file name in the top search box and choose a file type from the text bar below it to save the image. Apart from vectorizing an image using illustrator, you can also embed images using illustrator.
We also recommend that you check our in-depth article on how to add a drop shadow in Illustrator.
Leave a Reply
You must be logged in to post a comment.