Illustrator is one of the best photo editing software out there. Illustrator can carry out various photo manipulations such as adding texture, Pantone colors and blending. You can incorporate texture into strokes and fills, as an overlay, or with a mask to give your illustrations a distinctive and more stylized appearance.
2 Steps to Add Texture In Illustrator
Step 1:
Select the shape or Object to that you want to add texture.

Under the toolbar on the bottom, click the square in front of the circle icon, then select Draw Inside.
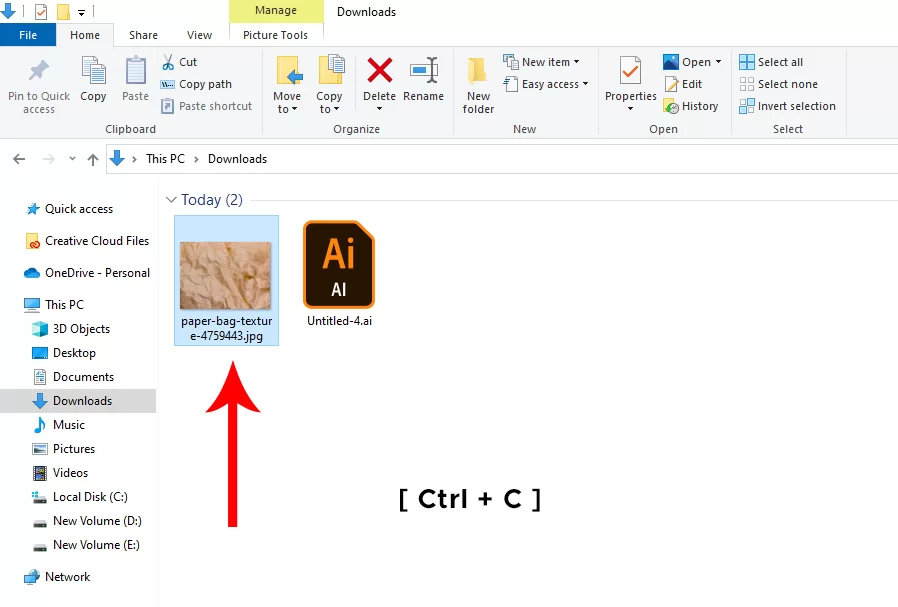
Go to your file wherever you put your texture image. Now select and copy the texture image.
You can copy the texture image with the short key [ Ctrl + C ]. Or you can also put this on illustrator and then copy it inside Illustrator.
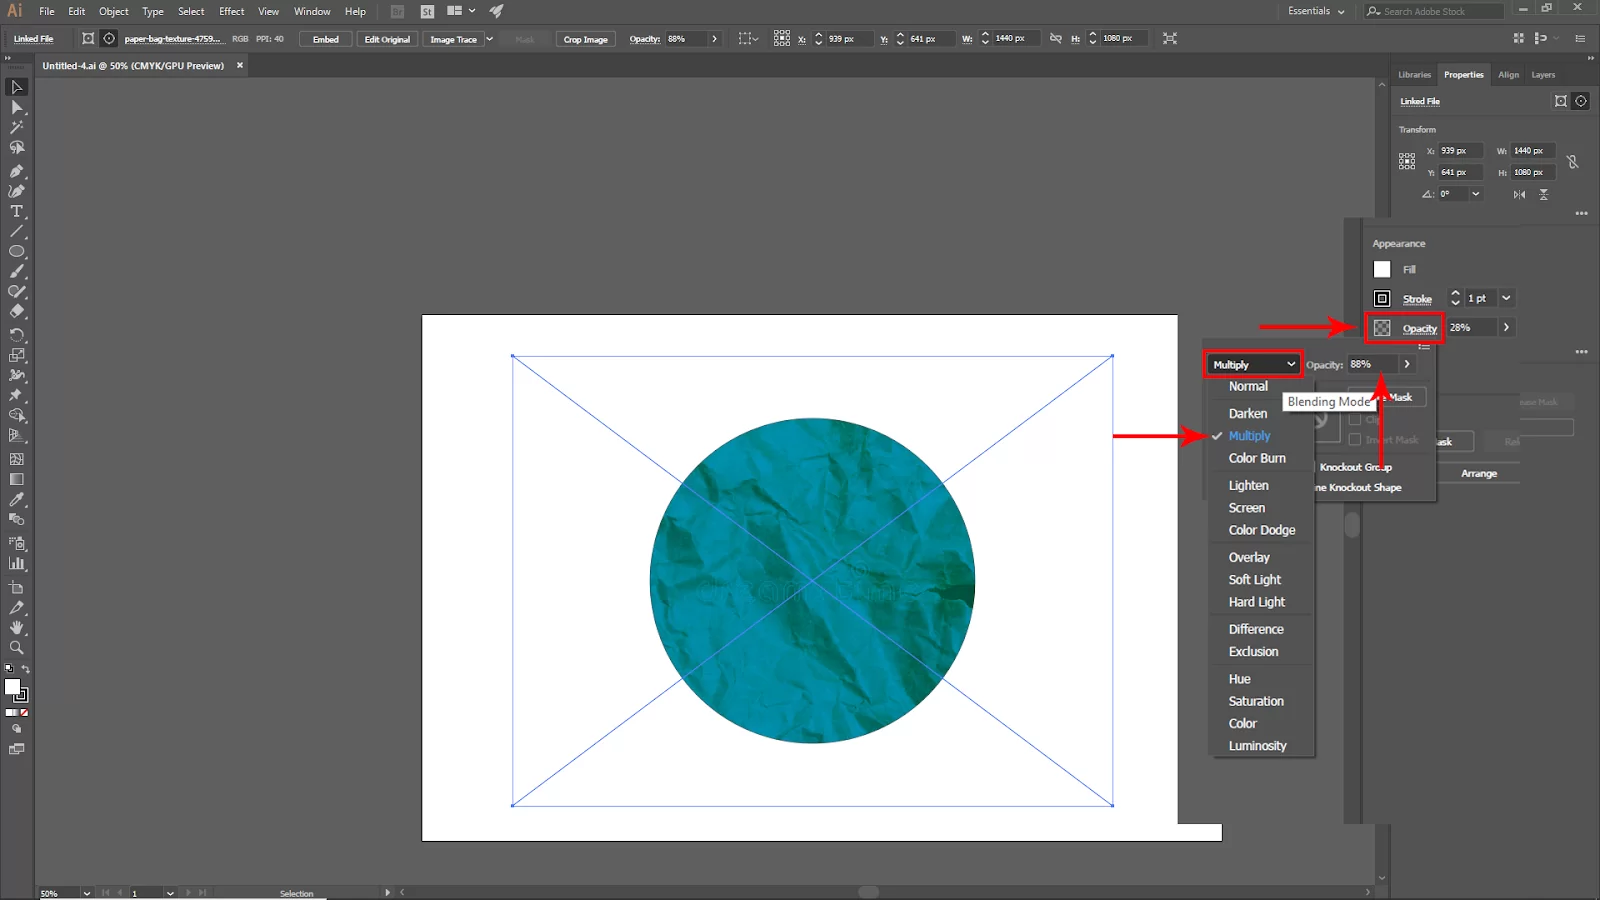
Select the shape or object you want to add and paste the copied texture into the shape. Just click [ Ctrl + V ] on the keyboard. And your texture is added to the shape. Now go to the layer panel. If you haven’t opened the layer panel yet, go to Window > Layers. Select the texture layer.
Step 2:
Next, go to the Properties panel, and under Properties, you will find the Opacity and Blending settings. Now choose the Blending mode of the texture. The blending mode depends on your texture.

For this texture, we will be using the Multiply mode. Now set the opacity level of your texture. To match your design.
Using Texturizer Effect to Add Texture in Illustrator
Using the Texturizer effect is a good starting point when adding texture in illustrator. Select the parts of the artwork you want to stylize, then select Texturizer under Effects > Texture.
There are four styles available in the Texture dropdown menu of Texturizer. The remaining five textures in this set of effects are also available for testing. It would help if you utilized the controls on the right to change the texture properties. The strokes and the fills of your chosen artwork will use texture.
Apply the texture, then leave the image selected. To have the image interact with the background, choose Multiply from the Blend Mode dropdown in the Transparency panel. Select Edit > Copy, followed by Edit > Paste in Back. This should be done if the custom is too light.
We also recommend that you check our article on how to curve text in Illustrator.
Overlaying Bitmap Images To Add Texture in Illustrator
Did you know that your artwork can be overlaid with a bitmap texture for a more dramatic appearance that looks well on posters and wall art? Black-and-white raster pictures, known as bitmaps, are available from various sources. Illustrator also works best with bitmap files in the TIFF format since you can apply colors, blend modes, and utilize them as a mask.
The stock images and those you photograph by yourself must be converted to the right format before they can be used in illustrator. To do this, you will have to use another editing software—photoshop.
Choose Grayscale under Image > Mode. Then select Bitmap under Image > Mode. The grayscale image’s levels and curves can optionally be changed before you convert it to a bitmap. Finally, pick TIFF from the dropdown menu by choosing File > Save As. It would help if you always used the default saving options.
The next thing you have to do is to overlay bitmapped texture in illustrator. You need to start by creating a new layer. Start by clicking the plus icon in the layer panel; this would cause a new empty layer to appear at the panel’s top.
Afterward, import your bitmapped TIFF file by selecting File > Place. You are free to choose a fill for the bitmap in the Colors panel, then fiddle around with the Blending Mode settings in the Transparency Panel to achieve the desired effect.
How To Use Texture With Opacity Mask in Illustrator
A bitmapped texture masks or shows what is beneath an artwork. The illustrator considers white pixels as transparent images, whereas black pixels are opaque.
When the item color needs to show through the design on clothing and other products printed with solid inks, this method becomes especially effective.
Check out this in-depth guide on how to colorize using Illustrator.
Start by choosing the artwork you want to texturize with the bitmap picture you put. Click Make Mask in the Transparency panel to begin and turn off the Clip option if necessary.
Leave a Reply
You must be logged in to post a comment.