Underlining text in InDesign can be very helpful for accentuating certain words or making sections of your document stand out. With InDesign, you can quickly and easily underline any text you’d like with just a few clicks. We’ll show you easy steps to underline any text in your InDesign document.
How to Underline Text in InDesign
Step 1

Create a document or open the file and select the text that you want to underline.

Step 2 click type> character
Step 3
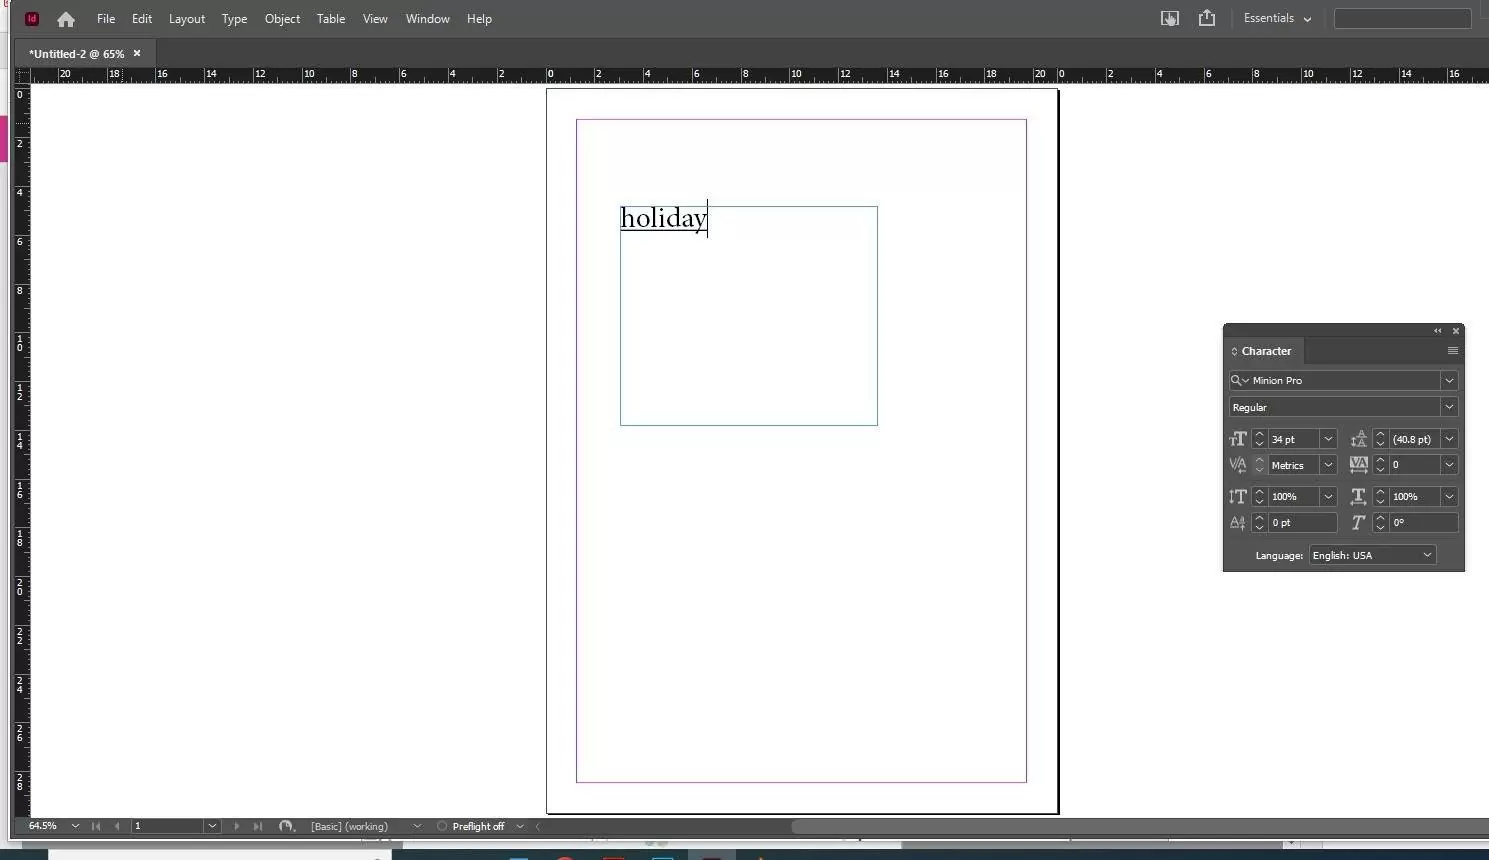
After opening the character panel, you can select the text that you want to underline, and then you can see this option appear in the character panel. Then you can see that the underline option selects this option.

After selecting the underline option, the text will underline, and successfully you can underline any text by using this method.
You can also check out our detailed guide on how to wrap text in InDesign.
Changing Underline and Strikethrough Options
Custom underlining is very useful when creating an even underline below characters of varying sizes. It is also useful for creating special effects such as background highlights. Follow the steps below to change underline and strikethrough options in Adobe InDesign.
Step 1
Go to the character panel menu or the control menu. Next, choose the Underline Options or Strikethrough Options.
Step 2
To turn on underline or strikethrough for the current text, select Underline On or Strikethrough On. Follow the below tips to edit the Underline and Strikethrough to your taste.
You can also choose a weight or type a value to determine the thickness of the Underline or Strikethrough. So, choose a higher value if you want your Underline or Strikethrough to be heavier.
You can select one of the Underline or Strikethrough options to change the Type.
If you want to edit the Offset, you need first to determine the vertical position of the line. The offset is measured from the baseline, and negative values move the Underline above the baseline and the strikethrough below the baseline.
If you want to ensure that the stroke doesn’t knock out underlying inks on a printing press, then you need to select Overprint Stroke.
If you want to choose any line type other than solid, you need to choose a gap color or tint. This will change the area’s appearance between the dots, lines, and dashes.
If the underline or strikethrough will be printed over another color and you wish to avoid errors that may occur because of misregistration, then select Overprint Stroke or Overprint Gap.
We also recommend that you see our information packed guide on how to Slug in InDesign.
What is The Benefit Of Underlining?
Underlining your text has many benefits both for you and your reader. One of the benefits of underlining is the fact that it will make your content more scannable. Your readers will be able to identify words and phrases that carry more weight in your text.
Underlining will also help engage your readers because it will make them focus on specific words you want. Underlining also comes with SEO advantages. When you engage your readers with well-underlined text, it will make them stay longer on your website, which will ultimately increase your Google ranking.
If you enjoyed reading this article, you will also like our in-depth guide on How To Change Page Size In InDesign.
Leave a Reply
You must be logged in to post a comment.