In InDesign, triangles can be used for a variety of design elements such as arrowheads, bullet points, or shapes to create visual interest in a layout. They can also be used to create geometric patterns, as well as to divide or emphasize specific areas of a design. Triangles also have the advantage of being a very versatile shape, they can be easily transformed and manipulated to fit different design needs and can be used to create a sense of movement or direction in a layout.
We’ll show you the steps to use triangles in InDesign to add visual interest, emphasis, and structure to your designs
How to Make a Triangle in InDesign
Create document and select the polygon tool from tool panel
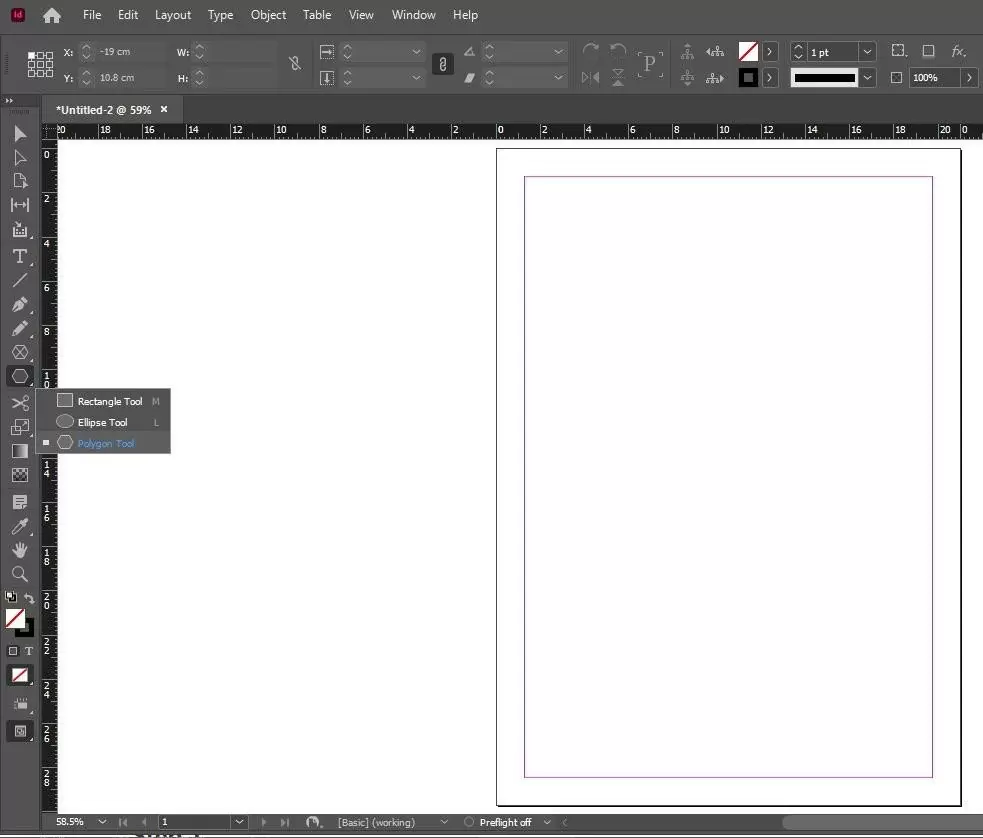
after selecting the polygon tool double click on the page then the panel of the polygon page will open where you can select the number of sides select 3 then click on ok
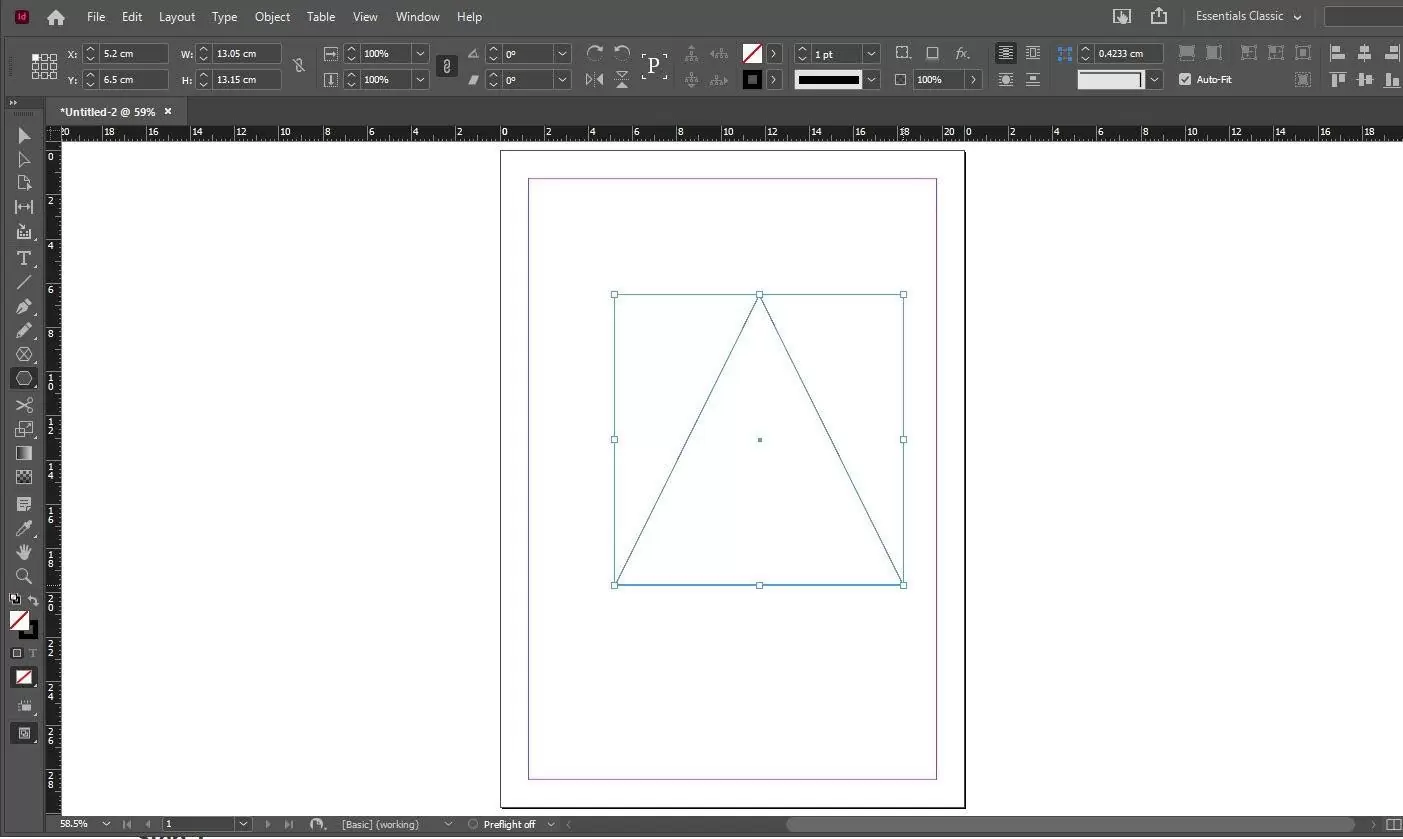
after the selecting side number, you can draw the triangle easily
We also recommend that you check our in-depth article on how to curve text in InDesign.
Making a Triangle Using The Pen Tool
I’ve already shown you how you can make a triangle using the Polygon Tool. Allow me to show you how to make a triangle using the Pen Tool.
Step 1
Start by switching to your Pen Tool. You can switch to the Pen Tool by going to the tools panel or pressing the shortcut P.
Step 2
First, you’ll need to set your first anchor point. You can do this by clicking anywhere on your page. To create the second anchor point, click again and also do the same to create the third anchor point. Now return to the original point and click again to close the shape.
Step 3
You are allowed to modify the placement of your anchor points as you draw the triangle. To modify your anchor points placement, hold down the Shift key and it will draw a straight line at a 45 or 90 degrees angle. It will draw these angles very close to your click locations.
You can also check out very informative guide on adding pages using InDesign.
How To Make a Right Triangle in InDesign
Making a right triangle is very easy when using InDesign. It doesn’t use the Polygon Tool which makes it a bit counterintuitive but it’s worth a shot all the same.
Step 1
The first step is to switch to the Rectangle Tool using the Tools panel. Alternatively, you can use the keyboard shortcut M. When you are done, click and drag on your page which will create a rectangle.
Step 2
Your rectangle will still be selected by now. While it is selected, switch to the Pen Tool using the Tools panel. You can also use the keyboard shortcut P. One of the best things about the Pen Tool is that it is flexible and context-driven. It changes to the Delete Anchor Point Tool when hovering over an existing anchor point.
There is also the option of switching directly to the Delete Anchor Point Tool by using the Tools panel. Alternatively, you can use the shortcut (-). But it is advisable to get used to working with the Pen Tool because it is very flexible.
Step 3
You can use the Pen or Delete Anchor Point Tool and place your cursor over one of the four anchor points you created. Click once to remove it. When you do this, InDesign will close the shape between the remaining points which will create the hypotenuse of your right triangle.
How To Make an Equilateral Triangle
To create an Equilateral triangle using InDesign is a bit difficult. Creating an equilateral triangle in InDesign is a bit more complex. Remember in math class, the side of an equilateral triangle is the same length, which forces each internal angle to equal 60 degrees.
When you combine the Polygon Tool and Scale command you can create an Equilateral Triangle as long as you can remember 86.603%!
Step 1
The first step is to switch to the Polygon Tool and click once on your page. This would open the Polygon dialog window. Now, enter equal values for the Polygon width and Polygon Height. Ensure that the number of the sides are set to 3 and click OK. At this point InDesign will draw your triangle, but it isn’t yet complete.
Step 2
Open the Object menu and select the Transform submenu and click Scale. Remember that you need to do all this with the Triangle selected.
To separate the Scale X and Scale Y dimensions in the Scale dialog window, click the tiny chain link icon. Then, enter 86.603% in the Scale Y field. Click OK after leaving the Scale X field at 100%.
If you enjoyed this read, you will definitely like our step-by-step guide on How To Link Text Boxes In InDesign.
Leave a Reply
You must be logged in to post a comment.