Page numbers are an important part of any document, and InDesign makes it easy to add them. Page numbers allow readers to easily refer back to specific sections of the document and can give a more professional look. They can also be used for cataloging documents, making it easier to find the content you need quickly. With InDesign, adding page numbers is a simple process that doesn’t require any coding or design experience.
How to Add Page Numbers in InDesign
Step 1
First of all, it is to open your document. To automatically add page numbers in InDesign, ensure your document has multiple pages.
Step 2
Find the Pages panel in your workspace. You can find it by going to Windows> Pages if you don’t see it.

With the Pages panel open, double-click the parent page to open it.
Step 3
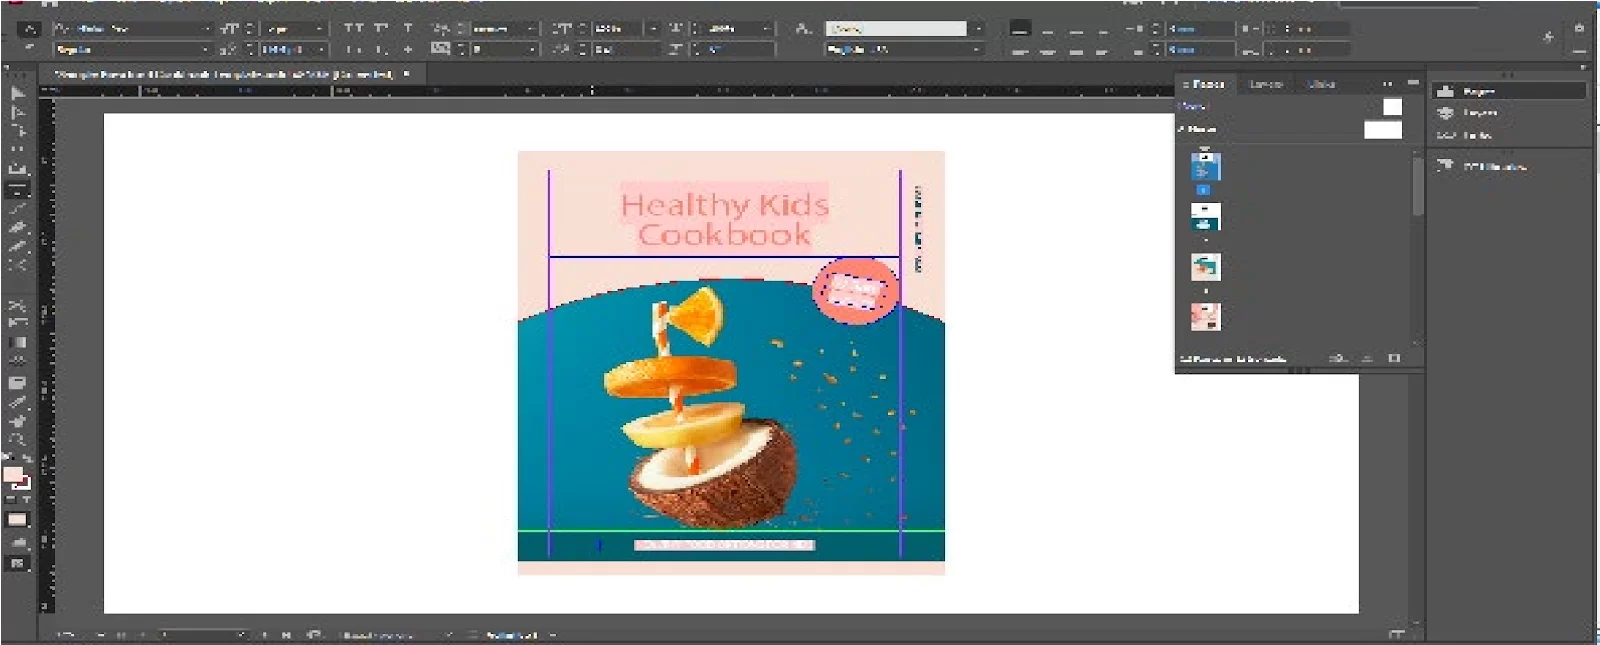
Select the Text tool from the toolbar and click anywhere on the right to start a text field.
Then go to Type > Insert Special Character > Marker > Current Page Number.

Step 4
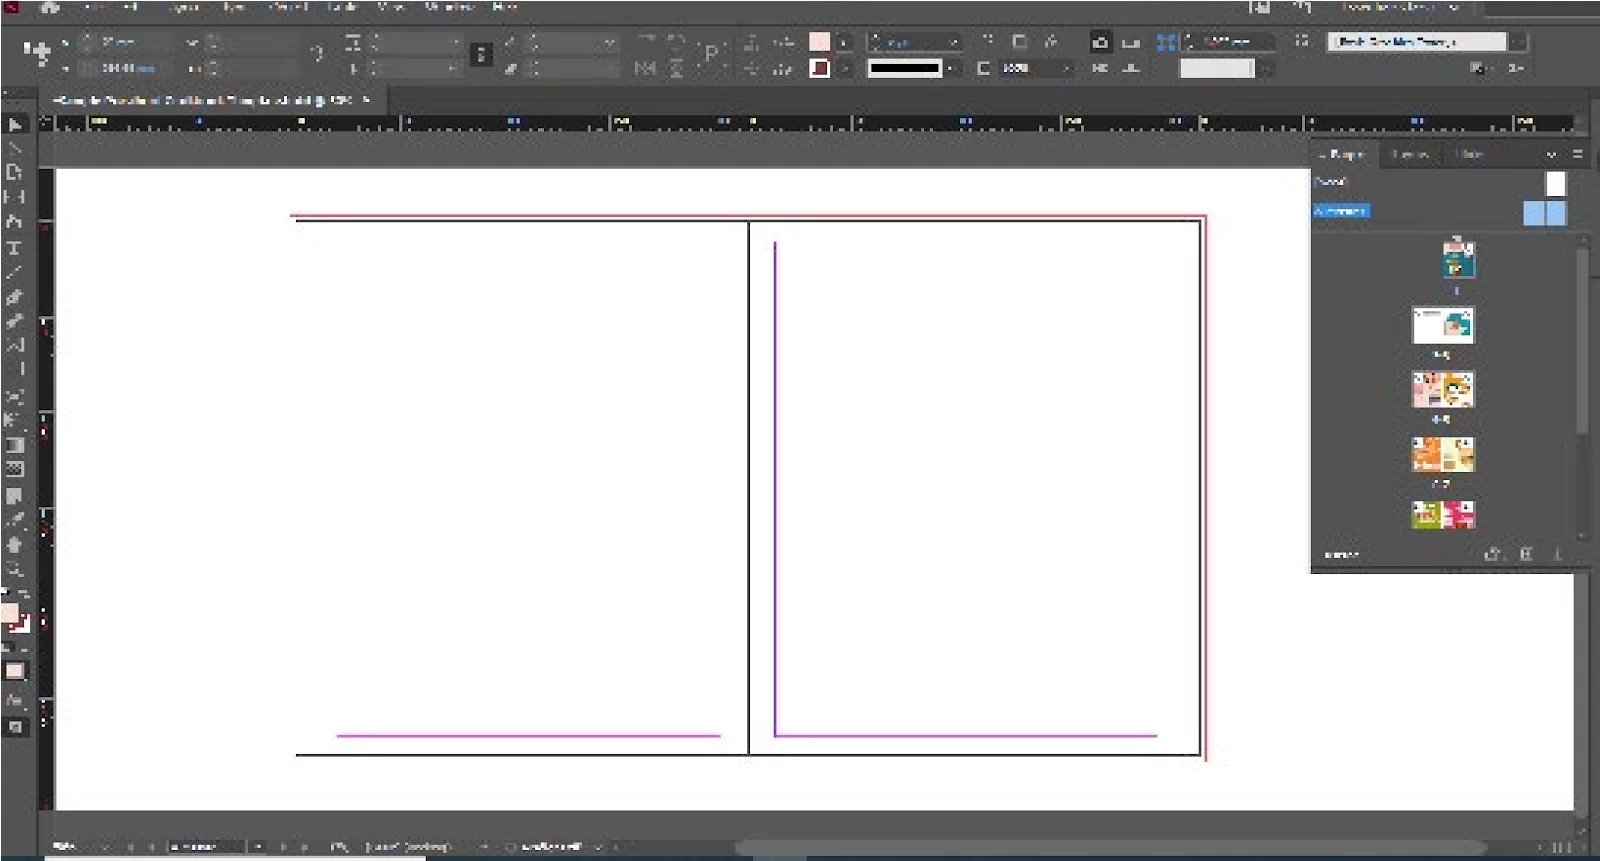
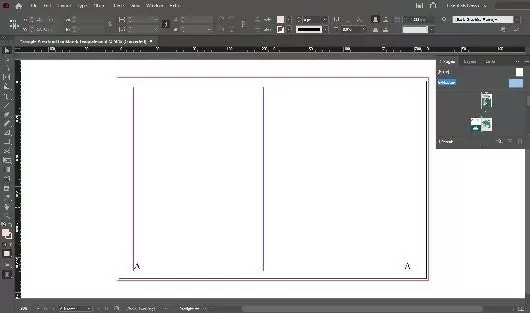
InDesign places an A symbol here on the parent page. Then double-click the right parent page and repeat the process again. Put your text below and go to Type > Insert Special Character > Marker > Current Page Number.
Adjust the A icon and move it to where you want the page number so that both parent pages display the page number. Adjust the character style to match your document. This makes InDesign page numbers more cohesive.
One of the cool things about this technique is that page numbers are now visible on every page.

In this tutorial, I tried to explain all the important things a user has to do when placing page numbers in InDesign.
You learned how to add page numbers in InDesign automatically. You can use it here for books, magazines, design briefs, presentation materials, resumes, etc.
You can also check out our detailed guide on how to insert images in InDesign.
How Do InDesign Page Numbers Work?
If you wish to insert page numbers into your InDesign, you have to use a placeholder called Current Page Number. You can place the placeholder on any page or master page of your document. This placeholder will display the page number or the master page prefix.
Every page to which you have assigned a particular master page will display this variable when it is present as the Current Page Number placeholder. If you alter the master page’s placeholder’s assigned style, all the numbers will update to that style.
How To Change Page Number Style In InDesign
InDesign offers different types of page number styles. The different styles are Arabic, Roman, and Letters. Follow the steps below to change the page number style in InDesign.
Step 1
Go to the Pages panel and select the first page of the document. Next, right-click on it and select Numbering and sections.
Step 2
Now change the page Numbering style and click OK. The numbers in your InDesign document should now have a fancy new style.
How To Skip the First Page When Numbering in InDesign
InDesign, by default, likes to start Numbering from the first page. However, there are times when you will want to start the numbering from a different page. An example is when page 1 is the cover of the document. In this case, what we have to do is to create a section in InDesign.
If you force numbering to start with the number 1 on a page different from page 1, InDesign will display a warning. However, you can avoid this warning by creating a new section, changing the number style in the first section, and making the numbering start with the number one from the new section. Follow the steps below.
Step 1
Go to the Pages panel and select the page that you want to start the numbering. Then, right-click on it and select Numbering and sections.
Step 2
Now click OK. You can change the number style in the first section by selecting the page, right-clicking on it, and selecting Numbering and sections. Next, change the page Numbering style and click OK.
Step 3
Once more, choose the page from which the second half of the InDesign document begins in the Pages window. Right-click on it and choose Numbering & Section Options. Now Change the number to 1 after you select Start page Numbering at. Select OK.
If you enjoyed reading this article, you will also like like our answer to the question of “What is Overset Text in InDesign?”
Leave a Reply
You must be logged in to post a comment.