Images can be used to illustrate a point or to add branding or design elements to the document. They can also be used to create infographics or diagrams to make complex information more easily understandable. Inserting an image in InDesign allows you to enhance the visual appeal and add more information to your document. It can help to break up text-heavy pages and make the document more engaging for readers.
We’ll quickly go over how to insert images in InDesign.
How to Insert Images in InDesign
Step 1
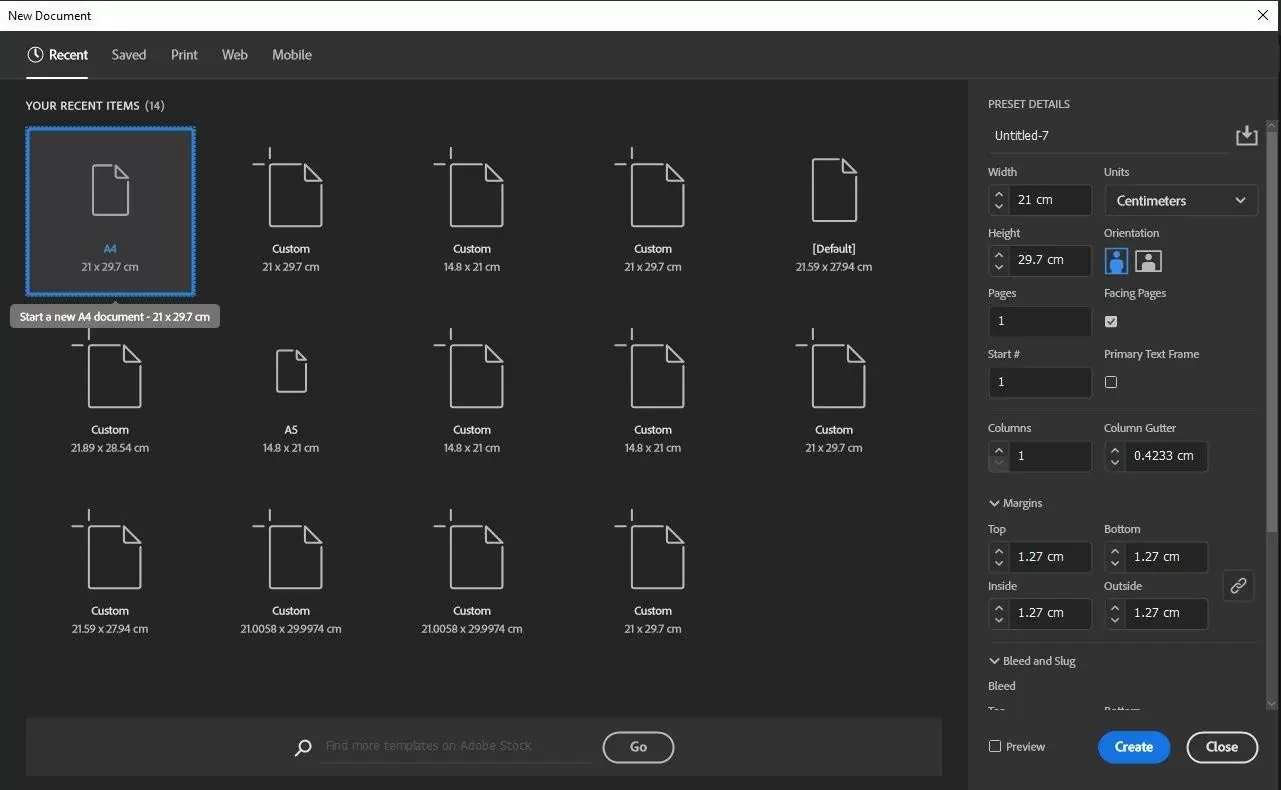
You will need an InDesign document if you haven’t already. Launch InDesign and go to File > New > Document. (Or use the keyboard shortcut Apple-N on Mac or Ctrl-N on PC.) Then select the document details and dimensions (leave the defaults) and click OK.
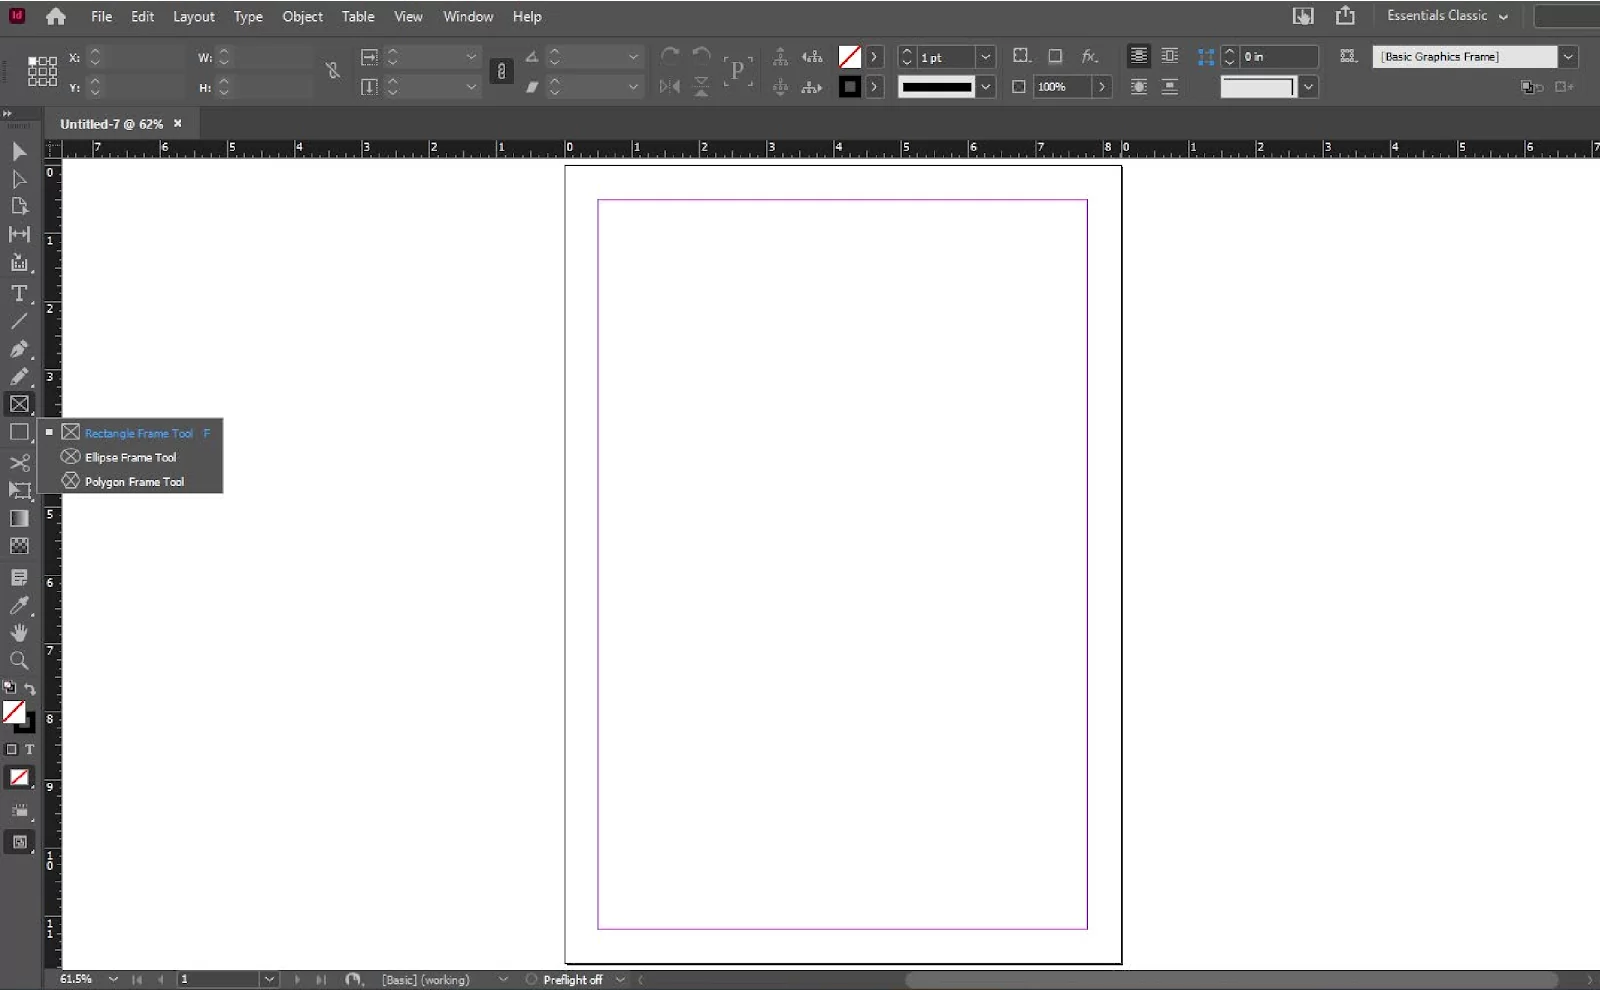
Step 2: Select the frame tool. Creating an exact frame interface depends on how your workspace is set up.

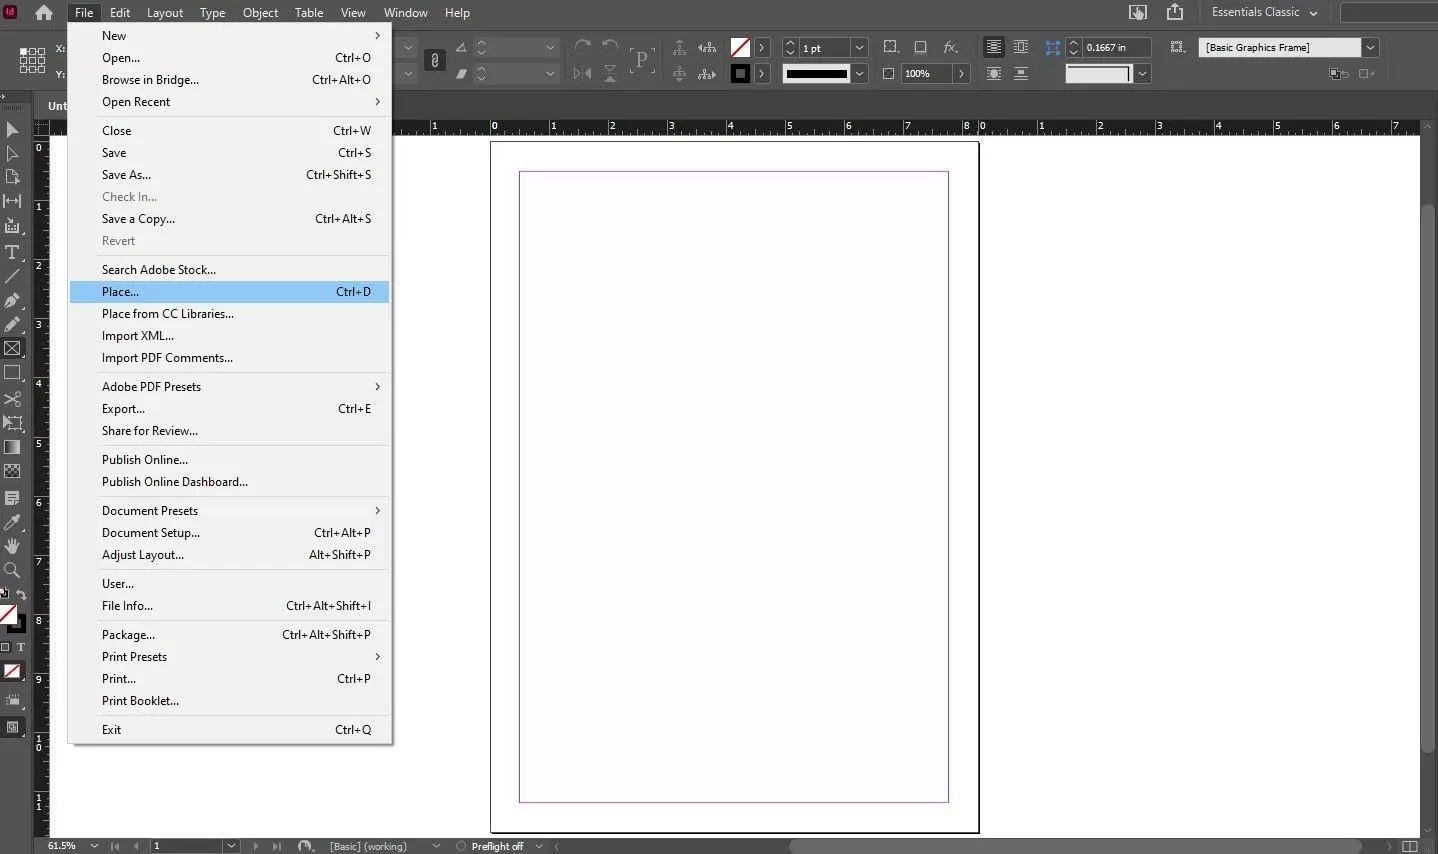
Select the white arrow tool and click on the item frame. Go to File > Place… (default shortcut is Apple-D on Mac, Ctrl-D on PC). InDesign prompts you to select an image to place. Locate the file on your desktop or a folder where it is saved and click Open. The image is displayed in a frame.
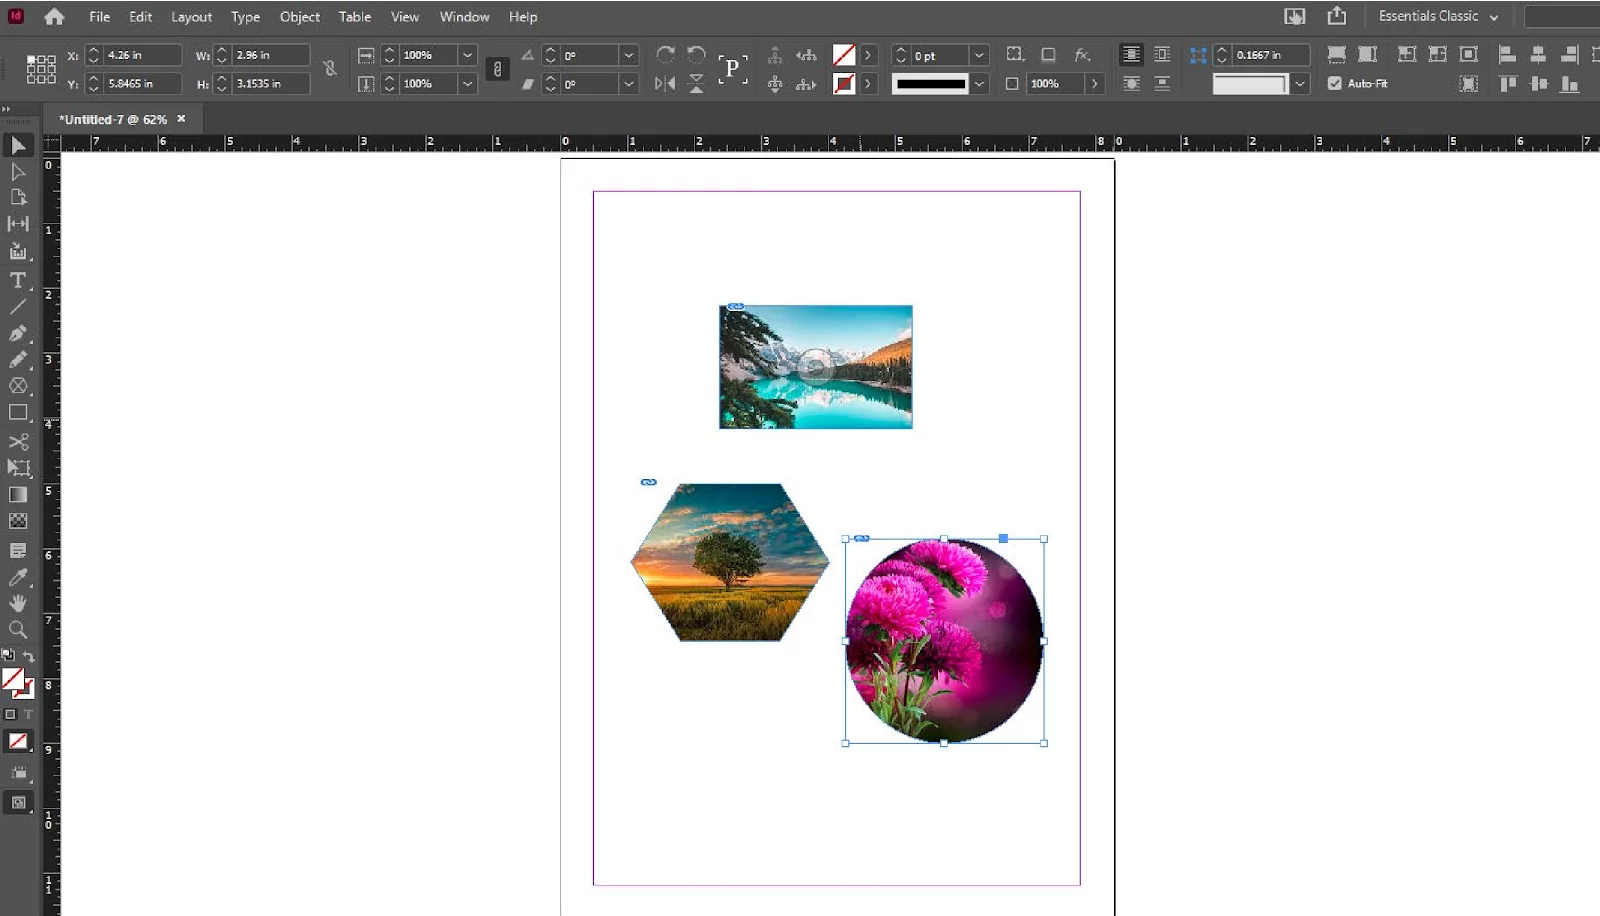
Select image
In this way, you can place the image in the InDesign document
We also recommended that you check our in-depth article guide on how to add page numbers in InDesign.
Placing images in InDesign with text inside
There are two main ways of dealing with images that have text and have to be placed in an InDesign text. The two main ways are placing the text in the image and placing labels on the image in InDesign. It is usually advisable not to place text inside an image because you can’t control the text properly, making it hard to translate the document.
However, by creating an image with text inside, you will make that image unique to the language version of the document. This means that the image will also need to be translated when you use the at any future translation.
The scenario painted above can become a major problem since you might have to recreate the image in each language from scratch.
Also, you should note that InDesign spell-check doesn’t work inside images. This means that you won’t be able to use the paragraph and character styles from your InDesign file to give the style to your text.
Also, when you create an image with a textual part, you give away some of your control over the text itself. An organization issue can also come up when you are working with many duplicates of the same image in different languages. This might lead you to make costly mistakes, such as deleting an important image or linking the wrong file. If you must create a new version of the image, you need to duplicate that version for each language and manually edit each image.
The second way of dealing with images with text that have to be placed in an InDesign is by placing labels. You can create text labels in InDesign, place them over the image, and group the image with the labels. There are times when placing the labels in InDesign will need a bit more time than just importing an image that has text. However, the effort will help you be more organized.
To ensure that the labels are in the right place, group them. Start by selecting the labels and the image and click on Object. When you are done, select Group. Alternatively, you can use the shortcut Cmd + G on macOS or Ctrl + G on Windows.
If you liked reading this piece, you will also enjoy our guides on How to Add Page Numbers in InDesign and using oversets in InDesign.
Leave a Reply
You must be logged in to post a comment.