The ability to create transparent backgrounds can open up a whole new realm of possibilities in your designs. Whatever design you’re working on, having the skills to make the background transparent can elevate your illustrations and designs.
In this article, you will learn how to make the background transparent in Adobe Illustrator. You’ll take your Illustrator skills to the next level and discover the true potential of transparent backgrounds.
How to Make Background Transparent in Illustrator
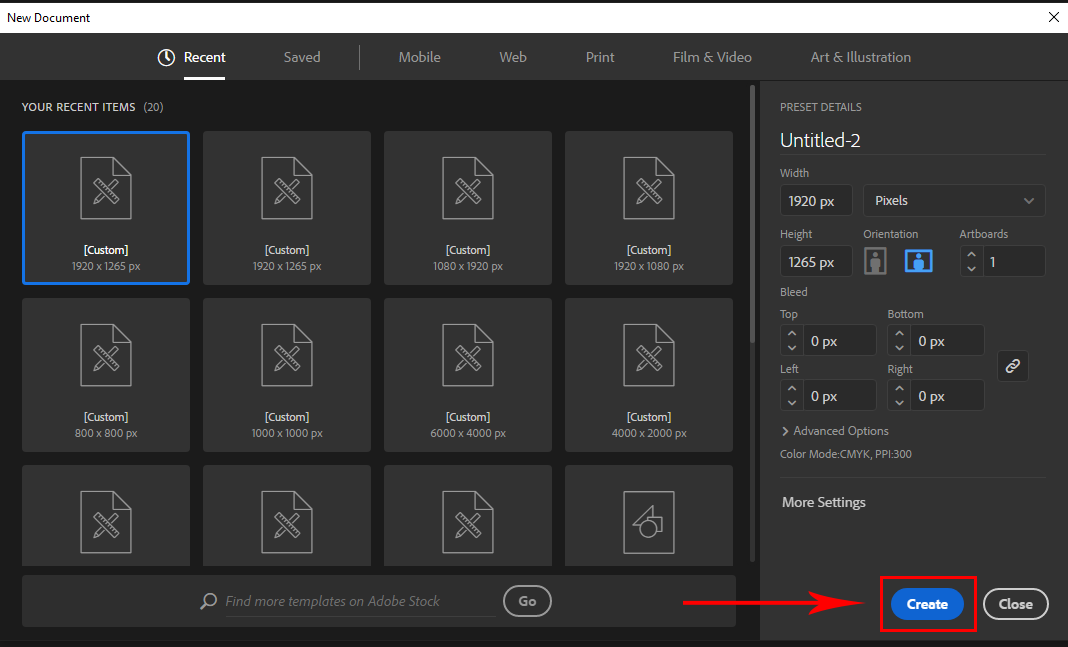
First, we need to open Adobe illustrator. And create a blank project, click Create New or you can go to File > New for the short key win [Ctrl + N] or Mac [Cmd + N].

And you will see your New Document panel will open. Here you find the artboard setting. Click Create to create your new artboard.

If you have an existing file, go to File > open and select your File. Short Key win [Ctrl + O] and Mac [Cmd + O]. To import your image, you can use drag and drop. Just drag your photo from your file and drop it in illustrator.

Or you can go to File > open and select your image from the file. Short Key win [Ctrl + O] and Mac [Cmd + O], Then click Open.

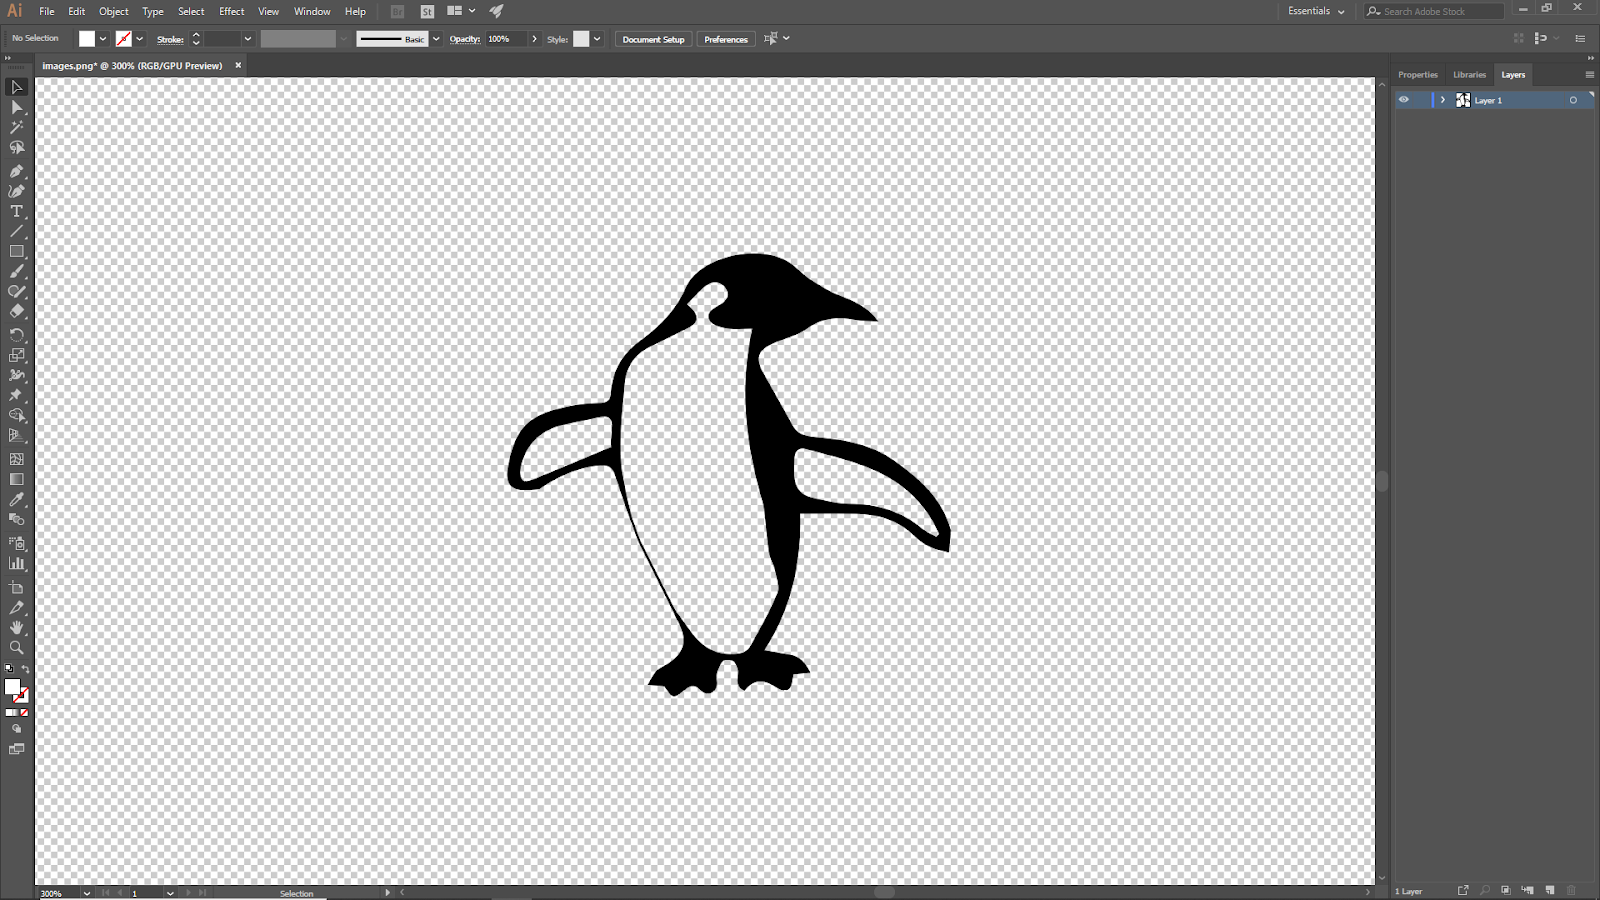
In this method first, we will see the Tranceperency Gride of the image. To see this go to View on the upper menu and click on Show Tranceperancy Grid. Or you can use the short key [Sift + Ctrl + D].

Now it will show you some white and gray grids. If your image background also turns into the white and gray grid that means it’s ready to export as a transparent. If it shows white background first, remove it and then redo the processs.

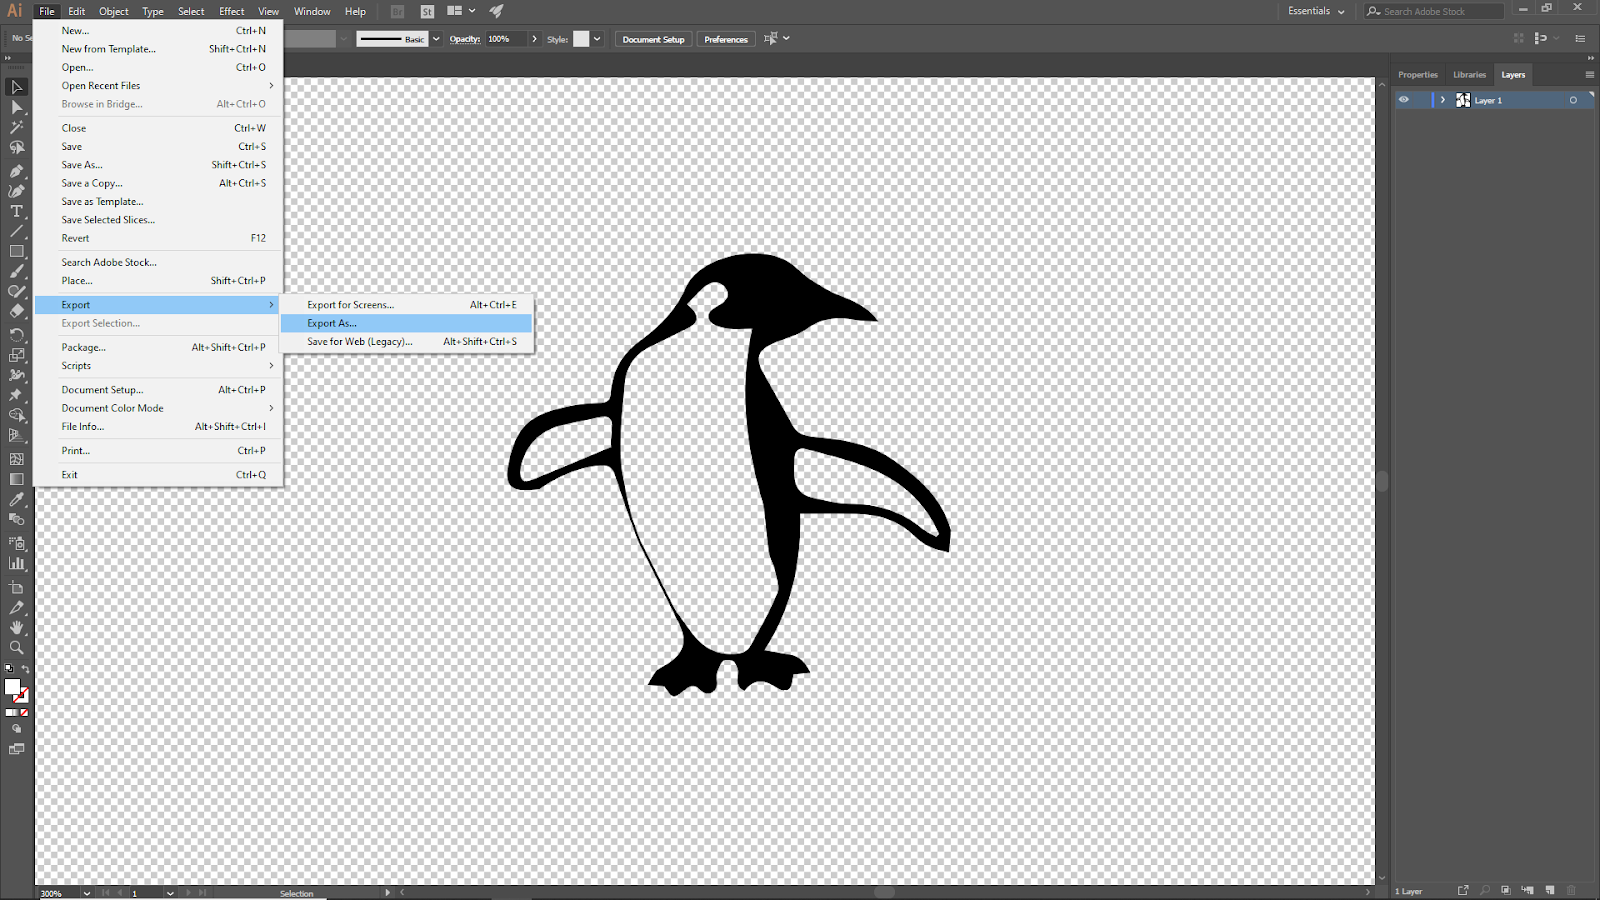
Go to File > Export > Export As, and now you should see many file formats. For a transparent background, Select PNG file format. And now, select your file destination and click on Export.

Now your transparent background is ready.
How To Use Image Tracing To Make Image Transparent in Illustrator
Using an image tracing method is the simplest approach to vectorize your original image in Illustrator while removing the white backdrop. This means that your image might appear a little cartoonish after tracing, but since it’s a vector design, there shouldn’t be much of a problem. Follow the steps below to use this method.
Step 1
Start by inserting your image into illustrator and then embed it. You can insert two images; a vector graphic and a genuine photograph.
Before continuing, you may want to verify that your image genuinely has a white backdrop. Although it may seem white on the artboard, the background is transparent. You may make the artboard transparent by selecting Show Transparent Grid from the View menu. Use Shift + Command + D as a shortcut.
Step 2
Select Window > Image Trace from the top menu to see the Image Trace panel. If you need to check a box on the Image Trace panel, you don’t need to do quick Actions.
Step 3
For the next step, you will see the various options on the panel after selecting the image. Proceed to change the Palette to Full Tone and the Mode to Color. Ignore White can be selected after expanding the choice using Advanced.
Step 4
Your traced image will appear without the white backdrop when you click Trace in the bottom-right corner.
How To Use Clipping Mask To Make Image Transparent in Illustrator
When you remove the white background using a clipping mask, you get to keep the quality of the original image. If the image is complex, obtaining a flawless cut will take some time, especially if you’re unfamiliar with the pen tool. Follow the steps below to use a clipping mask to make an image transparent.
Step 1
The first step is to insert your image into illustrator. Insert the image into Adobe Illustrator and then embed it. You can use the clipping mask technique to eliminate the white background from an image.
Step 2
From the toolbar, select the Pen Tool.
Step 3
Finally, select both the pen tool stroke and the image. Also, If you wish to save the image with a transparent background for later use, you can export it as a png file and select Transparent as the background color.
Leave a Reply
You must be logged in to post a comment.