Tracing an image in Illustrator is useful for converting a raster image, such as a photograph, into a vector image. The image can then be edited and resized without losing quality. This comes in very handy when creating logos, illustrations, and other designs that need to be used in different contexts and at different sizes.
Additionally, tracing an image can also be used to create a clean, simplified version of a complex image. I’ll show you a few methods I use to trace images in Illustrator.
How to Trace an Image in Illustrator
Illustrator has color limits, so you can not use your real images to vectorize or trace the images. It works only under 2 to 30 color images.
First, we need to open Adobe illustrator. And create a blank project, click Create New, or you can go to File > New for the short key win [Ctrl + N] or Mac [Cmd + N].
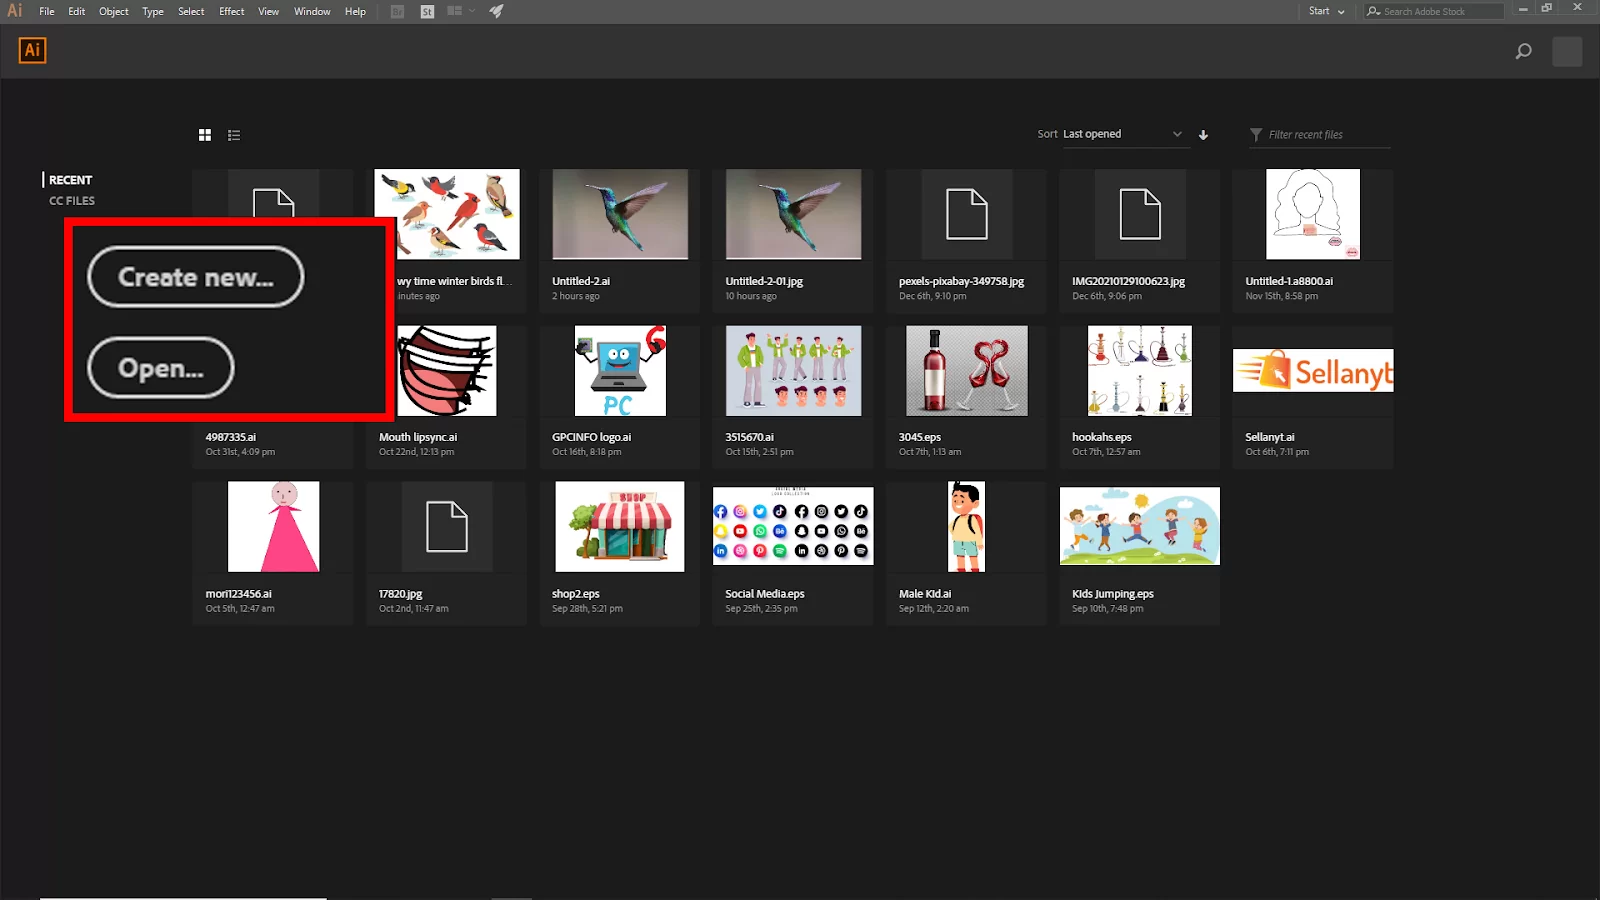
If you have an existing file, go to File > open and then select your File. Short Key win [Ctrl + O] and Mac [Cmd + O]. To import your image, you can use drag and drop. Just drag your image from your file and drop it in Illustrator.

Or you can go to File > open and select your image from the file. Short Key win [Ctrl + O] and Mac [Cmd + O], Then click Open.
Method 1:
This method is for black-and-white images.
Step 1:
Select your image and then go to the upper bar. You should see the Image Trace Option. Click on that, and your image will be traced and converted into a vector.

Now, you should see the image trace option turn to Expand. Before expanding your image, you need to create some settings for a perfect image trace. When you click Image trace, you’d find that the image is not perfect.
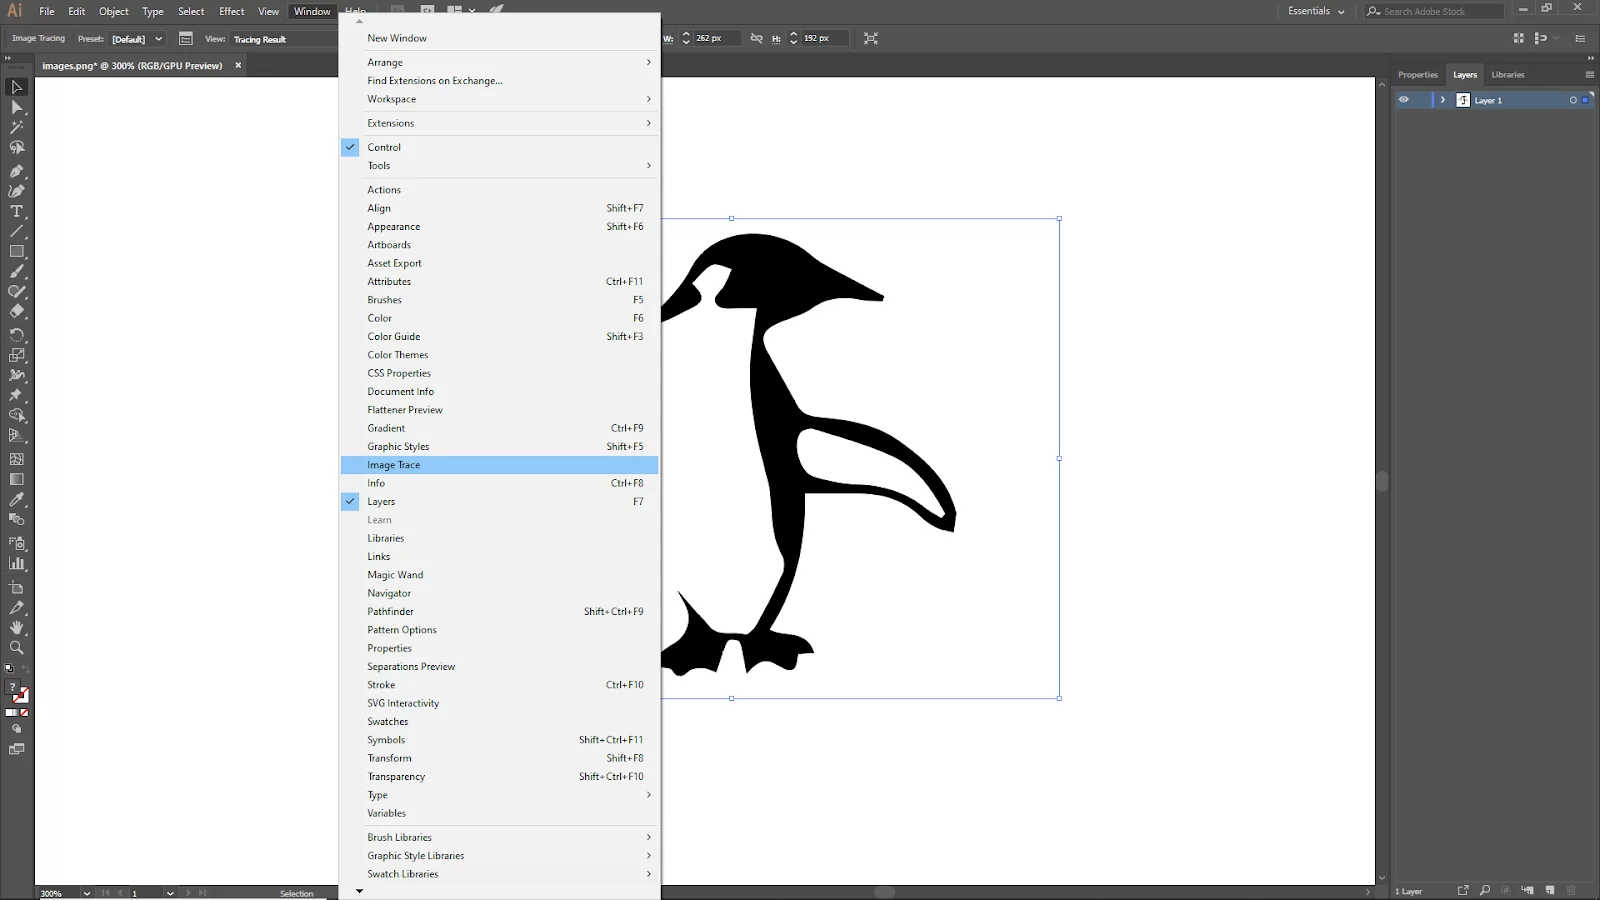
Open the Image Trace panel. To open it, go to the window and click on Image Trace. Your image trace panel should be open.
Step 2:
Now on the image trace panel, you need to fix the settings for a perfect image trace.

If you increase the Threshold, your image’s details should be smooth and sharp.
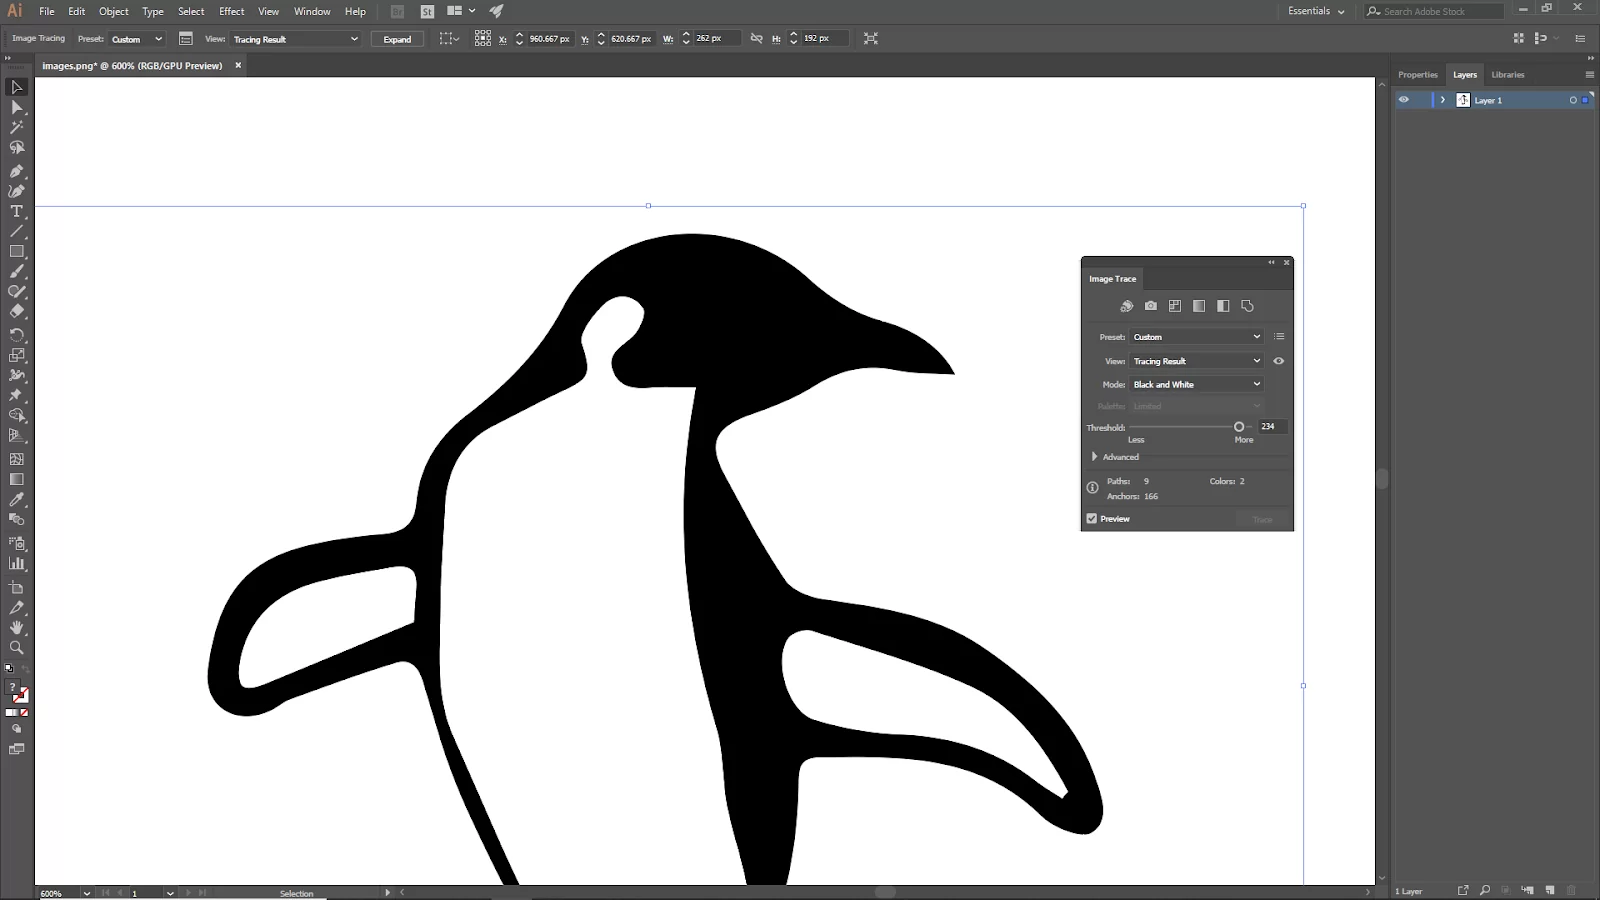
Click the drop-down arrow in Advanced. You should see some more options. These options help you to perfect the image.

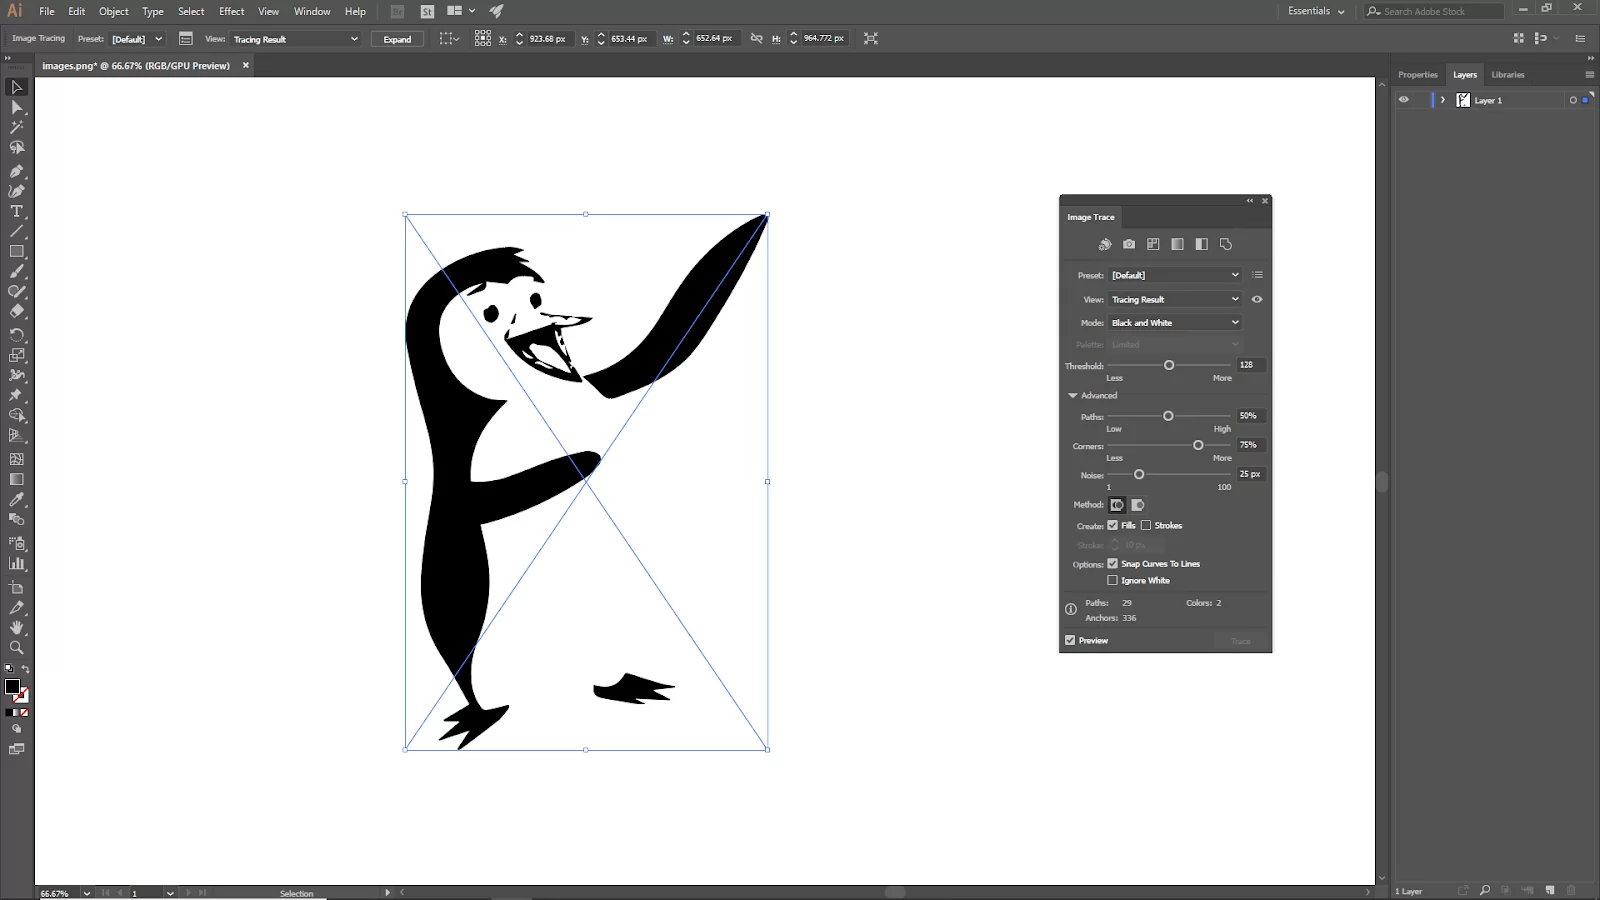
If you want to smooth the cured area of your image, increase the value of the path to smooth the corners increase or decrease them for your needs. To perfect the small details in the image, increase the noise value for your needs. Click the check box on Ignore White to deselect the white color of the image.

Click on Expand on the upper bar. Now your image is ready to use.
You can also check out our detailed article on How to add a drop shadow in Illustrator.

Method 2:
This method is used for colored images
Step 1:

Again Select your image and then go to the upper bar. You should see the Image Trace Option. Click on that, and your image will be traced and converted into a vector.
Now you will see the image turn black and white. Open the image trace panel.
Step 2:
Now select Mode to color. It will bring back the image’s color. Set the color value.
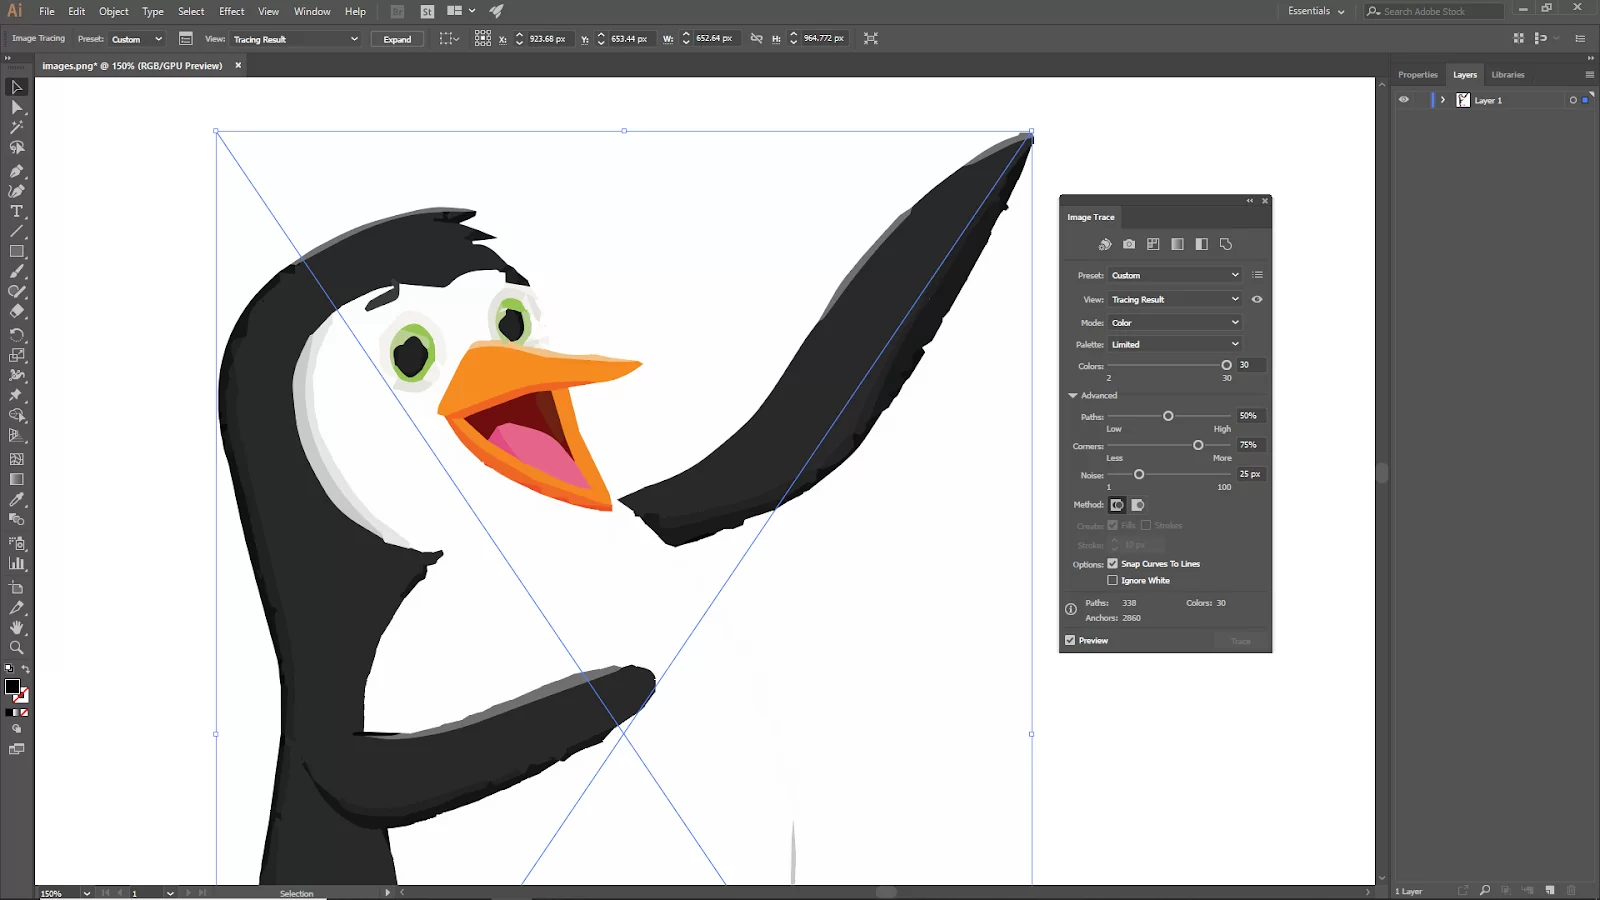
The value depends on how many colors are in your image. For this image, the color value is 7 to 10.
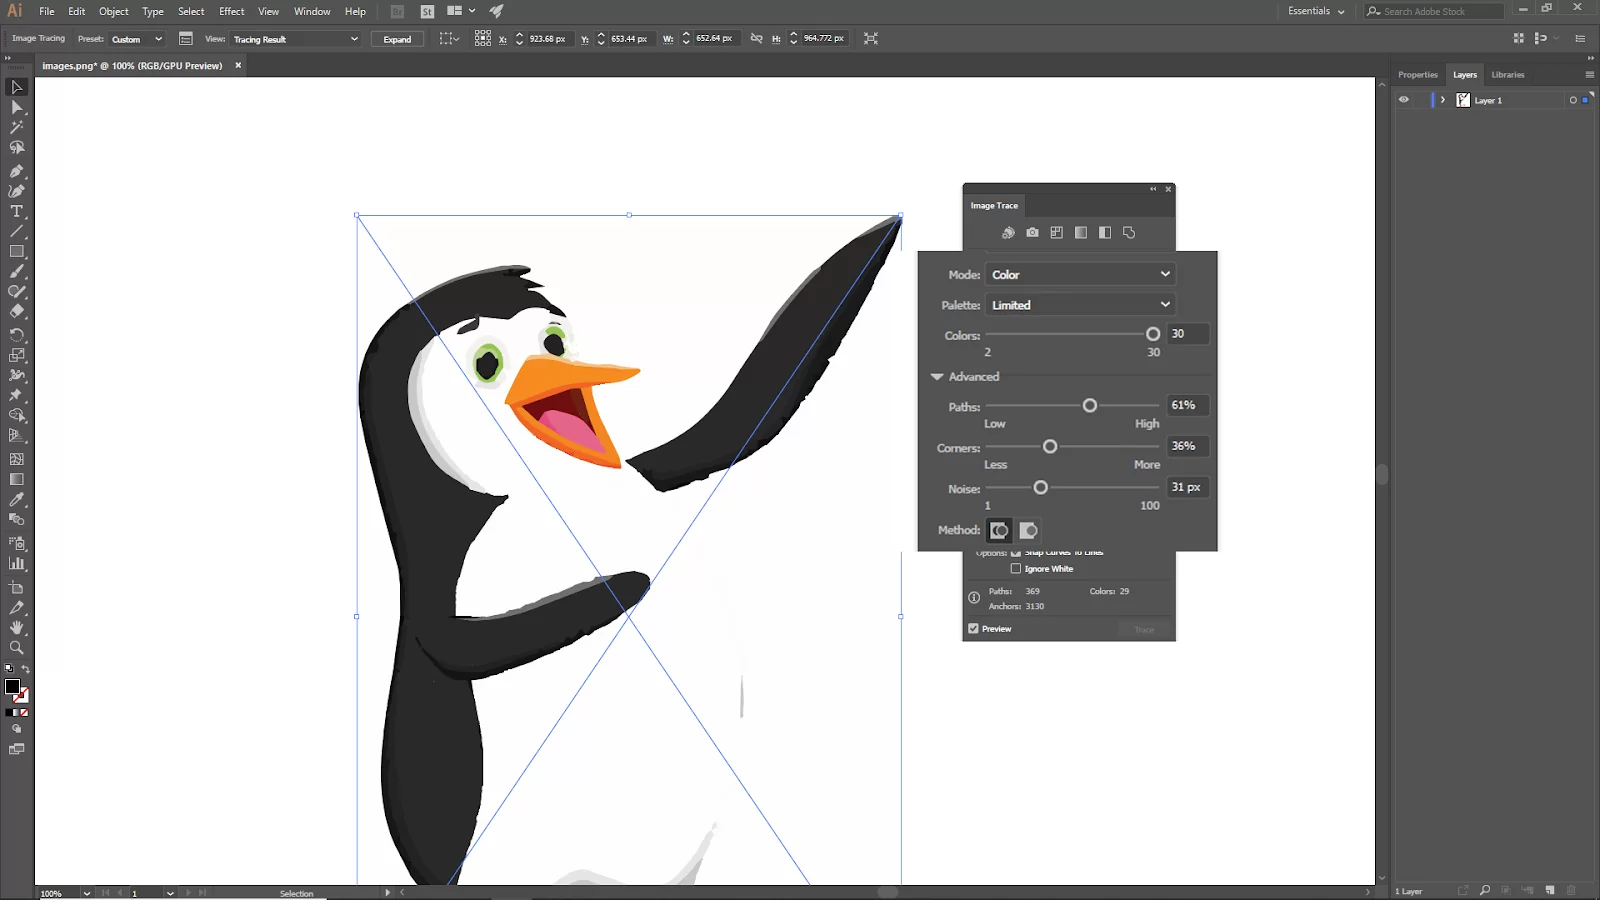
But sometimes, the color value needs to increase more. This image needs 7 to 10, but on 30, it still looks good, so select your desired one. If you want to smooth the cured area of your image, increase the value of the path to smooth the corners or decrease it according to your needs.
To perfect the small details in the image, increase the noise value for your needs.
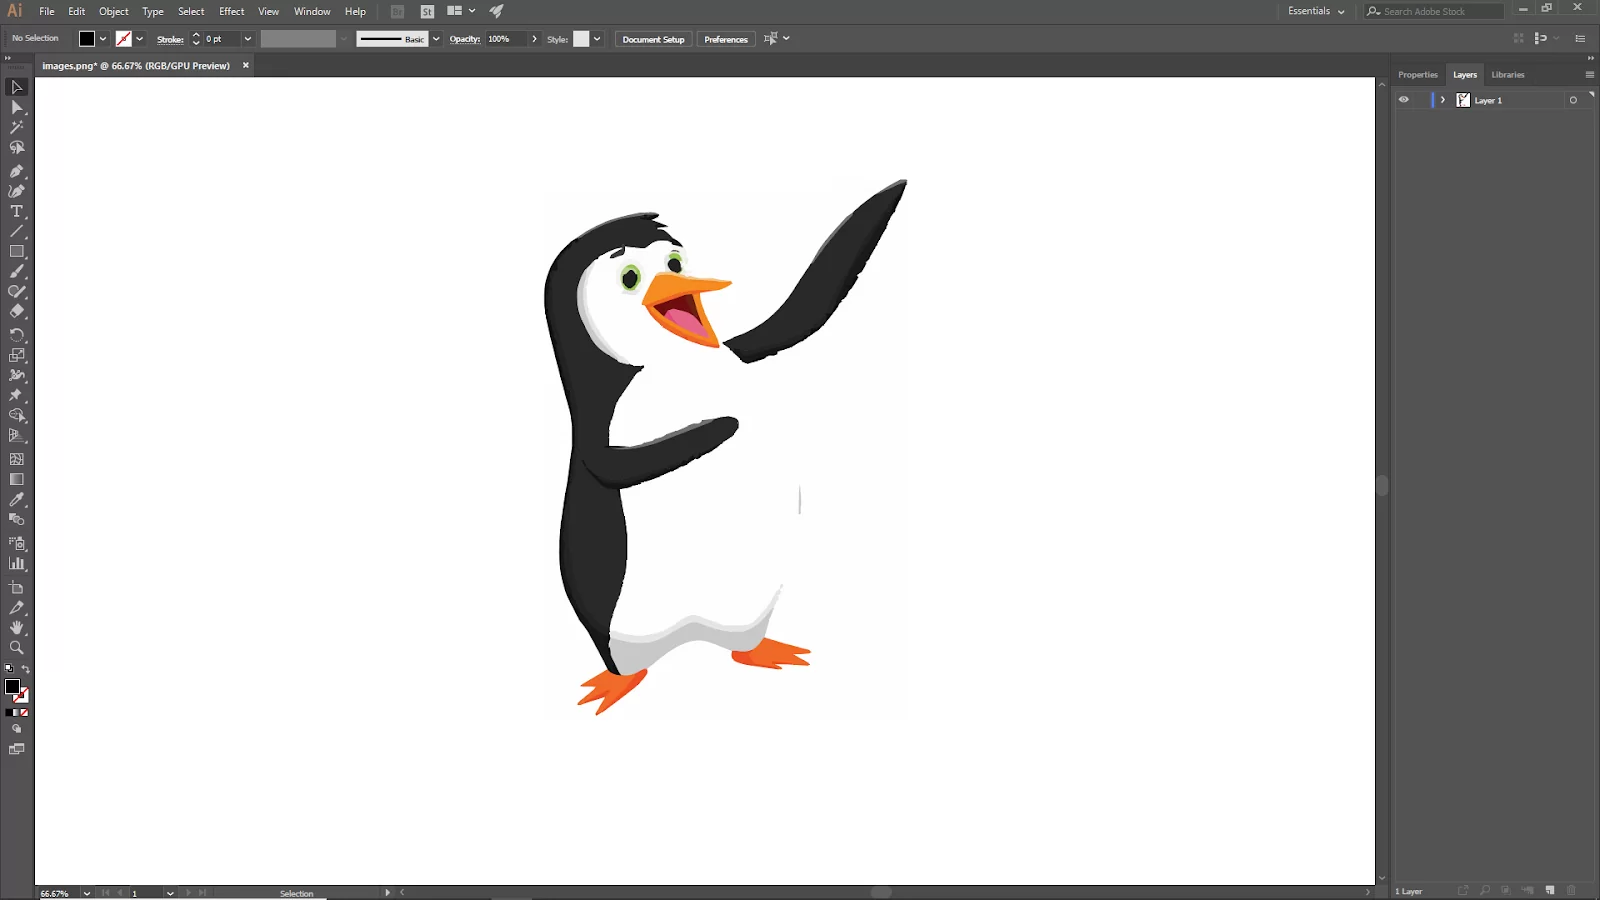
Now click on expand on the upper bar, and now you can use the image. To change any shapes or colors of the image, select the image and right-click on it and Ungroup. And select your particular shape and change the color.
Tracing an Image By Tracing its Outline
The Pen Tool, Pencil, and Brushes can be used to trace the outline of an image. Follow the steps below to trace the outline of an image.
Step 1
The first step is to place and embed the image in illustrator.
Step 2
The next step is to Lock the image after reducing the opacity to about 60%. Your tracing process will be streamlined when you lock the image after you reduce the opacity. The tracing trail is easier to figure out when the opacity is reduced. Also, locking the image prevents accidental image movement.
Step 2
This step is optional. When you are tracing, make a new layer. You should trace on a different layer so that if you need to make any modifications to the tracing outlines, they won’t influence the picture layer.
Step 3
Remember your Pen Tool? It will come in handy for this Tool. Start by tracing the outline with the Pen Tool. A path’s first and last anchor points should be connected if you wish to add color to the path.
Step 4
For some of the outline’s intricacies, use a paintbrush, shape tool, or pencil tool. For instance, we can use the Ellipse Tool to trace the eyes and then use a paintbrush to add features to the other parts.
If you enjoyed reading this article, you may also like our article on How to make a heart shape in illustrator.
Leave a Reply
You must be logged in to post a comment.