If you regularly use the Gimp manipulation software, you’d likely find yourself in a situation where you need to reduce the opacity of an image background. There are many reasons to want to make an image transparent; it may be because the background is distracting or you want a different background entirely.
Making the background of an image in Gimp is very simple and can be achieved using a variety of processes.
How to Make an Image Background Transparent in GIMP
1. On the layers menu, right-click on your image layer and make sure that ”Add Alpha Channel” is selected

2. Click on ”Fuzzy Select Tool”
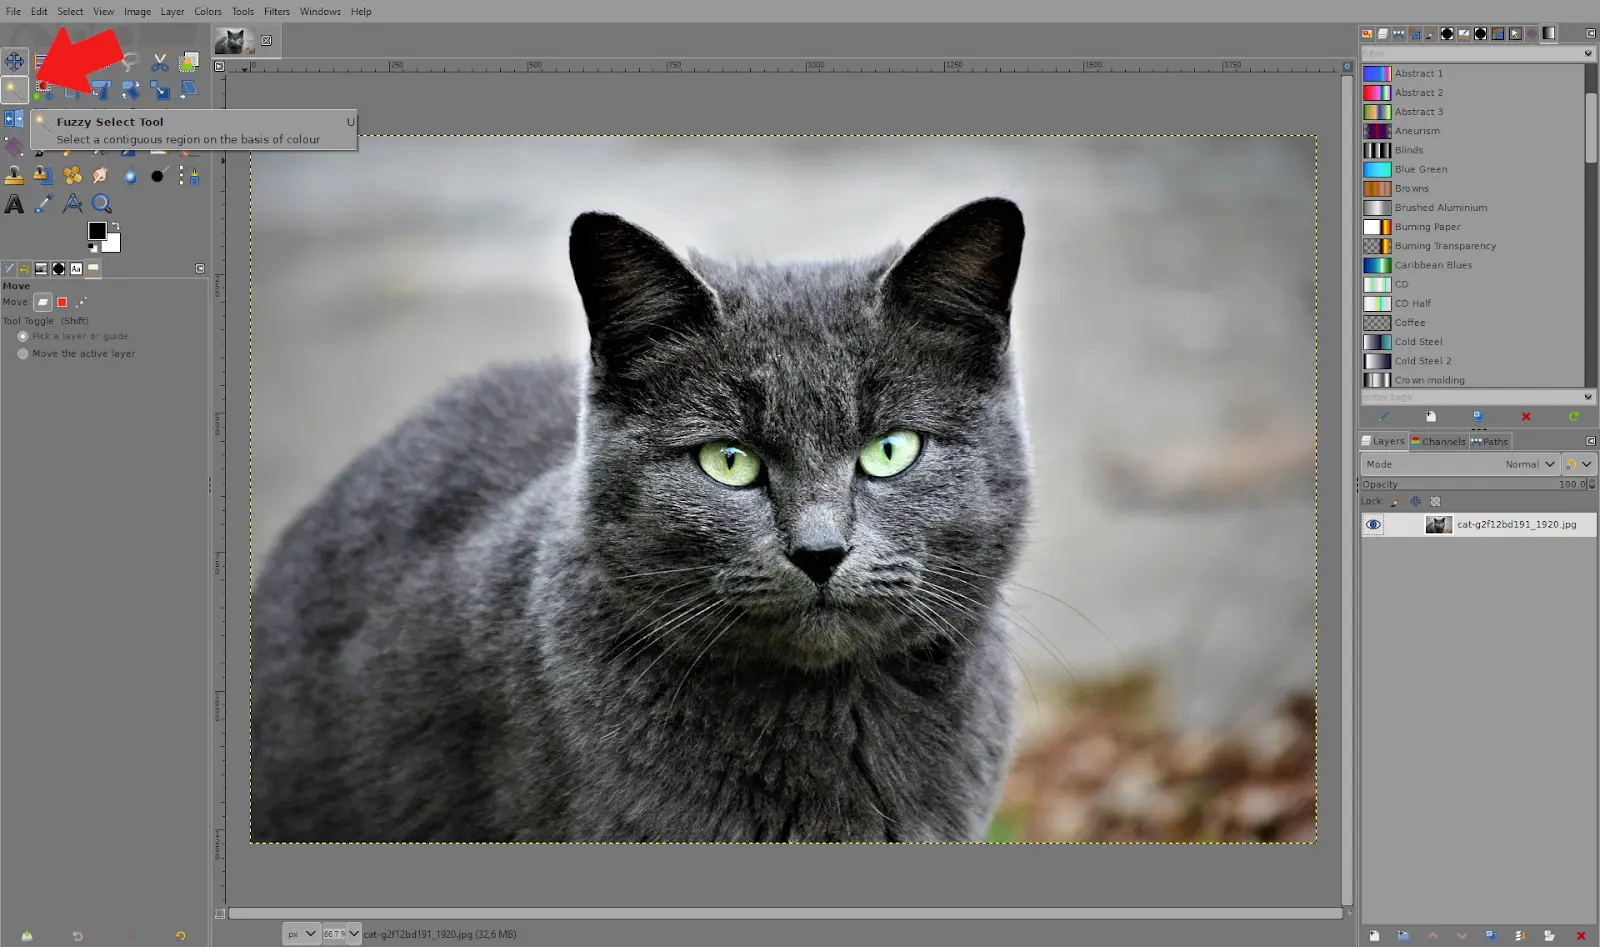
3. This tool selects areas with a similar color. Click and hold on to an area you want, and drag it down. This way, you choose how much area you select.

4. Click on ”Eraser Tool”

5. Use the eraser to erase whatever parts you wish from your selection. You can also remove the entire selection by pressing ”Delete” on your keyboard (Win)

6. Repeat this process until you have removed the entire background, making it transparent. You can deselect an area using Gimp by going to select – none

Using The Select By Color Tool to Remove Background
Another excellent way for a novice to remove background in Gimp is through the “Select by Color” feature. It works by forming a selection around the pixels you’ve decided on and other pixels of the same hue. This tool works best for backdrops with only one or a few shades of a single hue.
Step 1
Select the image you want to alter, and launch GIMP.
Step 2
Click the “Select by Color” icon on the left-hand side of the tool panel. The select-by-color tool looks like three circles in triangular form with a dotted box around the top circle. Additionally, you may go to this tool by using “Shift+O.”
Step 3
To remove a color from an image, click on the area of the image that contains the color. By clicking and dragging the selection size to the right, you can enlarge it.
Step 4
Press “Delete” on your keyboard to make the background translucent after you’ve selected an area.
Using The Foreground Select Tool To Make Background Transparent in Gimp
Although it may appear more complex, this technique is valuable to understand. It’s especially helpful if you want to crop around a lot of fine hairs on the primary subject of your photo.
Step 1
Select the image you want to alter, and launch GIMP. If you are not sure about how to launch your Gimp, we’ve written a detailed guide on how to start Gimp on your desktop.
Step 2
Choose the “Foreground Select” tool from the tools panel on the left. The tool has the appearance of two squares stacked on top of one another, each with a human silhouette inside.
Step 3
Drag the tool all over the object to create a rough outline. When you do this, the backdrop of the photograph will be dark blue, and your main subject will be light blue.
Step 5
The finer details of are then carefully brushed in. Pressing the bracket keys will change the brush size.
Step 6
To see a preview of your work, change the preview option.
Step 7
Once you are content, hit “Enter” on your keyboard.
Step 8
Lastly, Toggle between “Select,” “Invert,” and “Delete.”
Using Layer Masks To Make Background Transparent in Gimp
Since this method involves adjusting individual details of an image, it might be more appropriate for more experienced GIMP editors.
This technique uses several capabilities rather than just one tool to assist users in creating a transparent background. This method aims to reduce the picture to black and white so that you can distinguish between the background and foreground.
Step 1
Start by opening your image in GIMP.
Step 2
You can create a duplicate layer by clicking the “Duplicate Layer” button in the bottom right corner of the screen. To make two copies, repeat this process twice.
Step 3
Choose “Colors” then “Saturate” from the menu at the top of the page. Utilize this technique to make the subject and background stand out more sharply.
Step 4
Return to “Colors,” but this time choose “Desaturate.” Your image will turn gray. To proceed, click “OK.”
Step 5
Choose “Levels” after “Colors.” To make cropping simpler, darken the main subject and give it a silhouette-like appearance.
Step 6
Click “Copy Visible” under “Edit,” then “Edit” again. You can make the layer you worked on invisible by checking the box on the right side.
Step 7
Select “Add Layer Mask” by performing a right-click on the second layer. Then, choose “full white opacity.”
Step 8
Select “Edit” and then “Paste.” The major subject has been removed, as you can see.
Step 9
Go to “Colors,” then “Invert,” to invert this. The background is now transparent, and the main subject will re-emerge. When you are done, you can save as PNG or JPG depending on your preferences.
Leave a Reply
You must be logged in to post a comment.