If you are an avid user of illustrator software, you’ve likely found yourself in situations where you need to rotate your text to align with an object. Sometimes when you rotate your text, they appear very randomly. This problem can be solved by converting the text type, and if you don’t want to keep the area type, you can use the rotate tool. I’ll show you two methods I use to rotate text in Illustrator.
2 Methods to Rotate Text in Adobe Illustrator
Method 1:
First, select the text that you want to rotate. Then hover the mouse cursor on the corner anchor point of the text you will see a rotate icon. Speaking about anchor points, they also come in handy when you are drawing a circle in Illustrator.
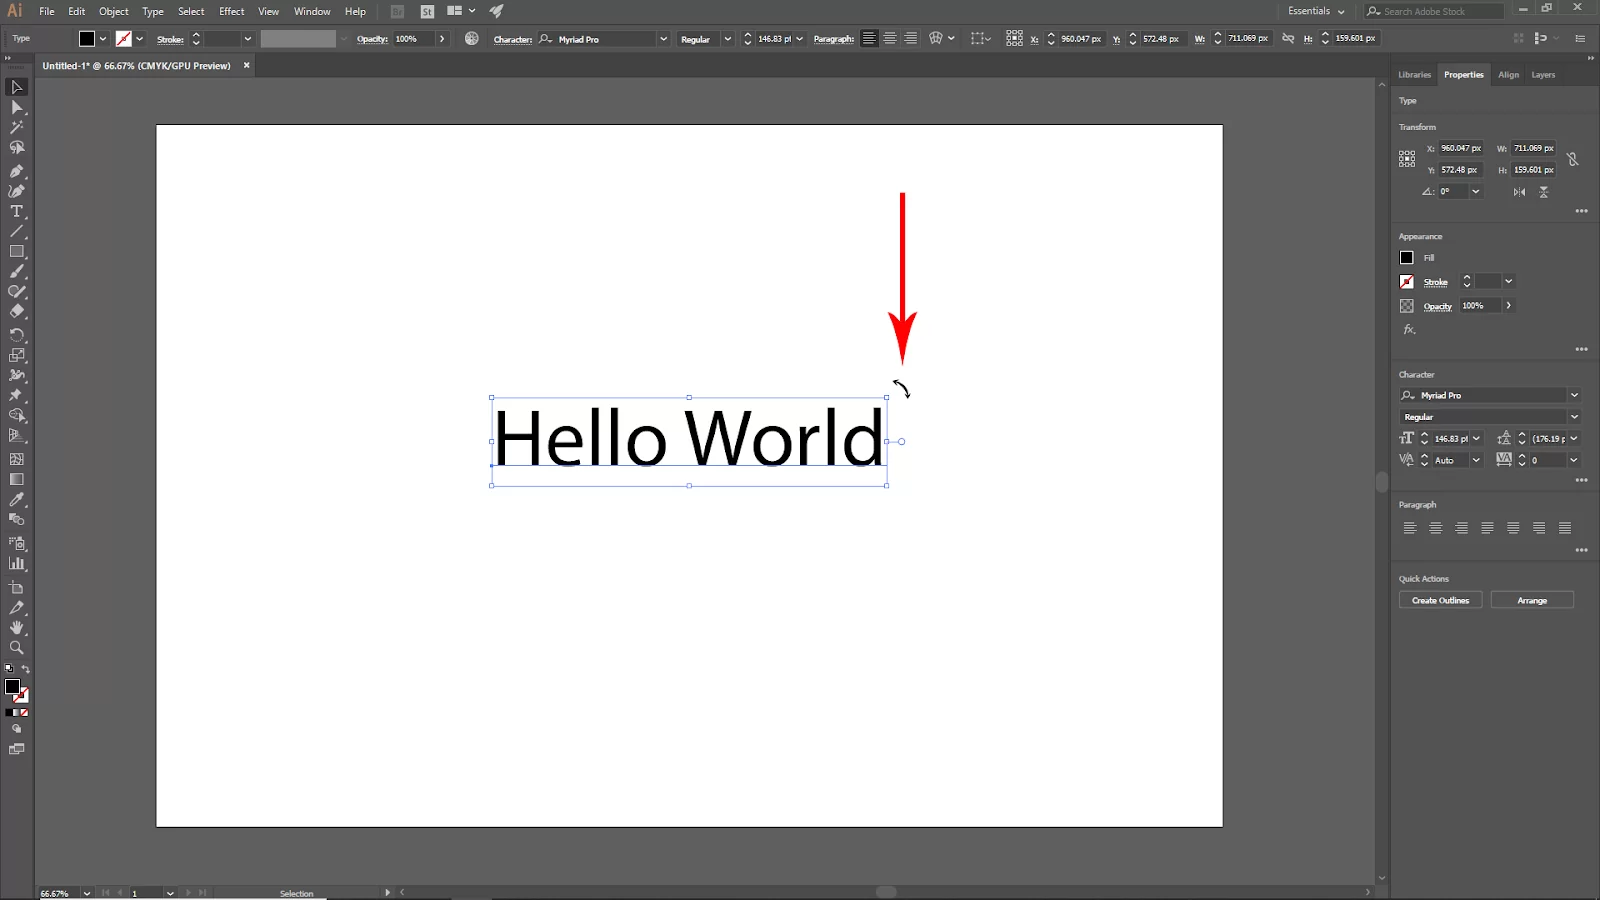
Now, if you click and drag, you can rotate the text. But if you want to rotate it full 45 degrees, hold shift and rotate the text.
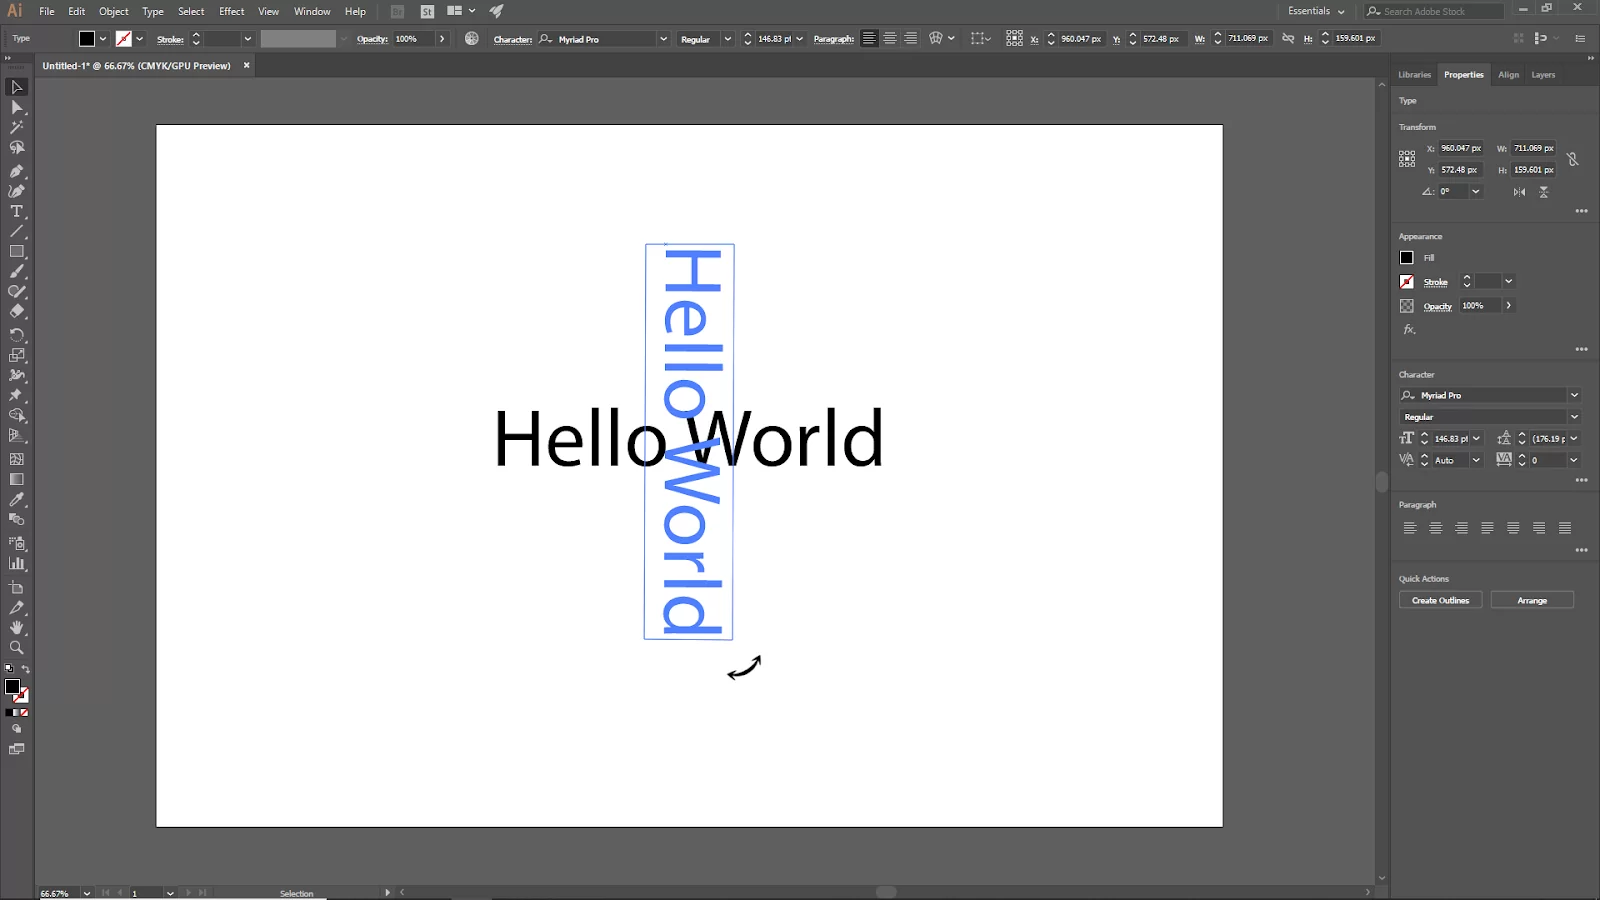
Every time you drag the text with shift holding, the text will rotate 45 degrees.
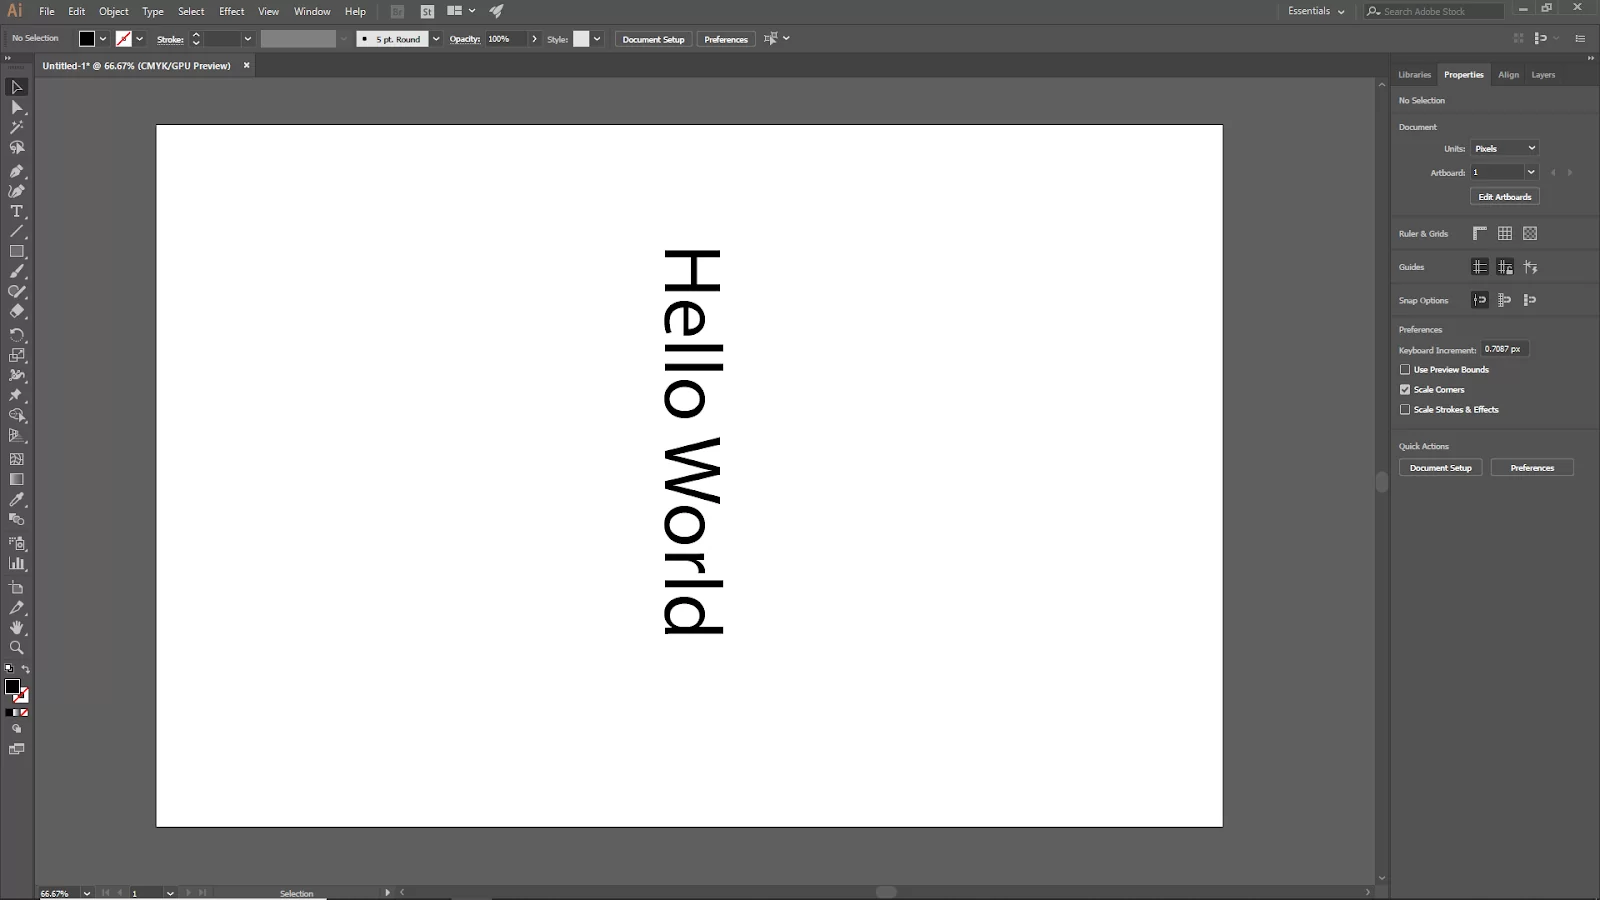
Method 2:
Select your text, then Right-Click on it and go to Transform > Rotate.
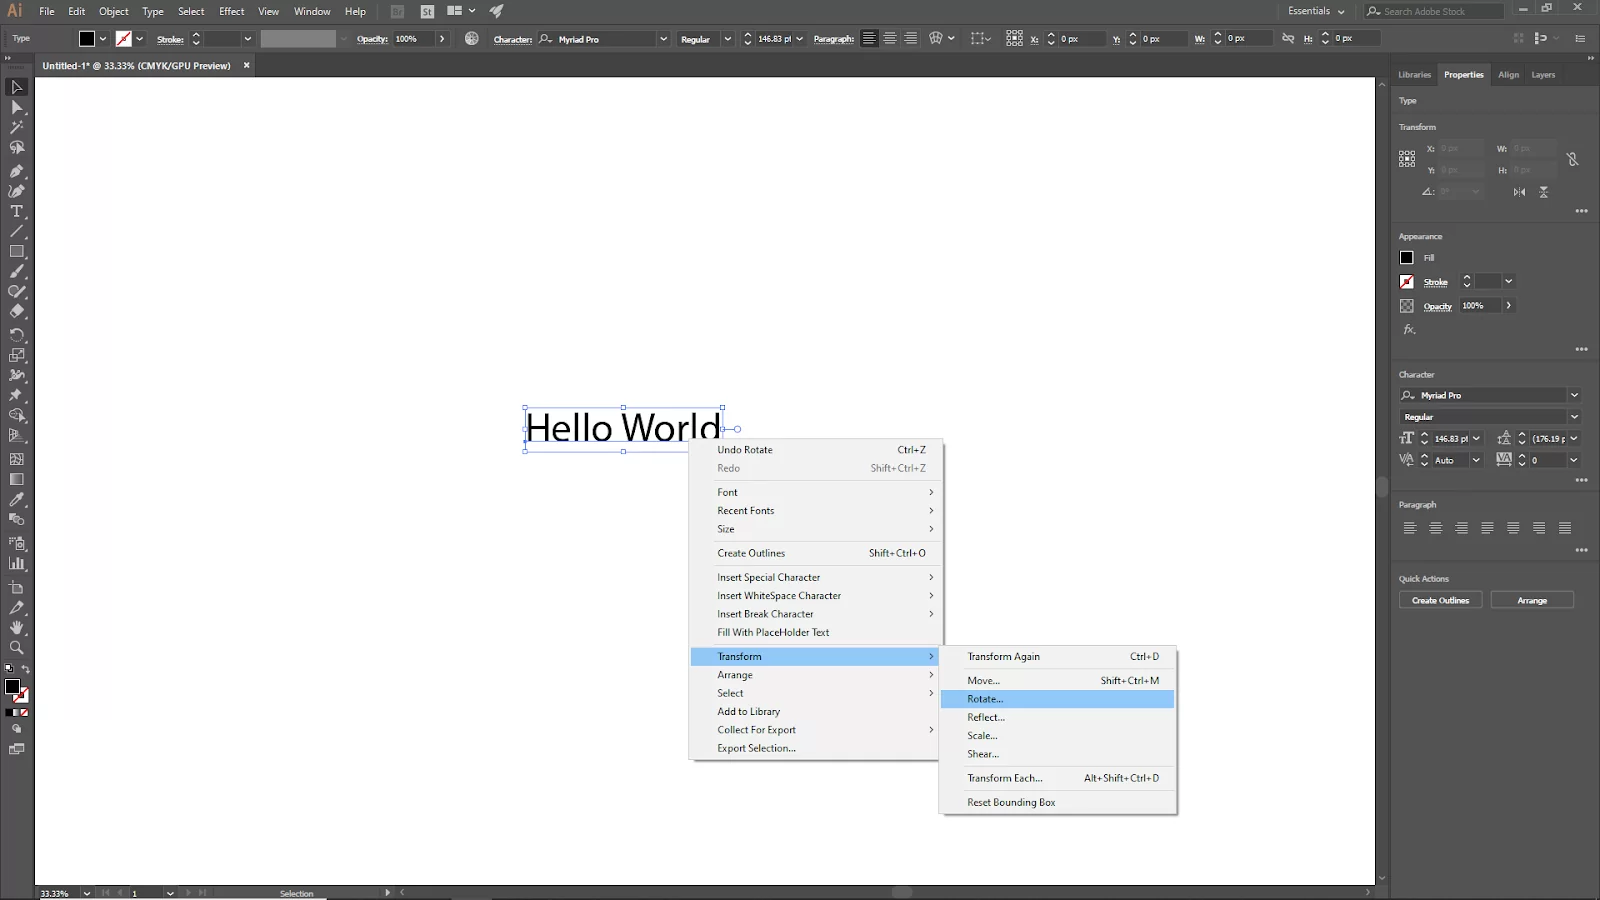
The rotate panel will open and set the rotation angle for the text we will be using to 90 degrees. Check the preview box to see the rotation preview.
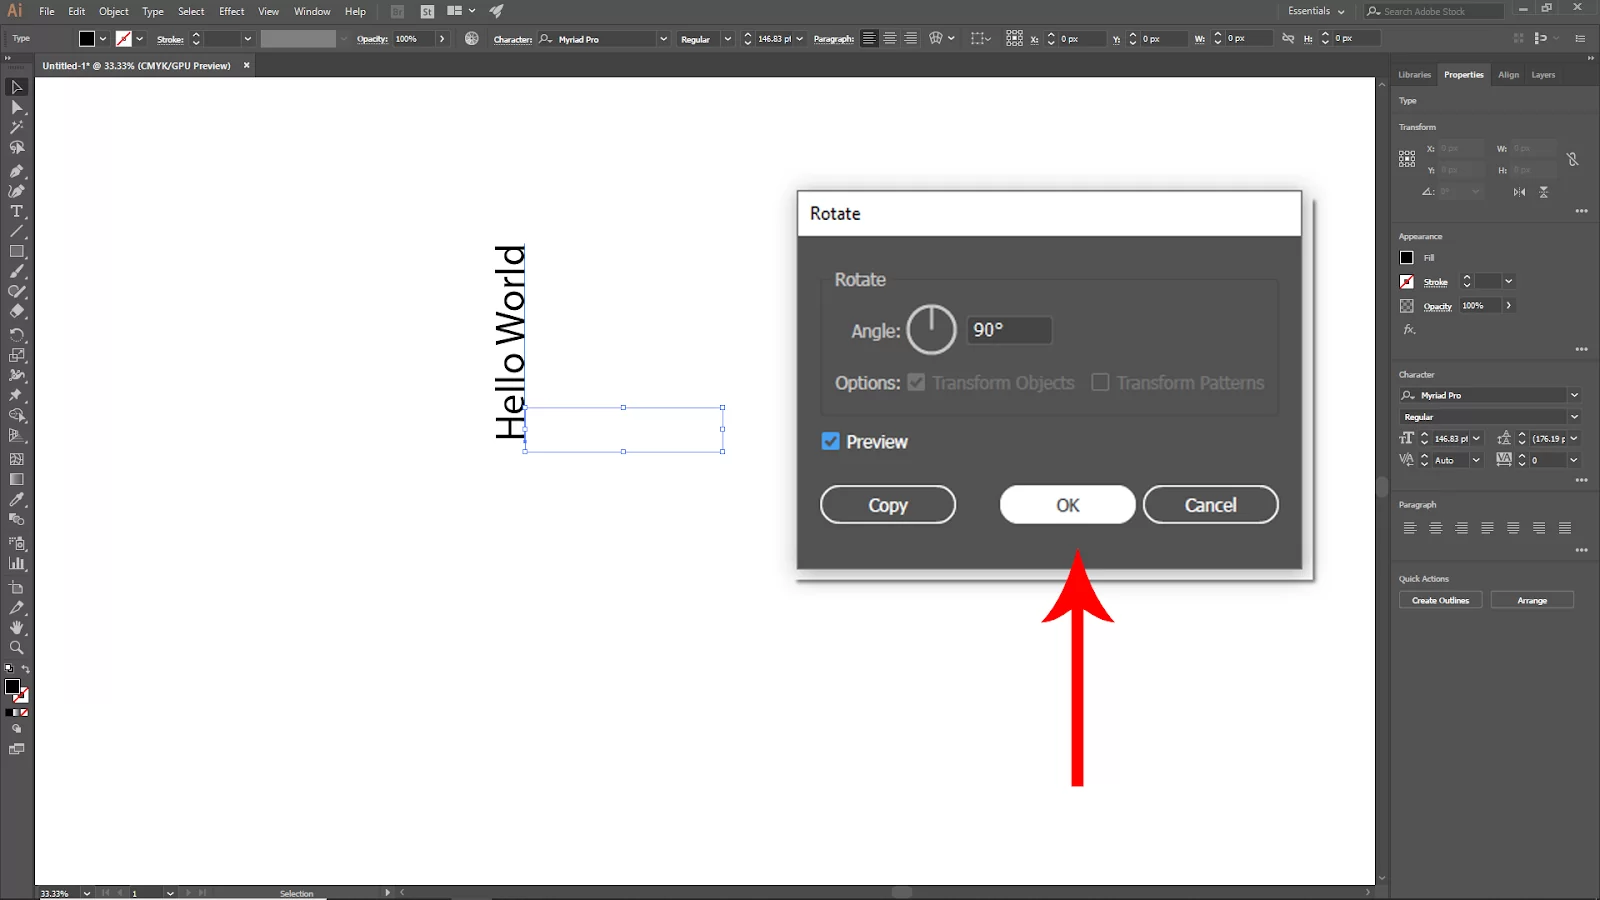
And now your text should be rotated.
Rotating Using The Bounding Box
Follow the steps below to use the Bounding box to rotate your text.
Step 1
Change the text’s format to point Type. Choose Type> Convert To Point Type from the overhead menu. You can continue to the next step if your text has already been added in point type.
Step 2
Any text boxes on the anchors will get a double-curved arrow icon when you hover over them, indicating that you can rotate the box. Simple as ABC, right?
Using The Rotate Tool To Rotate Text in Illustrator
Follow the steps below to rotate text in illustrator using the rotate tool.
Step 1
Use the Selection (V) tool to select the text. The Rotate tool (Shift + H or R) should be selected. Drag the mouse while holding the left button down. The message will be displayed with the rotated angle as the text rotates. To verify the inclination of the angle, let go of the mouse.
Step 2
Select the text with the Selection (V) tool before using the Rotate (Shift + H) tool to rotate it.
Step 3
Then choose the Rotate tool (Shift + H) from the toolbar on the left. Instead of using the Shift + H command, the R key shortcut might activate the Rotate tool in some Illustration versions.
Step 4
Next, left-click and hold the mouse while dragging. The message will be displayed with the rotated angle as the text rotates.
Step 5
Release the mouse when you’ve reached the appropriate angle to verify its inclination.
Step 6
The rotate tool can modify the rotation type, and the text can be turned about a predetermined axis.
Step 7
Click anywhere on the text or place the axis while using the Rotate (Shift + H) tool. Then, as you normally would, move it; it will spin around the chosen position.
Check out our in-depth article on how to cut shapes in Illustrator.
How To Fix The Problem of Text Not Rotating in Illustrator
If you are using the bounding box technique, you are likely attempting to rotate a text that was originally typed using the Area Type tool. You must use the Rotation tool or right-click and select Transform > Rotate before selecting your desired angle to rotate this text style. Illustrator doesn’t only rotate texts, it can be used to colorize texts too.
Leave a Reply
You must be logged in to post a comment.