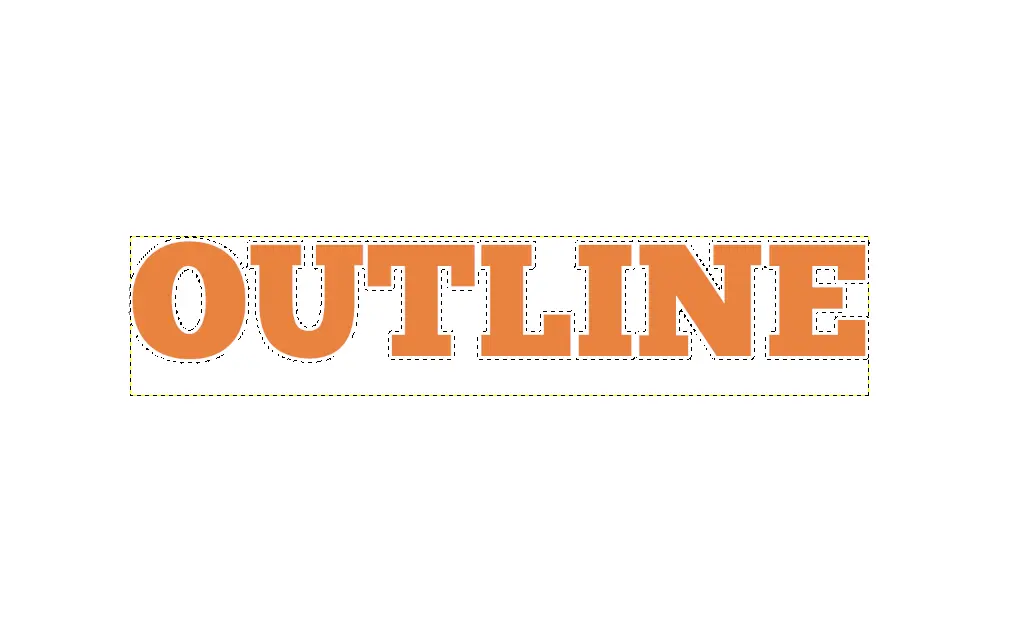
Text outline in Gimp has been around for a long time, as far back as the early days of memes. Text outline makes the text stand out, making it very easy to read. There are many good uses of text outline; I’ve taken my time to write this piece so readers can learn how to outline their texts using Gimp. Outlining a text is very easy, and in a few steps, you will outline texts as much as your heart desires.
Outlining Text in GIMP
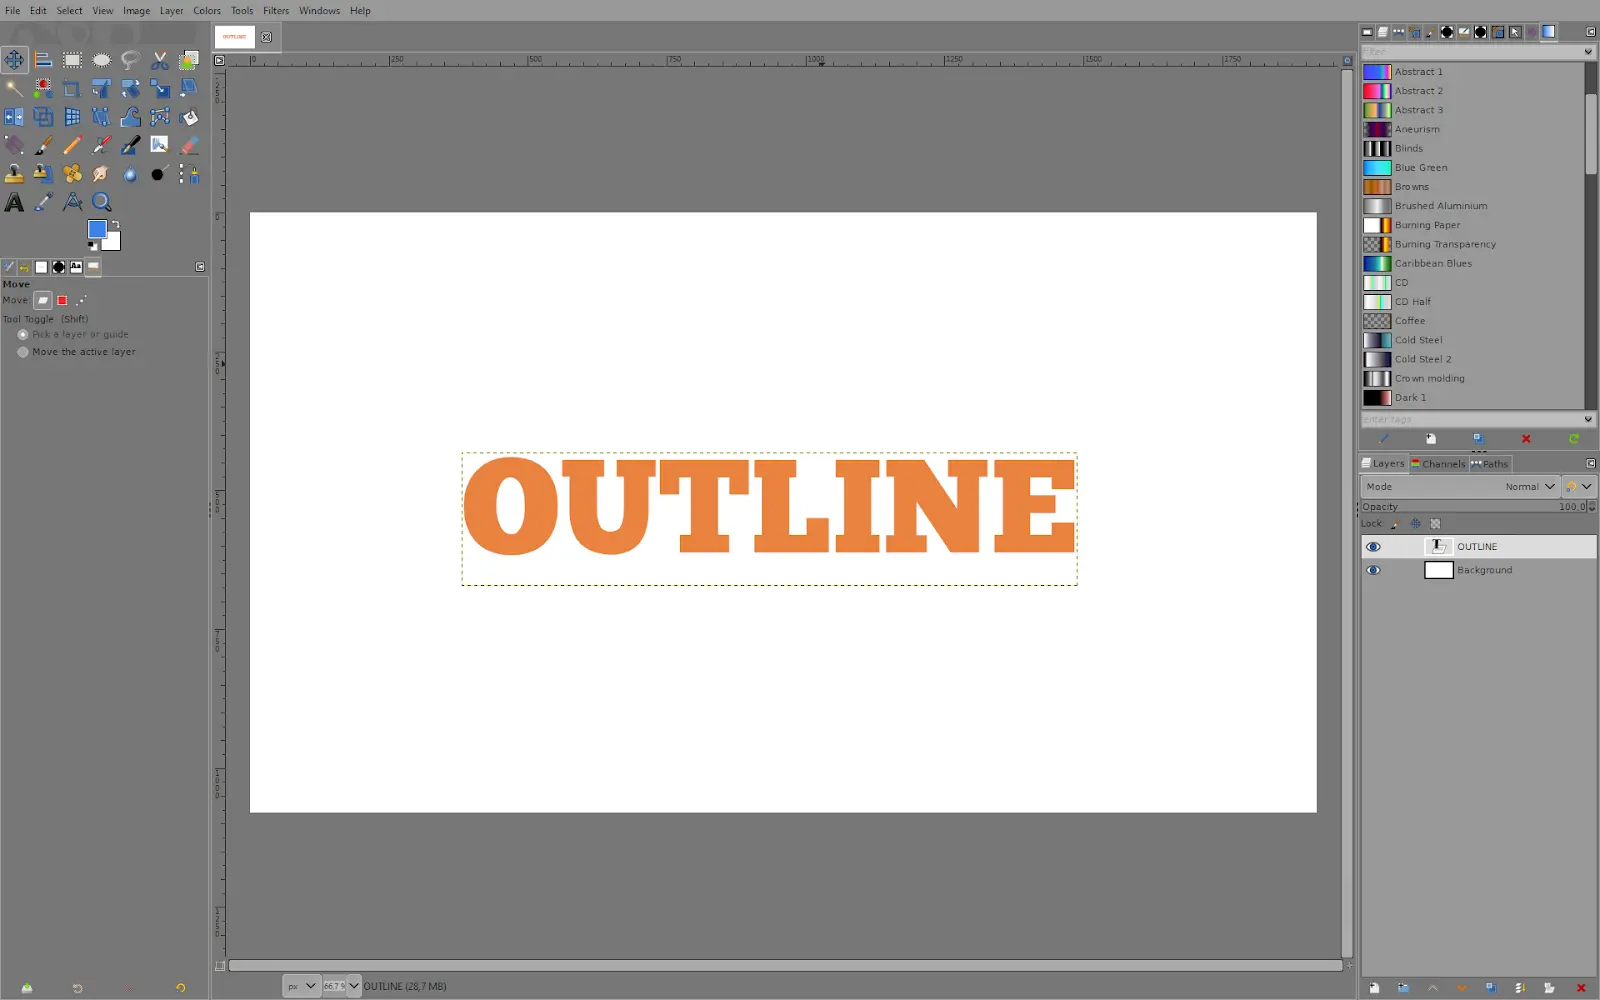
1. Write the text you want to outline
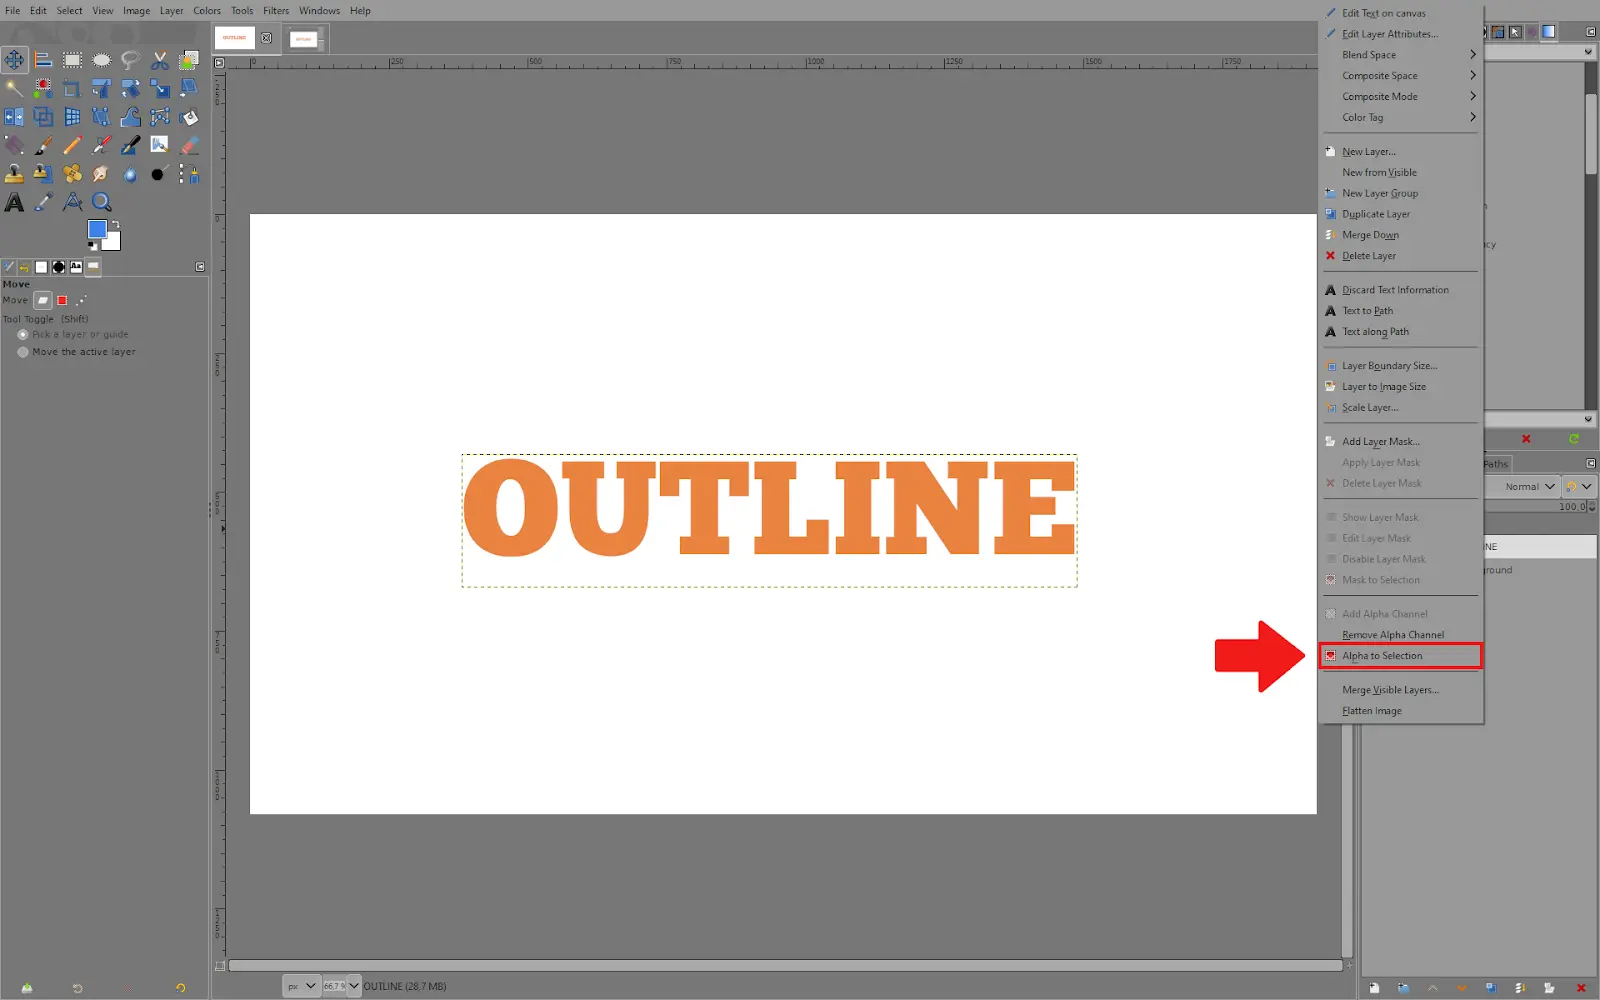
2. Right-click on your text layer and select ”Alpha to Selection”. This creates a selection around your text
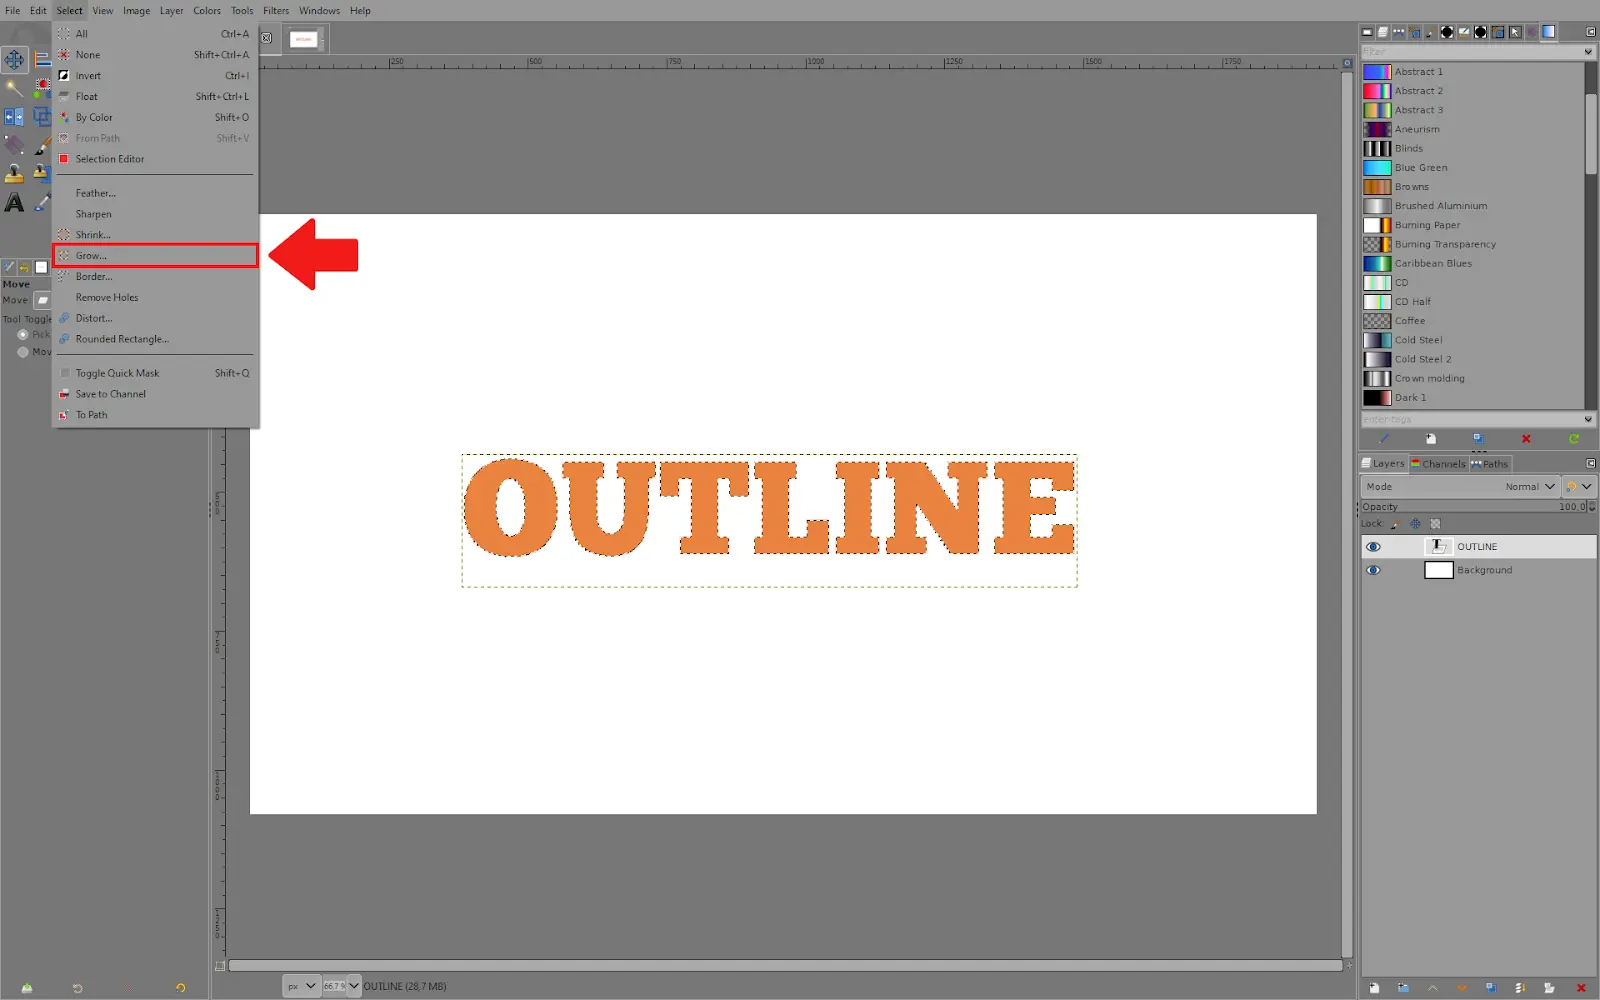
3. Go to ”Select – grow.” This grows your selection’s size.
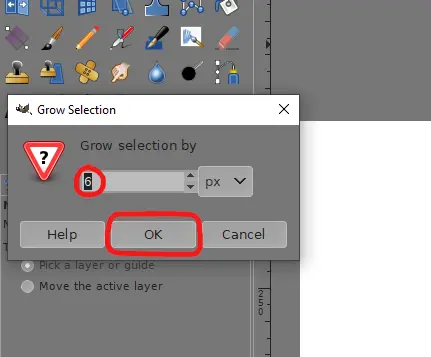
4. This menu lets you select how much you want to grow the selection around your text. Do not pick a very large number of pixels; I used 6 here.
5. After you click ”OK,” you will see how the selection is now bigger, allowing you to color the outlines.
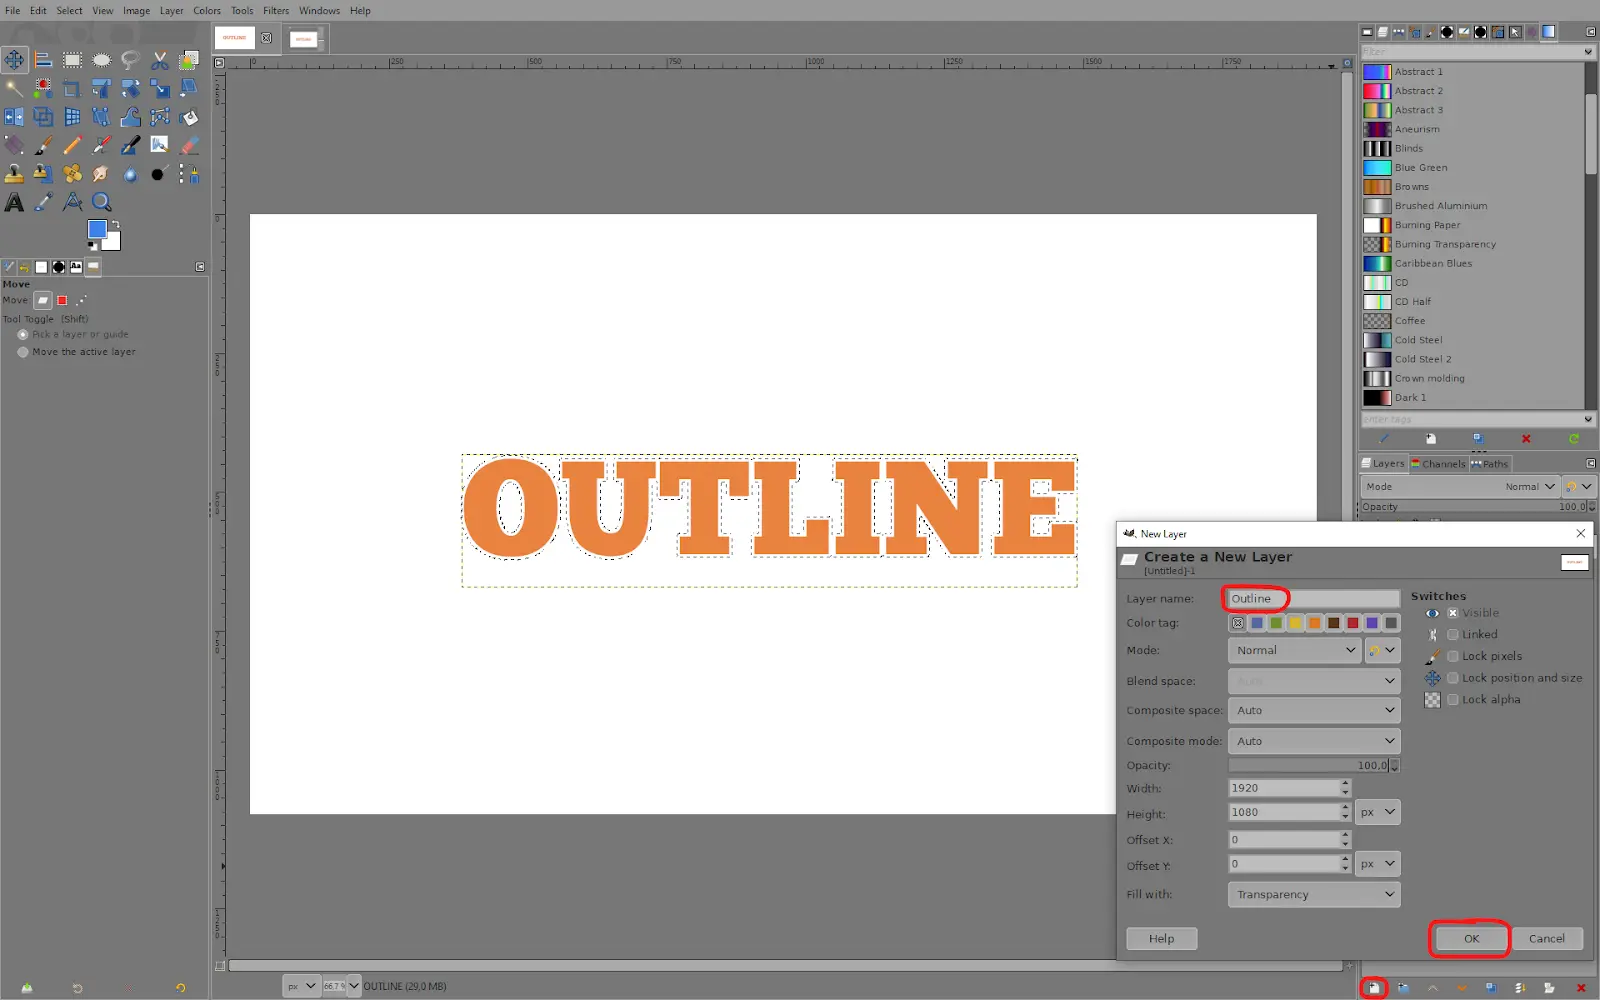
6. Create a new layer for the outlines and click ”OK”.
7. Drag the new layer below the text layer.

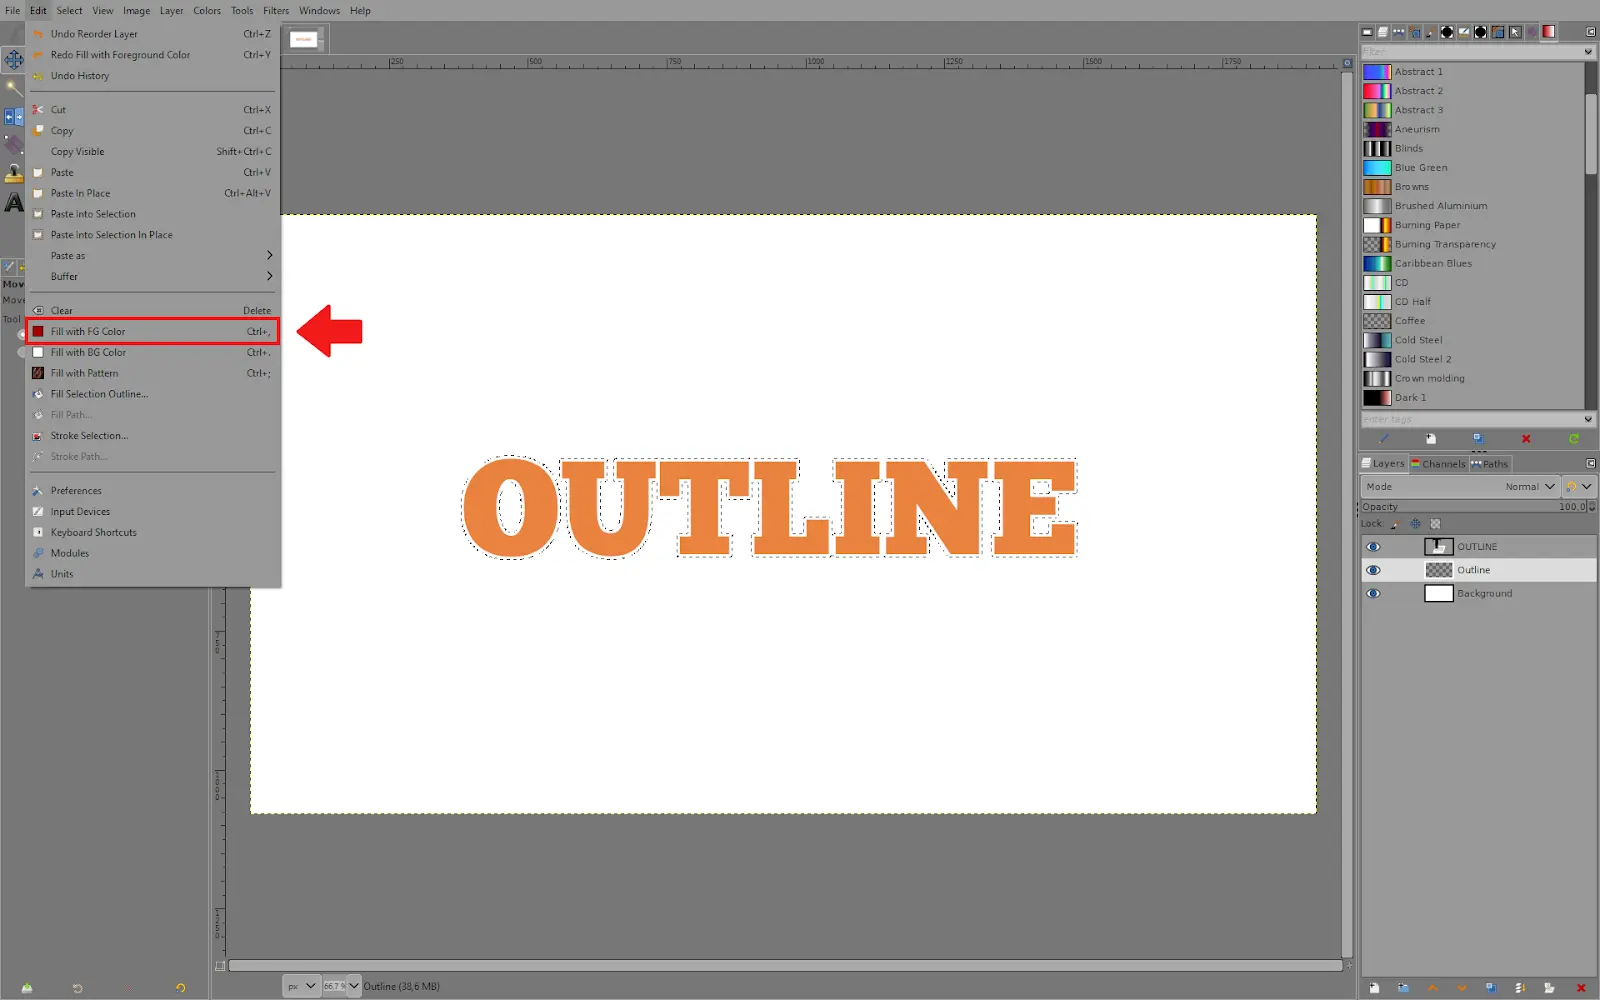
8. Go to ”Edit – Fill with FG Color” to fill the selection with whatever color you picked.
9. Now, you have outlined the text.

More about Outlining Text in Gimp Using The Grow Selection
Below is how you can outline your text in Gimp using the grow selection method.
Step 1
The first step is text entry. To begin creating highlighted text, write whatever you choose on a blank image file and then change the background and text as necessary.
To do this, select New on the File menu to generate a blank picture file that will serve as the text’s background. Although you can make the background transparent, it is advised that you choose solid colors to make your text stand out and look cleaner.
Step 2
The next step is Text and backdrop adjustments. After the background has been chosen, enter the text using the Text tool and edit the text formatting until you are satisfied with the result. Before moving on to the next stage, double-check the alignment and wording. In our article “how to move text in Gimp,” we discussed on how the text tool can be used to align and move texts.
Step 3
Next is the New duplicate layer addition stage. By selecting the layer dialogue with the right click, duplicate the active text layer. Return to the text layer and click on the layer while holding down the ALT key to add to the alpha selection. Adding an alpha channel limits selection to the opaque portion and leaves the transparent portion unselected.
Step 4
The fourth step is the Grow Selection. Next, click on grow within the menu bar’s selection section. The non-transparent element added by alpha selection is selected by expanding the selector around it using the grow tool. Enter the number of pixels needed.
Step 5
Finally, you must fill the colors inside the expanded selected area, encircling the text with a vibrant border. To fill the text with the chosen color, use the paint tool and select FG color fills.
Outlining Text in Gimp Using Drop Shadow Filter
Below are the steps to take when outlining a text in Gimp using the drop shadow filter.
Step 1
Start by Creating text on a blank image by selecting “new” from the menu, opening the image, and adjusting the size, pixels, and other settings as desired. Choose the text tool to enter the text and, if desired, edit it. Next, It’s time to apply a shadow to your text if you’re satisfied with the font, size, and alignment.
Step 2
Use the drop shadow filter to draw a border around your text by choosing Light and Shadow from the layer menu, then select Drop Shadow.
Step 3
Finally, change the outline. A text’s drop shadow gives it a three-dimensional appearance. You may alter the color and increase or decrease the opacity when you click on the drop shadow.
If you enjoyed reading this, you might want to check out our step-by-step guide on how to outline an image using Gimp.
Leave a Reply
You must be logged in to post a comment.