Moving texts in GIMP can be achieved using two methods. One of the methods of moving a text involves the use of the move tool, and the other involves the use of the text tool. Both methods will be explained in this article.
So you just finished creating a text but are stuck because you need to move it, but you can’t. This isn’t an uncommon problem. You can move your texts anywhere on your canvas with the right steps.
First, you need to understand the tools that are critical to this task.
What is a Move Tool?
The move tool is used to move layers, selections, and also paths. More importantly, the move tool is used to move texts. The move tool can be accessed when you go to Tools >> Transform tools >> Move.
When a tool is activated, its options are often shown in a window tied to the Toolbox. If they aren’t, you can get them from the image menu bar by selecting Windows Dockable > Windows Tool Options, which launches the tool’s options window.
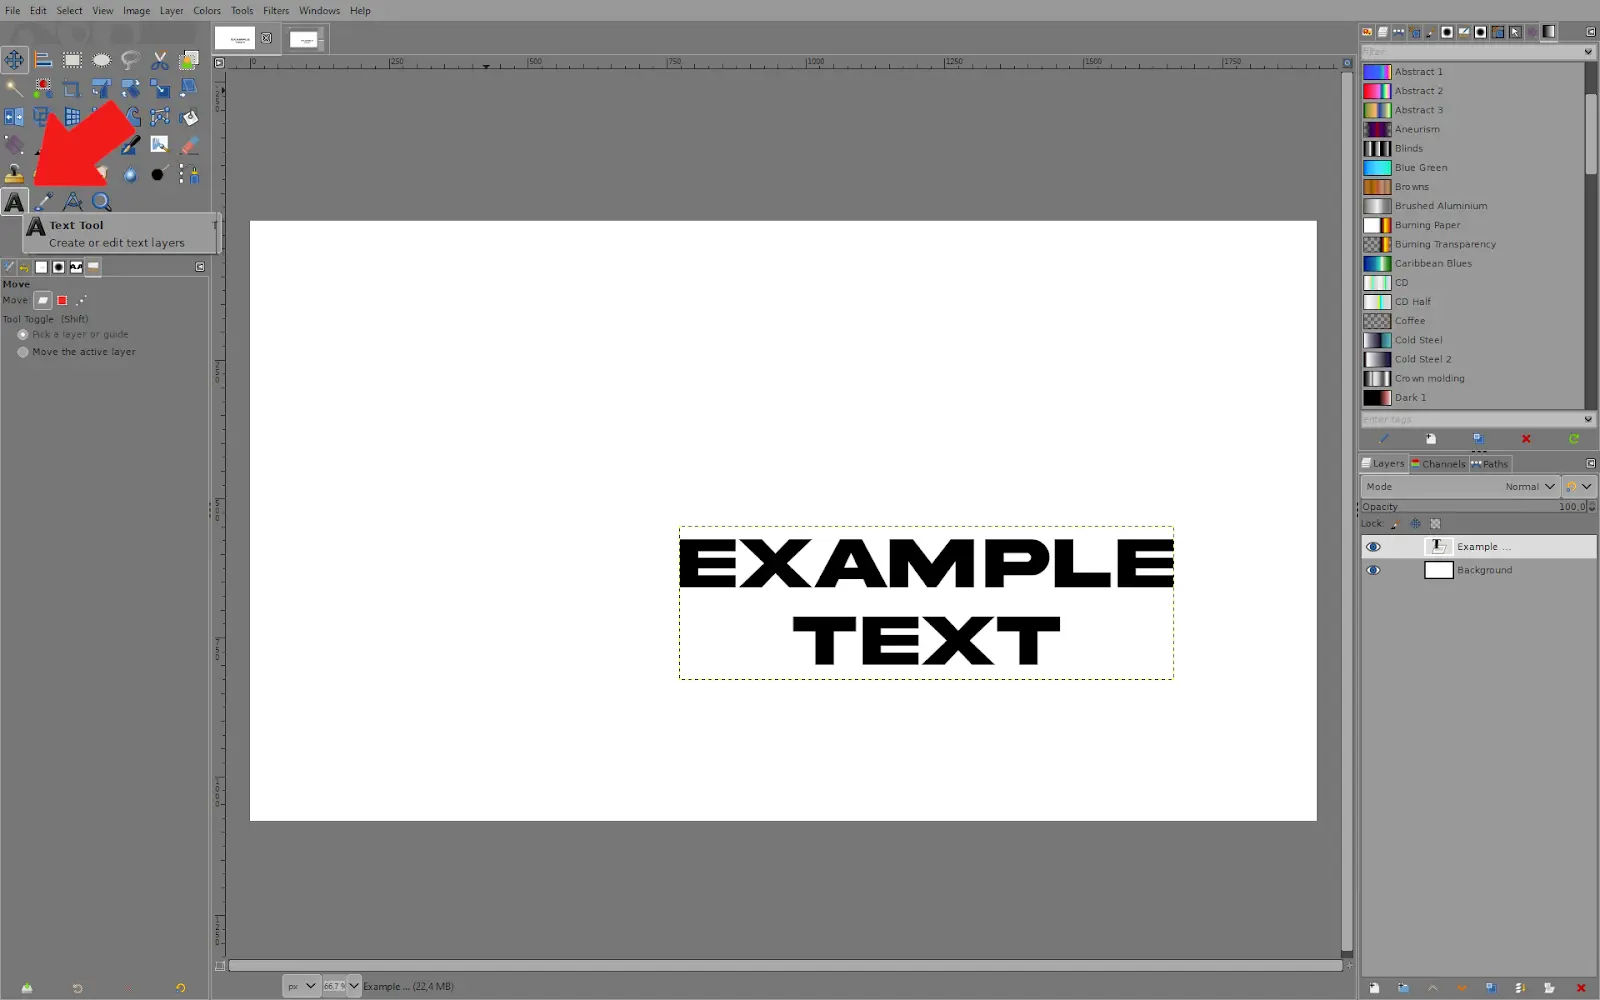
What is the Text Tool in GIMP?
The Text tool allows you to add text to images. The text tool even gets better in the updated Gimp. You may write text directly on the canvas with GIMP-2.8. There is no longer a requirement for a Text Editor; however, you can still use one if you like by selecting it in the Tool Options dialog box.
Also, in Gimp 2.8, there is now a text toolbar that gives you more options for editing text, but you can still use the Text Options dialog to interactively modify the font, color, and resize your text. When you right-click on the frame, a context menu appears with options to copy, cut, paste, and more.
Other tools, like the select tool, also play an important role in cutting out an image in Gimp.
How to Move Text in GIMP
1. To move a text layer, first select the ”Move Tool.”

2. Next, click and hold on to anywhere on the text, and drag to move it.

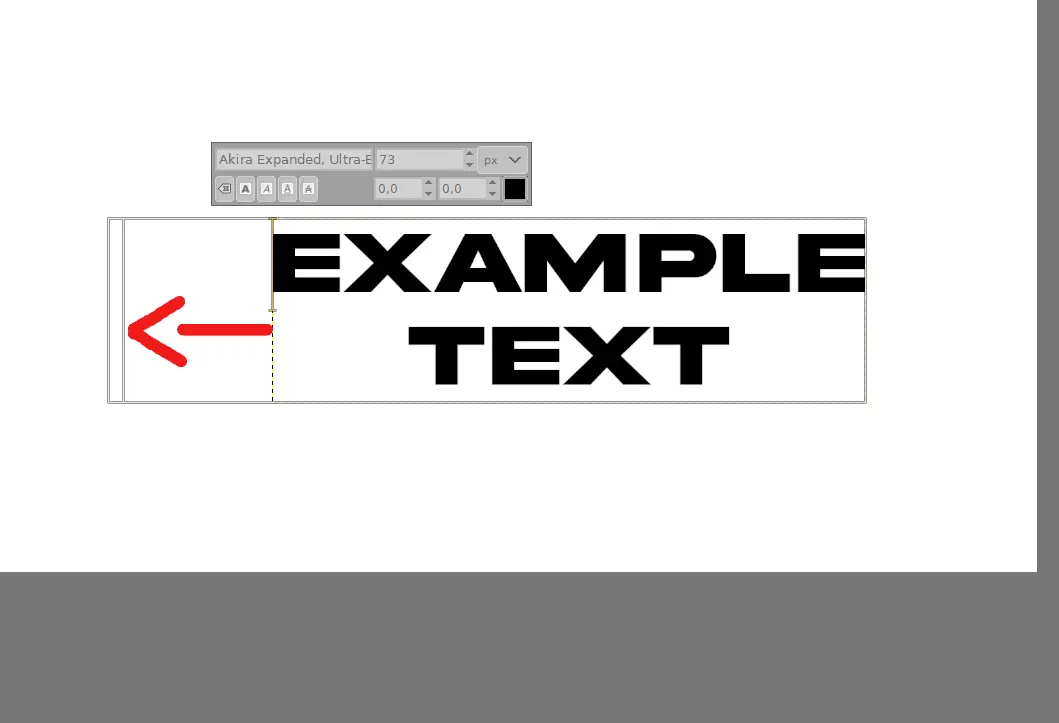
3. Another way to move text is with the ”Text Tool”.
4. After selecting the tool, click the text area once to activate the text you want to move. That’s when the text box appears.
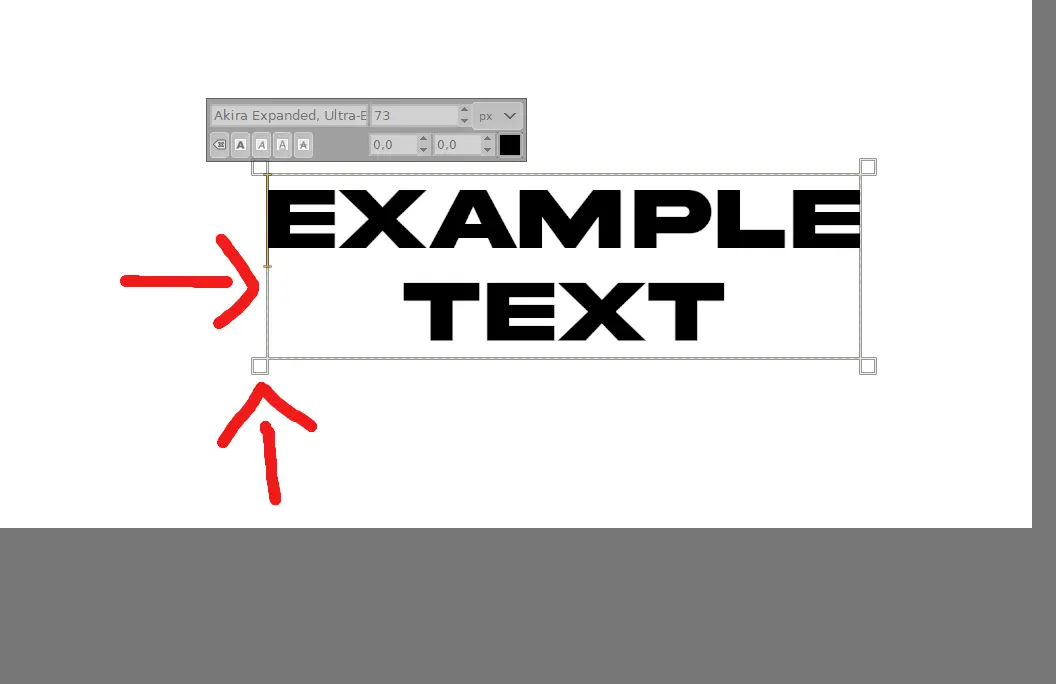
5. Drag the corners or edges of the box to move the text. This can also change the text’s positioning since all the visible text has to fit inside the box.
6. You can also change the text’s spacing and the space between the letter and rows. First, highlight the text like you would in a browser.
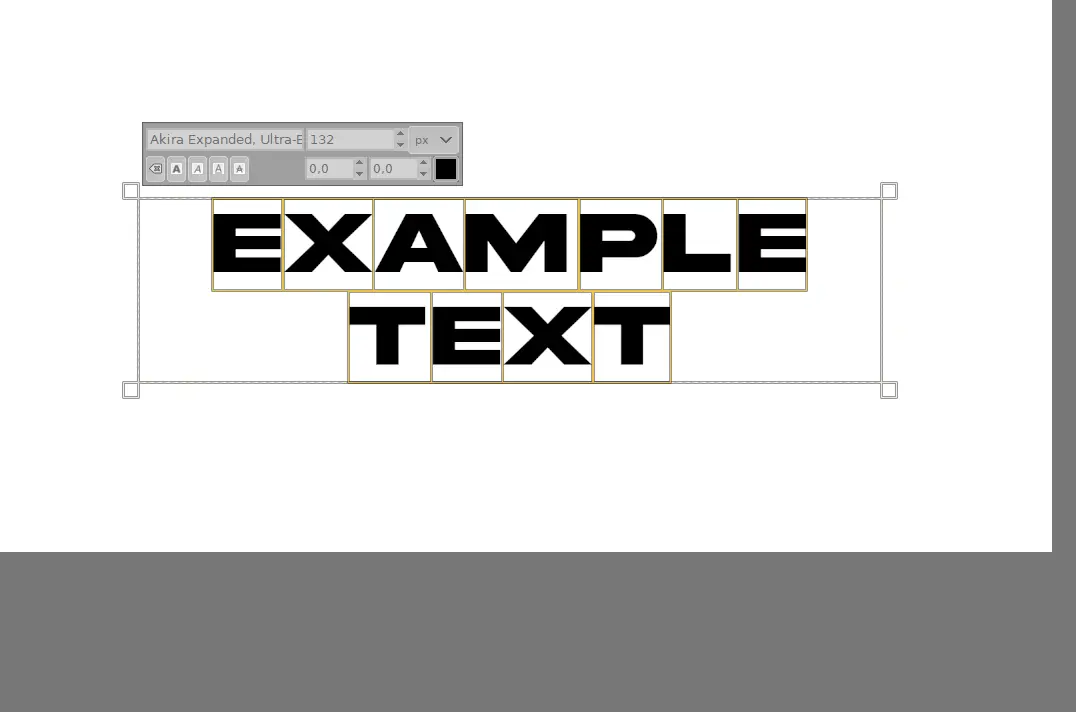
7. On the text menu, you can change those settings. As a side note, moving your text isn’t the only thing you can do using Gimp.
You might want to check out our detailed article on how to deselect in Gimp.
Other things you can do with text on GIMP include centering and rotation. I’ll quickly explain how this works.
How to Center Text in Gimp
As long as your GIMP Tool Options panel is displayed, centering your text is quite straightforward. The Tool Options panel should update to display the appropriate settings for usage with the Text tool as soon as you choose it from the toolbox. You can get the text tool by tapping on the huge capital A icon or using the keyboard shortcut T.
The important setting you need is found in the Justify section, which has four options for text alignment. The four options are Left justified, Right justified, Centered, and Filled. Of course, choosing Centered will result in the text being centered.
Your text will naturally start centered if you set this option before typing. If you’ve already typed some text and decide to center it later, click and drag to select it with the Text tool. Next, select the Centered option in the Justify setting.
How to Center By Image Alignment
It’s time to align your text relative to your accessible text space and then center it against your entire image. Although it’s useful to know that this identical procedure will work on any layer type, it is best to stick with the text layer.
Finding the Alignment tool in your toolkit which is conveniently positioned beneath the Move tool, is the main way to align your image. You can also get to it by choosing Transform Tools from the Tools menu and clicking Align or pressing the Q shortcut key. Whatever way you choose, the result is to align your image. The Transform tool isn’t just used when aligning a text, it is also used when drawing a circle in Gimp.
Although the Align tool is a little challenging, it’s really easy to use once you get the feel of it. When the tool is chosen, your cursor changes to a precision selection. When you click on an image element to align, GIMP will choose the proper layer.
After choosing the component you wish to change, you should go to the Tool Options panel, which contains all the Alignment options.
Feel free to experiment with the various options, as they can be very helpful for centering text relative to another image element, such as an icon or logo. If you want to center your text within your image, you can leave the Relative to option at its current setting. The button labeled “Align center of target” will center the text on the canvas.
Then, you must click the Align center of the target button to finish!
How to Rotate Text in GIMP
Follow the steps below to rotate your text in Gimp.
Step 1
Utilize the toolbox or the keyboard shortcut to change to the rotate tool. Switch + R
Step 2
In the Layers panel, choose your text layer and then click and drag it to rotate.
Step 3
In the Rotate tool popup box, click the Rotate button once you’re satisfied with the angle. Always remember to save your work when you are done. This cannot be overstated.
If you enjoyed reading this article, you might want to see our article on how to save as JPG.
Leave a Reply
You must be logged in to post a comment.