Are you looking for an easy and effective way to make your images more visually appealing? If so, then GIMP is the perfect tool to help. In this blog post, we’ll discuss GIMP’s image transparency features and provide step-by-step instructions on how you can use this powerful software suite to make your image transparent.
We’ll also cover some other techniques that will allow you to improve your editing skills. By the end of this piece, you’ll be well-equipped with all the information and skills necessary for making even the most complex transparency edits easily.
How to Make an Image Transparent in GIMP
Before getting started with making an image transparent in GIMP, you need to understand the Select by Color tool and how to use it.
What is The Select By Color Tool?
The Select by Color tool allows you to choose portions of an image based on how closely their colors match. It operates similarly to the Magic Wand’s Fuzzy Select feature.
However, the Magic Wand chooses contiguous regions, with all pieces connected to the beginning point by routes with no significant gaps. In contrast, the Select by Color tool selects all pixels, regardless of location, that are sufficiently close in color to the pixel you click on.
You can choose the select by color tool from the image menu bar tools, then go to selection tools and choose the by color select option. Alternatively, you can choose this tool by clicking on the tool icon in the toolbox or by using the keyboard shortcut shift + O. The select by color tool also works well when you are outlining an image in Gimp.
Let’s get started!
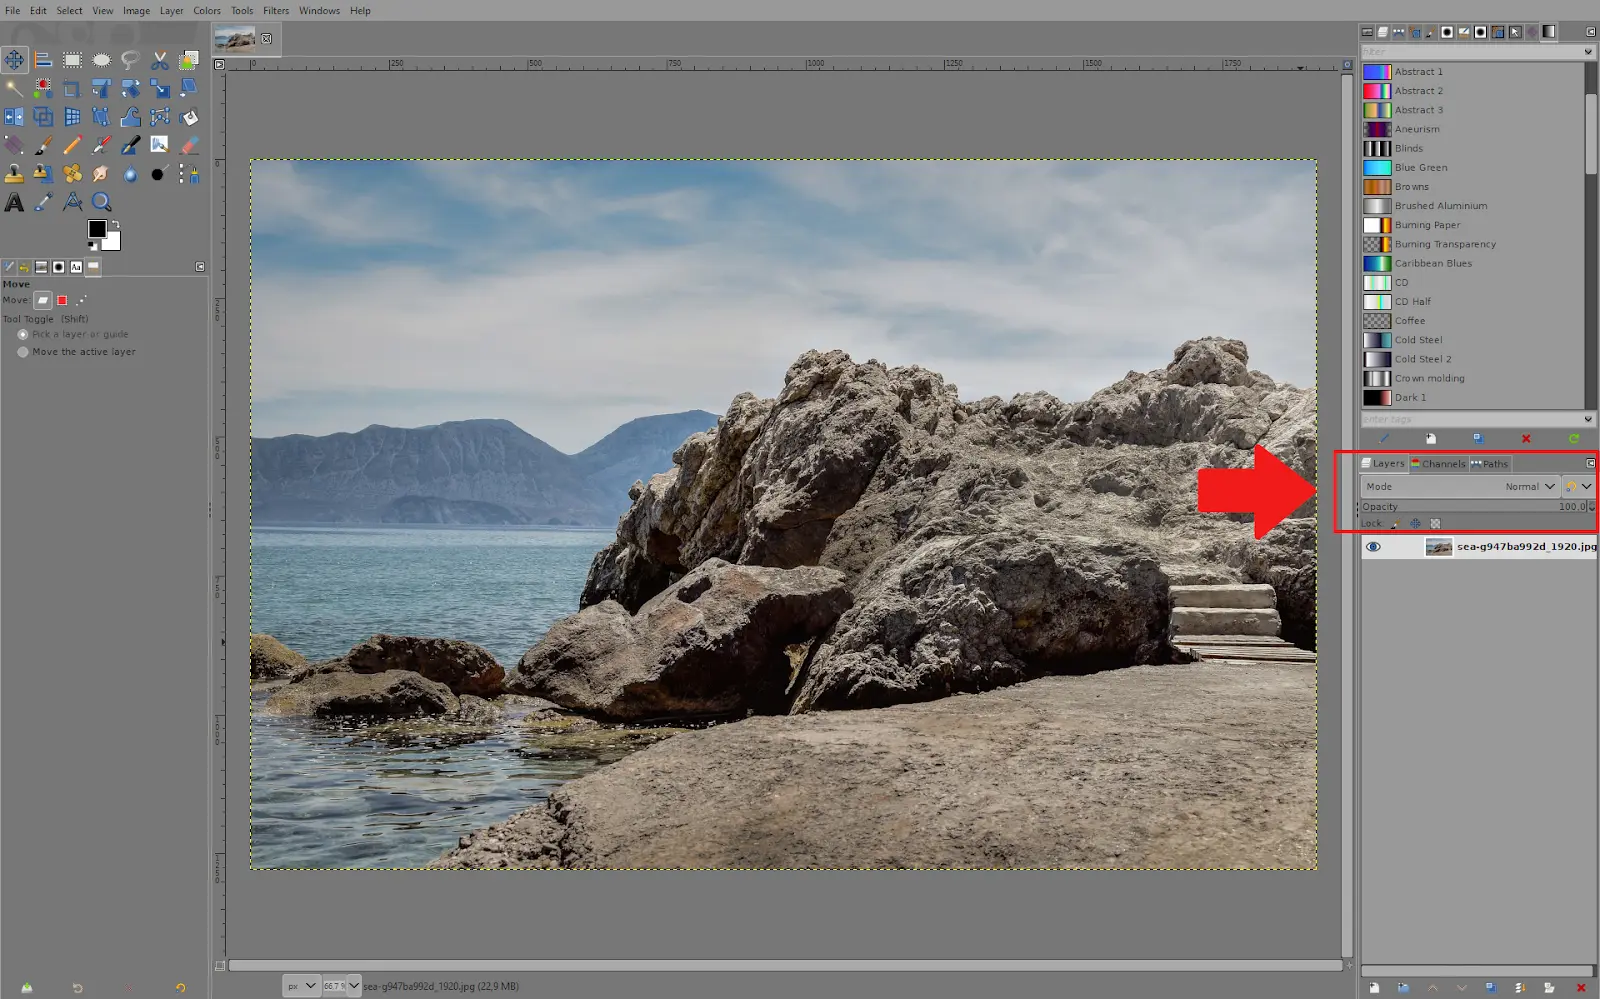
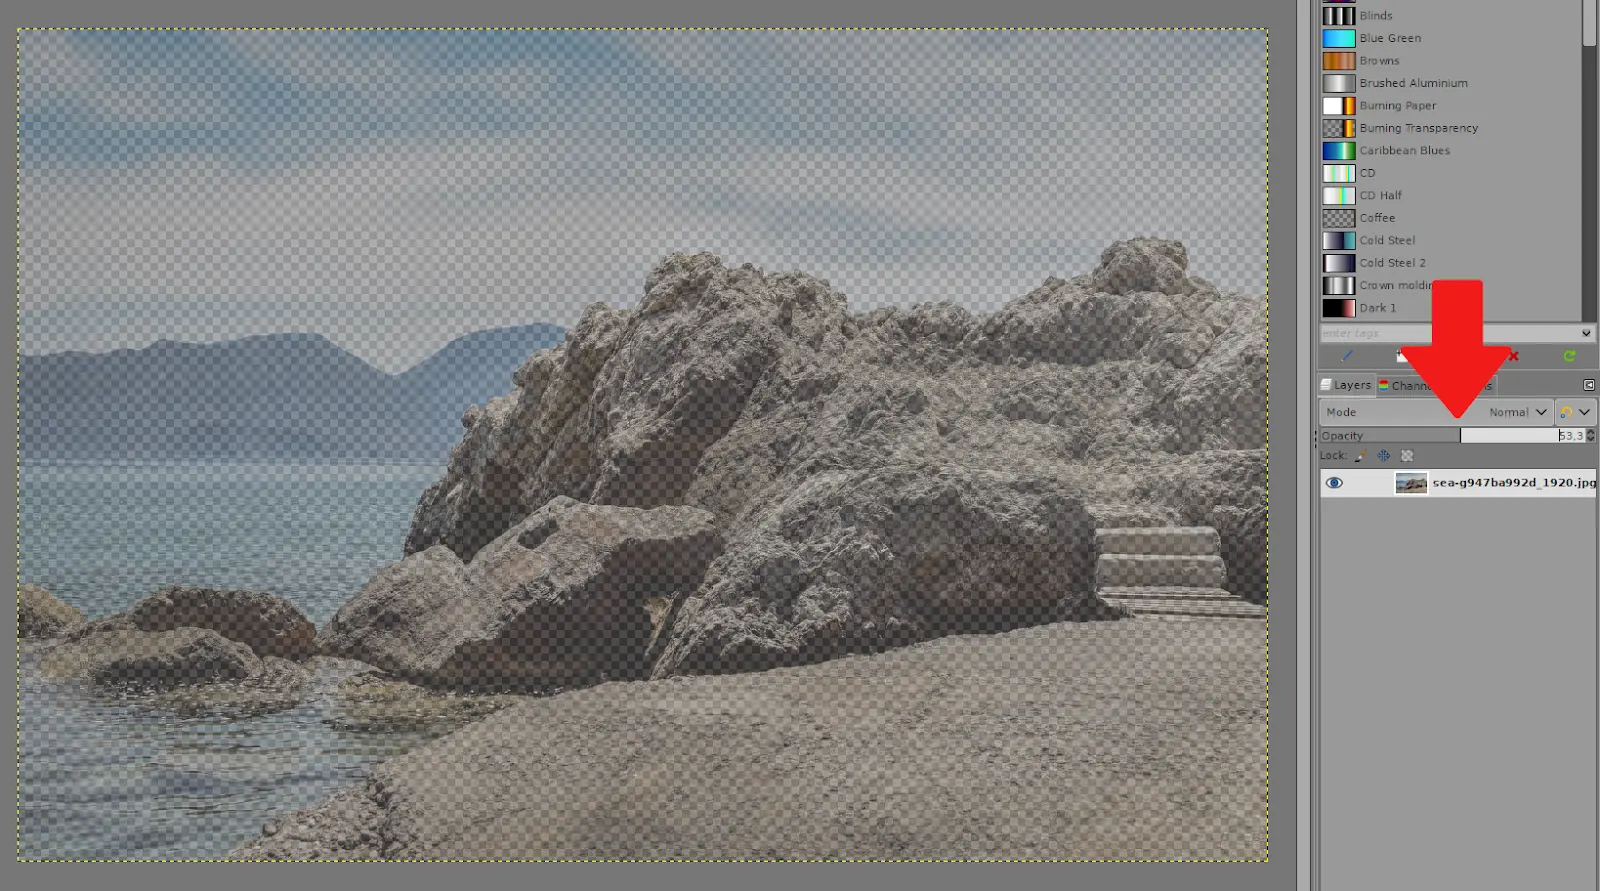
1. The opacity setting is at the top of the layers menu.
2. As you reduce from 100%, the image becomes more transparent. At 0%, the image becomes invisible.
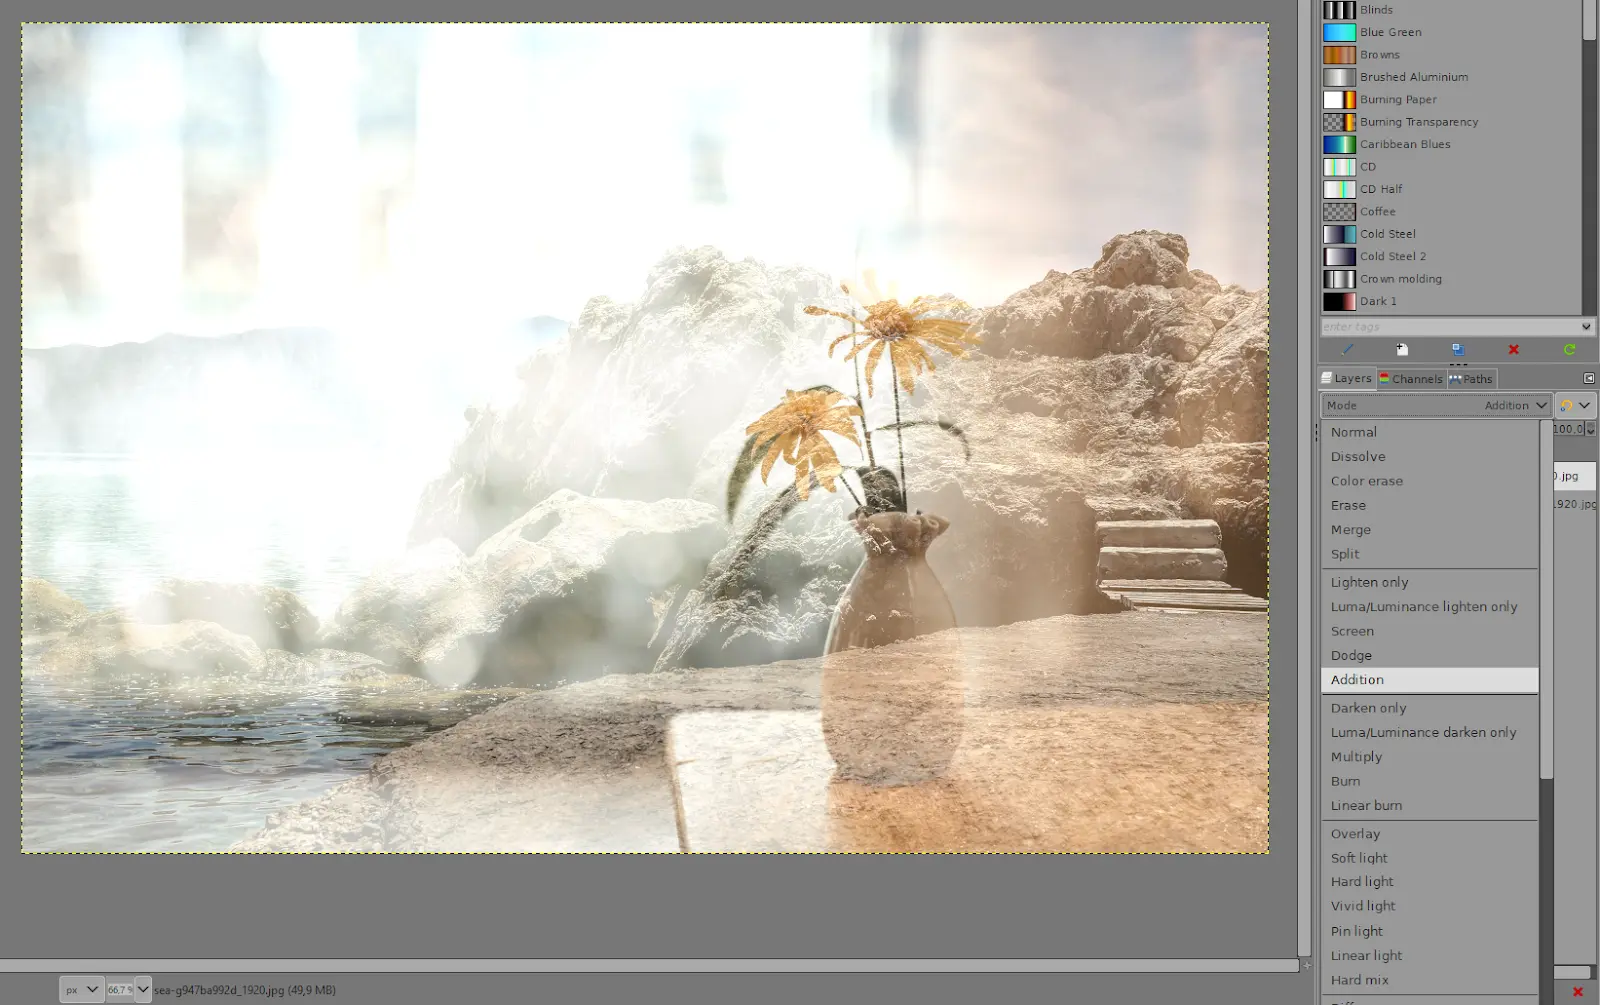
3. When you have two images in different layers, you can blend them together using the ”Mode” menu.
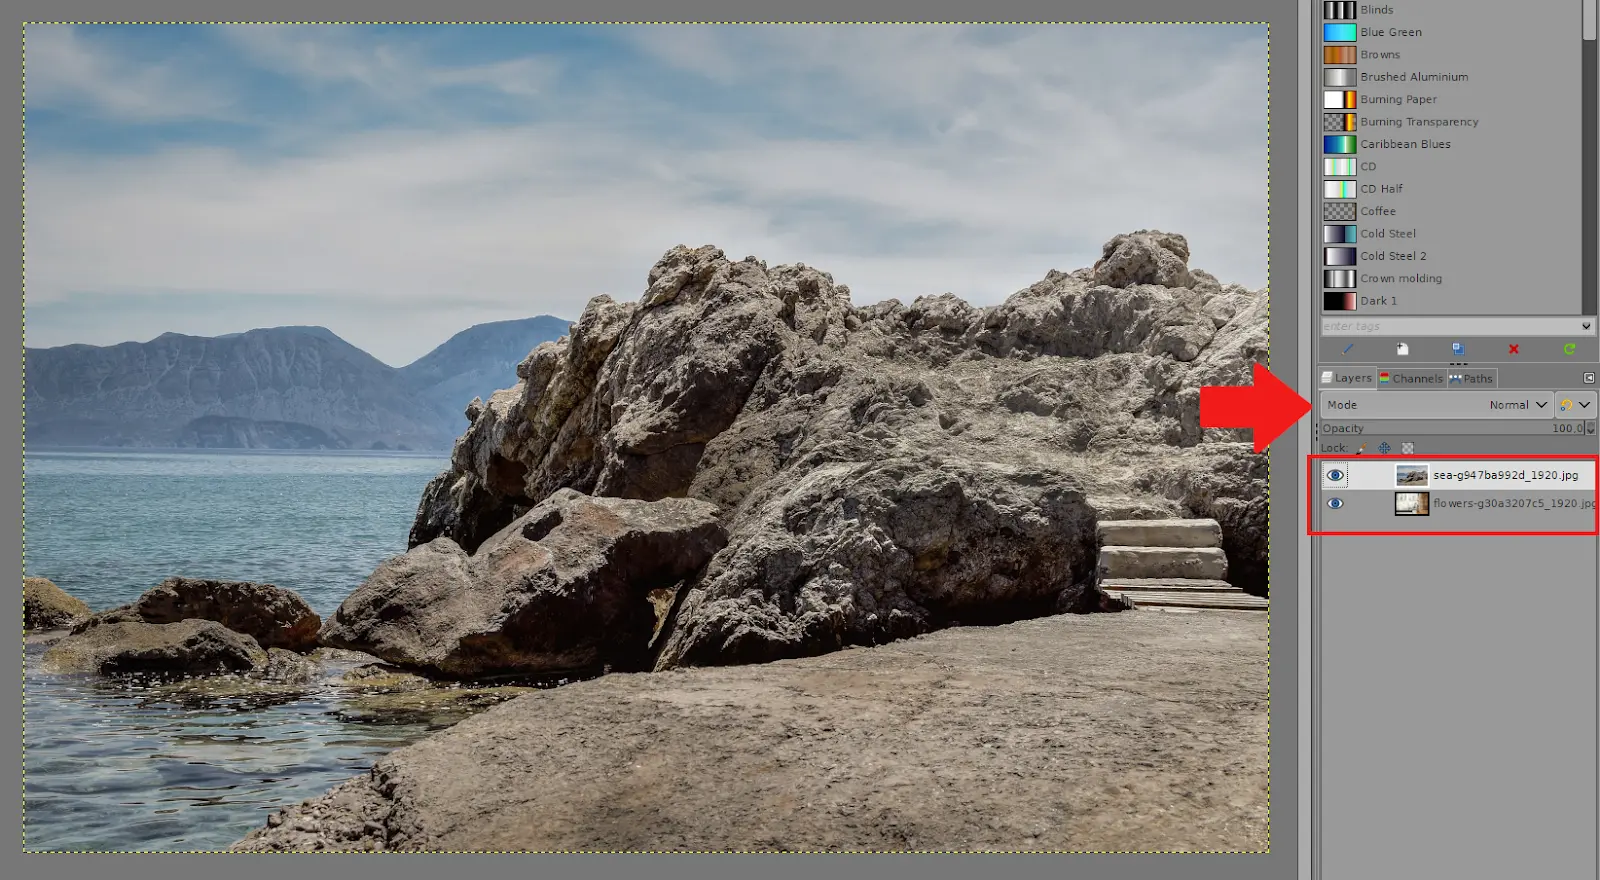
4. Choosing from the options allows you to blend the images.
Another method you can try is creating a whole new image and making a new transparent layer. The default size will be that of the image. Go to the main image, select >> all, then copy and paste on the new layer. You can then delete the original layer and save it as a new file type.
One more easy method you can try is to:
Right-click on the layer >> Transparency >> Add alpha channel.
Next, use the Levels or Curves tools to adjust the Alpha channel.
You may also need to work on the sensitivity of the selection to get as many of the pixels along the edge.
Removing the white background after making an image background transparent in GIMP
You should know that when you look at an image outside of Gimp, the image viewer may fill the transparency. So the transparency is there, but you don’t see it.
You can fix it by either cutting the object from the image and putting it on its own layer with a transparent background, or if the image is saved in a format other than JPG, you can convert the image to jpg, then open it in GIMP and go about as normal.
Leave a Reply
You must be logged in to post a comment.