Removing white backgrounds from images and frames is one of the most common tasks in animation and graphic design. Thankfully, this can be done using most raster editing software, including Gimp.
As a professional Gimp editor, I’ve curated simple steps that you can use to remove a white background. The steps are straightforward and precise. However, before getting started, there are a few tools you should know.
The Eraser Tool in Gimp
Use the Eraser tool to erase the color from the current layer or a selection of the layer. The background color in the Toolbox’s Color Area will be visible if the Eraser is used on something that does not allow transparency.
Some things that don’t allow transparency include a selection mask, channel, layer mask, or the Background layer if it does not have an alpha channel. However, if the feature does allow transparency, erasing will result in either partial or full transparency, depending on the settings for the tool parameters.
How to Remove White Background in GIMP
You can check the “Hard edge” box in the Tool Options if you need to remove a group of pixels fully.
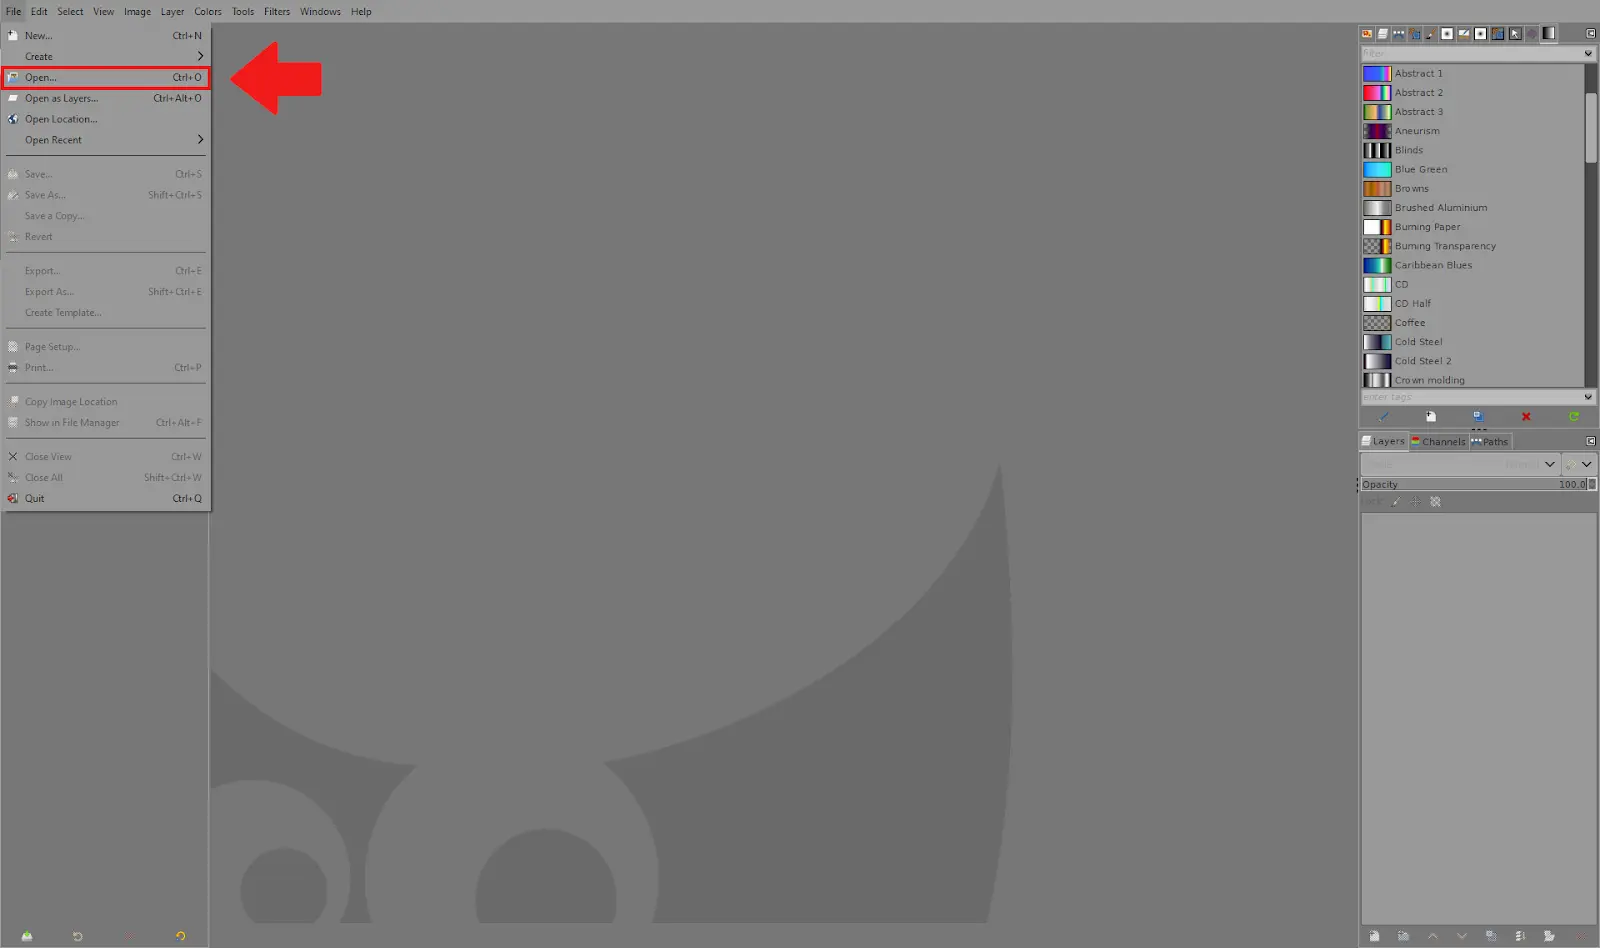
1. Open GIMP

2. Once GIMP has opened, go to file – open.
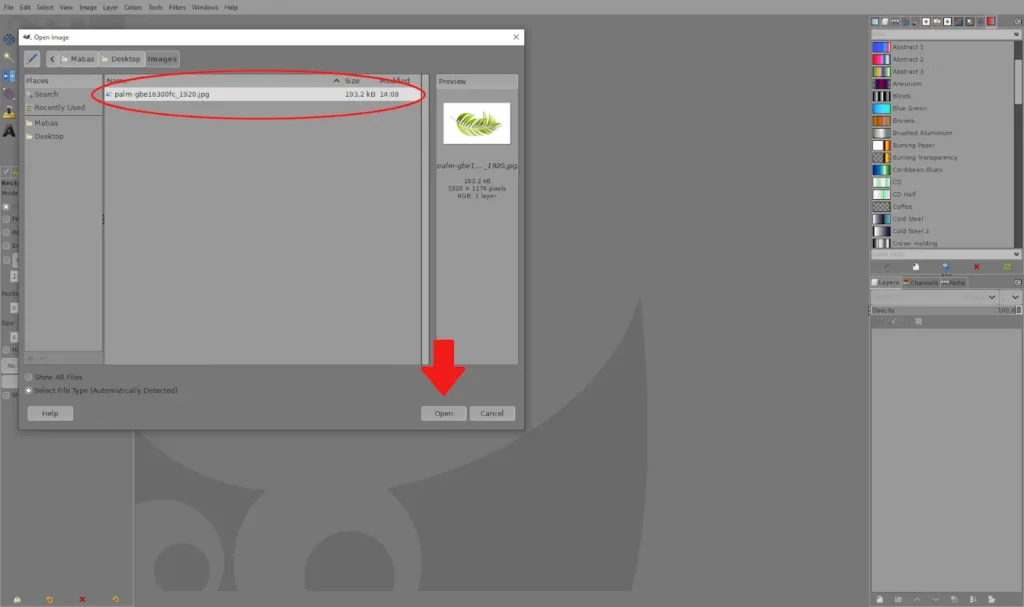
3. Select the image you want from your folders, then click ”open”.
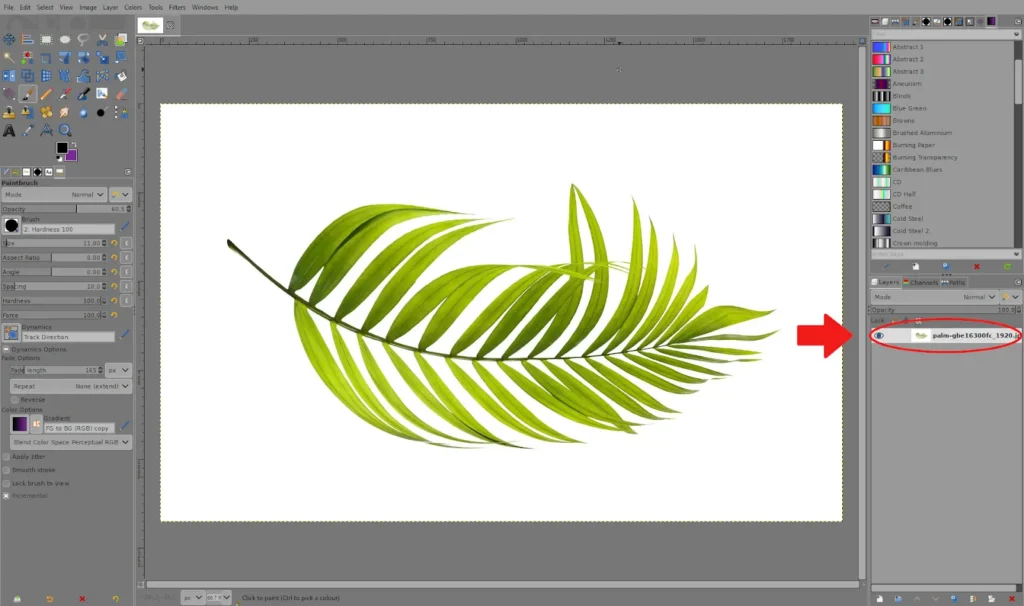
4. Once the image has opened up, you have the layers menu on the right. Right-click on the image layer.
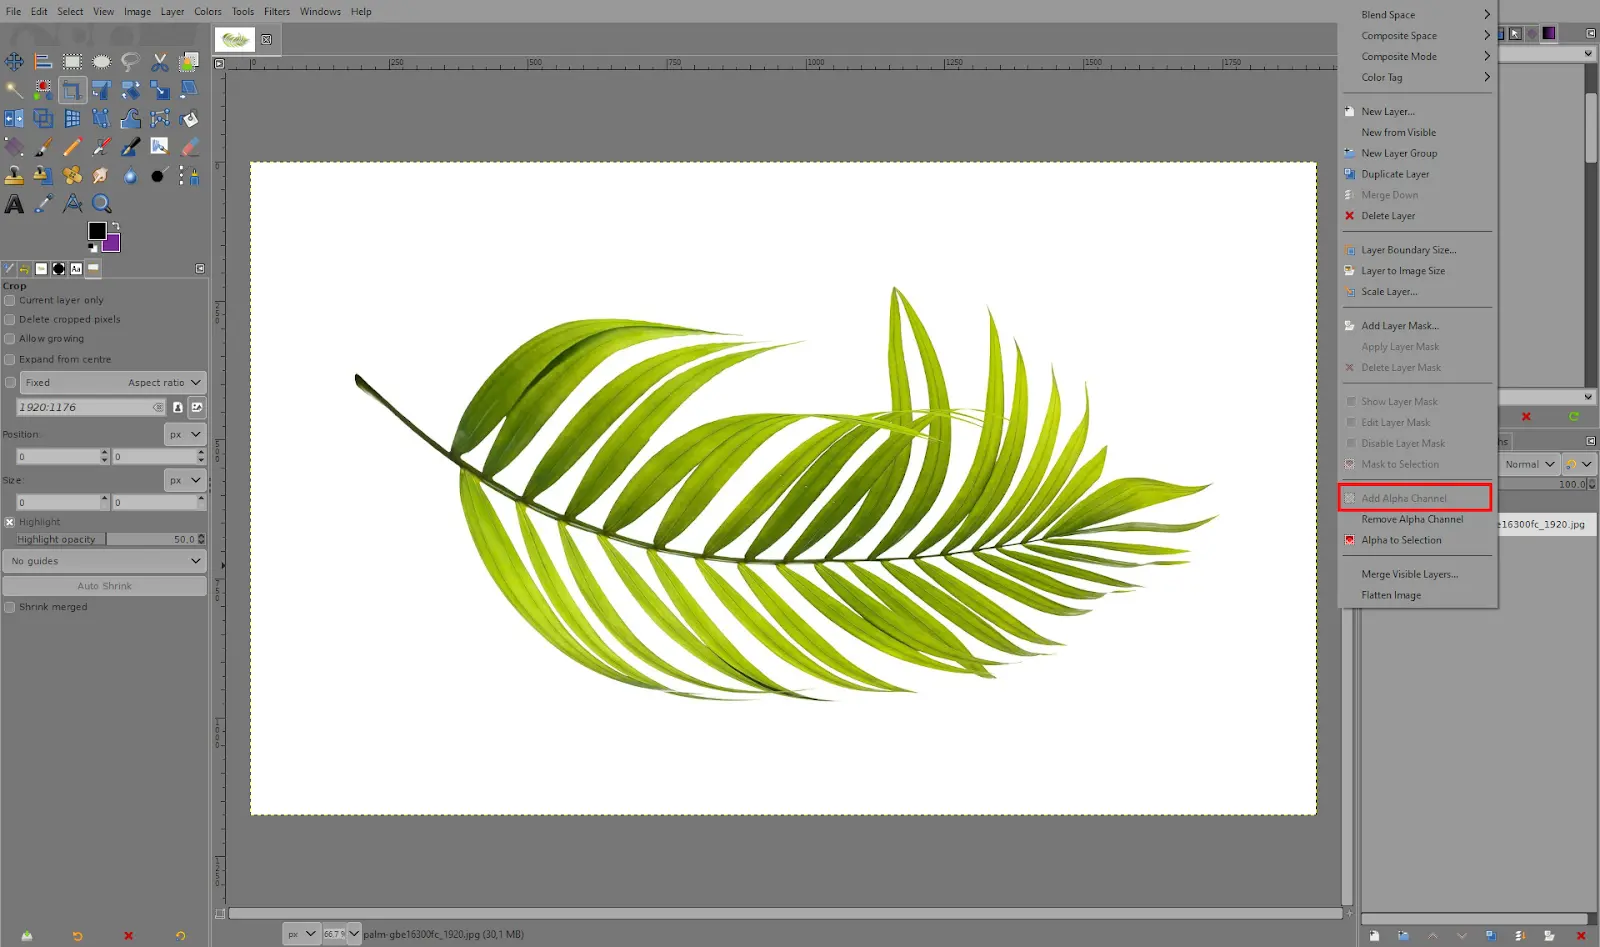
5. From the menu, make sure that ”Add Alpha Channel” is selected.
6. Choose the ”Select by Colour Tool”
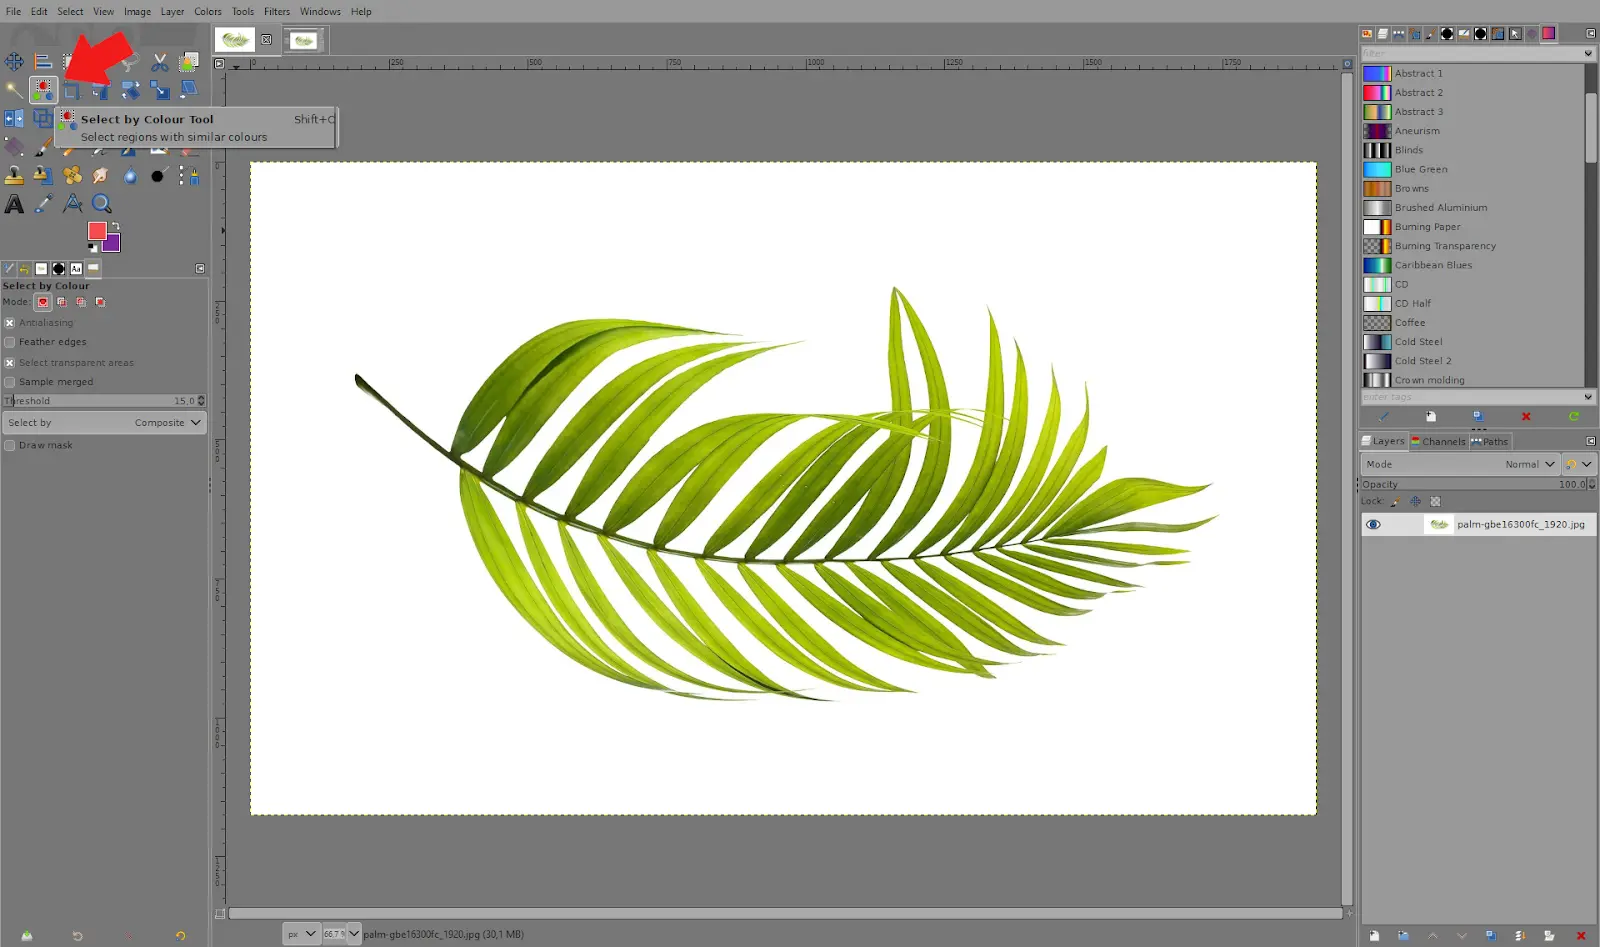
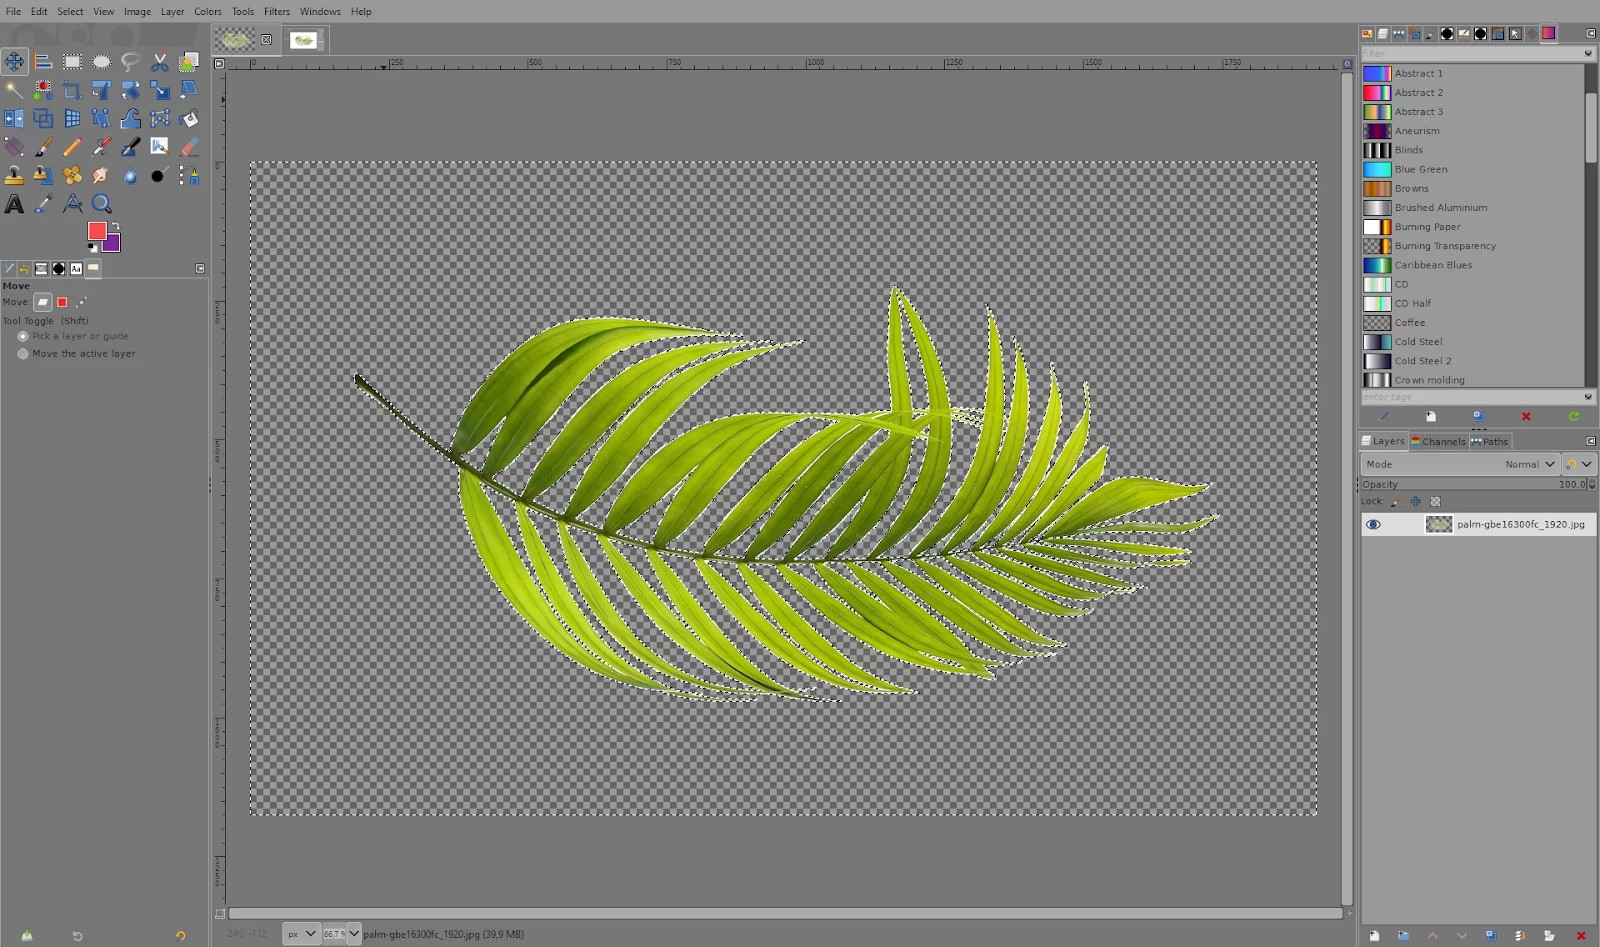
7. Next, click and drag the white area you wish to remove. The more you drag, the more white area is selected.

8. Once you have selected the area, press ”Delete” to remove it.
Using the QuickMask in Gimp to Remove Extra White Backgrounds
GIMP uses QuickMask to display the selection’s complete structure. Additionally, QuickMask allows users to interact with the choices in brand-new ways. The selection is displayed in QuickMask mode as a translucent screen covering the image, with the degree of transparency at each pixel indicating the level of selection for that pixel.
The mask is normally displayed in red; however, you can change this if a different mask color is more useful. A pixel is more covered by the mask the less it is selected. The shown pixels are entirely clear when fully selected. Many image alterations in QuickMask mode work on the chosen channel rather than the actual image. The quick mask tool removes extra white backgrounds on your image. If you find yourself in one of those situations where you want to remove those extra white backgrounds poking out from your images, then follow the steps below.
We recommend you check out this information packed article on how to make background transparent in Gimp.
Step 1
Start by locating the quick mask. An icon for Quick Mask is located at the bottom of the Gimp window.
Step 2
The icon’s default color is 50% red, but you may alter it by right-clicking it and selecting Quick Mask Attributes from the menu that appears.
Step 3
Using a brush and white FG, paint over the selections. Then, Apply erasing after the fact. The standard is to have a white background color. To remove portions of the image that are not needed, use the eraser tool.
Step 4
Zoom in and use a small brush size for little areas close to the selected area.
I advise that you use the eraser tool, a small fuzzy brush, and click shift to remove border pixels left over from using, for example. The foreground selection tool often leaves a lot of semi-opaque border pixels.
You may also want to check out our in-depth article on how to make GIF in Gimp.
Leave a Reply
You must be logged in to post a comment.