Adobe Premiere Pro has great features that allow users to update and customize the text in their video projects. I’ve personally used Premiere Pro to edit text in different types of videos. In this tutorial, I’ll share some of my personal experiences editing text in Premiere Pro.
How to Edit Text in Premiere Pro
Step 1:
First Select type Tool [ T ] and click on your video to write your text on it. When you type a new text you can see a layer created in the timeline.
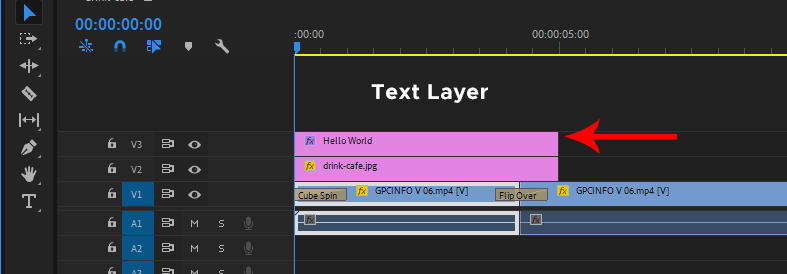
Now select your text layer and open the Effect control. To find Effects Control go to Window > Effects Control. For the short key, use Shift + F5. In Effects Control, you will find all the settings of the text that you just wrote.
Step 2:
Now let’s edit the text
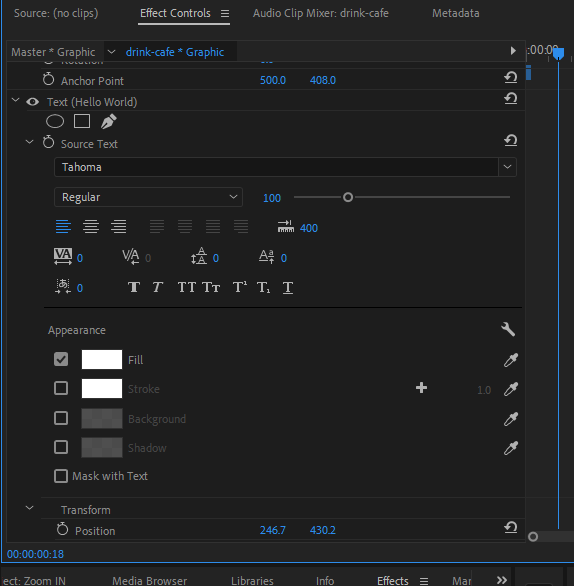
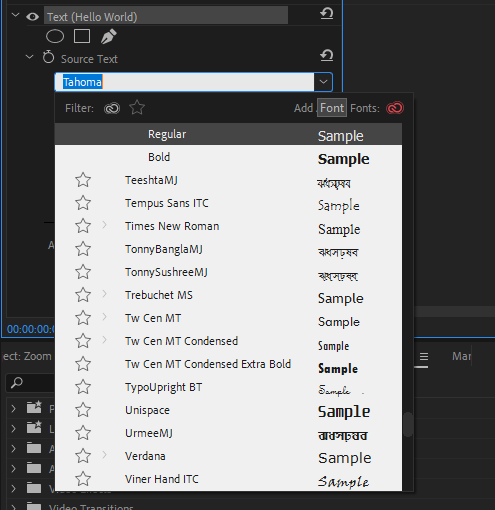
First, change the font of the text under the Source Text. While Premiere Pro has preinstalled fonts, you can install and use your own custom font. Just click the drop-down menu and select your font.
Step 3:
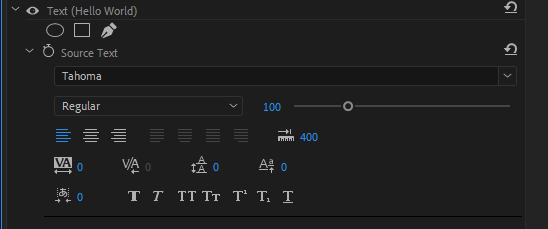
At the bottom of the font settings, you will find the settings for text horizontal spacing, vertical spacing, capital later, small later, text spacing, and underline text.
Step 4:
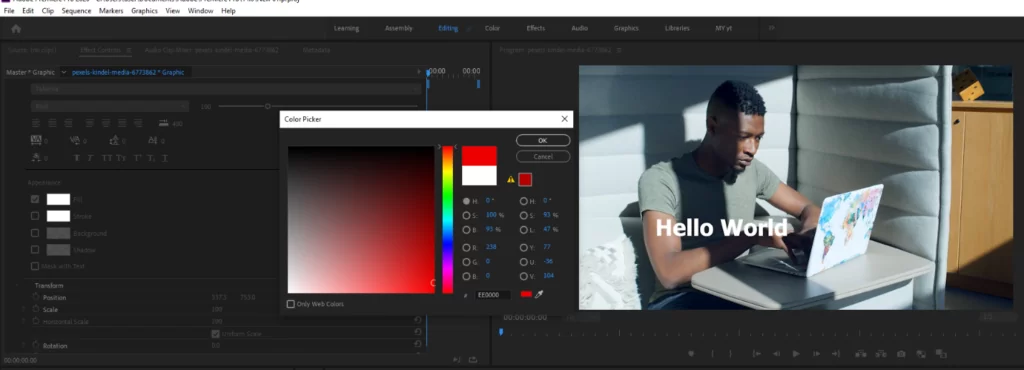
Under Appearance, you will find text Fill color, stoke, Background, and Shadow settings. If you want to change anything of these just click on the empty box and change the value to match your video.

To change the text color click on fill and select your text color from the color pallet. You’re now ready to edit your text like a Premiere Pro Pro! (sorry, couldn’t stop myself).
Also, check out our in-depth article on adding text in Premiere Pro.
Using Ready-Made Templates to Edit Text in Premiere Pro
Follow these steps to use ready-made templates to edit the text in Premiere Pro.
Step 1
Locate and select the Browse tab using the Essentials panel. The quick export of templates from the library is ensured when you use this command.
Step 2
The next step is to select a template in Premiere Pro. You may get pre-made templates when you select Premiere Pro. Next, drag the one you wish to use onto the timeline after selecting it.
Step 3
You need to return to the Edit tab. You can adjust the text’s alignment and, if necessary, add transparency. Text can also be manually rotated or tilted here.
Step 4
Keep in mind that if you need to resize a video in Premiere Pro, you can choose the right font and change the text’s size on the Edit tab to make it fit the frame well. It is also important to stabilize the video too! Also, remember that the icons will not function if the bold and italic choices are not supported. Any font can have underlining added to it.
Step 5
For the fifth step, select the text’s color and then give it a stroke and a shadow. If the window has many text frames, double-click on the one you want to edit with the chosen tools.
How Can I Find Text Panel in Premiere Pro?
If you want to enter a new text, open the Tool Panel. The Tool Panel can be found in the Default Editing Workspace to the left of your Timeline. Its position can change. Next, left-click on Premiere’s Program Monitor while the Type Tool is open, which is at the bottom of this window.
How to Fix Not Able To Edit Text in Premiere Pro
As long as your Premiere Pro is working well, you should be able to modify your text features. If your edit isn’t working in Premiere Pro, Work with the Graphics Essentials panel after selecting the Graphics/Text Clip on your Timeline. Go to the Effects Controls panel after activating the Graphics/Text Clip on your Timeline.
Editing Text Using The Essential Graphics Panel
You can use the Essential Graphics Panel to make simple changes to your textual content. Using the Essential Graphics Panel you can alter font styles, sizes, colors, and more using this panel. You must first click Windows, then select the Essential Panel to access this panel.
Premiere Pro Text Templates You Should Know
You can carry out some advanced text edits using templates that are provided by Premiere Pro. Below are a few notable ones.
- Callouts
A call-out is a phrase or word that is used to draw the attention of something to the screen. To direct the audience’s attention where you want it to go, utilize callouts in your design. Callout graphics are available in Adobe Stock. To get to callouts, start by selecting Adobe Stock from the Graphics Panel by clicking on it.
This Adobe Stock tool is accessible for Premiere Pro. Left, Right, and Center are the three different style categories that are available to you when you are selecting callouts. A sound effects library is also available to you.
When you wish to do voice-over video tutorials, you may also employ callouts. Animated arrow callouts, a two-line headline callout, etc. are among the options.
- Clean Titles and Lower Thirds Using MOGRT
A Motion Graphics Template for Premiere Pro is called MOGRT. The MOGRT files have a.mogrt extension and are self-contained. On Premiere Pro, MOGRTs can be created. To create a MOGRT Simply click on Adobe Stock to search for the mogrt that suits your needs.
The MOGRT set includes tasteful, tidy lower thirds and matching titles that work well with most projects and aid in maintaining the consistency of your content.
You may also like our in-depth guide on how to cut using Premiere Pro.
Leave a Reply
You must be logged in to post a comment.