Creating a unique and personalized RPG game requires a deep understanding of the tools and resources available in RPG Maker MV. One of those tools is the ability to create custom tilesets. These are essentially collections of graphical assets that are used to create the game’s backgrounds and environments. While RPG Maker MV comes with a variety of pre-made tilesets, developers can take their game’s visual design to the next level by creating their own custom tilesets.
This process can be done using graphics editing software like Adobe Photoshop or GIMP. By using these tools, developers can create custom images, and then use them to create unique tilesets that can be imported into RPG Maker MV. These custom tilesets can be used to give the game a personalized look and feel, that can set your game apart from others. It’s a little time-consuming but the results are worth it. By creating custom tilesets, you’ll have full control over the look and feel of your game, making it truly one-of-a-kind. We’ll show you how to get started.
How to Make Custom Tilesets for RPG Maker MV
Step 1: Open a photo editing software of your choice.
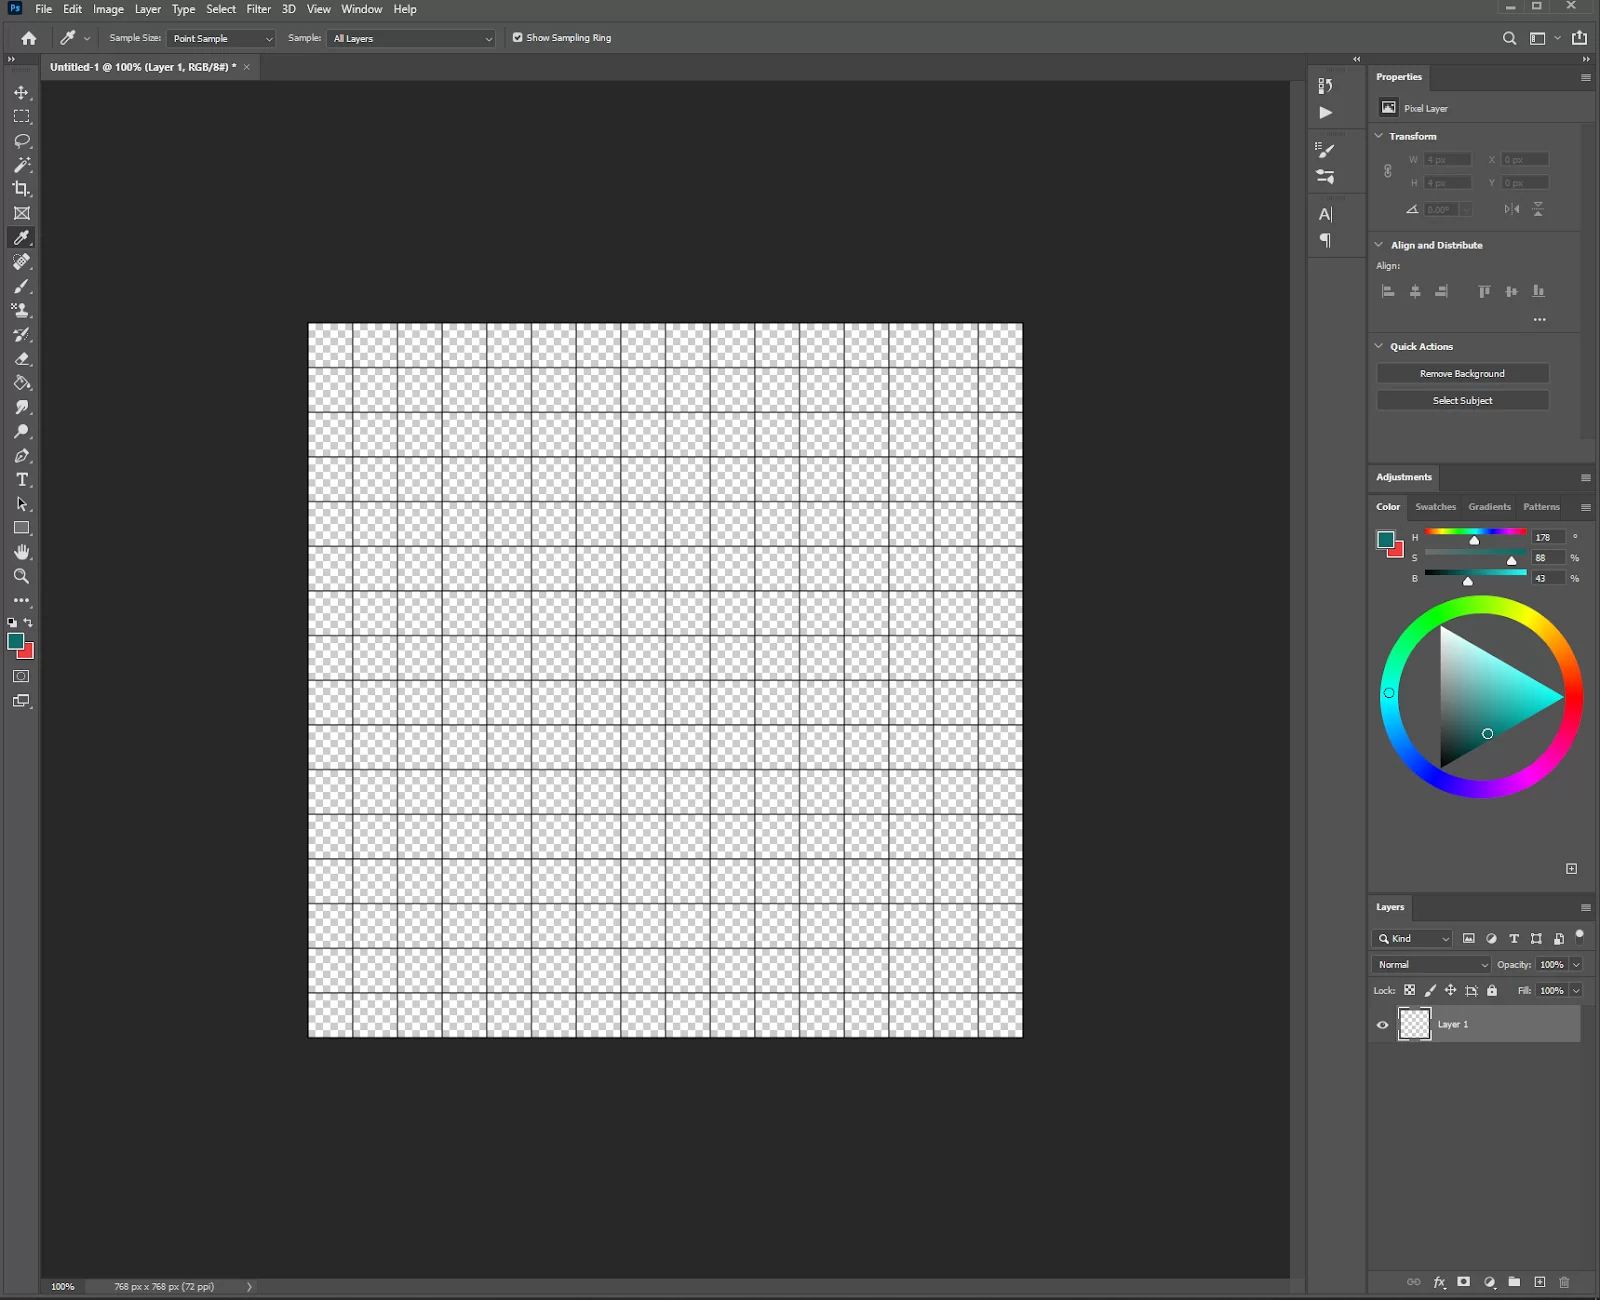
For this guide, I will be using Photoshop. Set the height and width of the file to 768 pixels.

Step 2: Start creating your own tilesets.
I start off by adding 48 x 48 grid guides so you can maximize and position your tileset objects better. If you are using photoshop, you can edit your grids by going to Edit > Preferences > Guides, Grid & Slices. Enable the grid guide by pressing CTRL + ‘ on your keyboard.

You wanna make sure that the background is transparent.
I will no longer be tackling the art creation process of the tilesets since that entirely depends on what you’re trying to make, so I just got some stock images from the internet. Our tileset now looks like so:
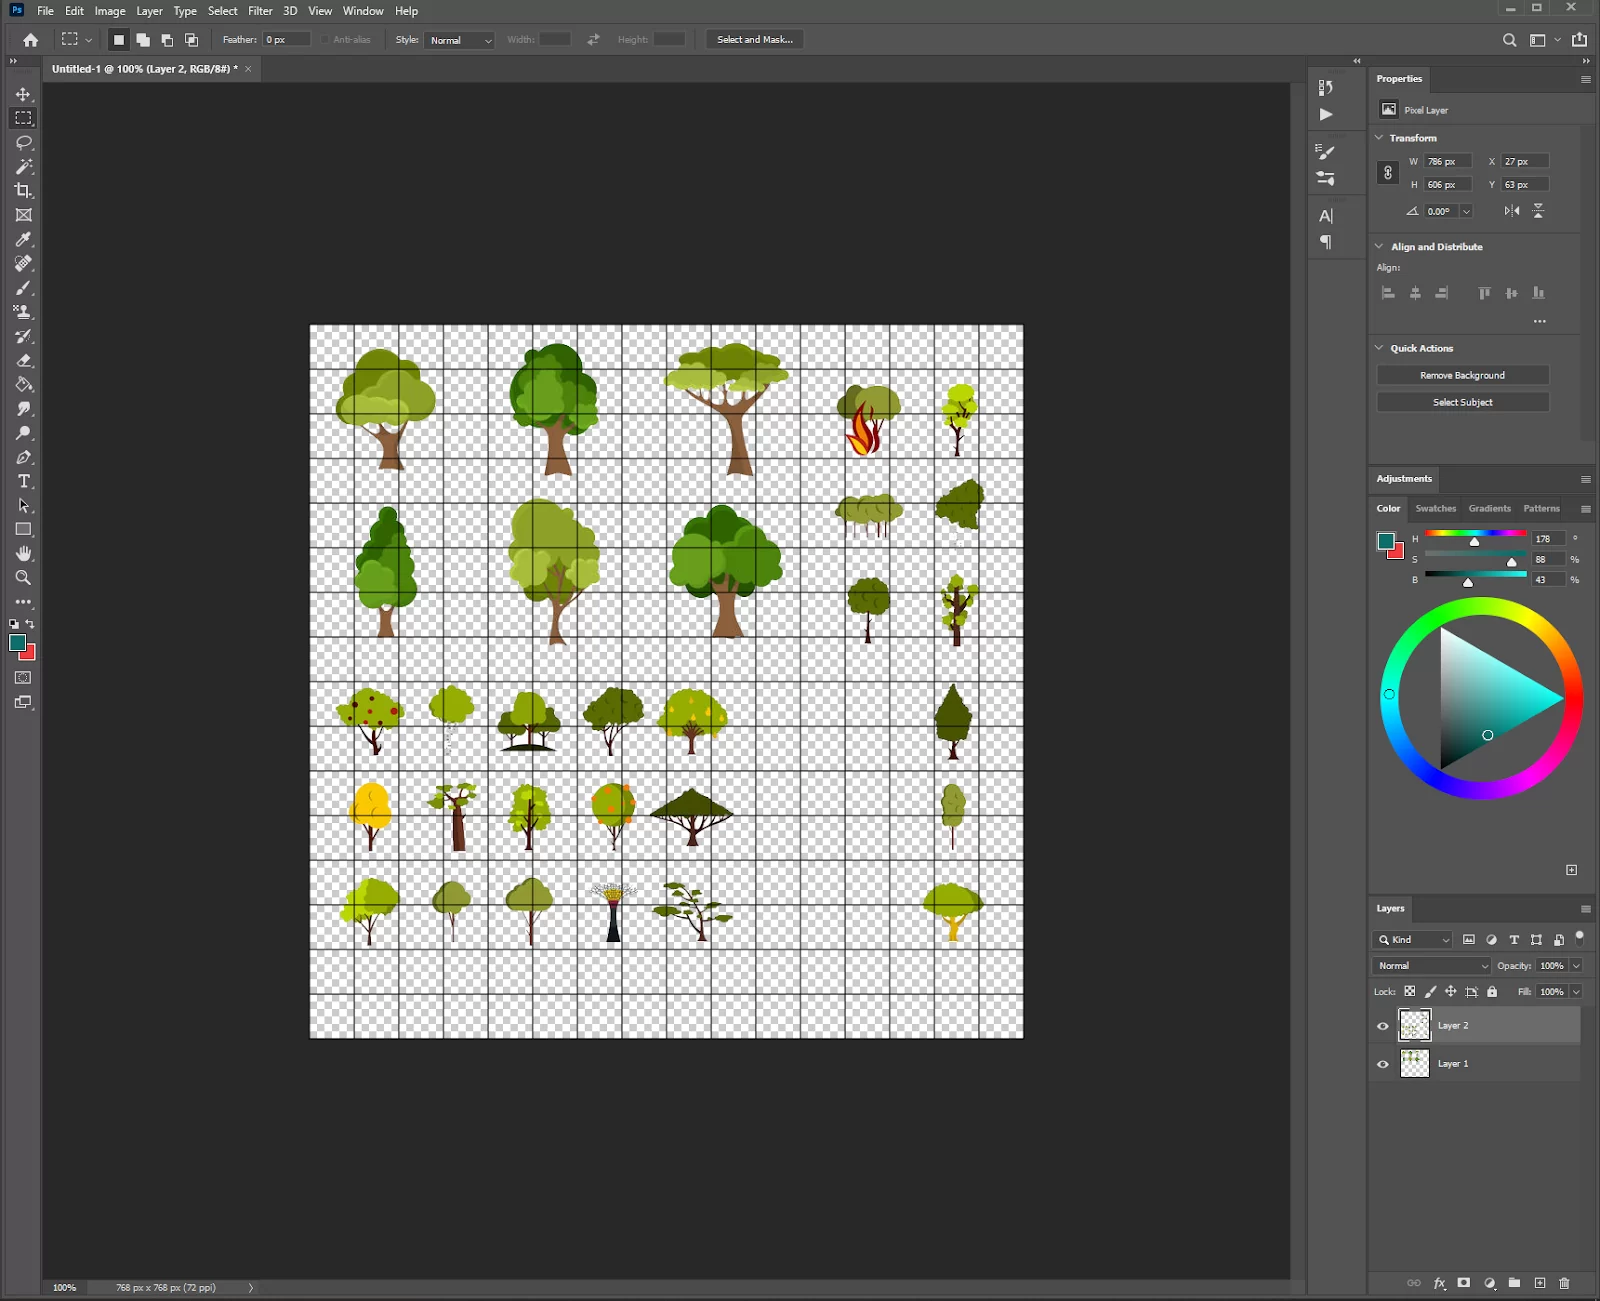
Save this image file as a (.png) somewhere in your computer.
Step 3: Importing your custom tileset to RPG Maker MV.
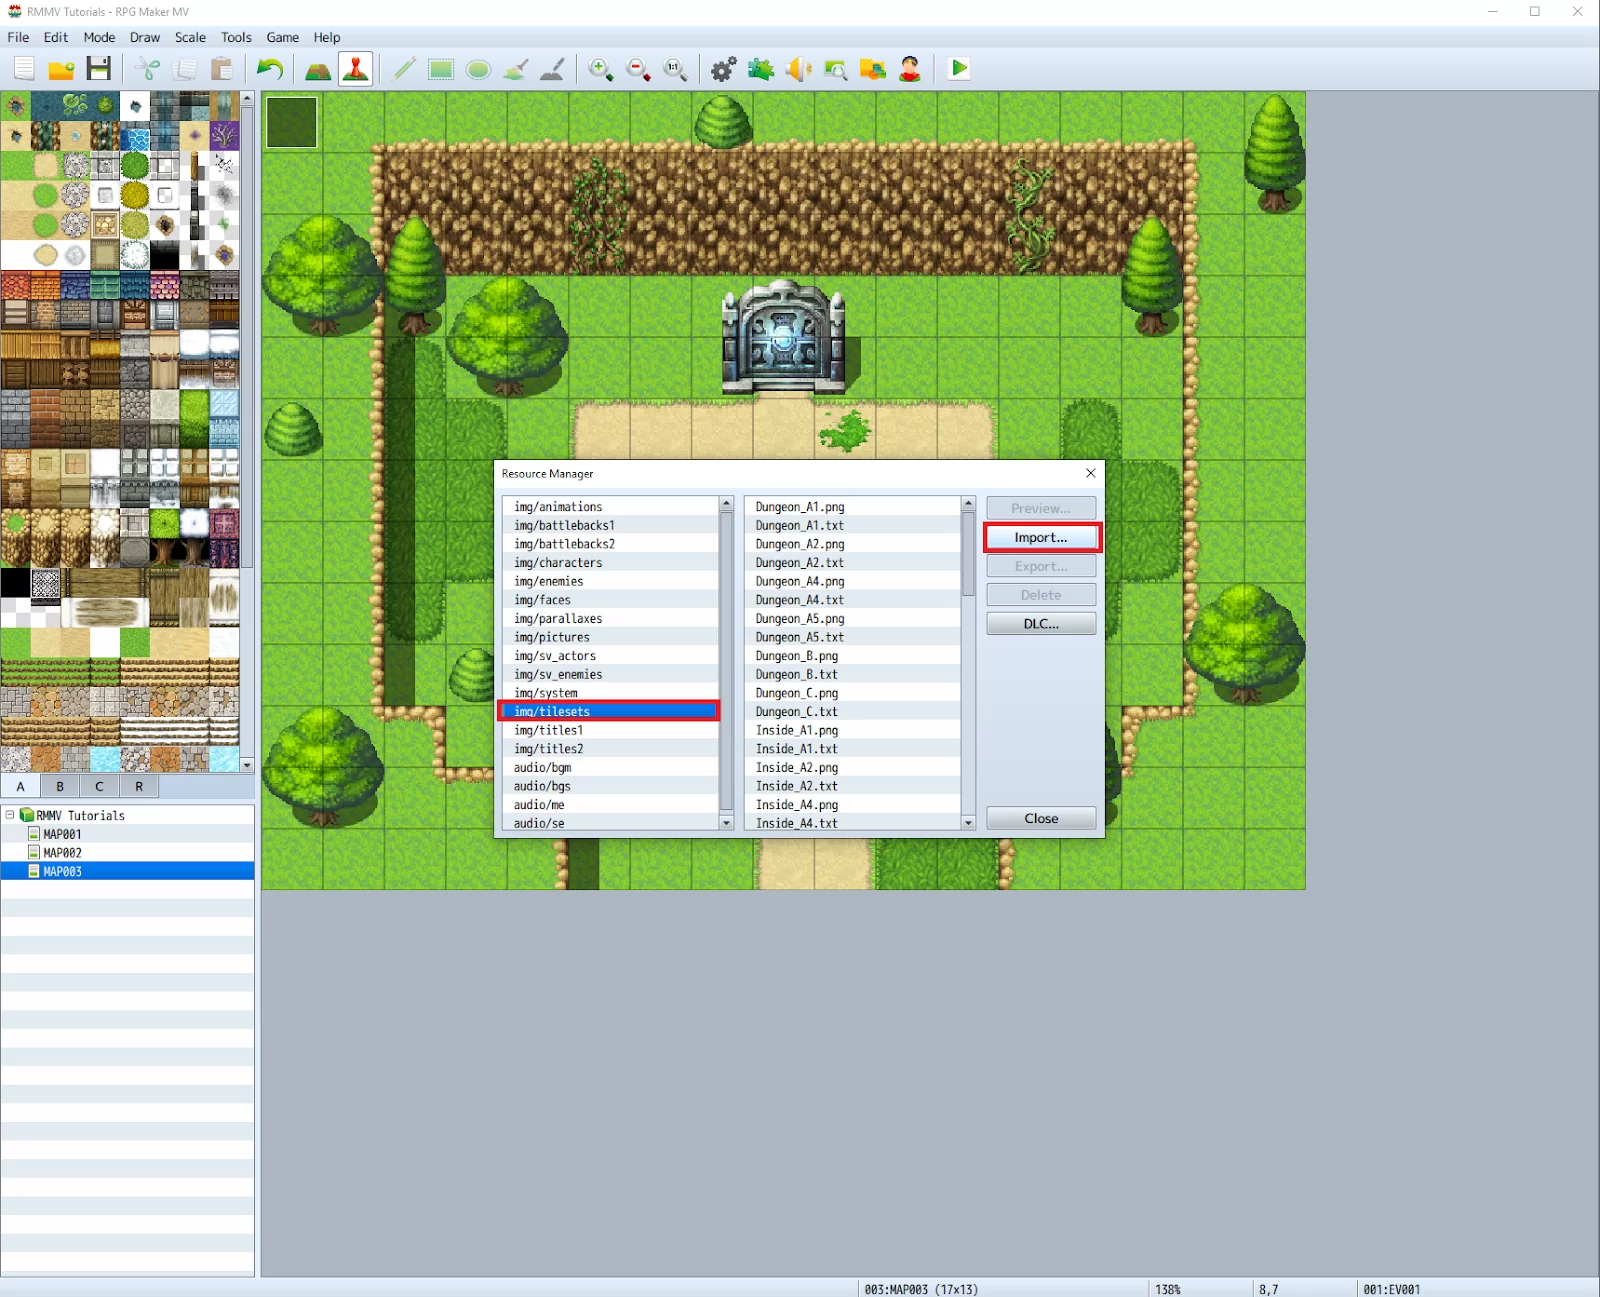
Fire up your RPG Maker MV software and open the Resource Manager like so:

Choose ‘img/tilesets’ from the list and click on ‘Import’.
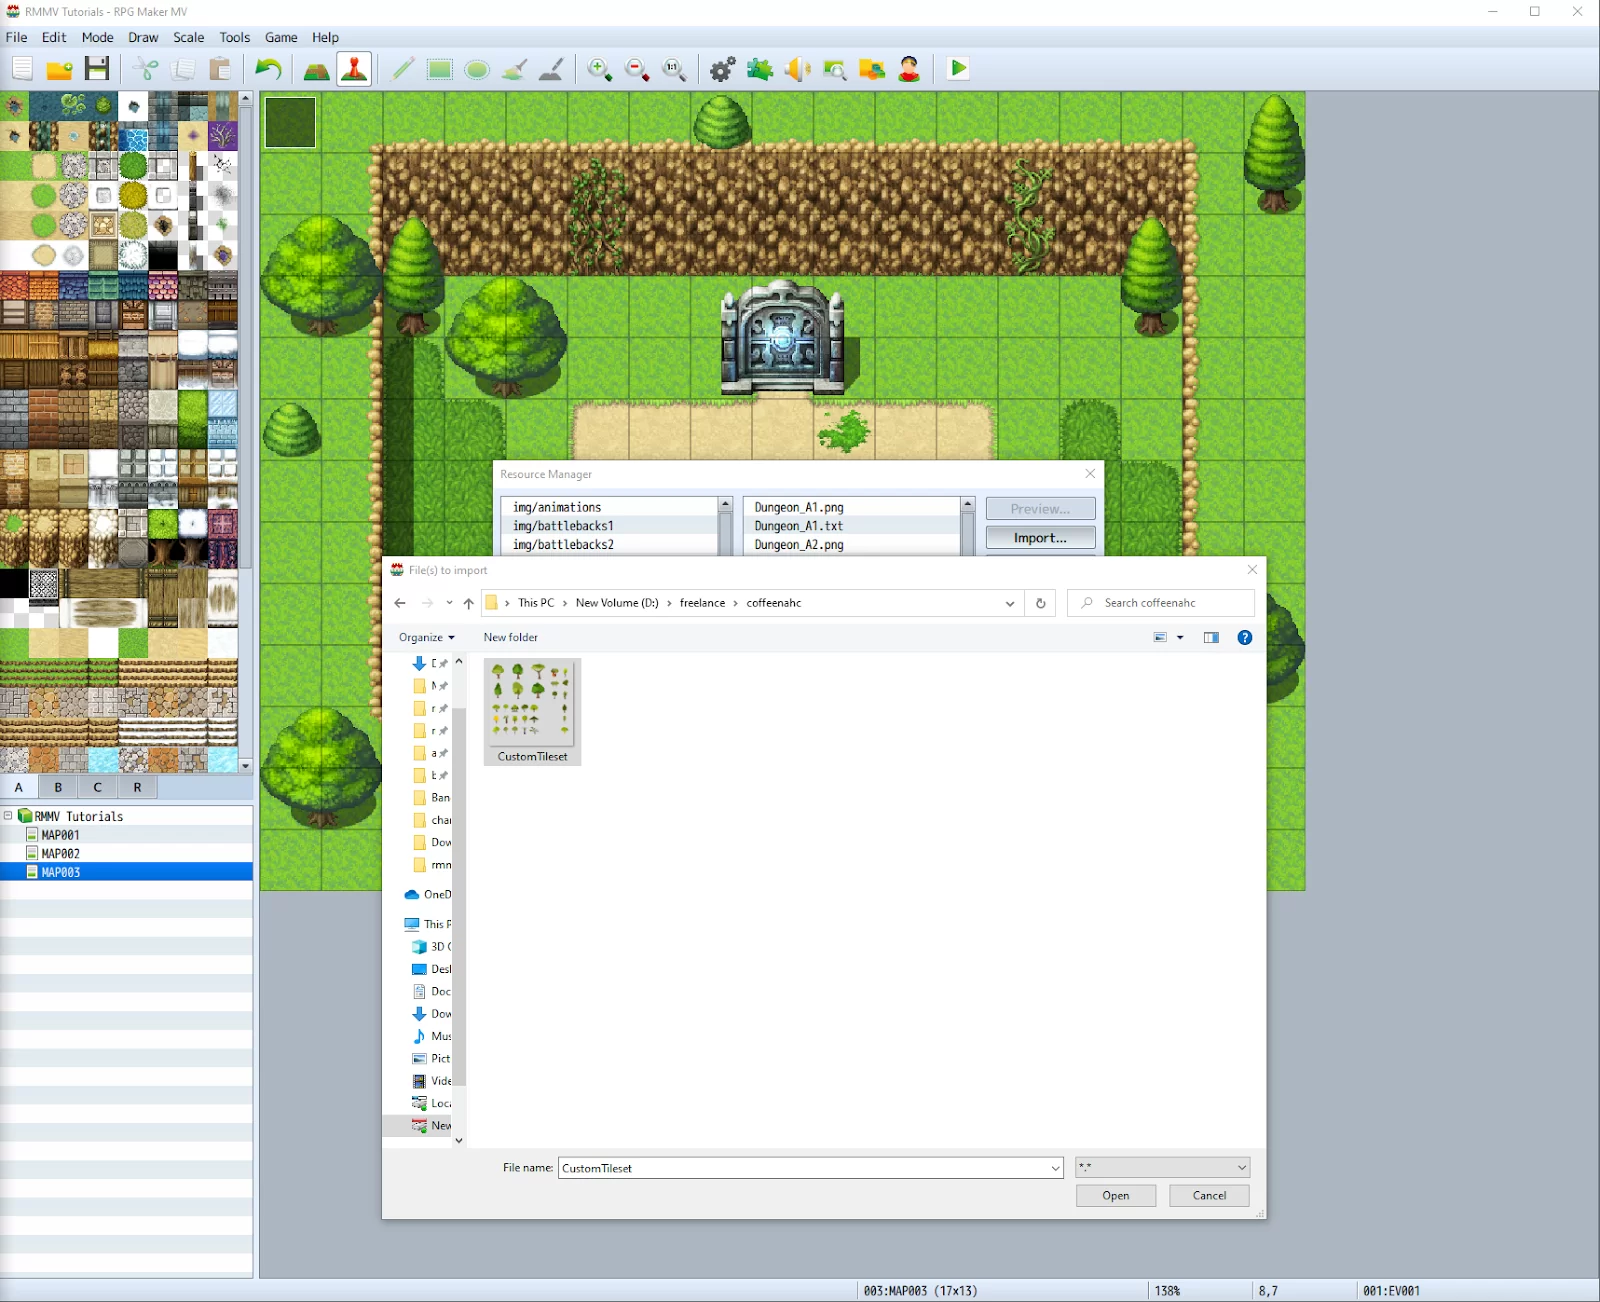
Locate the file you’ve just created and click on ‘Open.’ Your tileset image should now be imported.
We’re not done just yet. Open the database by clicking on the gear icon.

Select the Tilesets tab. Since we are currently using the Outside tileset for our map, we will be adding the custom sprite assets we’ve made in this tileset.
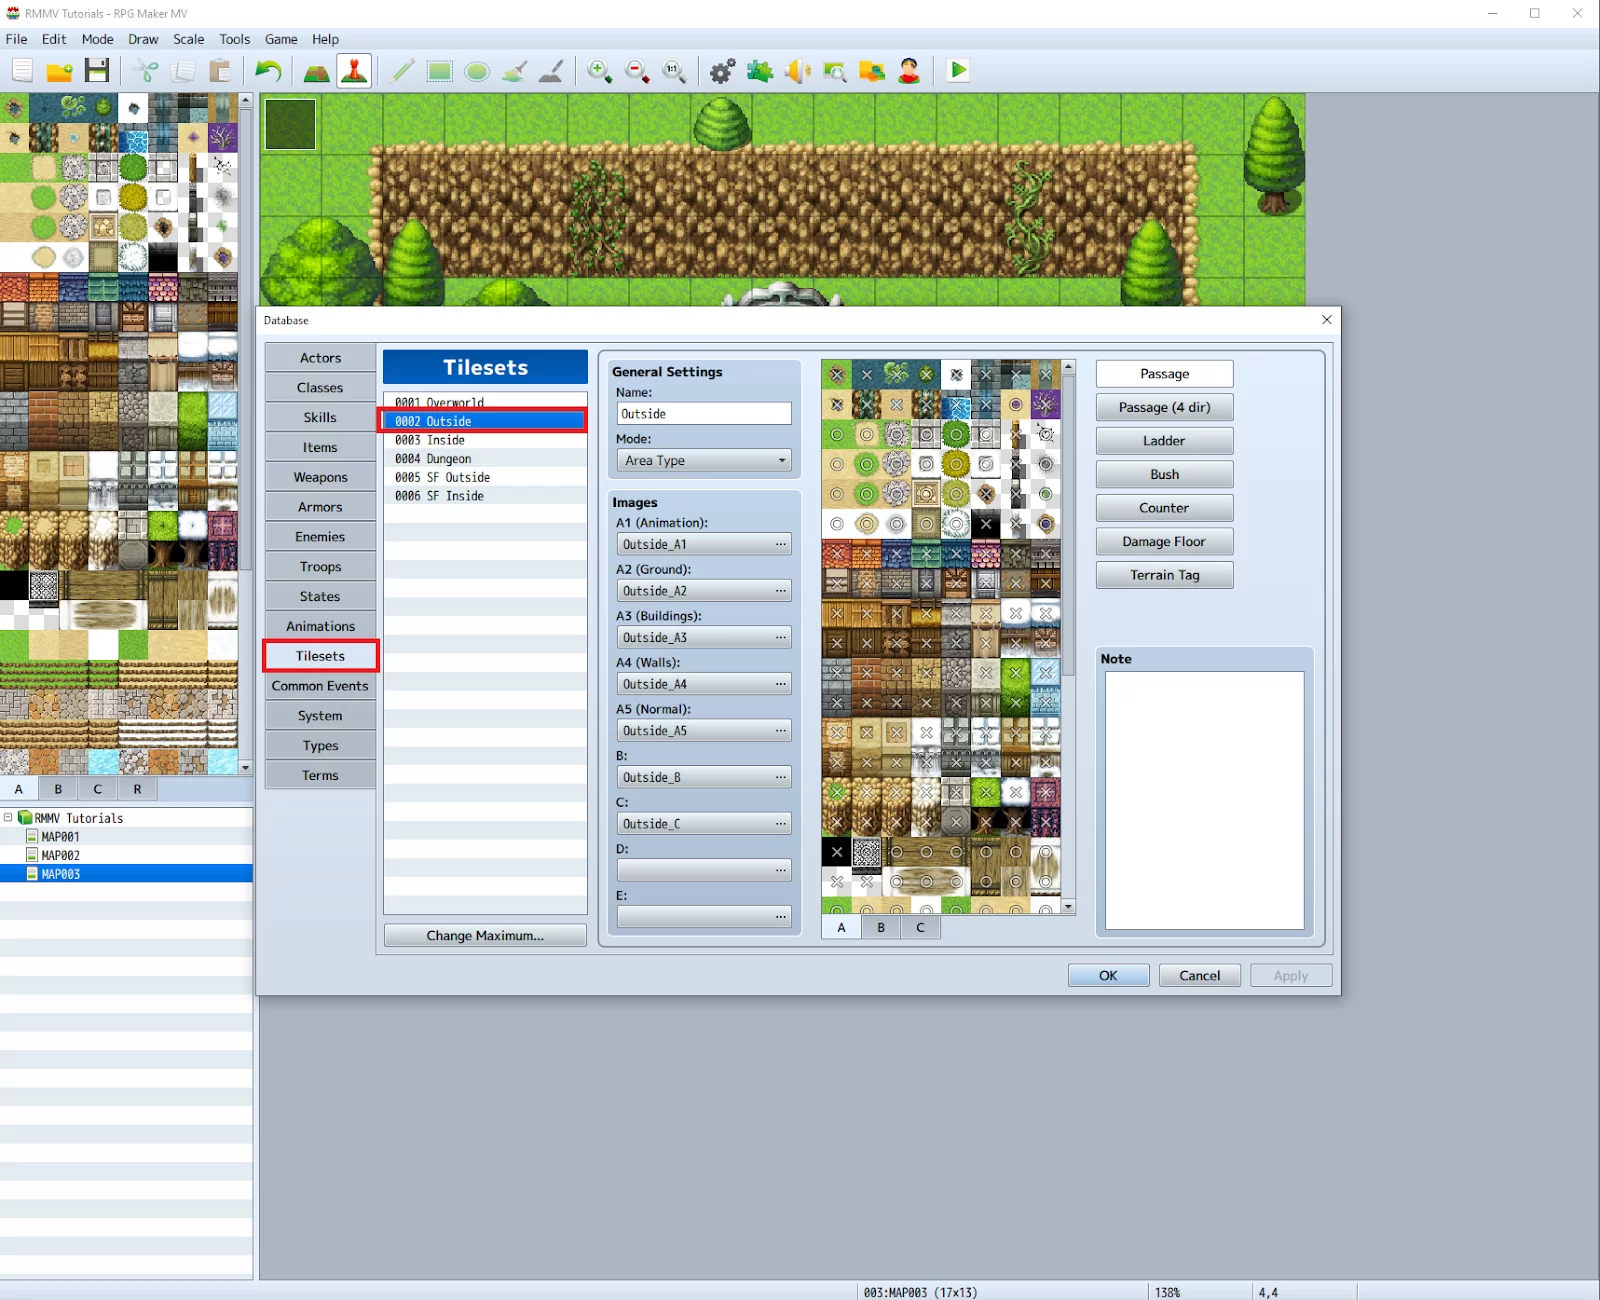
We still have two more slots to fit in this tileset. We could add the sprite we’ve just made on this one. Click on the button as seen below to open the resource picker window.

Select the tilesets we’ve just made from the resource picker and press OK.

Hit Apply and OK to save your changes and exit the database. Your map editor should now be updated with the custom images you’ve made.

Viola! You’ve successfully created and imported your own tileset.
We also recommend that you see our information packed article on how to import and add tilesets in RPG Maker.
Understanding Custom Tilesets in RPG Maker
The grid system in RPG Maker is made up of tiles of 48×48 pixels. When you look at the tiles visually, they are quite easy to understand. Each square of the tile can be placed 1:1 in the engine.
Tilesets consist of a series of. PNG files that can be split into a grid of 48 by 48 squares. This is pretty straightforward up to this point, right? Good. Stay with me. So, what is the purpose of the grid in the Tilesets? It is quite simple. The grid’s purpose is to support the game’s straightforward top-down navigation. Only one tile at a time can be moved up, down, left, or right by the player. In other words, there are tiles you can walk on and tiles you can’t in the game’s actual world. When developing tilesets with elements occupying more than one square in the future, it is crucial to keep this in mind.
If you look at the tiles you’ll see that they have letters. So, what’s up with all the letters? You see, Tilesets are made up of a series of images. Now, each letter and number is in sync with how the engine will read and use the tilesets in the map creation screen.
Let us take, for example, the A1 (Animated Tiles). Tilesets that can be found in this section are used in areas for water or lava. They appear beneath other tiles placed on the map and are the bottommost layer. A1 tiles are used to animate the environment, and they are also used to provide some ambiance to the game world. These tiles will flow in the background as the player runs around the game world and explores. These tiles are also known as “Auto Tiles” by RPG Maker. This means that the RPG Maker engine will place and interpret the animations for A1 tiles if you follow the specifications.
Still talking about Tiles, let us look at the A2 Tiles. These tiles are the Ground Tiles. These tiles are a bit easier to understand than animated tiles. The A2 Tiles are made up of the same 6-square grid and work the same way the A1 tile does. However, they work with a single set of 6 tiles for each because they don’t need to be animated.
Finally, let us look at the A3 Tiles. The A3 Tiles are the building Tiles. I love these tiles because even though they are a bit different, they aren’t as complex as the A1 and A2. The layout for the A3 Tiles is very straightforward. The A3 Tiles are broken into sets of 4 tiles. However, only one of them is shown in the panel at the left of the map creation screen.
The A3 Tiles are broken down into squares of 24 by 24, similar to the A1.
If you enjoyed reading this article, you will also like our in-depth guide on adding characters in RPG Maker.