The cropping tool in Adobe Illustrator is one of the most used features and for good reason. Apart from file size reduction purposes, copping is great for Image optimization.
By cropping an image in Illustrator, you can remove unnecessary elements and optimize your design. This helps to improve the overall aesthetic of your design and make it more visually appealing. Let’s get into the details.
4 Methods to Crop in Illustrator
There are a couple of ways to crop an image in illustrator. Here are the 4 popular methods to crop an image in illustrator.
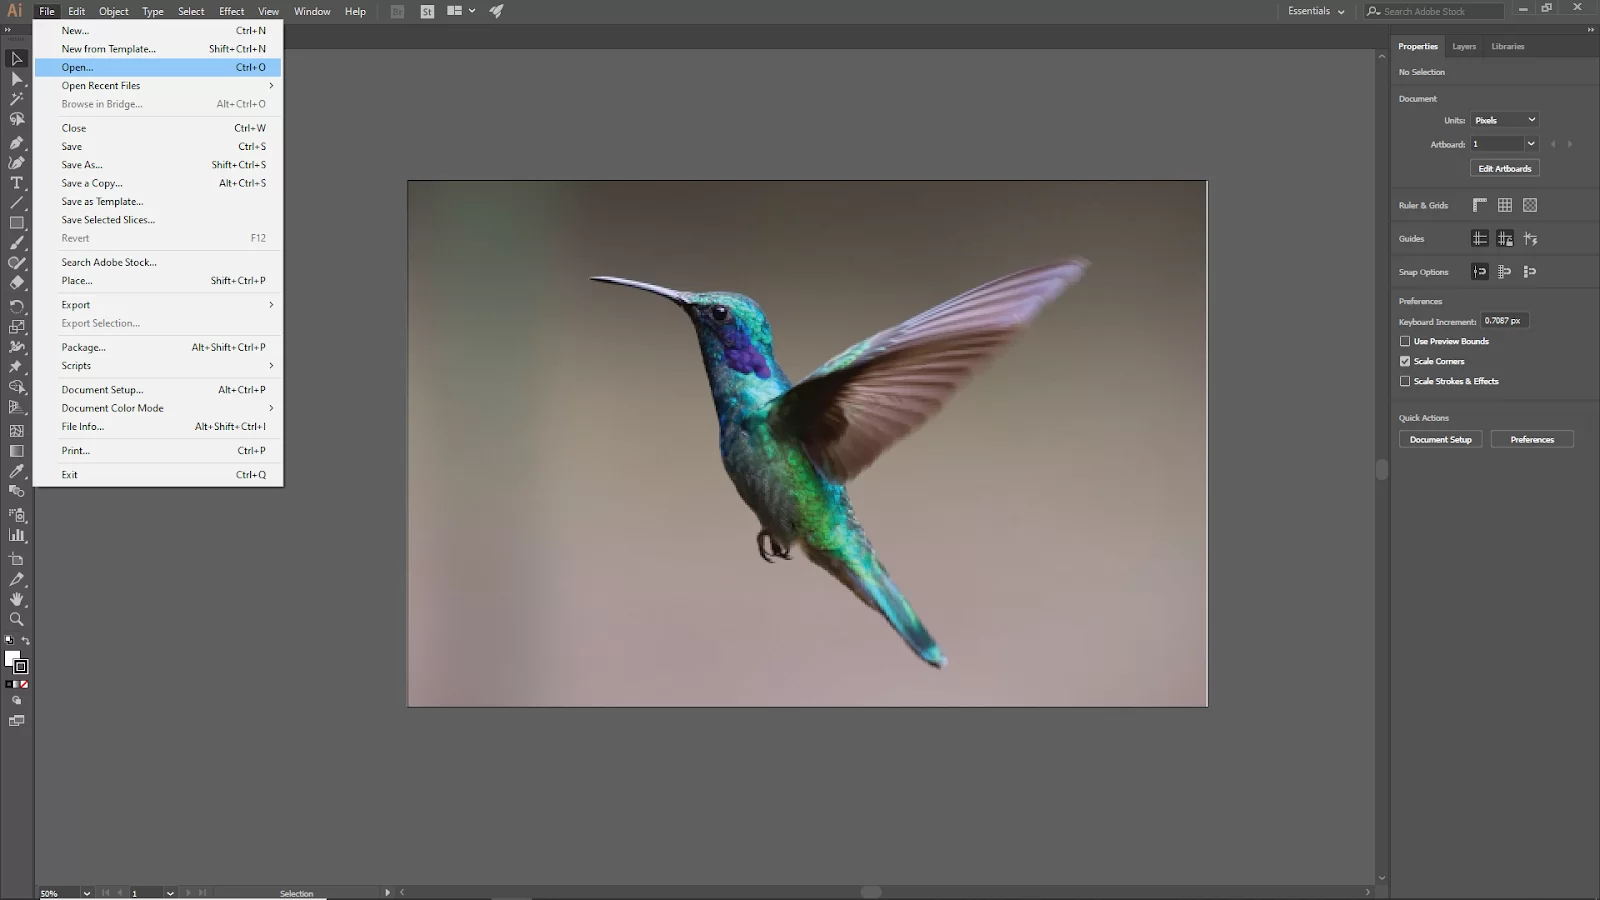
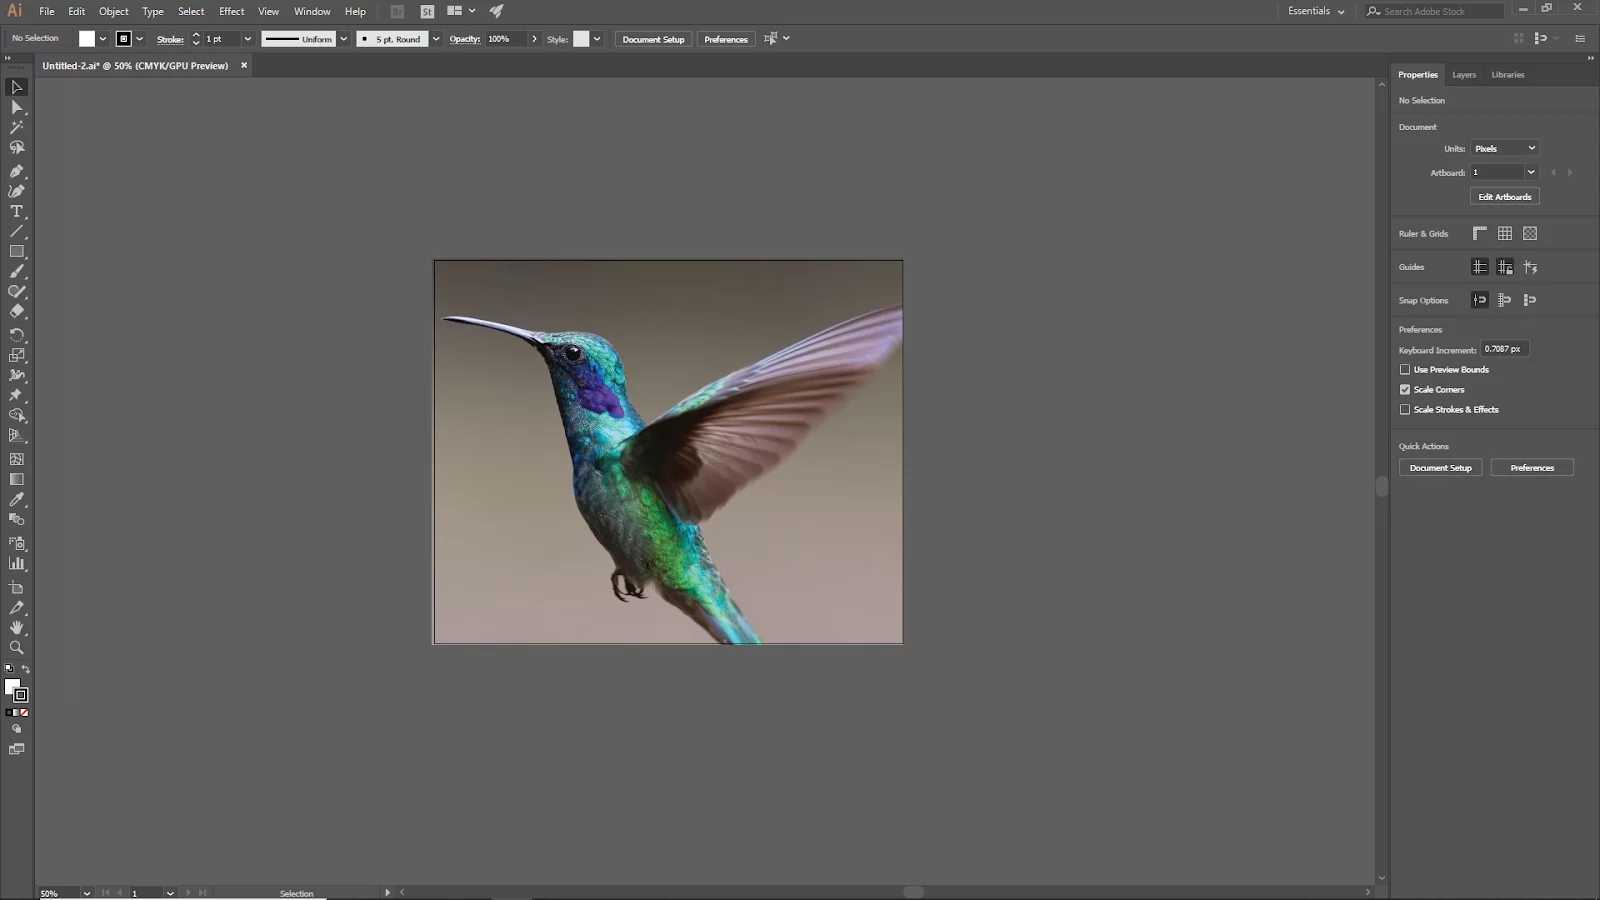
First, we need to open Adobe illustrator. To import your image, you can use drag and drop. Just drag your image from your file and drop it in illustrator. Or you can go to File > open and then select your image. Short Key windows [Ctrl + O] and Mac [Cmd + O].
Method 1:
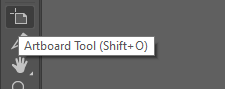
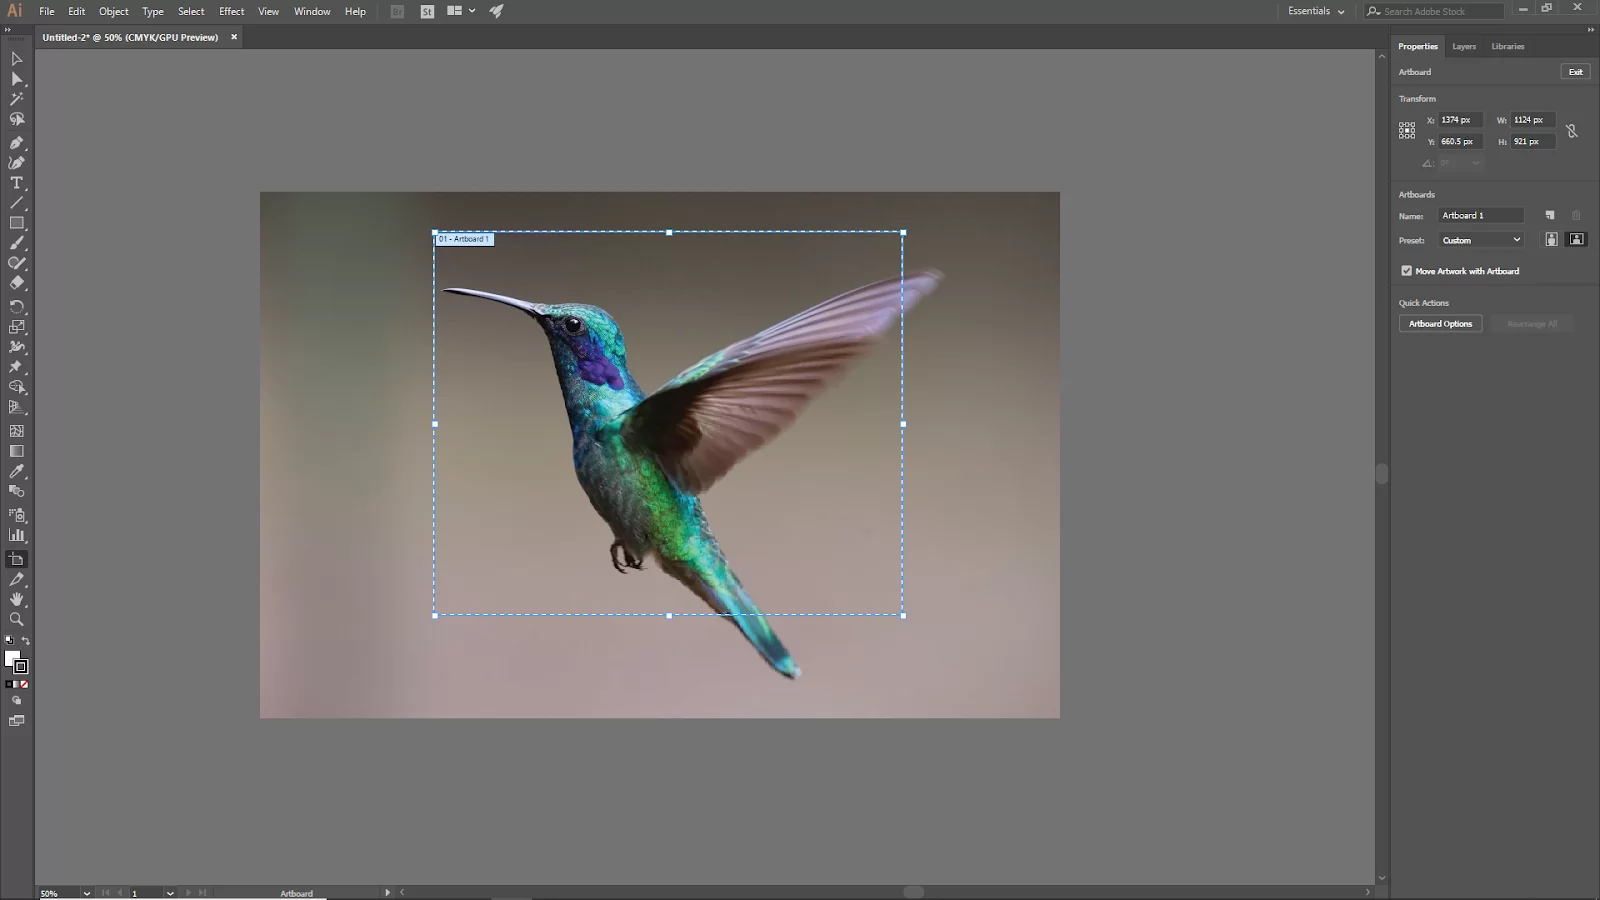
Select the Artboard tool from the toolbar, or you can hit [Shift + O]. Now you can see the artboard rectangle.
Adjust the artboard anchor point click, and drag what area you want to crop. This will help to adjust the crop rectangle. Now select your image. On the top bar, you can see the Crop image option. This is available for only the illustrator CC version.
Click on the Crop image now you should see the cropping rectangle appear.

Adjust the rectangle with the artboard to crop your image.
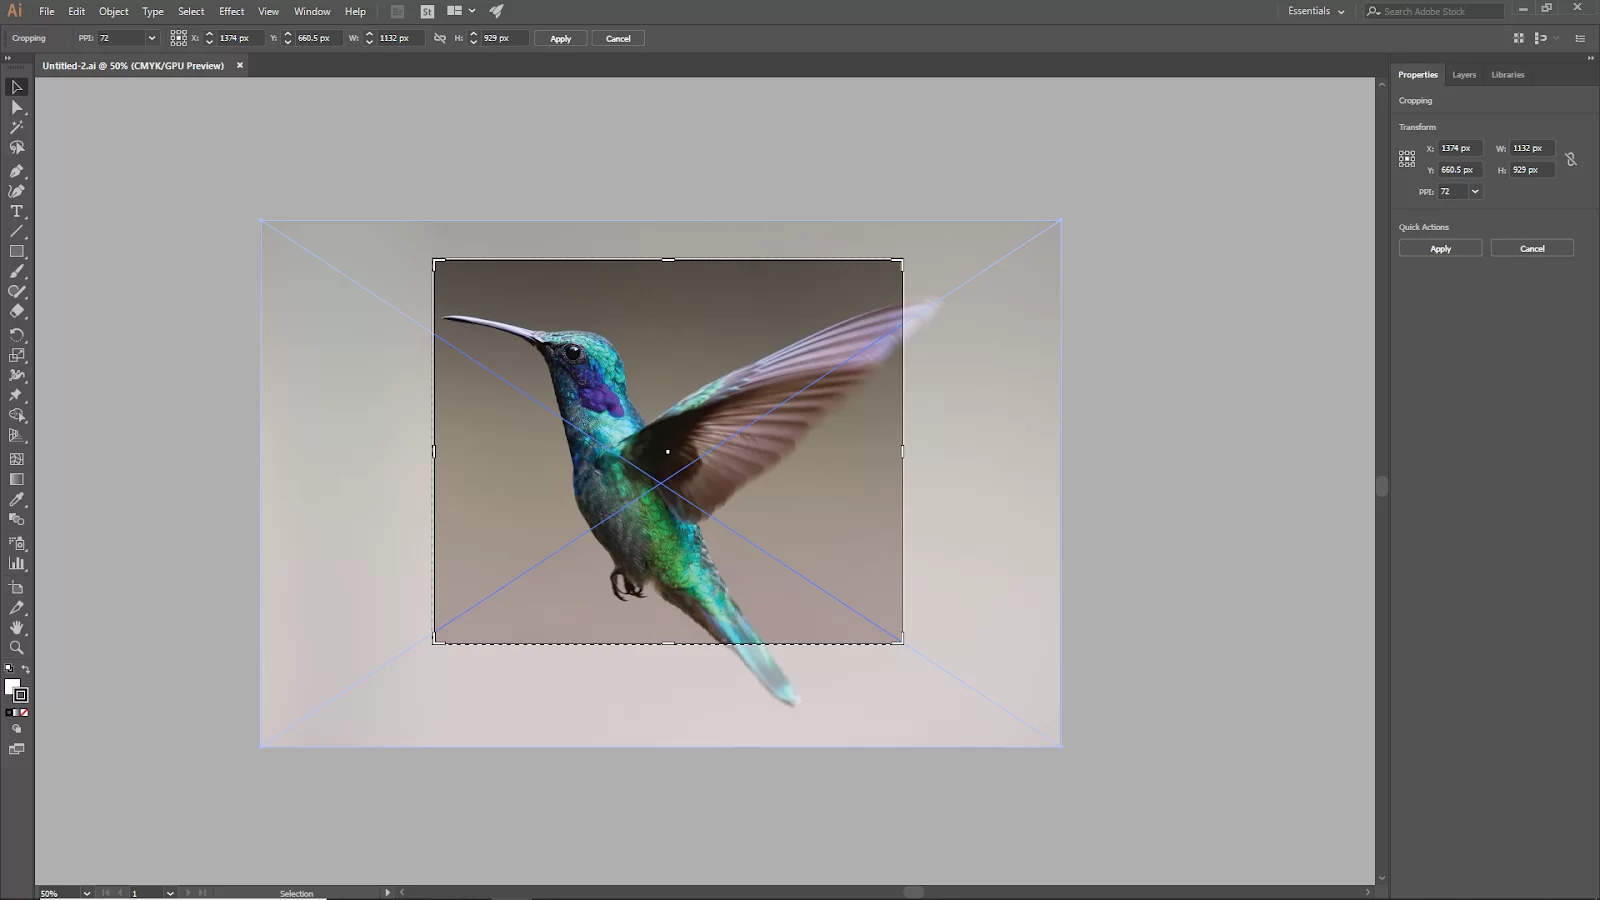
All cropped!
Method 2:
This is the easiest way to crop. In this method, I’ll crop the image with export settings. Select the Artboard Tool and select your particular cropping area with the artboard rectangle.

Now go to File > Export > Export As. Before exporting, click the Use Artboards box, then Click on Export.
Now only the artboard area will export, and your image should be cropped.

Method 3:
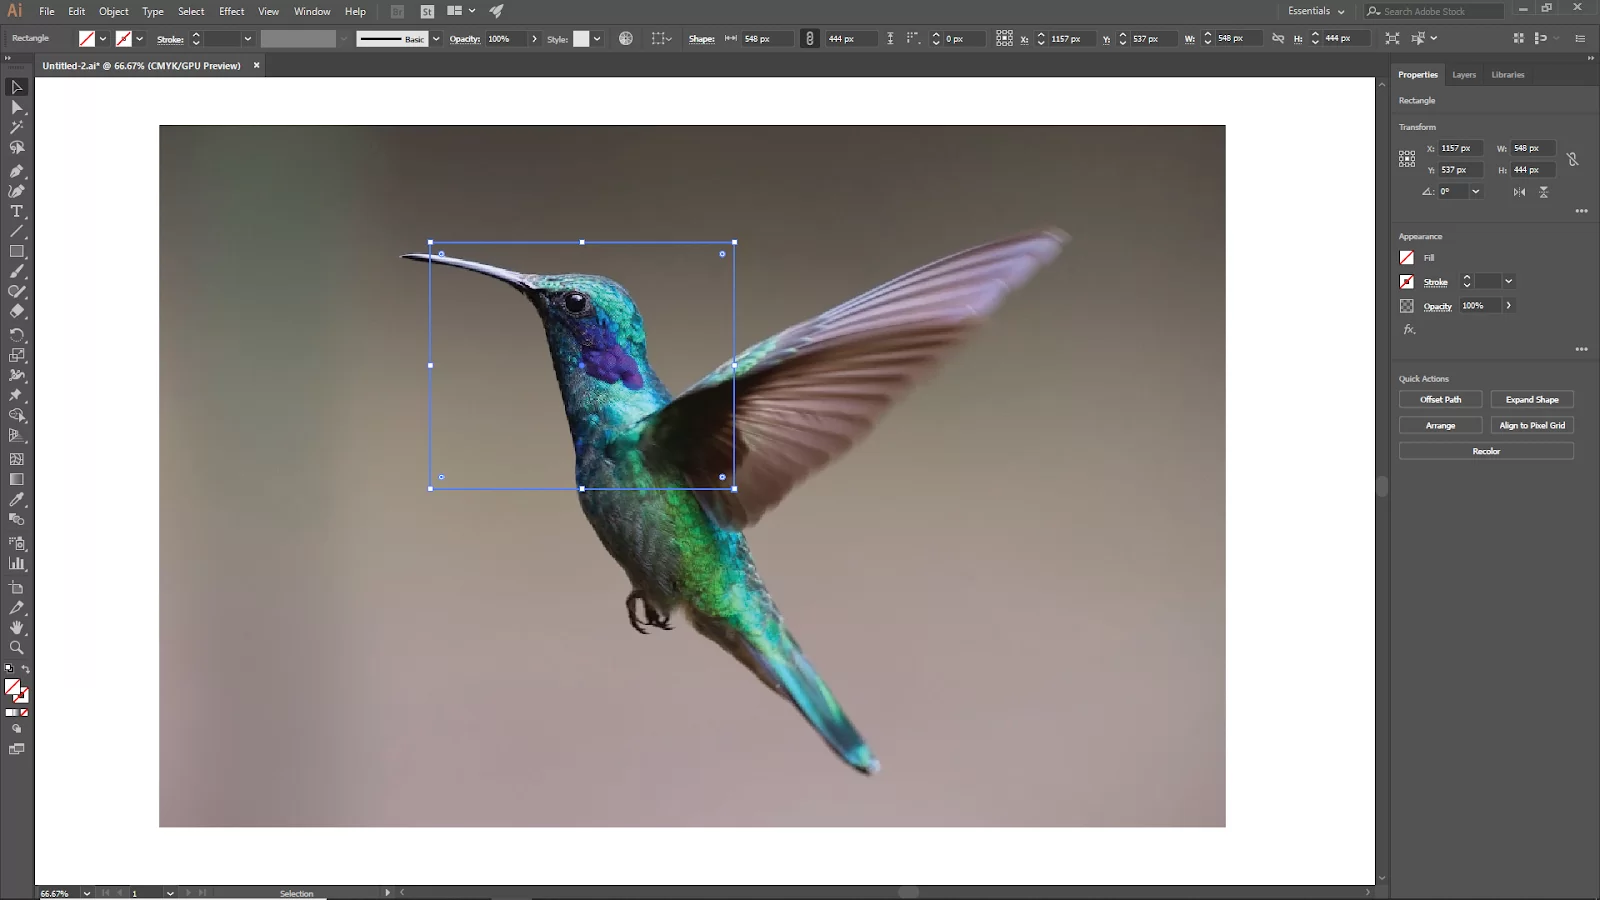
This method is helpful for vector images. But you can also use it for your normal images. When cropping with a rectangle, the cut area will often disappear, but you can bring it back with just one click and edit it again.

To crop with the rectangle tool, select the Rectangle tool from the toolbar to turn off Fill and stroke. Now drag a rectangle on your image. Adjust it to your cropping area.
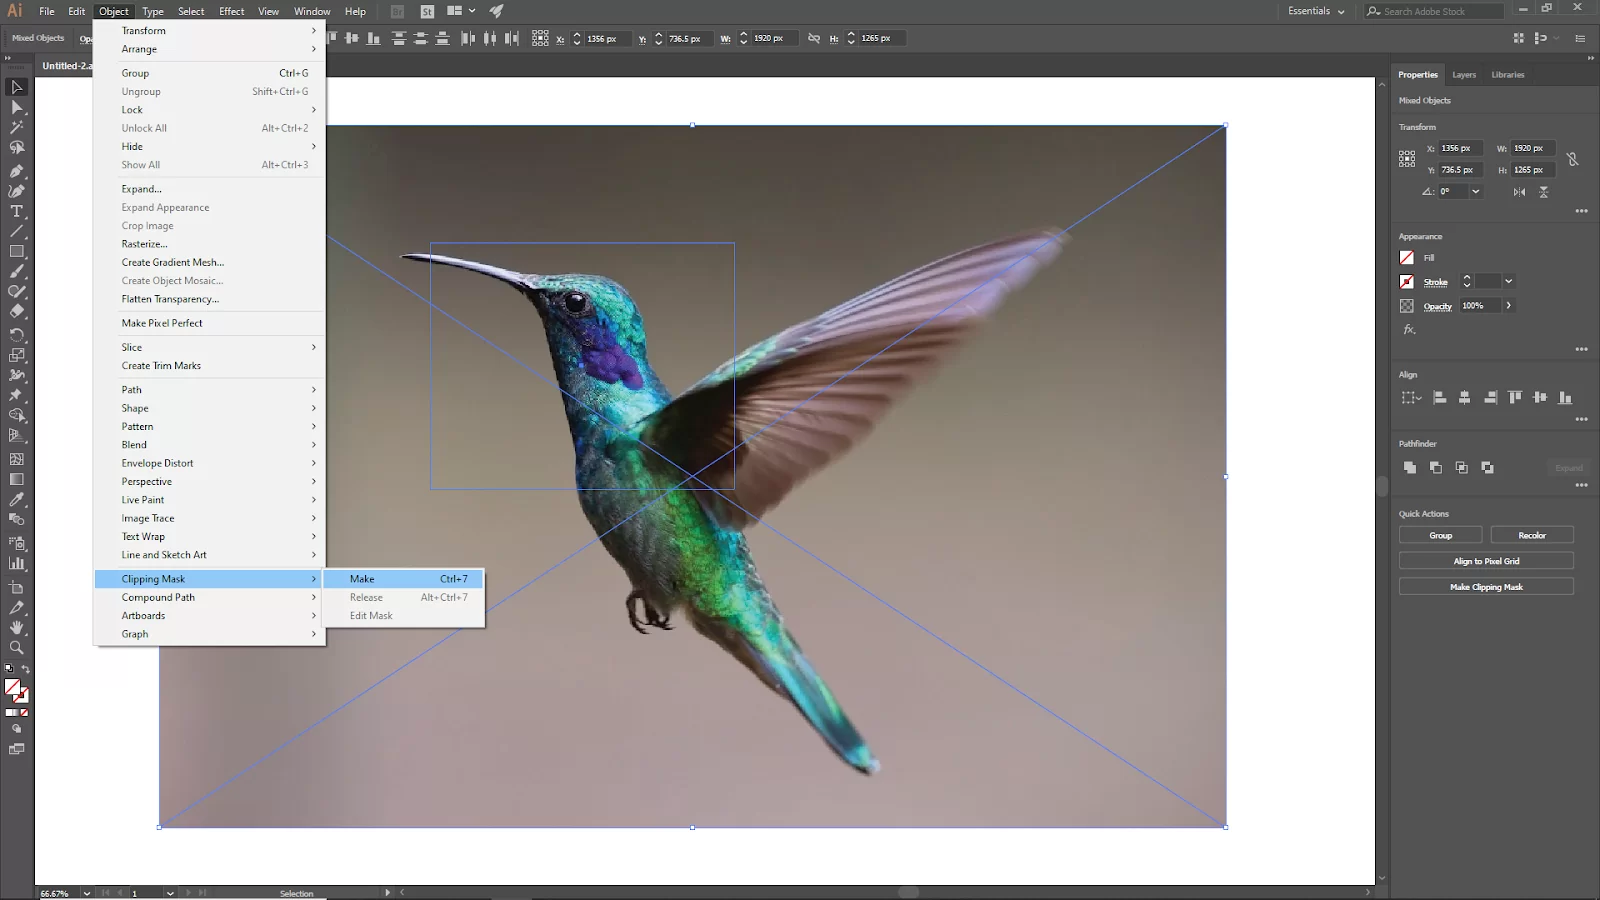
Select the image and rectangle now go to Object > Clipping Mask > Make, or you can use the short key for this Win [Ctrl + 7] on Mac [Cmd + 7]. Your image should be cropped.
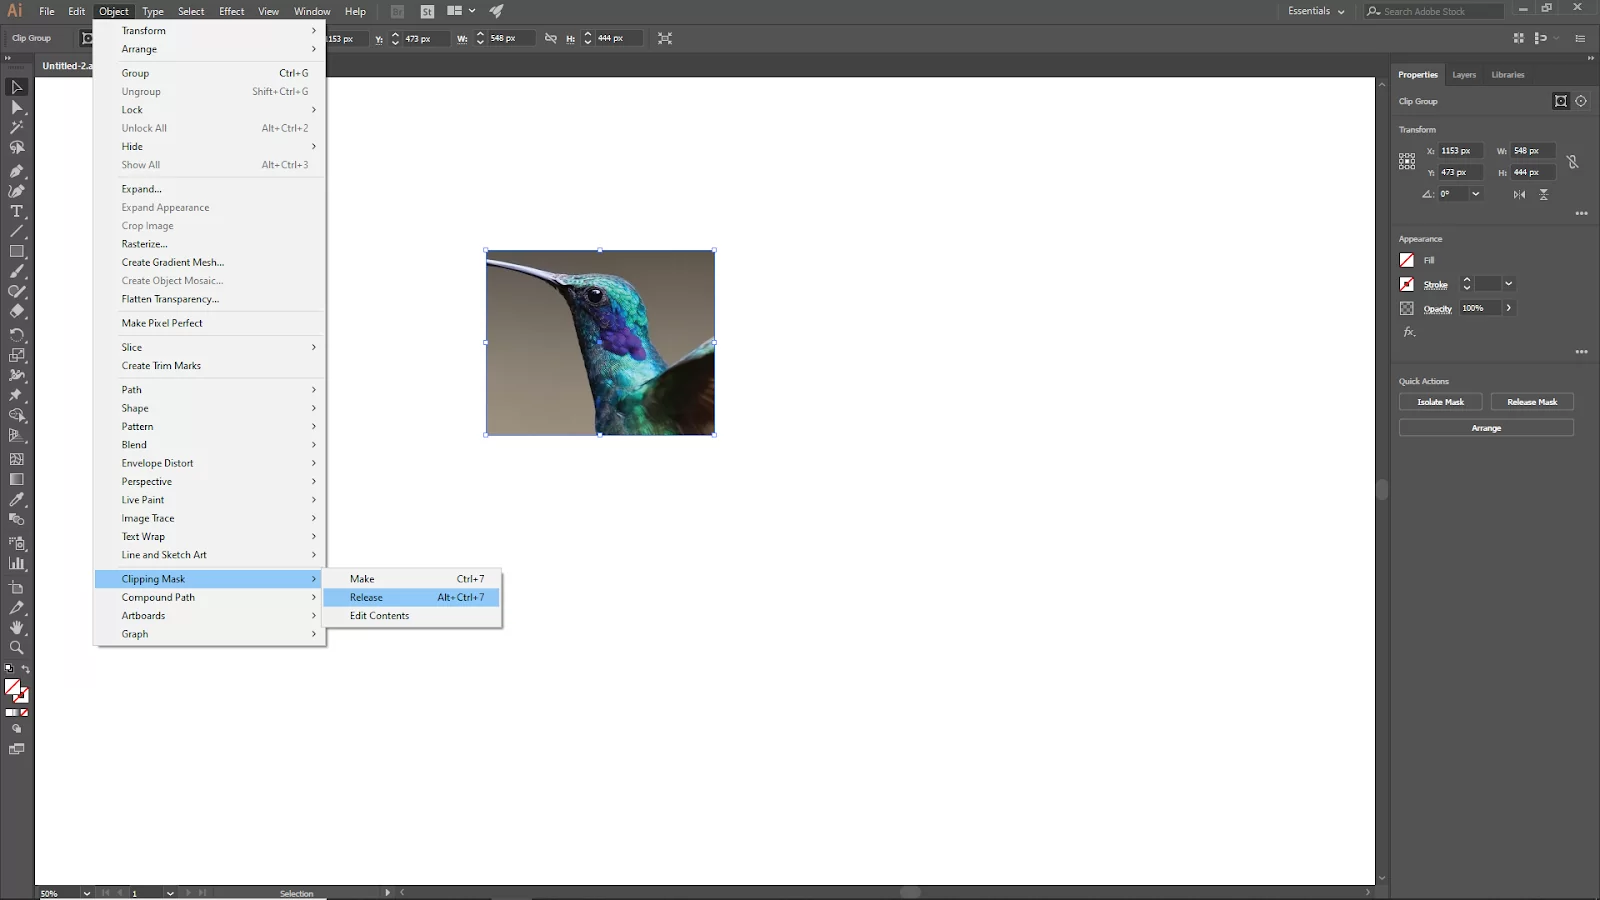
To release the cutting area, go to Object > Clipping Mask > Release or use the short key win [Alt + Ctrl +7] on Mac [Option + Cmd + 7].
Method 4:
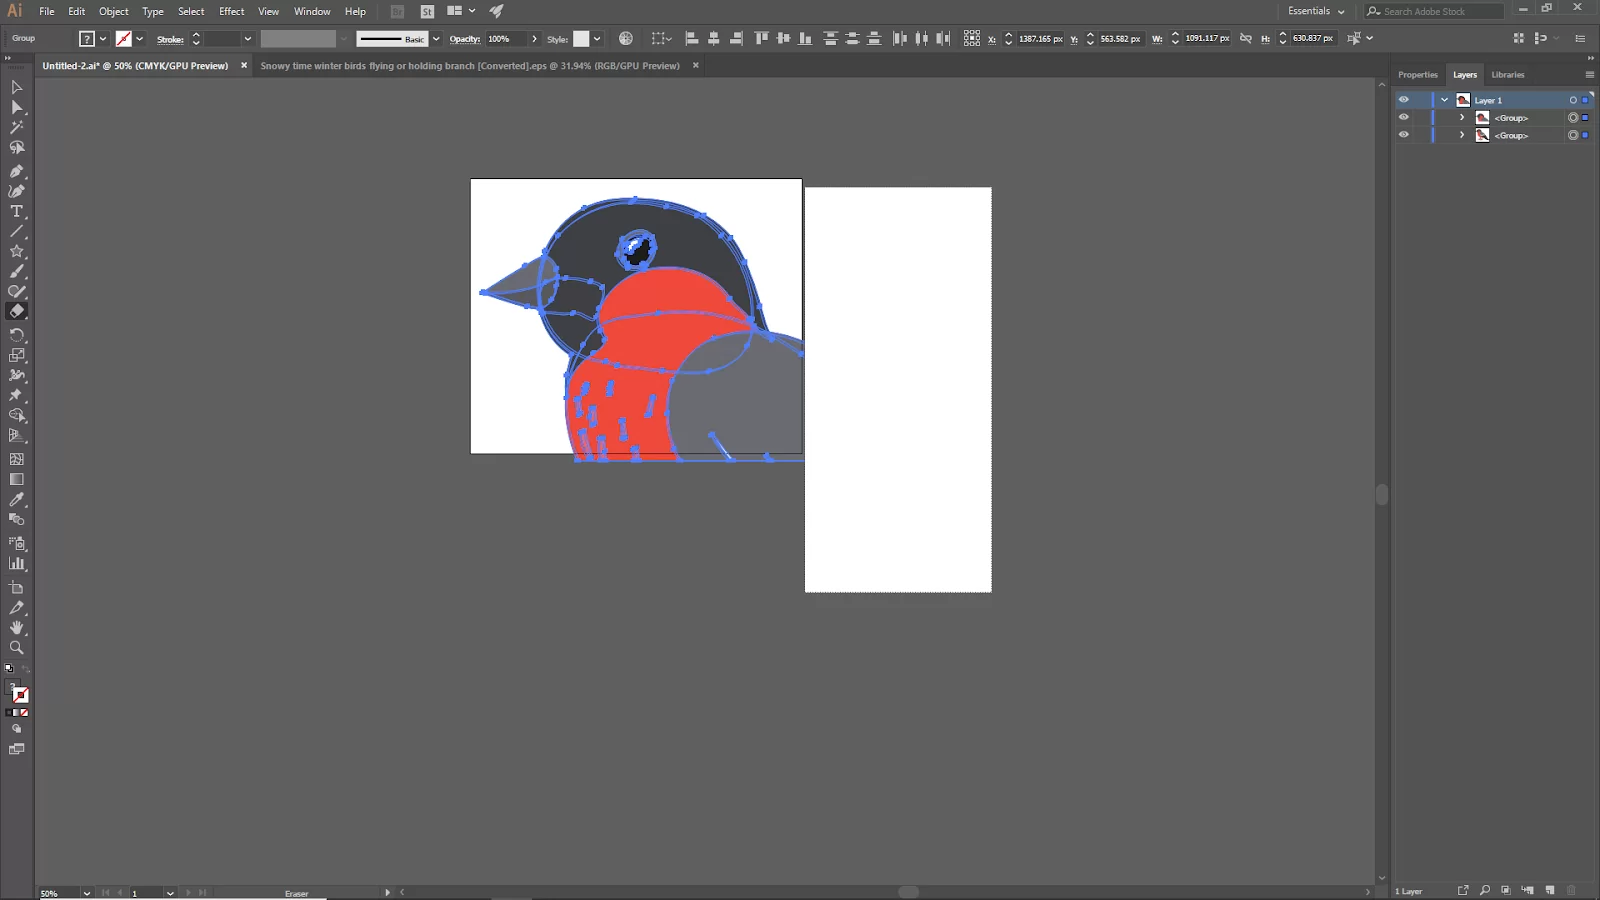
Using the Eraser tool to crop a vector image. This is only used for vector images. In this method, manually crop your image side by side. Select your vector image and now select the Eraser Tool from the toolbar.

Hold Alt and now click and drag to create a rectangular selection that will cut a part of the image. Using this method, the cropped area will disappear permanently.
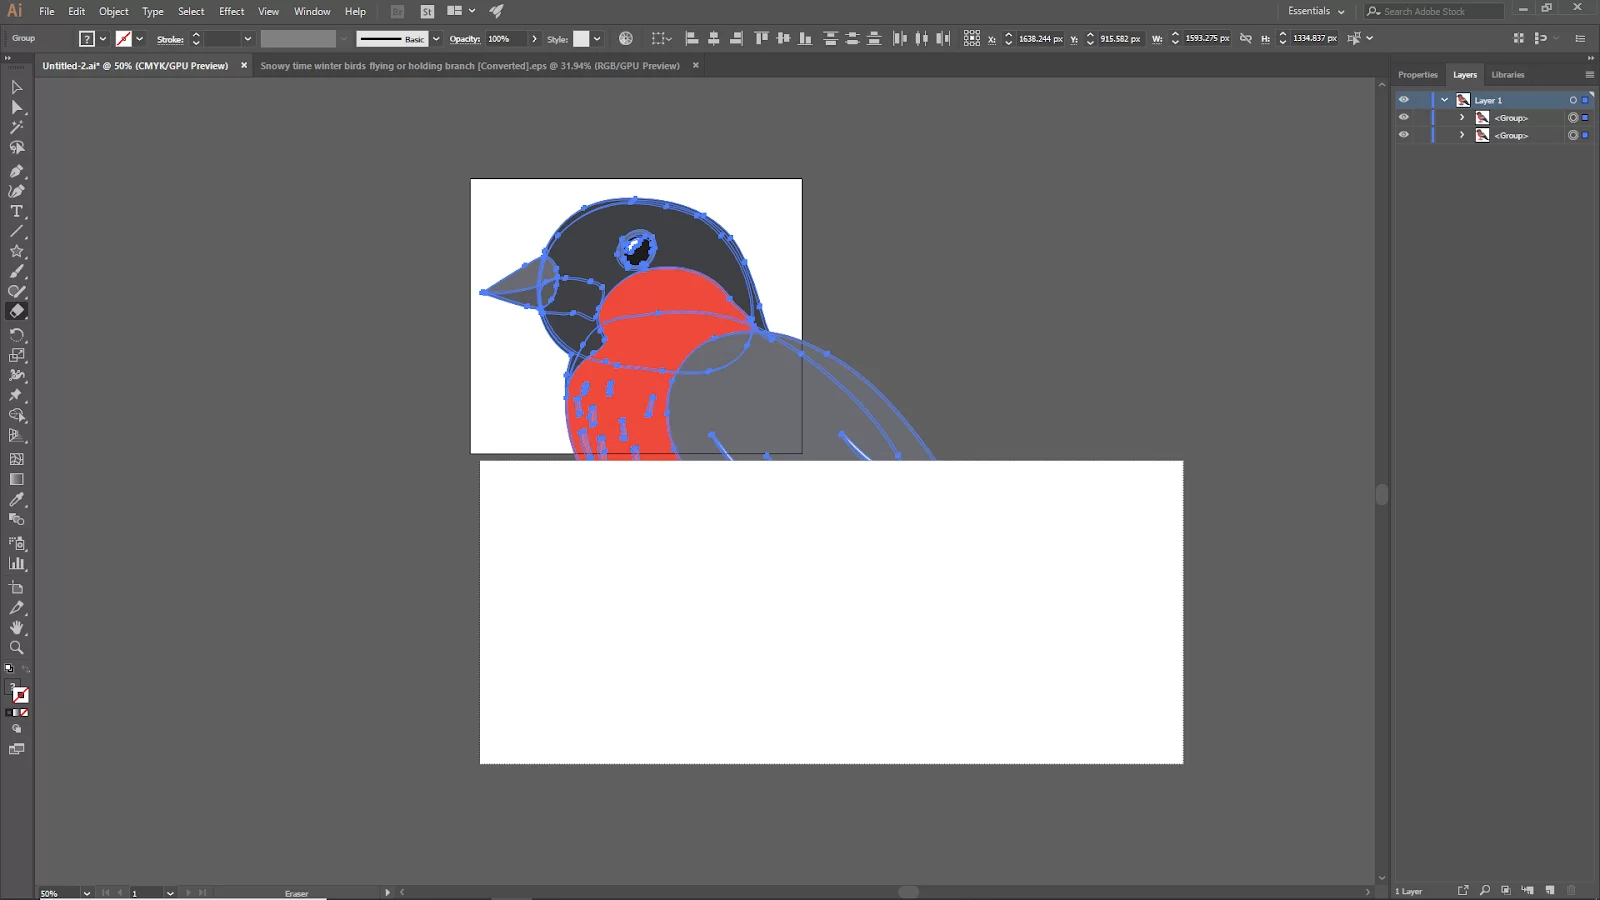
Now your vector image should be cropped.
Cropping Using The Opacity Mask
Opacity Masks can also be used to crop. Start by drawing (or importing into your canvas) the form you wish to use as the picture crop, then color it in black or white. White in opacity masks indicates that the area will be opaque to the image. Black denotes total transparency for that portion of the image. A gradient or a fading from opaque to transparent is indicated by gray.
Choose the form and the picture at the same time. By selecting Window -> Transparency, you may construct the opacity mask. There’ll be a brand-new panel. Select the Clip checkbox before clicking Make Mask.
How to Maintain Aspect Ratio While Cropping
Maintaining aspect ratio while cropping is far less complicated than it originally appears. Using the Rectangle Tool, make a shape that spans the entire area of your image.
Then, while holding the key, adjust its size. The aspect ratio will be maintained as a result. Place the form in the appropriate location before applying a Clipping Mask.
Cropping a Shape in Illustrator
Follow the steps below to crop a shape using illustrator.
Step 1
You can also utilize Illustrator’s crop tool, concealed in the Pathfinder panel, to crop anything, including a single shape. Draw the constricted area initially using the Rectangle Tool.
Step 2
Navigate to Window > Pathfinder. Click Crop after choosing both objects. The edges of the rectangle will be destructively chopped.
Step 3
It may be tempting to apply this technique to crop more complicated photographs. Still, it is not advisable because you risk producing minute artwork that degrades the image’s quality.
Did you enjoy this article, you will also like our article on how to Remove backgrond in Illustrator.
Leave a Reply
You must be logged in to post a comment.