I know most editing software come with a crop tool but I’m especially thankful for the Acrobat crop tool since it’s a software I use a lot for client work. The crop tool in Adobe Acrobat Pro DC provides users with an effective way of removing unwanted parts of a page or image within a PDF document.
The crop tool allows you to precisely adjust the size and position of a page or image to focus on the most important information. This tool is particularly useful when you need to remove the margins, borders or any other irrelevant parts from your document. In this guide, we will show you the process of using the crop tool in Adobe Acrobat.
How to Crop in Acrobat
Step 1:
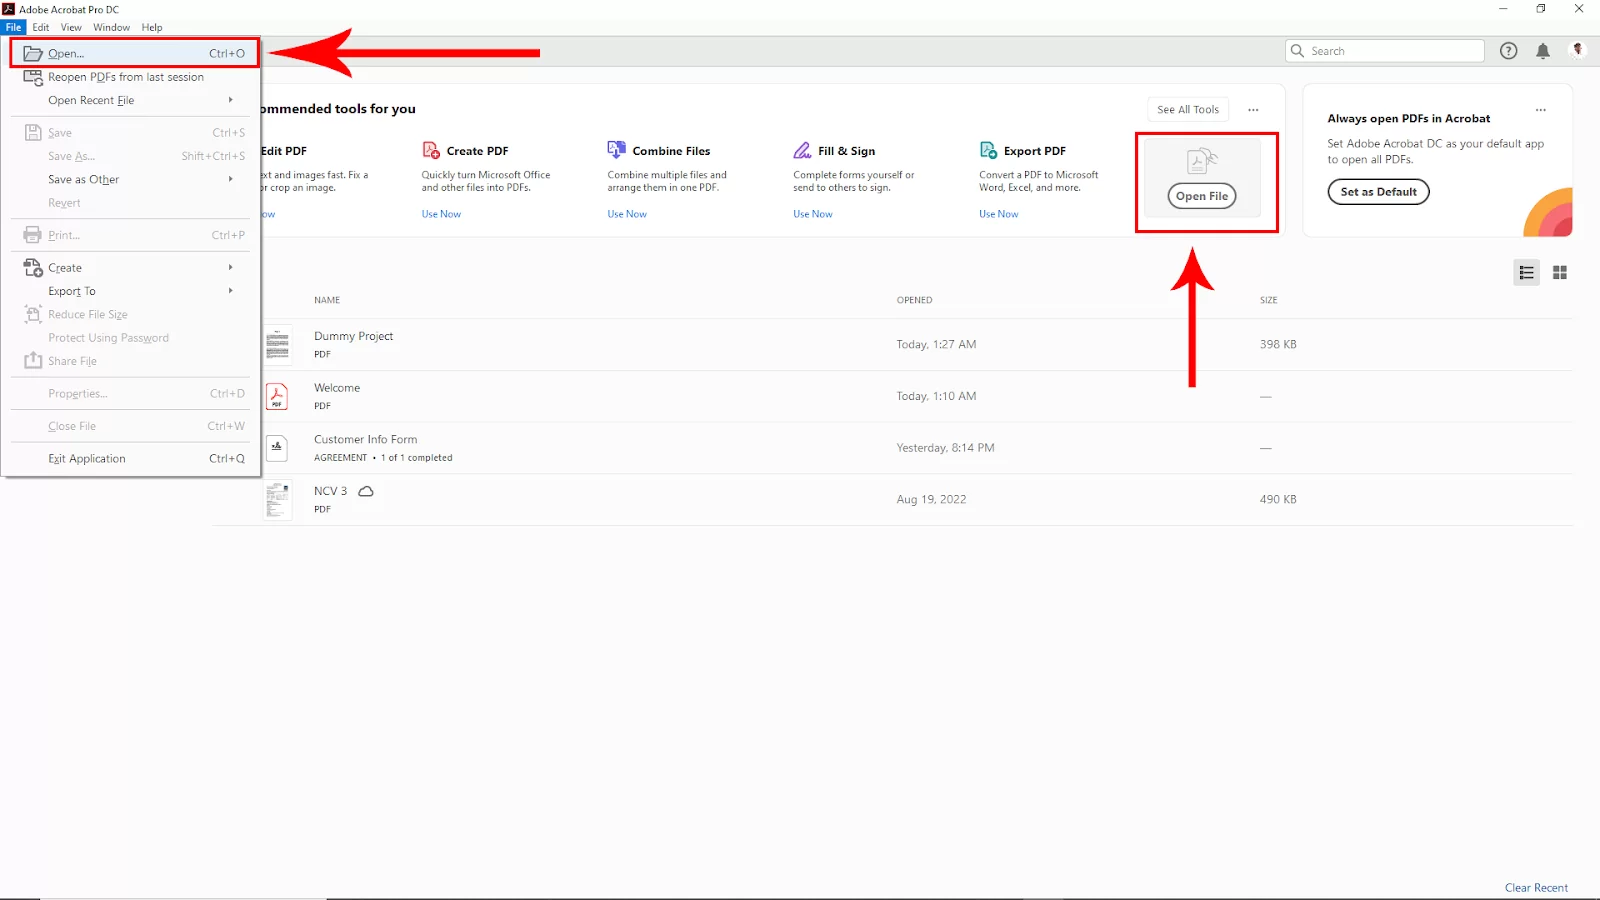
First, Open Adobe Acrobat software and then open your pdf file. To open a file, go to File > Open and then select your pdf file from your file manager. You can use short in Win [ Ctrl + O ] or Mac [ Cmd + O ]. You can click directly to Open file on the right corner and then open your File.
After opening the pdf file, go to Tools in the upper left corner. Click on that.
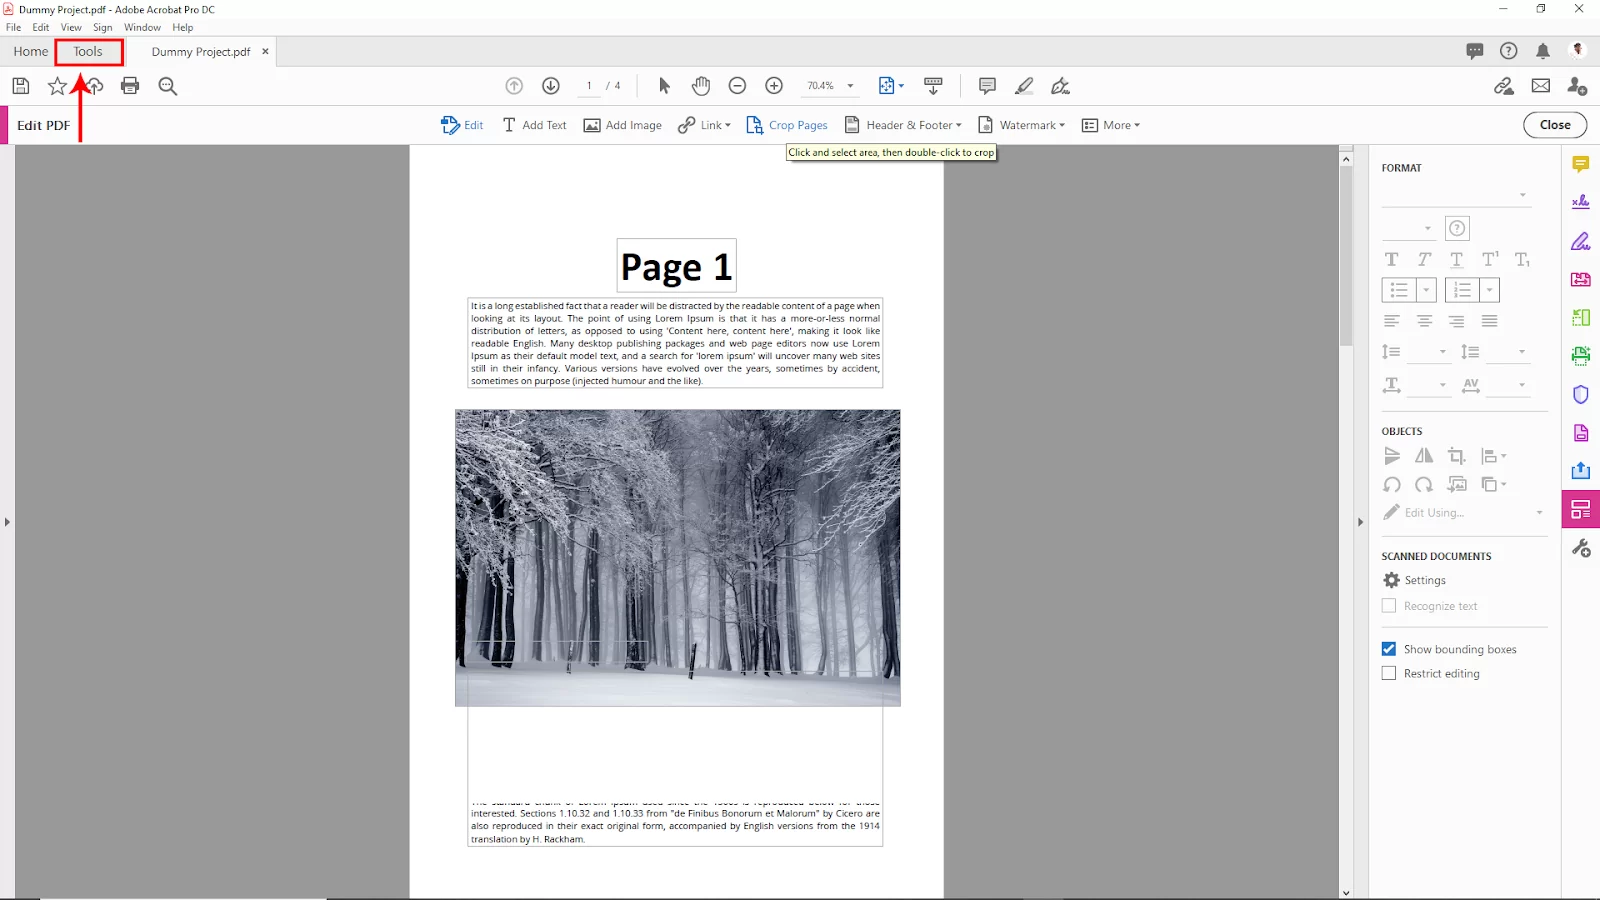
Then navigate to the Edite pdf option and click on that

Step 2:
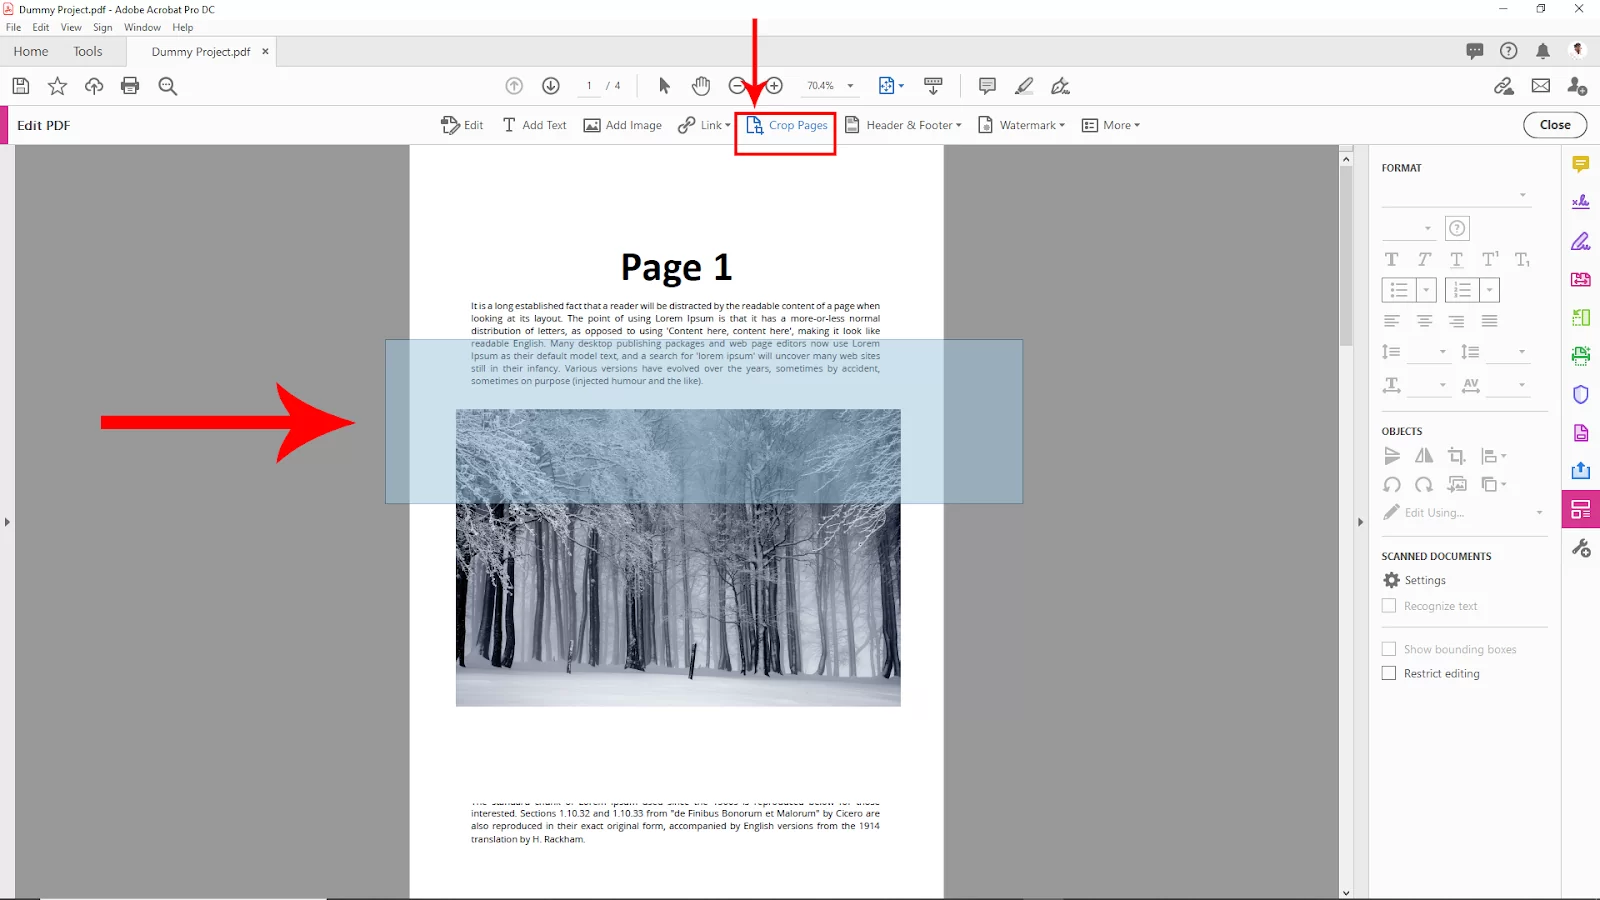
Now select the crop pages Option from the upper middle. Click and drag to select which area you want to crop on the page.
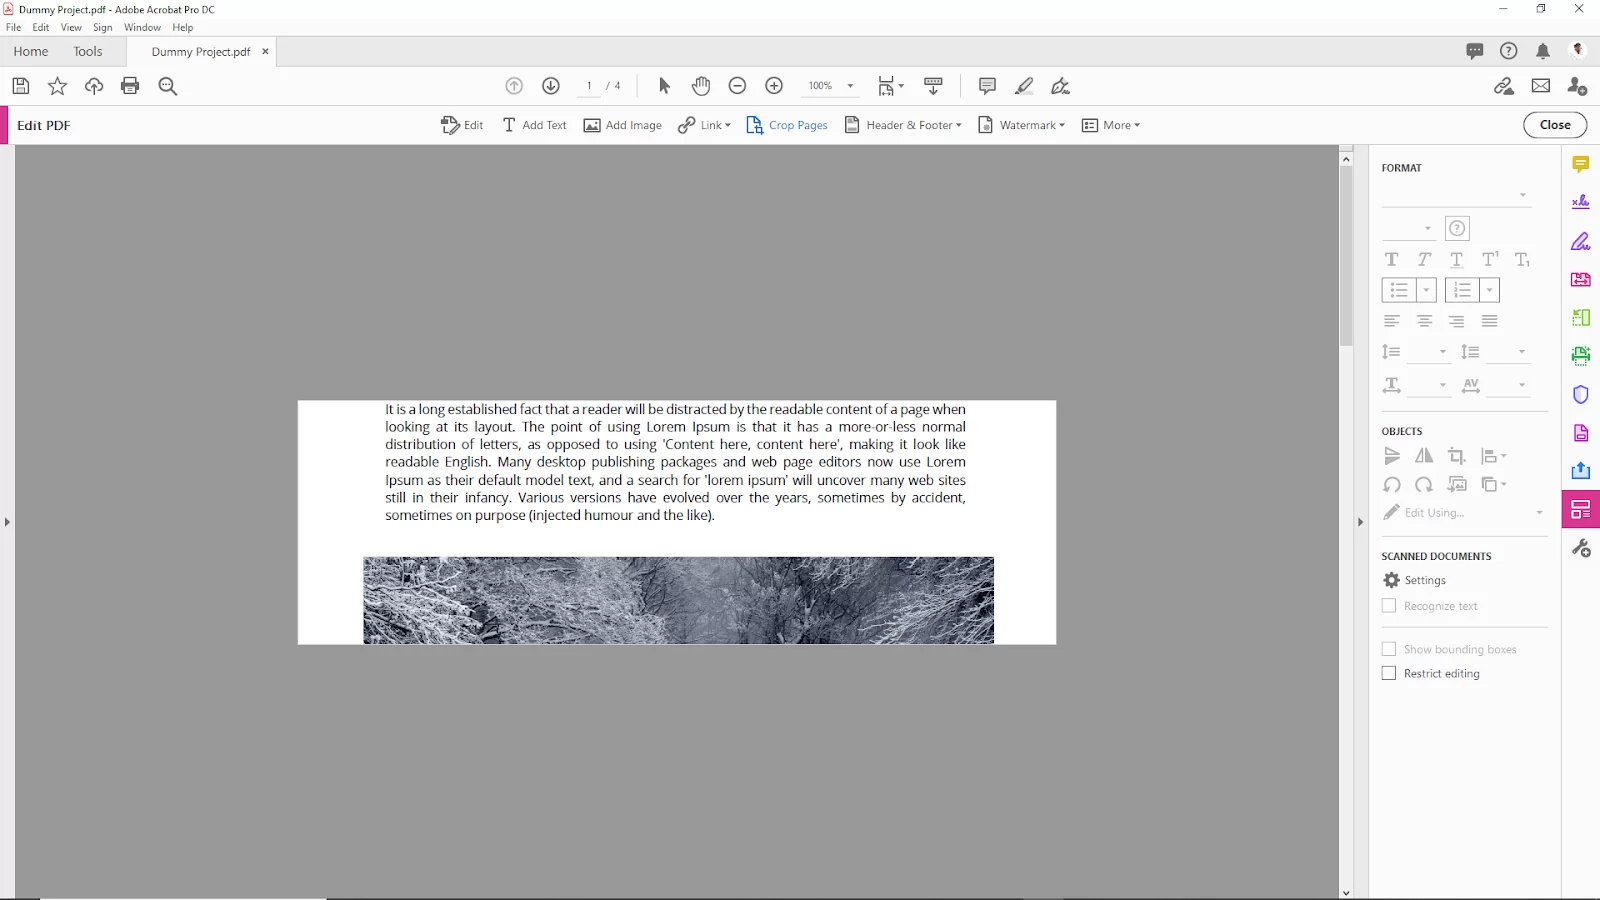
Now click Enter on Keyboard, and you will see the page box panel will appear. Now click on ok.

And your page should be cropped with the area that you have selected.
We also recommend that you see our step-by-step guide on how to add fonts to Adobe Acrobat.
How To Return Cropped Pages To Their Original Size
Follow the steps below to return cropped pages to their original size.
Step 1
Begin by selecting the arrow on the left side of the canvas if the navigation pane isn’t open.
Step 2
Next, select the thumbnails button.
Step 3
Choose the cropped page in the page thumbnails pane.
Step 4
Now select the options button.
Step 5
Choose the cropped pages from the dropdown menu.
Step 6
Next, select the set to zero buttons in the Set page boxes dialog box.
Step 7
Finally, select ok.
Check out our detailed guide on how to redact using Adobe Acrobat.
Disabling Auto-Adjust Layout
There are instances where the crop pages tool won’t work as expected. If this is the case, you may need to turn off the auto-adjust layout.
Step 1
Start by selecting the edit or Acrobat menu if you are using Mac.
Step 2
Next, select preferences from the dropdown menu.
Step 3
The next step is to select content editing in the preferences dialog box.
Step 4
Go ahead to deselect the Enable Auto-adjust layout by default option. Then, click Ok when you are done. Remember to save your PDF and restart Adobe Acrobat to activate the changes.
Cropping: What Kind of Projects Can They Be Used For?
If you need to adjust a page size, you can use cropping. Cropping is also used for trimming white pages and it also gives your project a uniform look by making it the same size. If your document requires it, you can crop PDFs in different dimensions. When you crop and rotate your documents vertically, you’ll give your documents a professional look. Before you crop, always consider what you want to use the document for.
Margin Controls and The Set Dialog Box
When you go to the set dialog box, you will find a lot of options that can be used when cropping. An example of some tools that can be found in the margin control options includes the crop box, which is used to define the borders for the page content when displaying or printing.
In the margin control options, there are also the constrain proportions which are used to lock the cropping proportions to bring all margins at the same distance.
The margin control options also include the remove white margins that can be used for cropping a page to the artwork border. It comes in handy when cropping the edges of slides saved in PDF.
Set to zero allows you to restore cropping margins to zero. Set to zero is also found in the margin control options.
Revert to selection is excellent when you need to revert the selected crop margin with the crop page tool. It is also found in margin control options.
Another feature that is found in the margin control options is the show all boxes. When previewing, the black, red, green, and blue rectangles that specify the CropBox, ArtBox, TrimBox, and BleedBox are highlighted using the Show All Boxes option. You won’t notice any rectangles, only the multicolored lines if numerous margins coincide.
If you enjoyed reading this article, you might also like our other articles on How To Make Adobe Acrobat Default and How to Tell Color In Acrobat Reader.