One of the most amazing tools in the arsenal of a digital editor is the clone tool. The clone tool enables you to alter your photographs effortlessly and with realistic photo quality. You can even start to meld the lines between images and lifelike paintings when you are proficient at it.
A crash course in the GIMP clone tool should come first before we go too far down that rabbit hole. The fundamental technique is simple to learn but challenging to perfect.
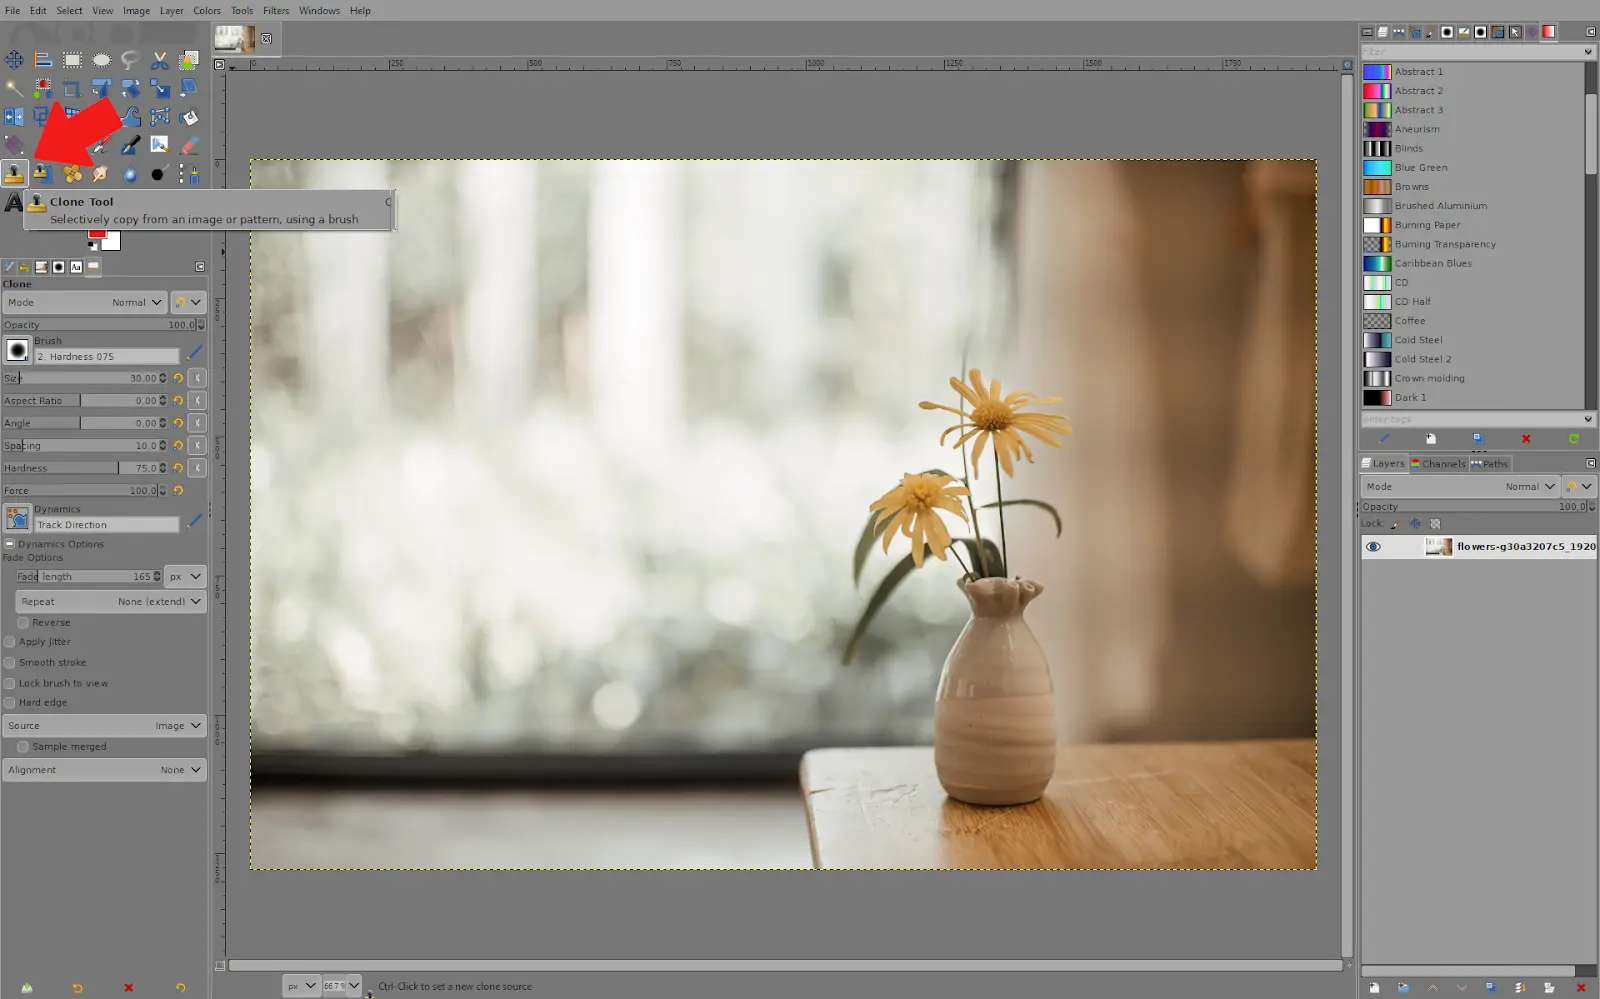
What is a Clone Tool in GIMP?
The Clone tool copies an image or pattern using the active brush. It can be used for various things, but one of the most significant is fixing problem regions in digital photographs by “painting over” such areas with pixels from other places. Unlike the move tool that is used when moving texts in GIMP, the clone tool is a bit difficult to understand. However, once you understand how to use the clone tool, it is a very powerful tool to have in your arsenal. Drawing patterned lines or curves is an important use of the clone tool as well.
1. Open your image and select the ”Clone Tool”.
2. Choose your brush settings. By clicking the brush icon, you can choose the shape of your brush, and below that, you have settings like ”size” for the size of the brush and ”hardness” for softer edges on brush strokes. If you are going to be a proficient Gimp editor, I advise that you gain mastery over the brush tool and its settings.
You can get started by reading our article on how to draw in Gimp. The brush tool was discussed in the article.

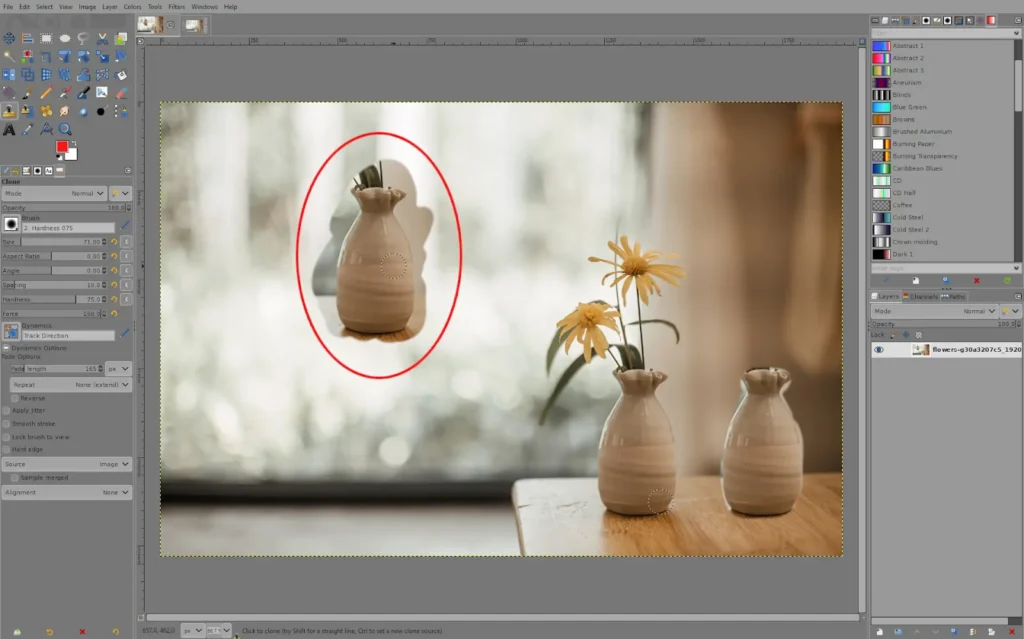
3. Select your starting point. Hold Ctrl and click anywhere on the image. This selects what area of your image you will clone.
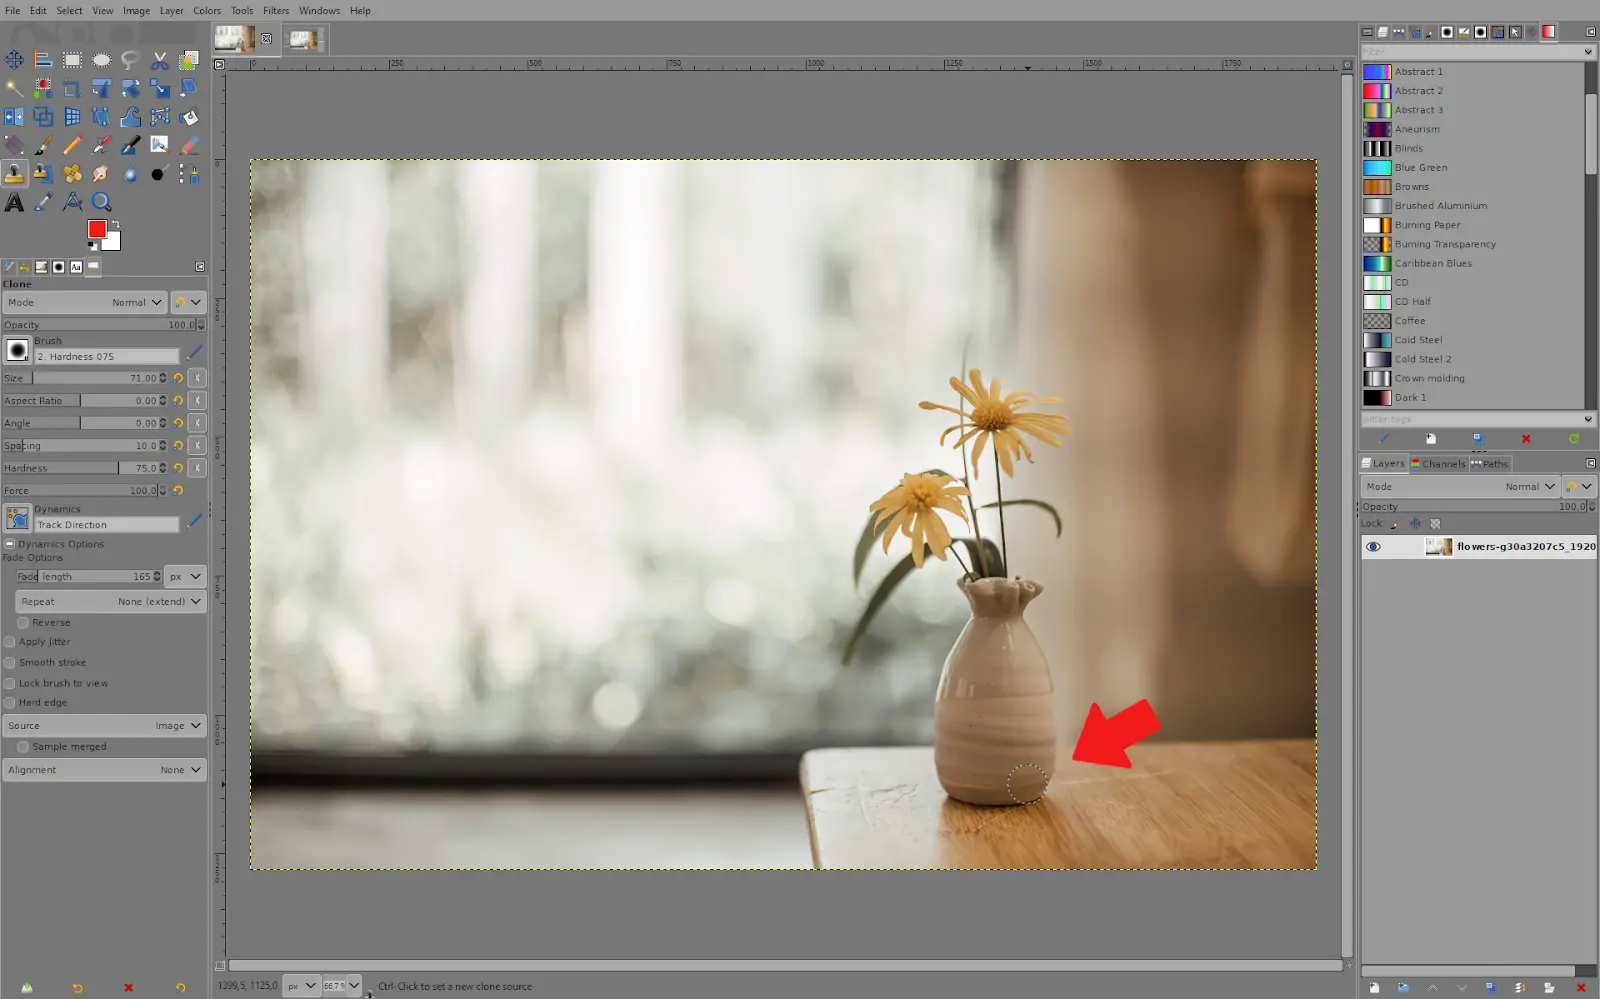
4. Then click and hold anywhere on your image, and you will be able to clone the area you previously selected by drawing it with your brush.
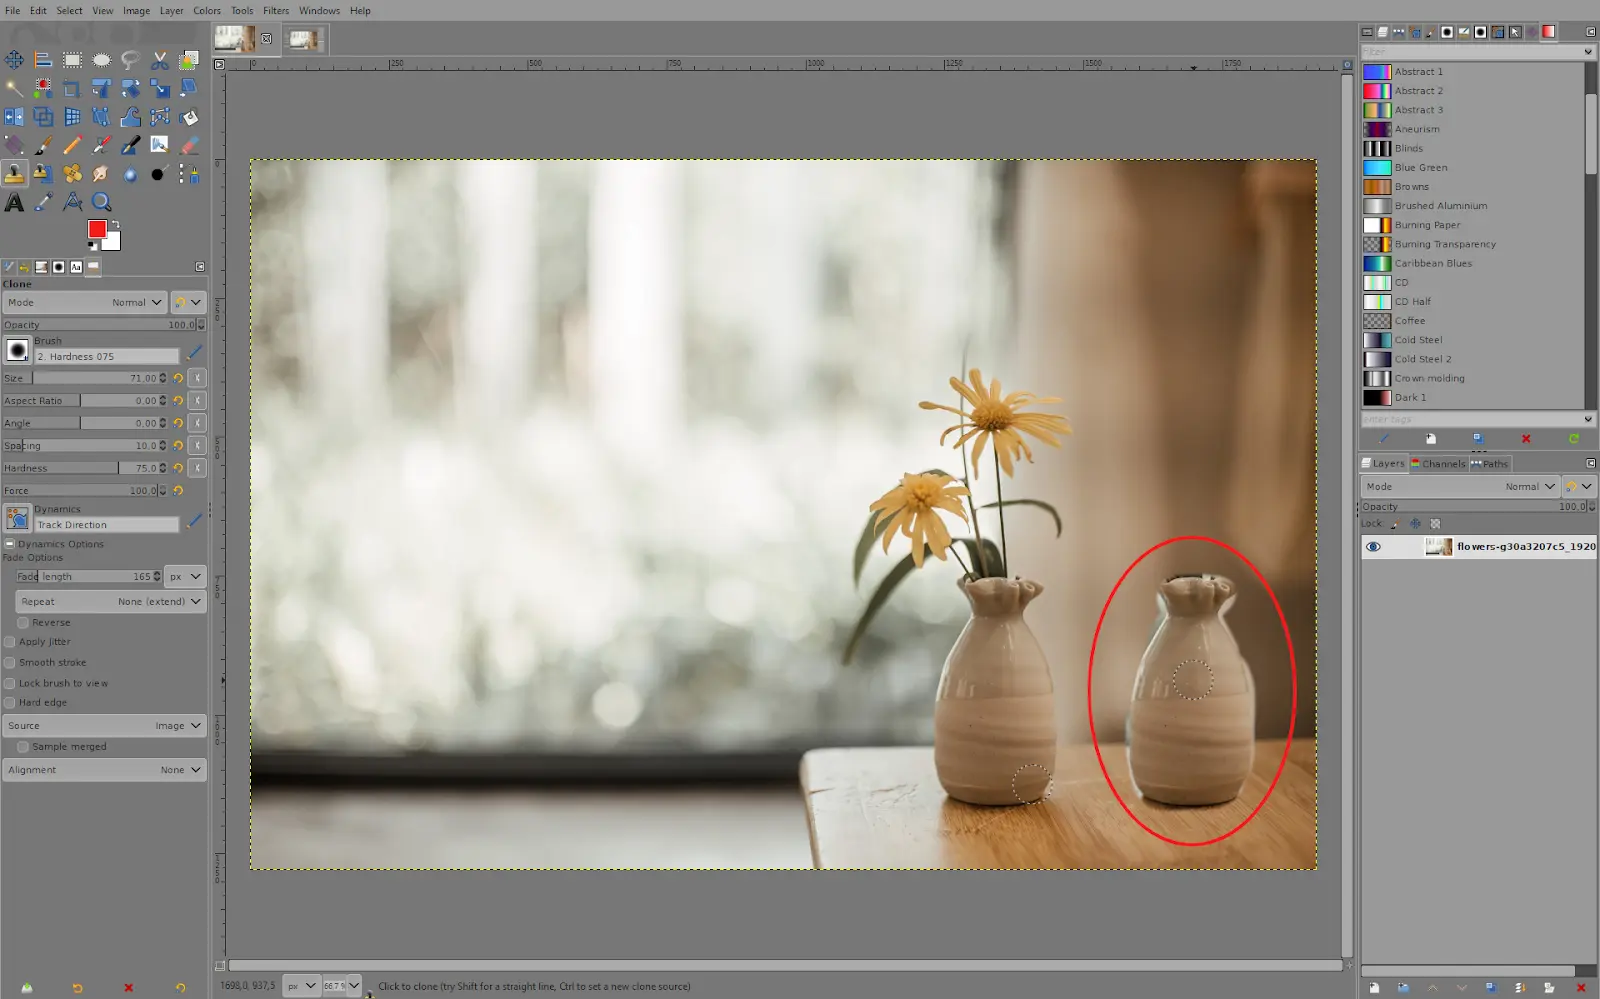
5. When you let go and start drawing again, it will start from your selected starting point again.
How To Select Your Clone Tool Source
Since it would be impossible for GIMP to function without a clone tool, Gimp prevents you from using the clone tool until you have chosen your source. As soon as you attempt to fix anything bigger than a speck of dust, you’ll see that your chosen source point can make or mar your edit.
The most important thing to remember when using your clone tool is to select the source point. The source point has to be similar to the edges of the area you intend to cover. If the edges of your clone stamp aren’t properly blended, they will stick out like a sore thumb.
Also, be attentive to the gradients of light and color in your image. Even though circular color gradients like point light sources might make this a little challenging, look for a clone source point along a line running perpendicular to the gradient angle to discover sources that will blend seamlessly at the edges.
How To Go About Advanced Cloning Tool Brush Adjustments
Sometimes, more than choosing the correct source point is needed to make your edges look smooth. If the above is the case, it may be time to adjust your brush settings. Some key brush settings go along with your clone tool.
Your square brackets are one of the most useful keyboard shortcuts for brush tool work. It is easier to clone over an area as small as possible, but because you have a larger brush, you will save time by covering more subtle details.
Changing the cloning brush’s hardness is ideal if you want a seamless edit. Your brush strokes will blend more smoothly into the sections of the image that haven’t been modified, thanks to a softer brush’s feathery edge and transparency gradient.
It will help if you become accustomed to utilizing the brackets to modify brush size and the spacebar to move around your image while zooming in close quickly. This is because using the brackets to modify brush size without pausing to focus on the tool options palette can greatly speed up your process.
You can create additional shortcut keys to change brush size and hardness if you want to use the keyboard as little as possible. If you are a professional retoucher who frequently performs a lot of cloning, choose to use the configuration Shift + since it makes things simple to remember.
Open the Edit menu in GIMP and select Keyboard Shortcuts to configure this. Find the items by entering “hardness” in the search area. Create a new shortcut key combination by clicking where it reads “Disabled.”
Setting up keyboard shortcuts for opacity changes is also a smart idea. It is advisable to progressively create a “patch” by combining transparent layers while cloning by lowering the opacity setting until you have enough to cover the pixels you wish to clone over.
It is also important for you to be aware of the sample merged option and the Alignment setting in the Clone tool. Sample merged is useful since it samples every layer at once when employing layers for non-destructive editing in your cloning operation.
How To Carry Out Non-Destructive Cloning
If you are editing pixels in an image, it is always a good idea to employ non-destructive cloning. If you make an error, you will always have a backup copy of the source image data, and this would save you a lot of cloning time.
Just create a new layer and do all your cloning work on that new layer. You can do this as often as you want, allowing you to separate different parts of the image in any way you want. Ensure that you toggle the layer visibility to see the before and after of your cloning work.
How To Fix Gimp Clone Tool Not Working
Followed the steps below to fix the problem of your Gimp tool not working properly.
Step 1
Start by resetting the clone tool. Click the arrow circle tool and reset to default values. Alternatively, you can hold the shift key and click the reset arrow, which would perform a full reset.
Step 2
Alternatively, you can set the image mode to RGB. Ensure that the image isn’t indexed by converting it to RGB mode. Go to image>mode>RGB.
Step 3
You can also add an Alpha Channel. Right-click the target layer in the layers menu of the right tools area and choose Add Alpha Channel. The Alpha Channel is also used when drawing on Gimp.
Step 4
If all else fails, try restarting your Gimp or computer.
Leave a Reply
You must be logged in to post a comment.