If you want to enhance the look and feel of your digital artwork, you should change up the font of your Krita projects. With Krita’s text editing tools, you can change the font and adjust other formatting options such as size, color, and alignment. By learning how to change the font in Krita, you’ll have more control over the appearance of your text and be able to create unique and personalized designs.
How to Change Fonts in Krita
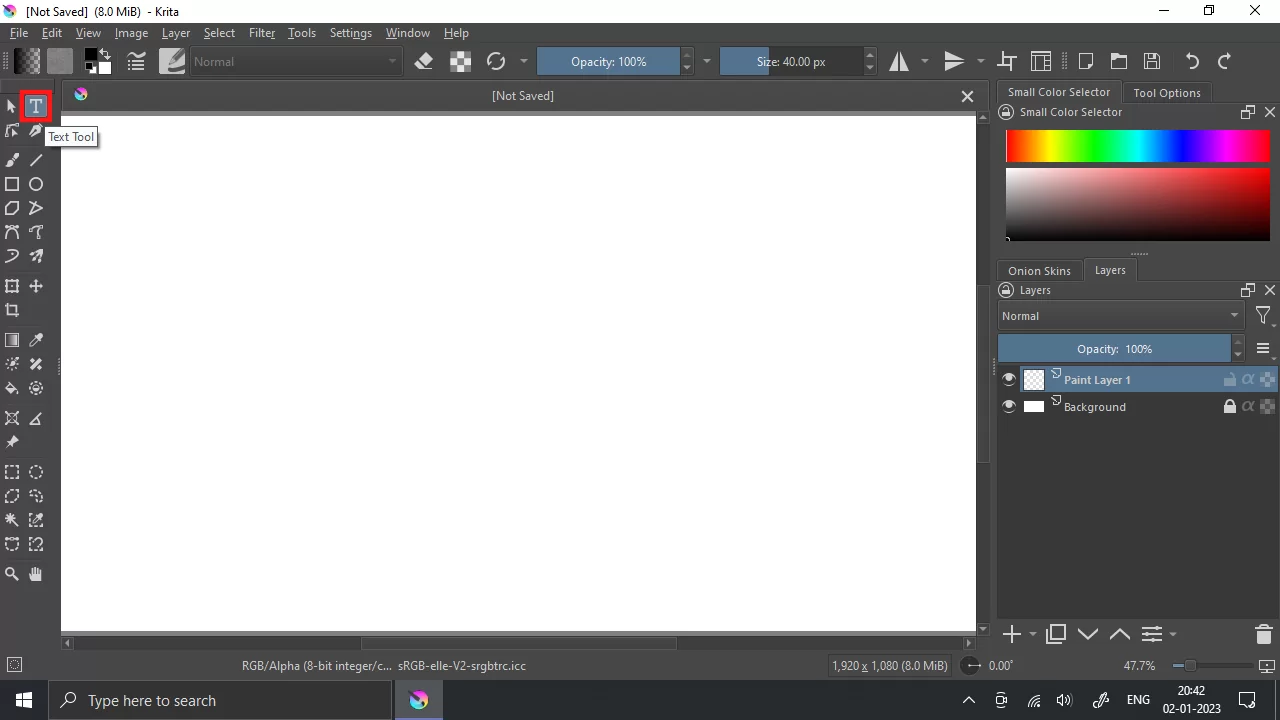
Step 1: To write anything in Krita, we have to use the Text Tool.
Step 2: After selecting the text tool, drag the cursor anywhere on the screen by holding left-click and creating a selection. A panel will open to edit the text.
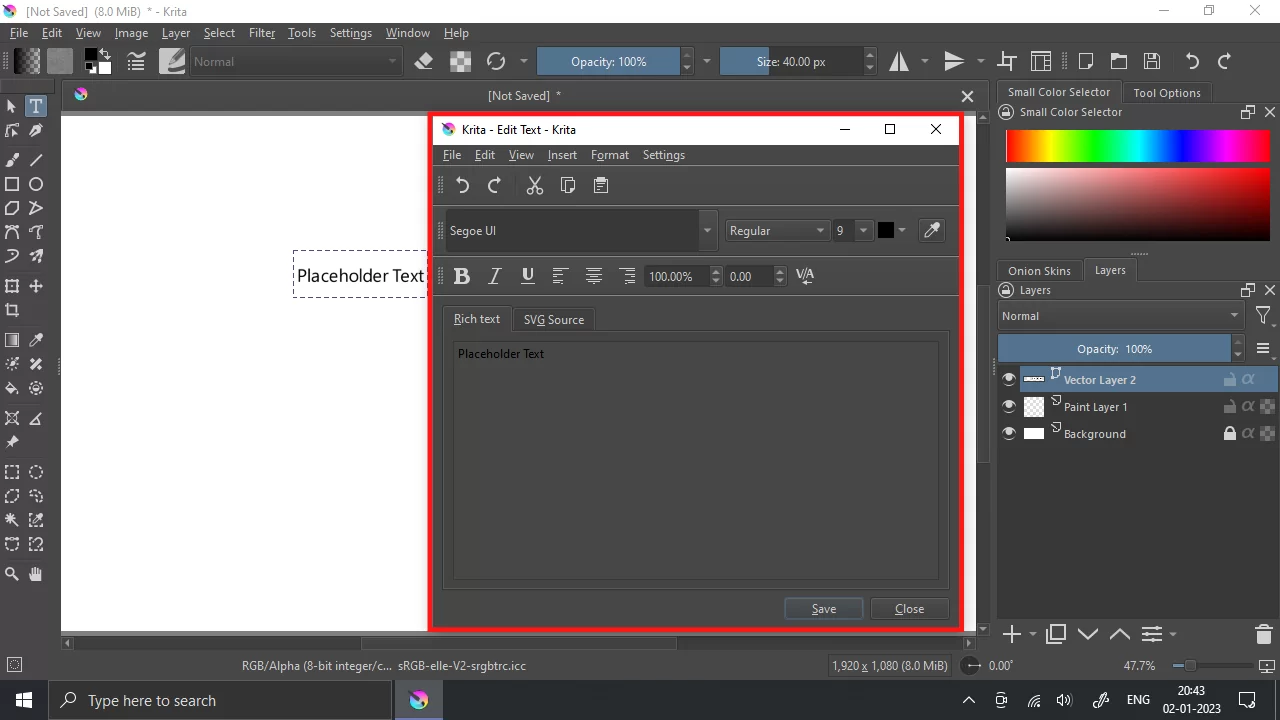
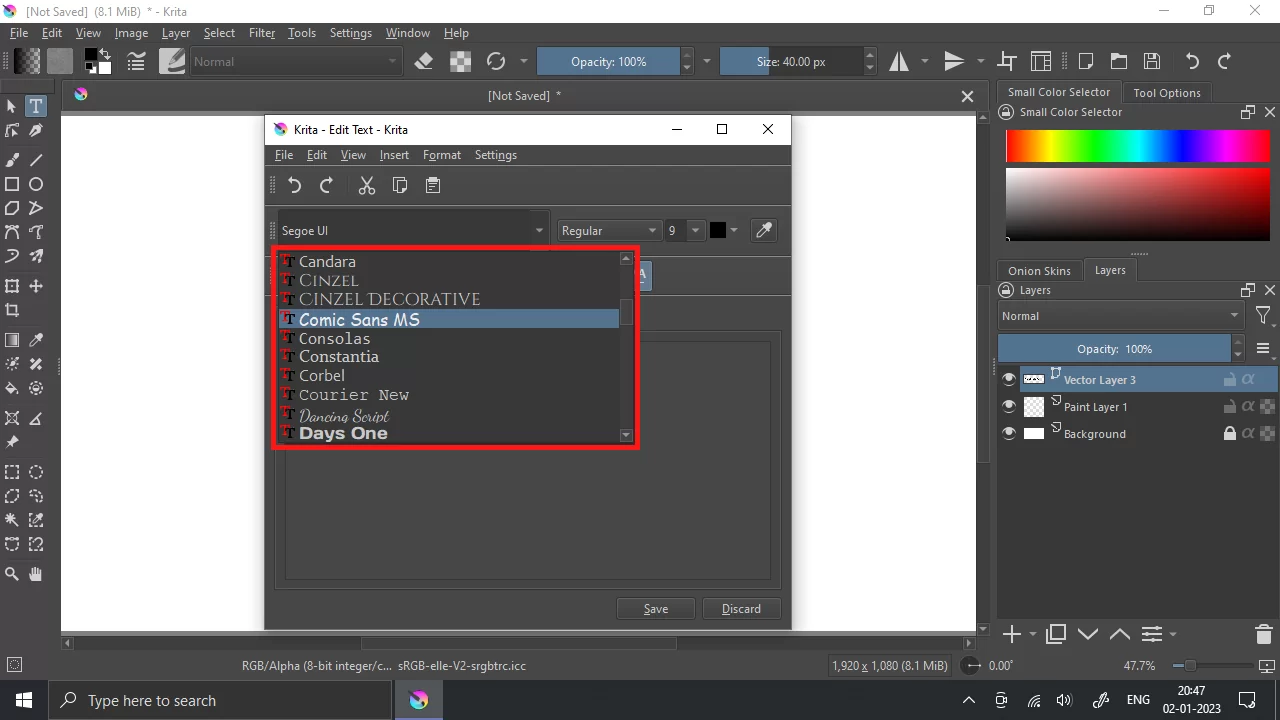
Step 3: On the top left of this window/panel, you can see the option to select the font for the text you have written. Select the text and click the drop-down list of fonts available to use.
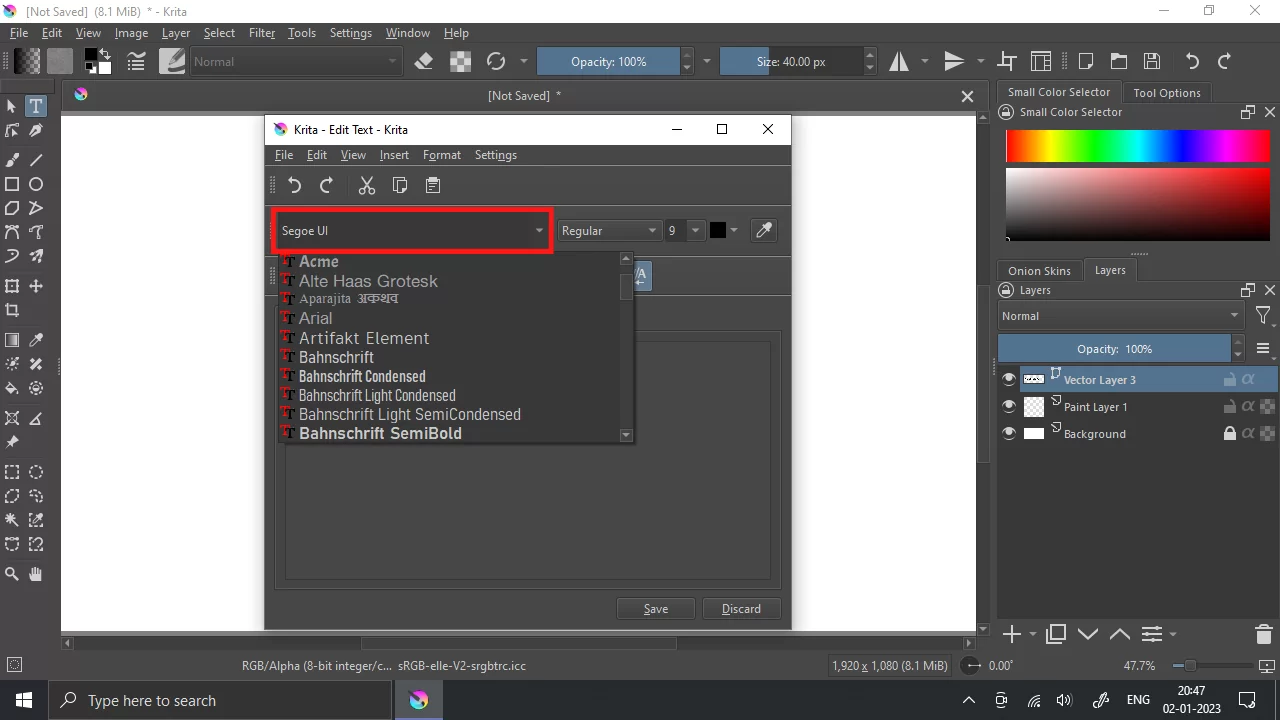
Step 4: There are many fonts available to use in Krita, or you can download any font of your choice from the internet, and it will become available here, also. Simply select the required font, and your text’s font will change.
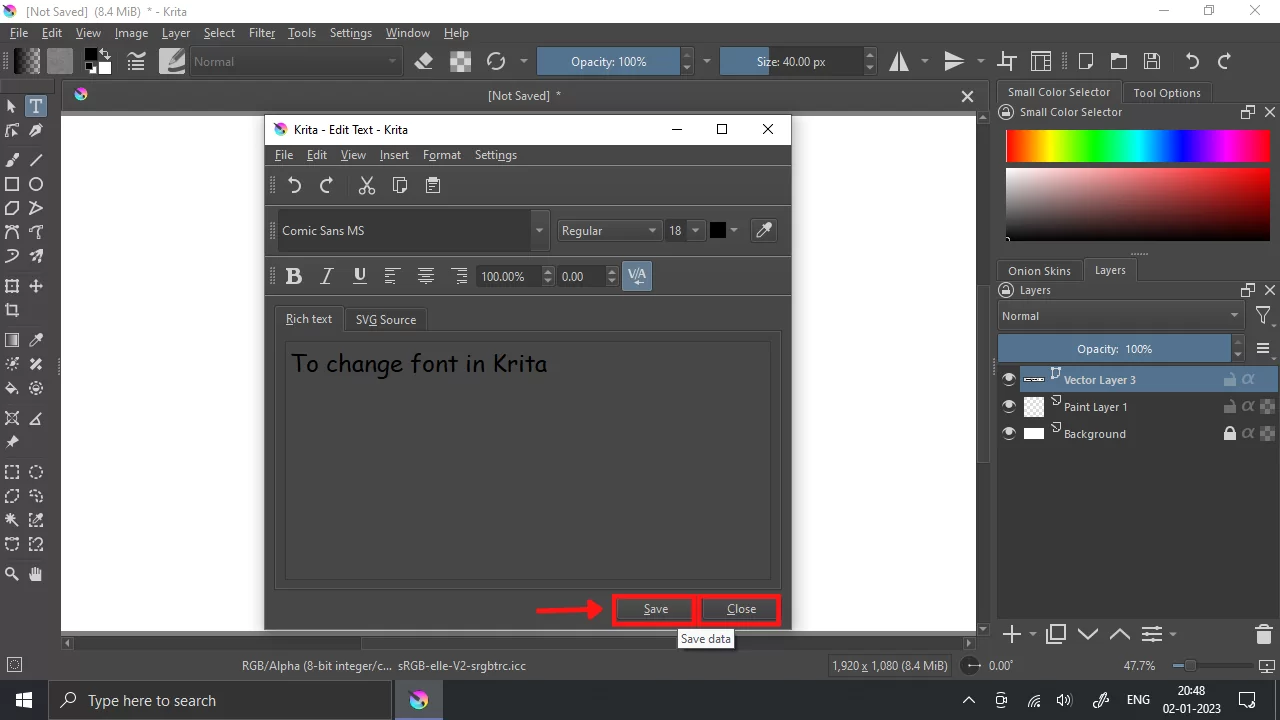
Step 5: Press Save and then Close to confirm the changes and close this panel.
Step 6: To move the text, you can use the Select Shapes tool to drag and place the text anywhere on the screen, and after getting desired results, click anywhere outside the screen to deselect the text. For further changes, double-click on the text, and the text editing window panel will open again.

In this way, you can easily change the text font in Krita.
We also recommend that you see our information-packed guide on how to use Krita.
What is The Text Tool?
The text tool allows you to add text to your work. You can use the text tool by right-clicking on your mouse and dragging it—This would create a rectangular selection. When you release your mouse, a default text will be created, and the default editor window will pop up. When you hover the text tool over other text shapes, their bounding box will be highlighted. When you right-click on a highlighted text, it will be selected as the active text.
How to Add Another Font in Krita on Windows and Mac
If you wish to add another font to Krita, you must first install it on your computer. This is because Krita uses the system fonts. To add another font, you need to find it first. Free fonts are widely available online. After you have downloaded the font, locate the font file you downloaded. The font you download should be in a zipped folder after downloading.
How to Add Another Font in Krita Using Windows
Are you using windows? Then follow the steps below to add another font in Krita.
Step 1
Start by choosing the folder and clicking Extract All in the top bar.
Step 2
You will notice a few files once the folder has been extracted. To be sure you can use the font for your particular project, you must first read the license agreement. Remember that the font is often shown in a JPEG or PNG file. Sometimes, you will see both an OpenType and a TrueType font.
Step 3
Next, choose the OpenType or TrueType font type you want to use by double-clicking on it. A pop-up box will appear. Click Install.
How to Add Another Font in Krita Using Mac
Are you using a Mac? Follow the steps below to add another font in Krita.
Step 1
If you’re using Mac OS, start by double-clicking the folder to unzip it. Next, double-click the OpenType or TrueType font file you want to use, and when the preview box pops up, select Install.
Did you enjoy reading this? You may also like our guide on How to shade in Krita.