Krita is an open-source digital painting software that offers a range of features for artists and designers. For beginners, it can be overwhelming to navigate the various tools and features available in Krita, but with the right guidance, you can quickly learn how to use the software and start creating stunning digital artwork.
This guide will introduce you to the basic concepts of using Krita and provide an overview of its most essential features. Our aim is to give you the foundation you need to get started with Krita and unleash your creative potential.
Krita Tutorial for Beginners
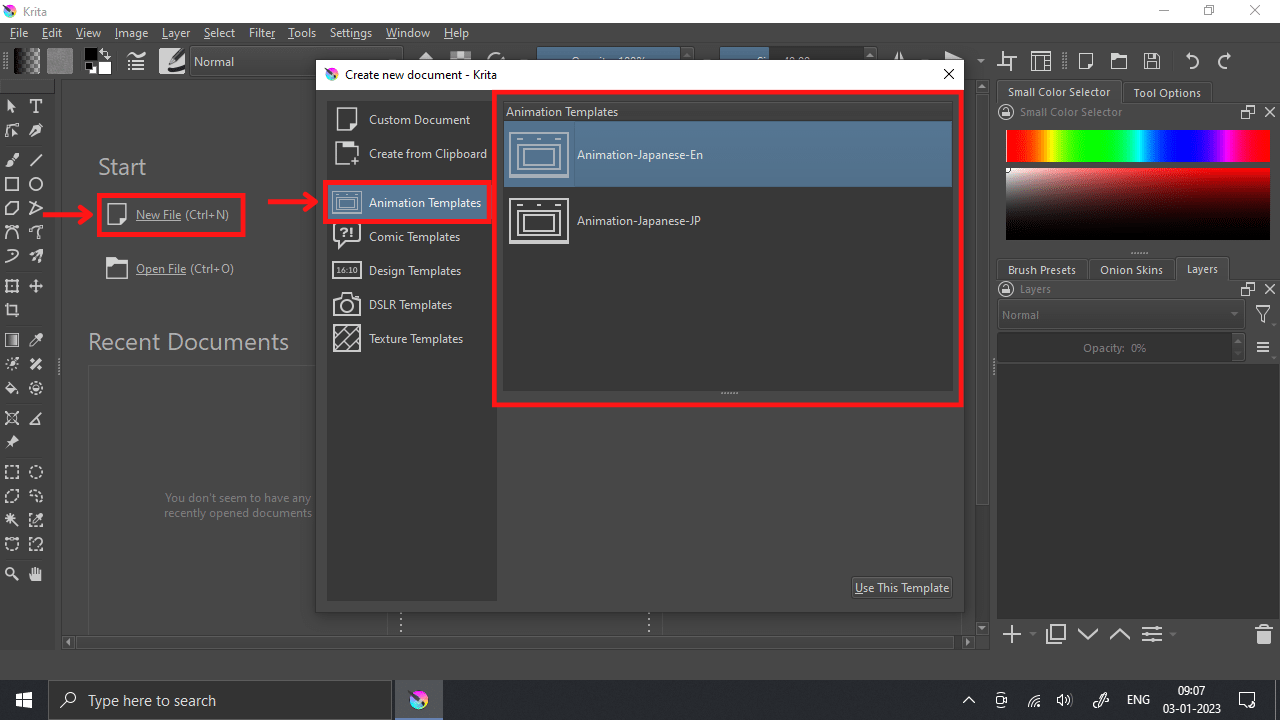
Krita is an incredible multipurpose software that can be used for almost any kind of artwork creation. Krita offers the following templates in which you will get pre-arranged workspace for various requirements:
- Animation Template: This can be used to create 2D Animations. You need Animation Timeline Docker to create animations, which you can get in Settings > Dockers > Animation Timeline. Using it, you will be able to create 2D frame-by-frame animations.
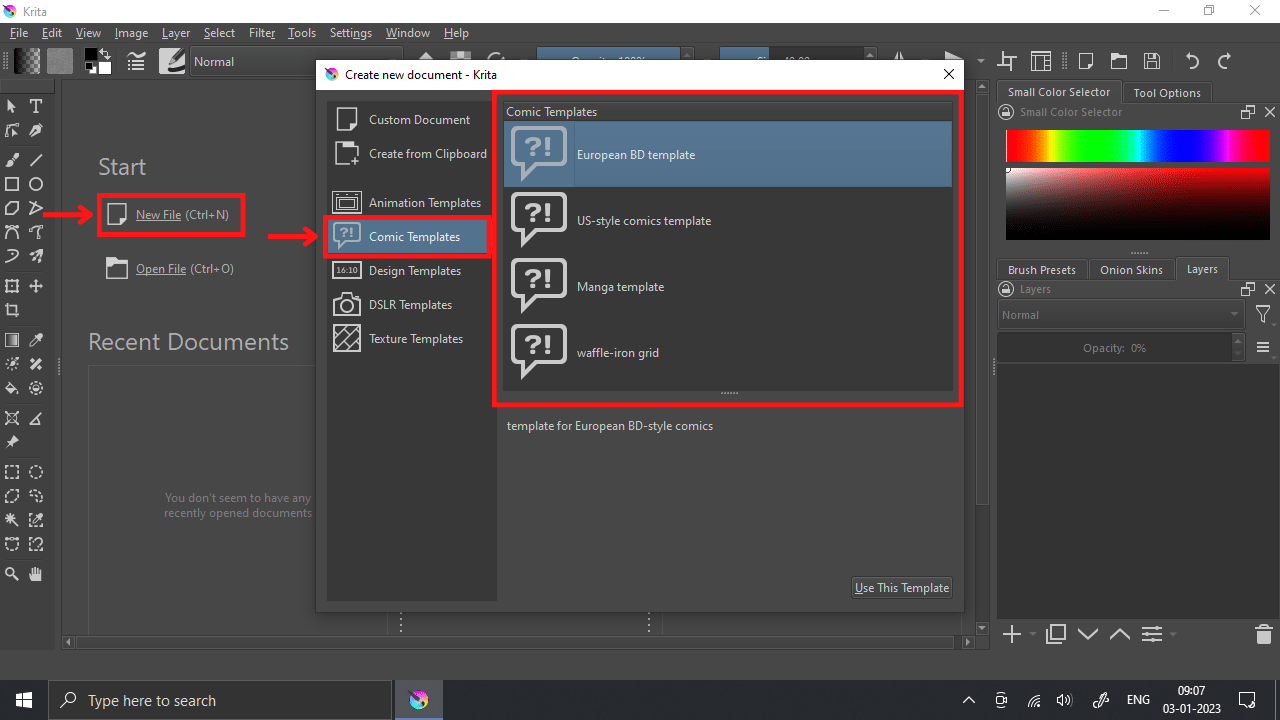
- Comic Template: This can be used to create Comics of different styles like European BD template, US-style comics template, Manga template, etc.
- Design Template: To create Graphic Designs, you can use this template. It can be used for illustrations, paintings, sketches, line art, and many other kinds of digital artwork. You will get canvases of various dimensions and ratios in them.

- DSLR Template: You can use this template to edit photos and images. Krita offers you multiple tools for editing and morphing photos, images, and artwork.

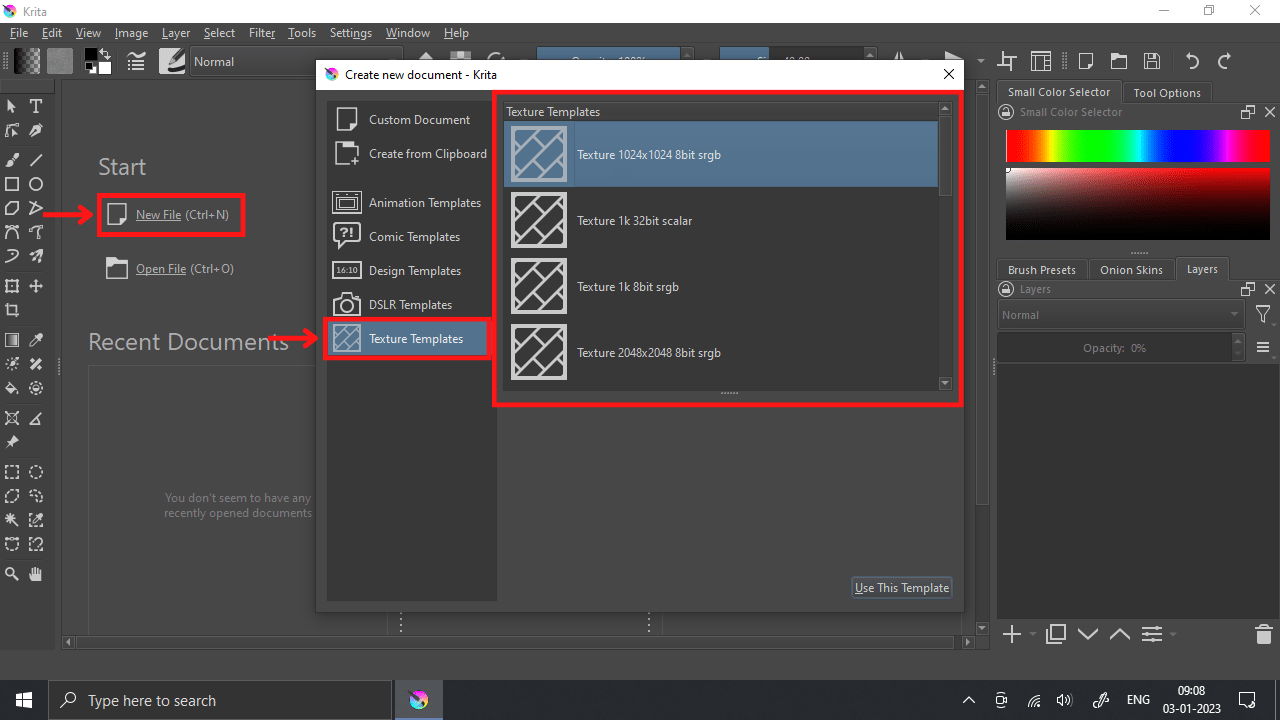
- Textile Template: This is an advanced template that is used to create Texture or Textile Pattern Tiles to be used in other artwork illustrations.
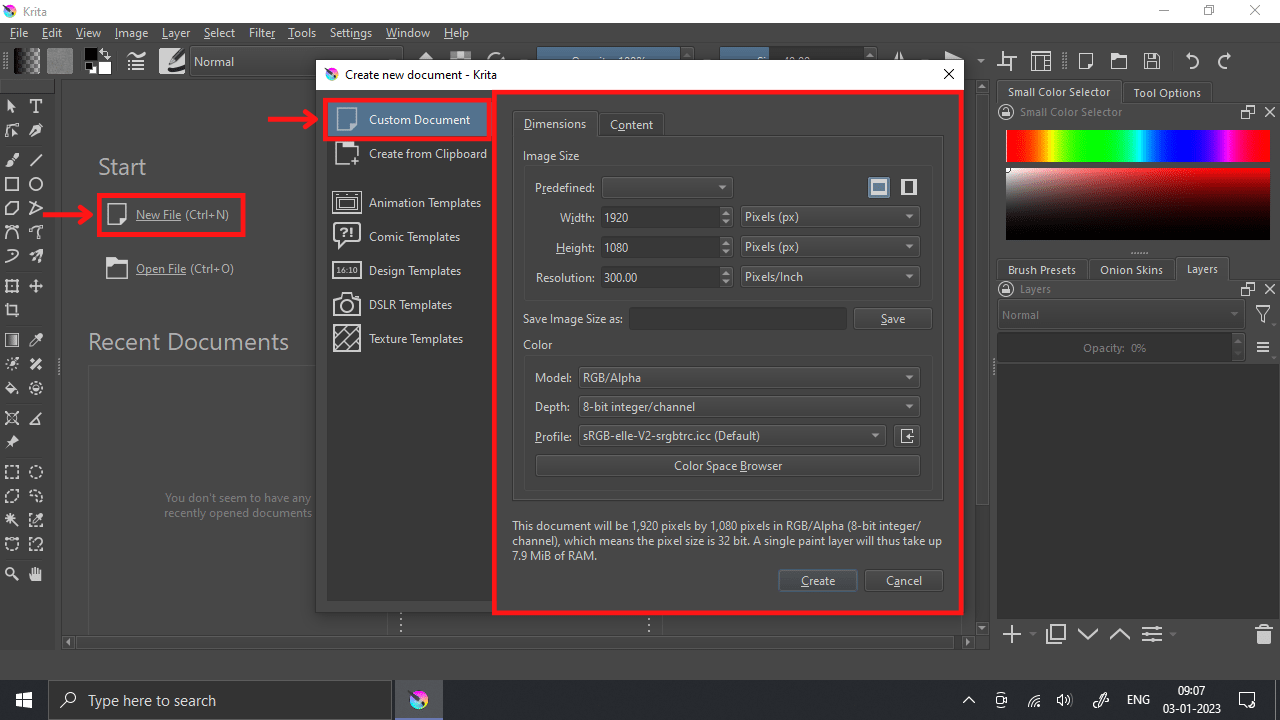
- Custom Template: To perform all the above tasks and multiple other purposes, you can use the custom template to set panels/dockers in the workspace as per your requirement and convenience.
You can enable panels/dockers by going to Settings > Dockers > selecting the required panels.

In this way, you can perform numerous tasks in Krita in an efficient and reliable manner.
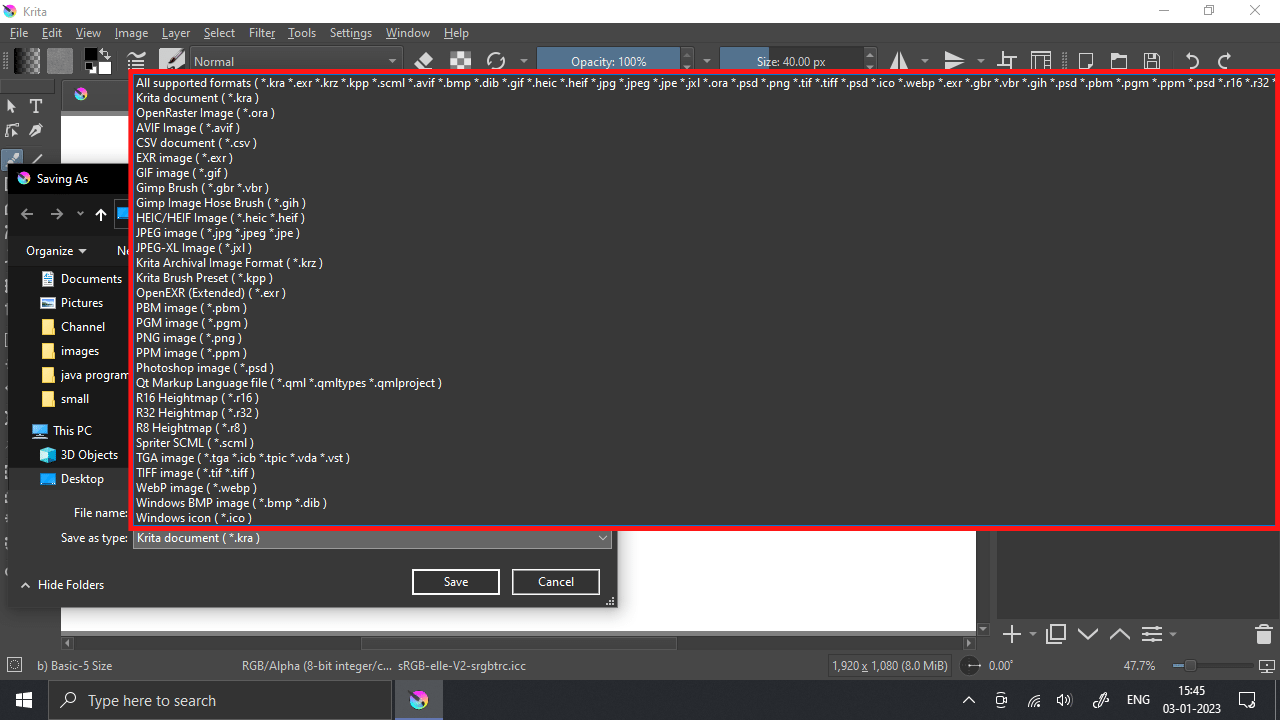
To export your creations, Krita offers multiple file extensions and formats. This is the only software on this planet that offers such a large number of file formats to export your creations.
- Save or Export option
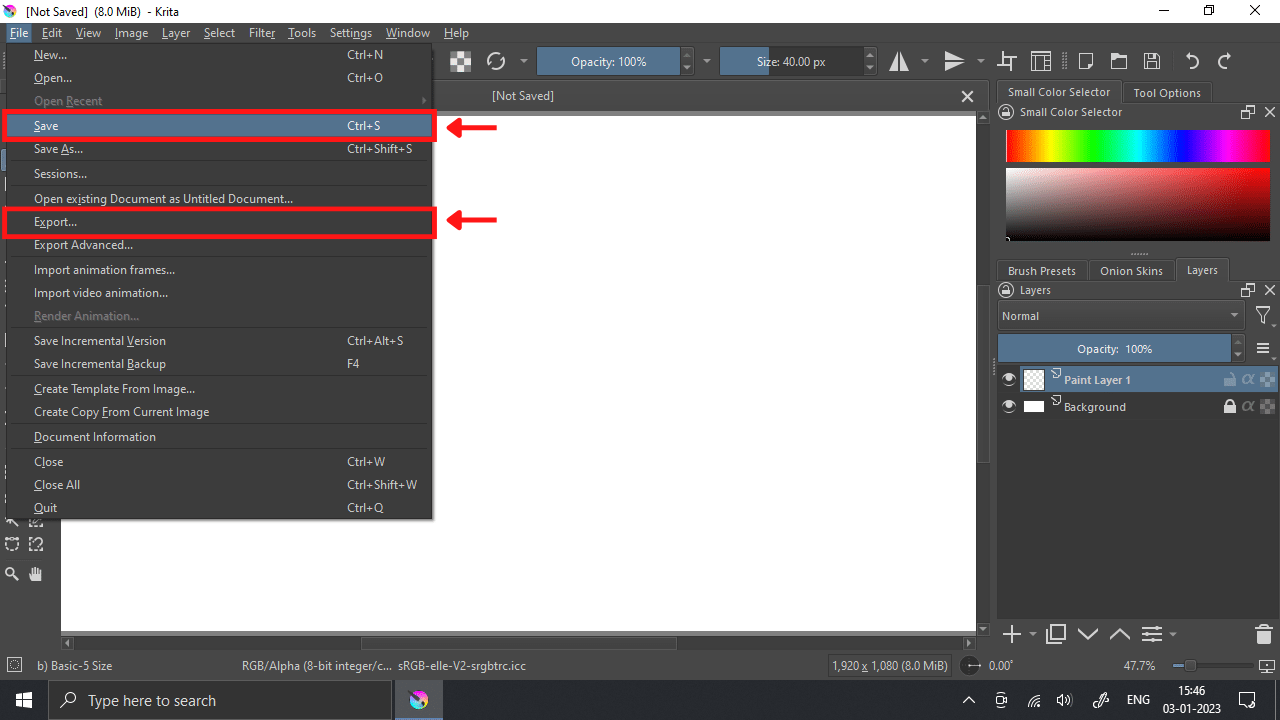
These can be used to save the file as .psd, .png, .jpeg, .kra, .xmp, .webp, .pgm, .r16, .tiff, .avf, .csv, etc.
- Render Animation option
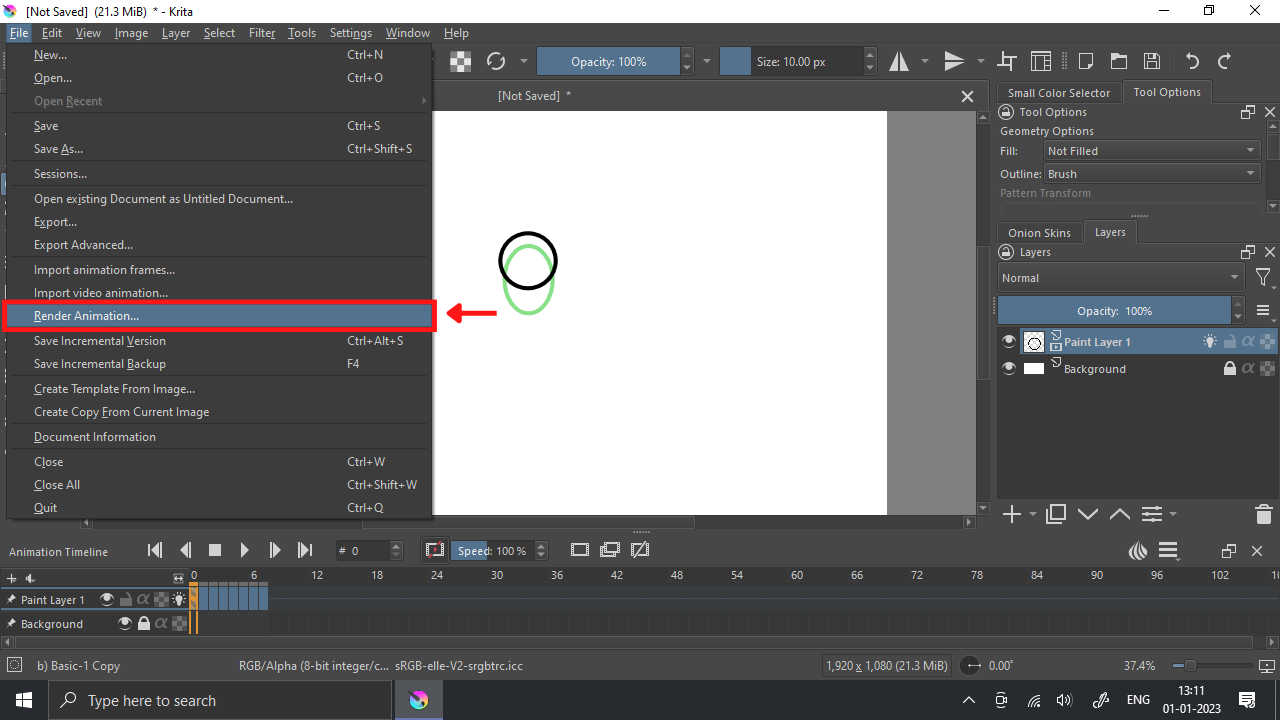
This can be used when you export your animation in a video format like .mp4, .gif, .ogg, .webm, etc.

We also recommend that you check our How to Animate in Krita.
Other Common Features to Learn in Krita
Krita can be used in so many ways because it is packed with loads of cool features. Some of the uses of Krita have been discussed above, but in the next paragraph, I’ll talk about more ways this amazing software can be used.
- The Left Toolbar
If you are going to use Krita, then you have to get familiar with the toolbar. When you open up the toolbar, you will find the Advanced Color Selector, Layers panel, and Brush Presets, all located on the right-hand toolbar. Did you know that you can change hues when using a color wheel? Changing hues is also helpful for arranging complementing tones.
Still, on the toolbar, you can fully control your canvas by adding new paint, mask, or filter layers using the Layers panel. Finally, selecting brushes can be done fast using the Brush Presets found on the toolbar. Using the brush panel, you can sort by brush type or choose your favorites for easy access.
- Creating a New Document
You can also create a new document using Krita. You can create a new document by opening up Krita and navigating to File>New. You can also control the size of your canvas by selecting from one of the predefined templates in the drop menu.
Alternatively, you can alter the size of your canvas by changing the dimensions yourself. If you want to change the size of your canvas by yourself, you should choose pixels or inches for your dimension and set the canvas size to the ratio you desire. You should also set your resolution to 300 or 600. Keep in mind that the higher the resolution, the better the quality of the final image.
Check out this information-packed article on shading in Krita.
- Brush Toolbar
We have talked about the left toolbar. It is only fair that we also talk about the brush toolbar. You can customize your chosen brush in various ways by choosing the Freehand Brush tool and then clicking the Edit Brush Settings icon on the top toolbar.
The Opacity and Size filters are the two features you’ll use the most when you are using the brush toolbar. If you want Krita to sync with your tablet, ensure that either Opacity or Size filters have Pressure selected.
If you enjoyed reading this article, you might also like How to Move Selection in Krita.