Krita’s animation tools offer a wealth of possibilities for bringing your digital artwork to life. You can use this software to create short animations, animated illustrations, or simply add movement to your designs. By mastering the art of animation in Krita, you’ll be able to elevate your digital artwork to new heights and produce dynamic, captivating projects. Let’s see some simple steps to start your first Krita animation.
How to Animate in Krita
To Animate in Krita, we use the method of Frame-by-frame animation.
Step 1: On opening the Krita interface, you will see two options on the screen – New and Open.
Step 2: Click on New, and a panel will open in front of you.
Set the Width and Height as per your requirement. Conventionally, we use 1920px and 1080px, respectively, for creating an animated video. Set the resolution between 250 to 400 PPI (pixels per inch) to get the best quality video.
Step 3: A white canvas opens before you, with random panels on all sides. But we need only some of these panels, so to have only the required panels, go to Settings > Dockers > Tick mark on Animation timeline, Layers, Onion Skins, Small Color Selector, Tool Options, and Tool Box.
Now, let me explain the use of all these panels in short:
- Animation Timeline: The most important panel for animating in Krita. This is just like the pages of a flipbook that are flipped in speed, one after the other, to give the resemblance of motion.
In this panel, you will see many small boxes. These are the frames that will contain all our images of animation.

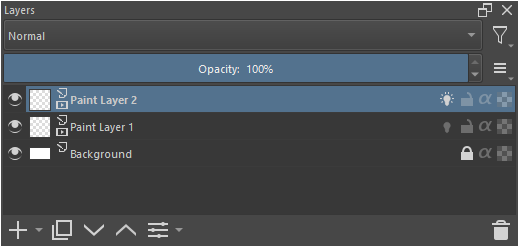
- Layers: As the name suggests, these are layers used to create different animation elements separately. For example, we will create the background on the bottom layer and the character on the layer above it so that if we have to change anything in either one, it will not affect the other.
- Onion Skins: These are used to see the previous and forward frames while painting on the current frame to keep the animation smooth and accurate.

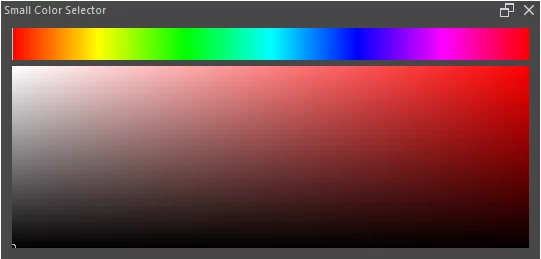
- Small Color Selector: It is used to pick colors instantly.
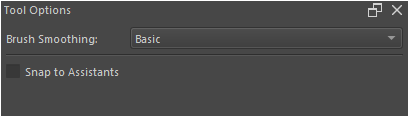
- Tool Options: Used for changing the properties of tools we are using.
- Tool Box: Here, we get all the tools that will be used to create anything on the canvas, like a brush, paint bucket, move tool, etc.

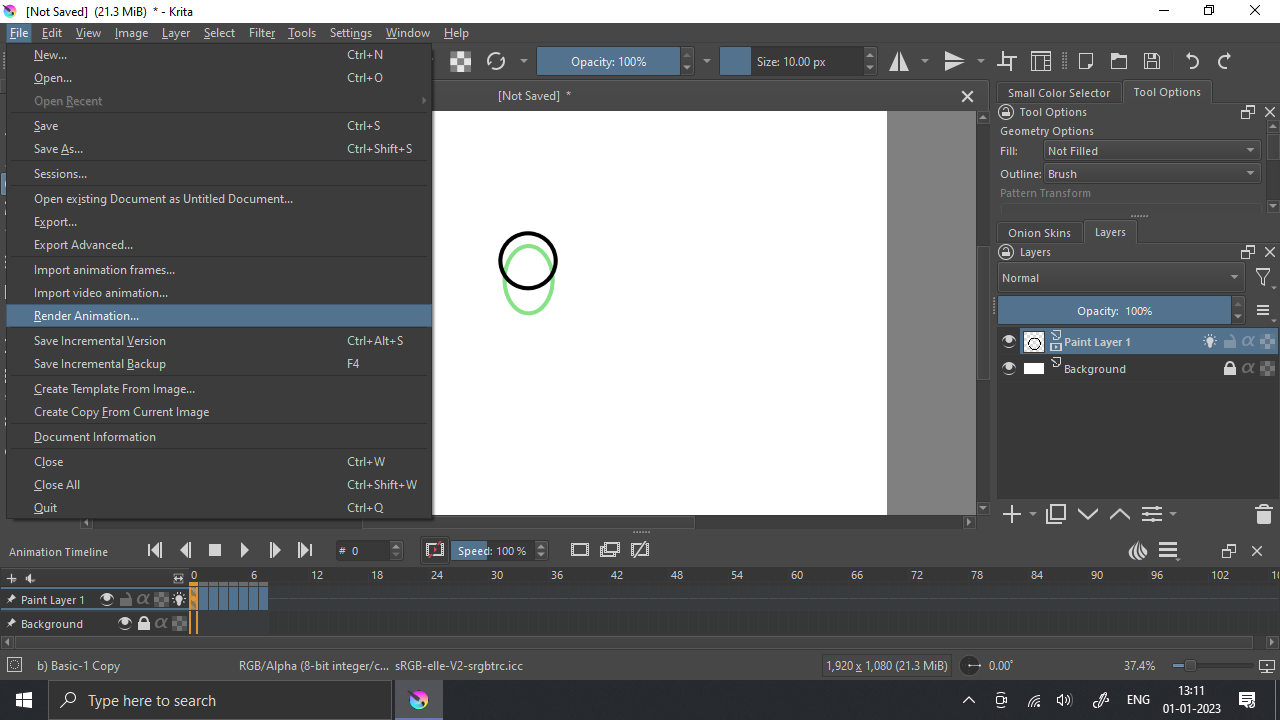
Step 4: Arrange all the panels as shown in the image below or as per your convenience, and let’s start animating. For this, Right-click on the first frame of the Animation timeline and select Create Blank Frame option.

Step 5: This is like our first flipbook page; we must draw on it. For drawing, you can use the tools the Tool Box offers, like the Brush, circle, rectangle, or any other tool. To set the size of the drawing tool’s tip, you can see the Size bar on the top ribbon; you can drag the bar to set the brush size, or you can click on the bar, type any number of your choice, and press Enter, and you will get the chosen brush size instantly. So, Draw whatever you want.
Step 6: After completing the first drawing, right-click on the next frame and again create a blank frame. To see the previous image go to the Onion skins panel and select how many previous and forward frames you want to see, e.g. turn on -1 and 1 line to blue by clicking on them. Now, on the Animation timeline, you will see a Bulb icon, click on it, and you will be able to see the previous drawing in a different color.
Step 7: Keep drawing on every next frame in the same manner. You can copy and paste frames by right-clicking on already-created frames and pasting them on blank frames. After successfully creating all the frames, set the animation Framerate(No. of frames which the software per second will flip) and Ending frame from the ‘Animation Setting Menu’ you will see on the animation timeline.
As a beginner, you can keep the framerate at 12 Frames per second.
You can color the animation using the Paint Bucket tool from the toolbox.
And to add more details to the animation, you can add another layer by pressing the ‘+’ icon in the Layers panel. Then create blank frames as we have done before and draw whatever you want. The advantage of creating a layer is that it does not affect other layers’ elements.
To zoom in and out of the canvas, you can either use the mouse’s scroll wheel or change it with the option available at the bottom right corner of the window.
Step 8: Go to File > Render Animation to export the animation.
We also recommend that you check our in-depth guide on how to shade in Krita.
Step 9: A panel will open. You have to select the Video option to export the animation in video format, or if you want it as an image sequence, then you can choose the image option. But since we wanted an animated video, we chose the video option.
Here also, you can set the starting and ending frame value, the framerate, the dimensions, etc. Now you will see an FFmpeg file path field. This is required for exporting animated videos. You can download this simply from Google by searching ‘FFmpeg download’, and after downloading the file, fill in the field by the FFmpeg.exe file path.
In the Render as a field, select the extensions/type of video format you want. For an mp4 video, we need to select the Mpeg-4 video option. You can choose Gif, WebP, Animated Png, and any other format per your requirement.
Below, choose the path of the folder where you want the output and click OK.

Krita will take only a few seconds to render the animation, and you will get the video in the specified folder.
Is Krita a Good Animation Software?
Now that you know how to animate on Krita, it is important to know if Krita is any good for animation. The answer is yes. Krita is good enough for all kinds of 2D animation and image works. One of the best things about using Krita for animation is the fact that it comes with all the needed tools, such as animation curves, workflow management, etc.
The tools you need to create a great project, such as the layering, brush, shaping, and framing tools, function well in this application. However, for your tools to work well, you need to use the right configuration. Did you know that the Krita application uses a technique known as tweening? Tweening recognizes how animation functions in mathematical variables.
The Krita software provides cutting-edge workflow management tools, including the timeline docker and the animation docker. Amongst the workflow management tools is onion skin docker. So, what does Docker do? Docker uses the timeline to assist keep the animation project on schedule so you may include audio and perform other editing and adjusting chores quickly.
The onion skin docker function operates on the skin of the onion. The onion skin docker allows you to monitor all the frames simultaneously. In summary, Krita has every function and requirement a quality animation program should have.
We recommend reading our in-depth guide on moving selection in Krita.
Why Should I Use Krita To Animate?
There are a lot of advantages to using Krita to animate. One of Krita’s advantages is that all of its features are free! Yes, you heard me right. So, you don’t need to bleed your pocket to use the awesome features of Krita. Krita also comes with all the necessary tools and brushes, allowing the artist to have a lot of flexibility as they work.
How about the advanced workflow management tools? These tools allow you to manage your work while monitoring multiple frame layers simultaneously easily. Krita is an organization that prides itself in having great customer support. So, if you get confused when animating, you can easily reach out to customer support, and they will be happy to help you.
If you enjoyed reading this article, check out our detailed guide on how to edit text in Krita.