Krita’s text editing tools allow you to elevate your digital artwork to the next level. From adding captions to illustrations, to customizing labels, or infusing an image with your own touch, Krita provides a user-friendly and versatile solution for all your text editing needs. In this piece, you’ll learn, in very easy steps, how to edit your text in Krita.
How to Edit Text in Krita
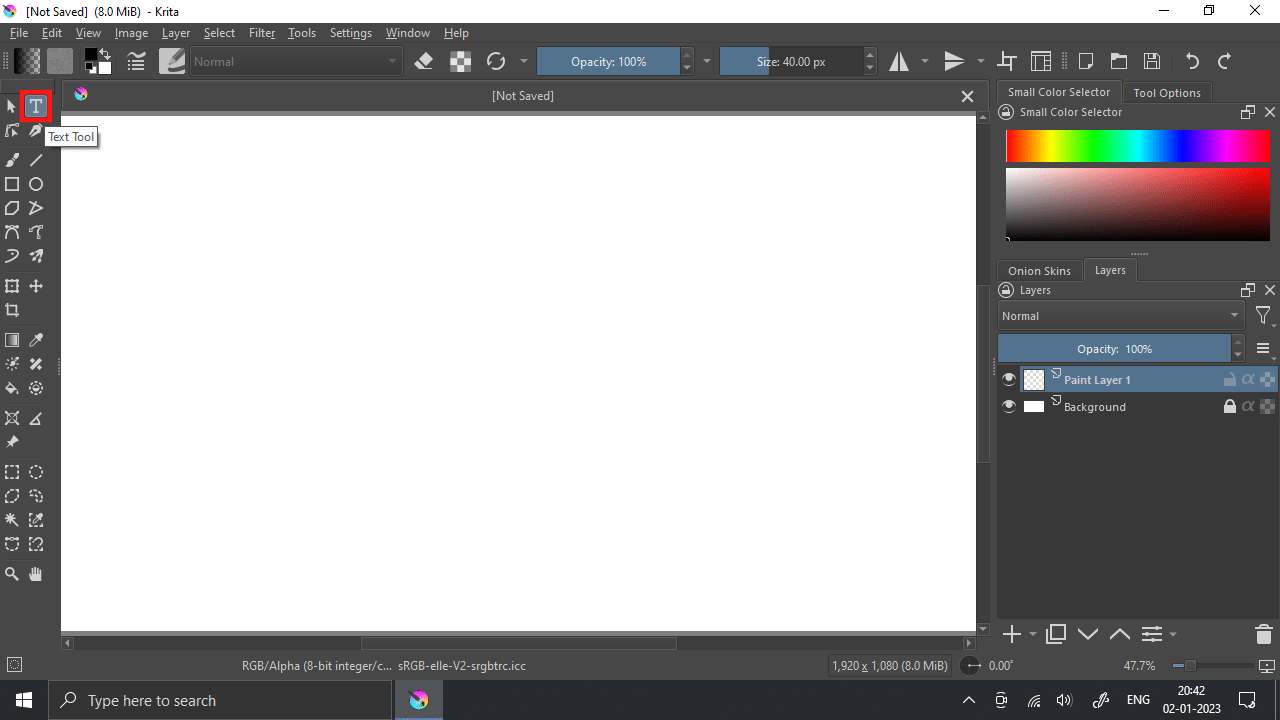
Step 1: We use the Text tool to write anything in Krita.
Step 2: After choosing this tool, you must create a selection on the screen by holding the left mouse key and dragging the mouse.

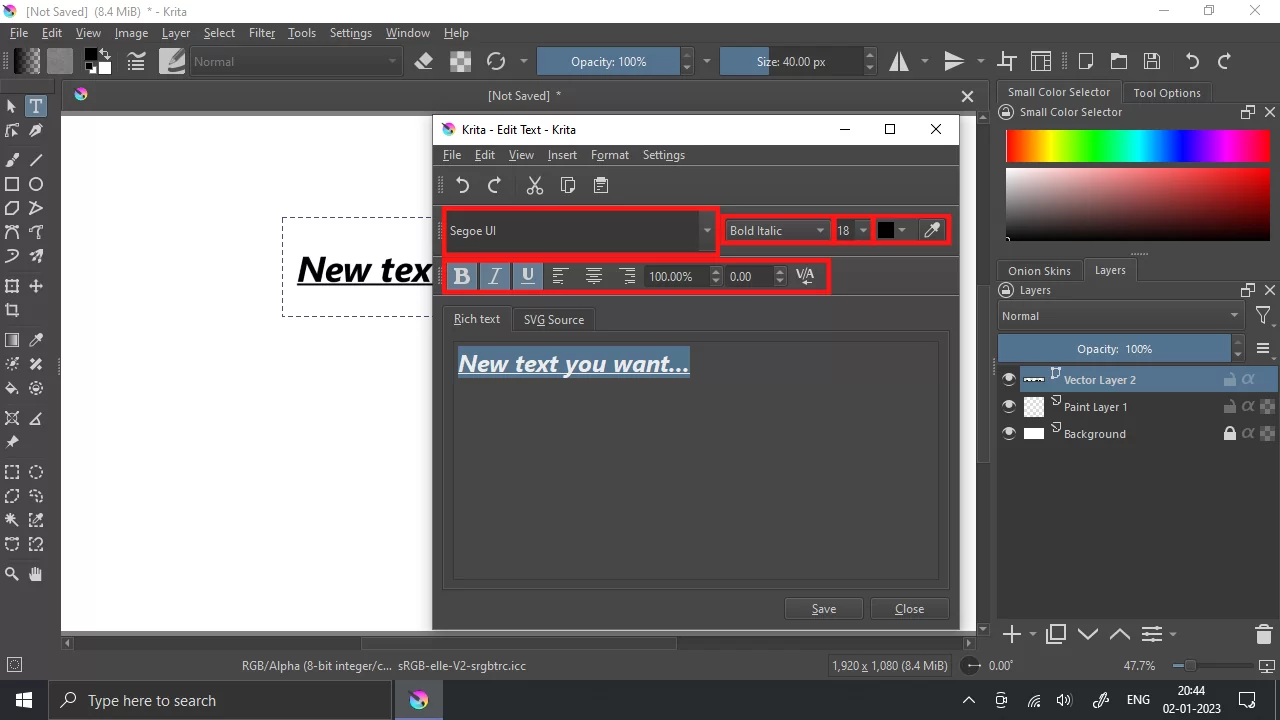
Step 3: When you release the cursor a panel will open in front of you.

Step 4: You can edit the text as you want with the help of this panel/window.

Step 5: You will get all the options to edit the text in this panel. You can change the font size, font style, font color, font alignment, and even the font family.
Step 6: After editing the text as per your requirement press the Save button and then the Close button to close this panel/window.

Step 7: Now, to move the text on the screen, you can use the Select Shapes Tool to drag the text anywhere you want on the screen.

Step 8: After placing the text at the desired location click anywhere outside the selection on the screen to deselect the text.

In this way, you can easily edit the text in Krita.
We also recommend that you see our step-by-step guide on how to add fonts in Krita.
How to Use The Text Tool
The text tool comes in handy when an artist isn’t keen on using the brush to write a text. Using the T tool on the left sidebar of the interface allows Krita to add text to your illustration.
You can also use your mouse, drag, and left-click it to create a rectangular shape for your text box. When you release the left-click button of your mouse, a text box will be created, and a window for text box editing will be opened. This will allow you to edit the text as you see fit.
Additionally, you can edit the text in the text box after deleting the default content. After making these adjustments, you can close the editor by selecting the save option in the lower right corner.
To save any changes, you make to your text, utilize the key binds or press Ctrl + S.
You can also check out our in-depth article on how to move selection in Krita.
How to Edit Text Color in Krita
Once you have added your text, you can edit it in any way you want. You can add a gradient to the fill or stroke of your text.
Step 1
By choosing the Text Tool from the Toolbar, you can easily change the text’s color by merely altering the fill color.
Step 2
For the next step, you have to double-click on the text you want to edit on the canvas after activating the Text Tool. The Text Editor you used to add the text to your project will now be opened.
Step 3
Locate the small color block adjacent to the drop-down menu for text size when the Text Editor is open. Click the color to select the next color for your text.
Step 4
After changing the text’s color, click Save at the bottom of the panel to save your changes. Then, click Close to leave the Text Editor.
Step 5
By now, your text should be the new color on the canvas.
Step 6
Use the Select Shapes Tool if your text is thick and you want to modify the fill and stroke colors independently. The Select Shapes Tool is selected from the Toolbar.
Step 7
Now look for the Tool Options docker. If it’s hidden, make it visible by choosing the appropriate option under Settings > Docker. Within the Tool options docker, select the Stroke tab. You can choose to have a gradient, a single color, or no stroke at all. It all depends on what you want.
Step 8
The stroke color can be altered by clicking the color bar if you choose the solid color option. The solid color option is the second icon from the left.
Step 9
You can increase the thickness further down the panel to see how your new stroke has played out. If you want something thinner, you can use the line style.
Step 10
Next, you have to alter the fill color. To alter the fill color, visit the Fill tab and choose the solid color icon. You may also use the third icon to make the fill a gradient if you’d prefer. If you have gotten to this point, congratulations! You have now successfully changed the stroke and fill color of your text.
If you enjoyed reading this article, you may also like our in-depth guide on How to use Krita.