There are so many beautiful logos that are made through the help of text curving. The food industry is very big on using curved texts to make their logos because it looks good and sophisticated.
The Arch, Bulge, and Wavy text always make the curved text logo look harder than it is. In reality, curving your text using illustrator is very easy. With the help of illustrator tools and this easy-to-follow guide, you will be curving your text in no time.
3 Methods to Arch Text in Illustrator
Curving or Arching text in illustrator is very simple and easy. Here are 3 methods for arching your text.
First, we need to open Adobe illustrator. And create a blank project, click Create New, or you can go to File > New for the short key win [Ctrl + N] or Mac [Cmd + N].
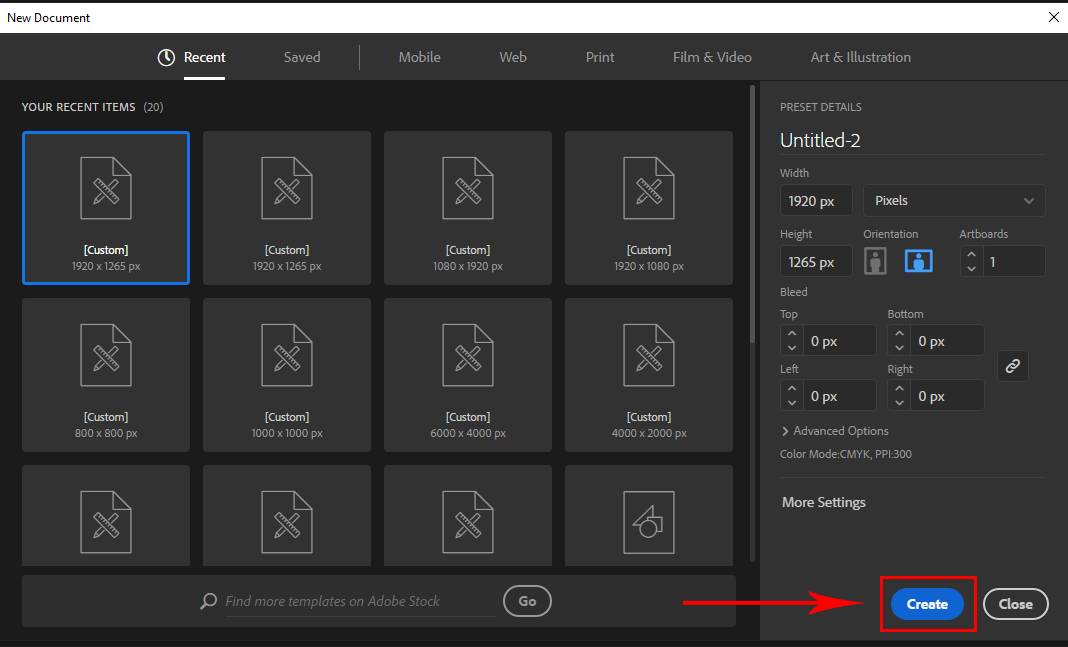
And you will see your New Document panel open. Here you find the artboard setting. Click Create to create your new artboard.
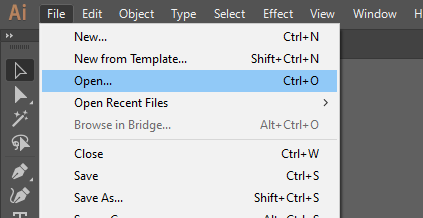
If you have an existing file, go to File > open and select your File. Short Key windows [Ctrl + O] and Mac [Cmd + O].
Method 1:
Step 1:
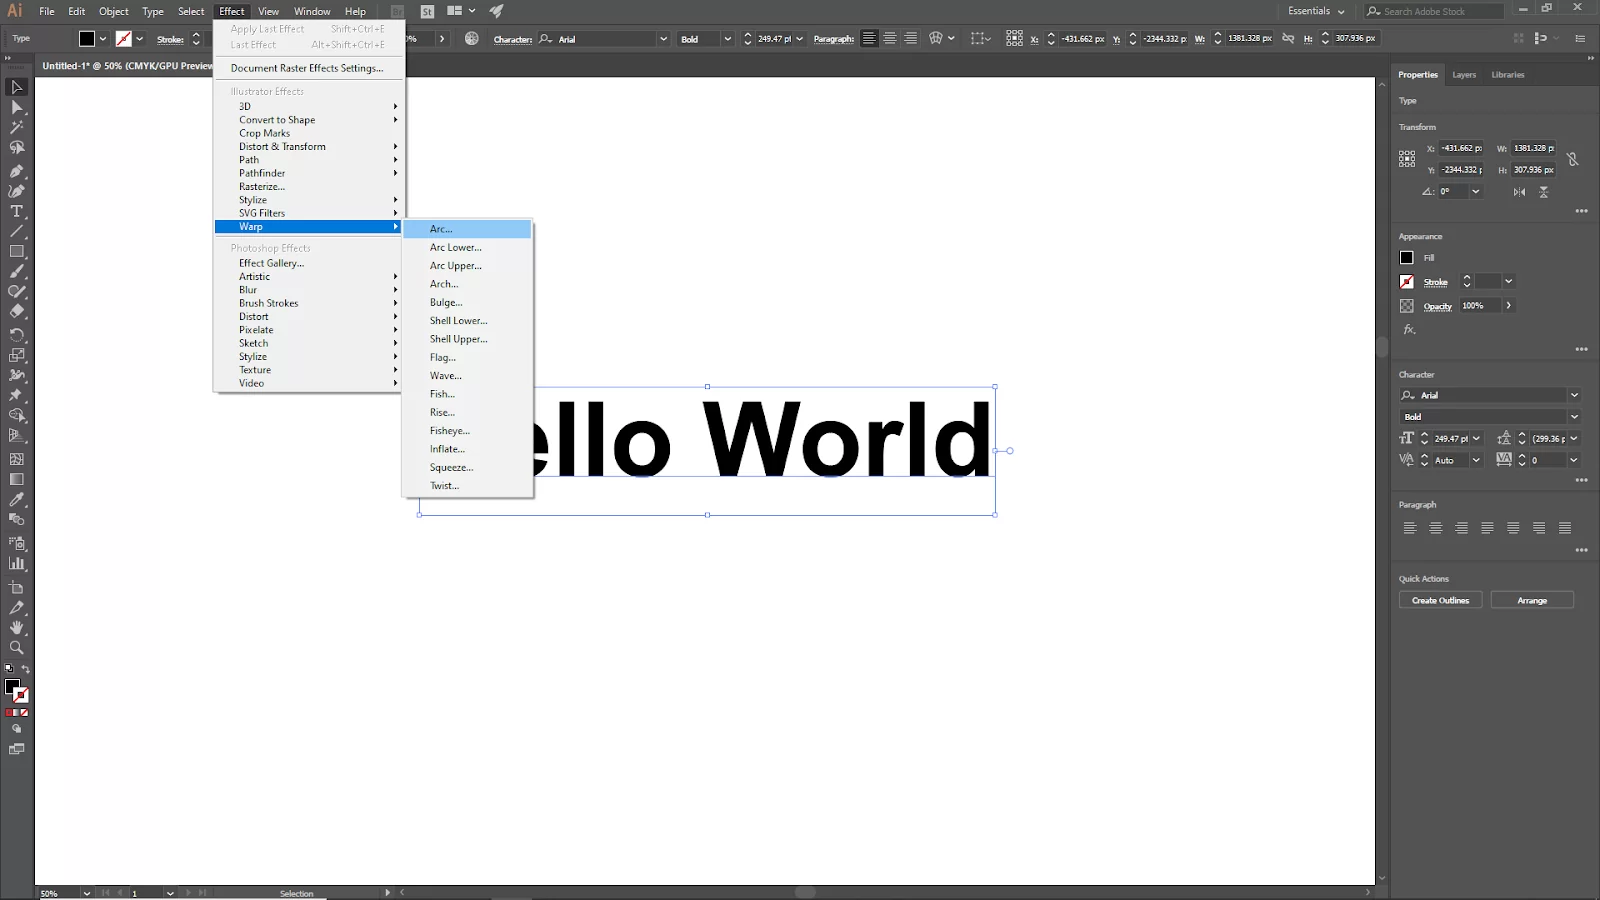
Select the text you want to curve or create a new one. To make your text, go to the toolbar and select Type Tool (T). Now click and type your text. And then, select the text that you want to warp.

Now go to the Effects tab on the upper bar, and you should see Warp. Click on that. Here you can find all the warping effects of a text.
Step 2:
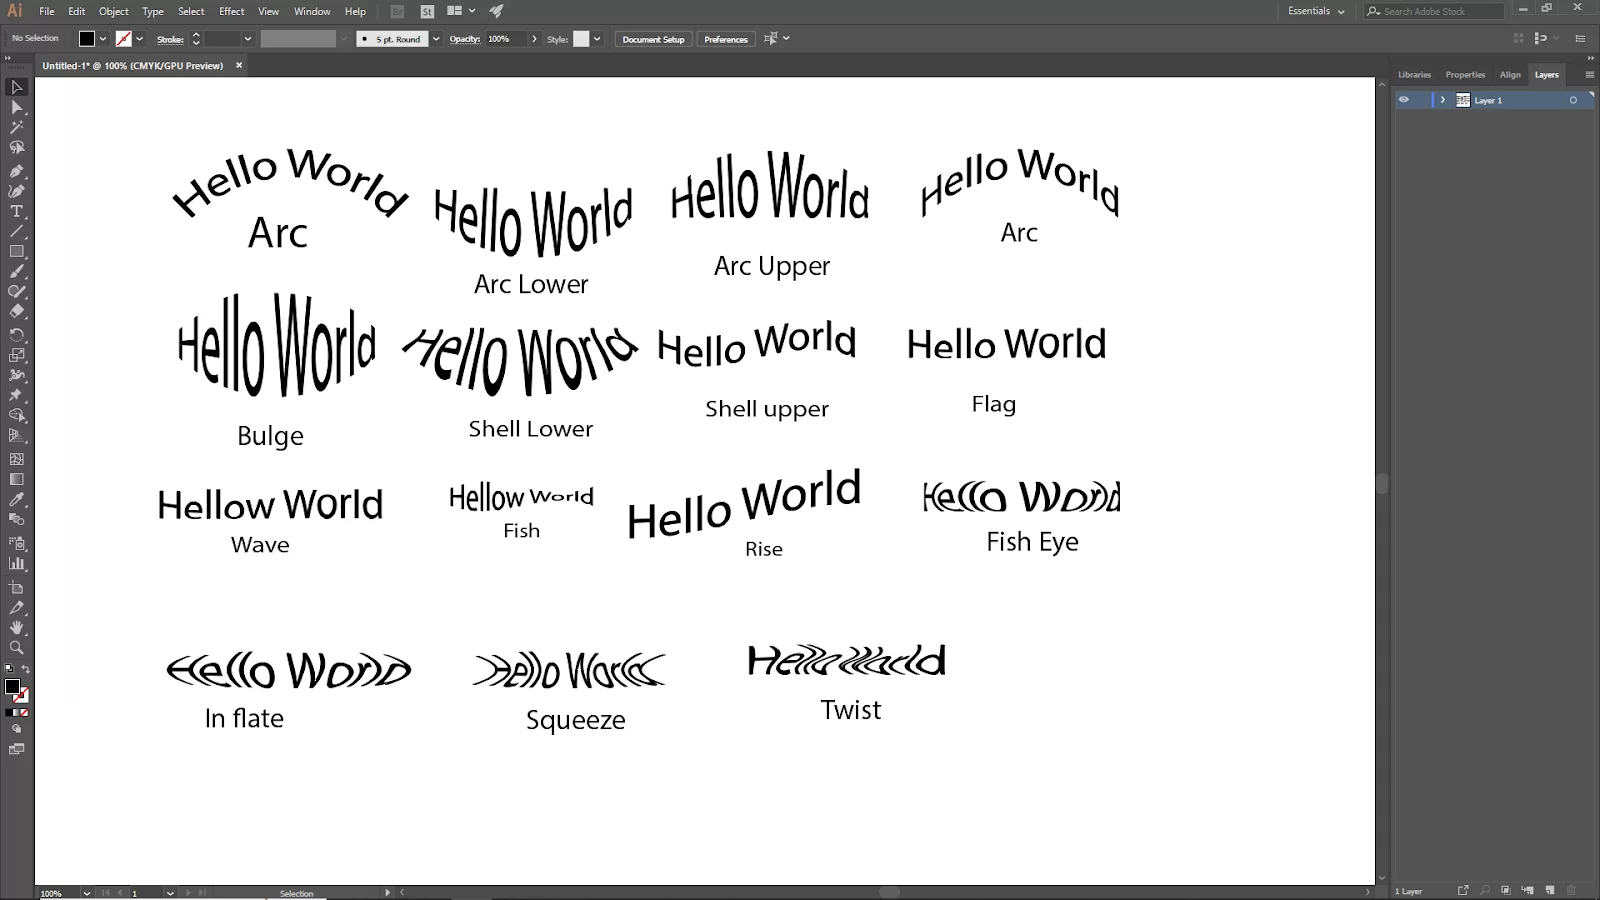
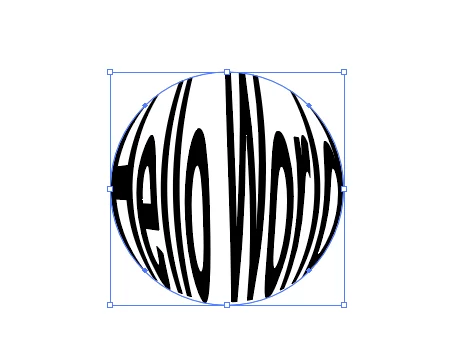
There are many preset text warp effects from this option. If you click on the drop-down menu of the style, you will see 15 text style options to discord the text. Here is an image of what each style looks like.

Step 3:
Choose any style and choose Horizontal or Vertical. Check the preview box to see the text preview how the text looks as you adjust the settings. If you choose vertical, it will look like this.

Let’s stay with the horizontal position. Move the bend slider to adjust the bend value. The arc is larger when you further drag the slider from the center. If you drag it left side, the text will arc in the opposite direction.

Now adjust the horizontal and vertical values, click ok, and your warp text is ready to use.
Method 2:
Step 1:
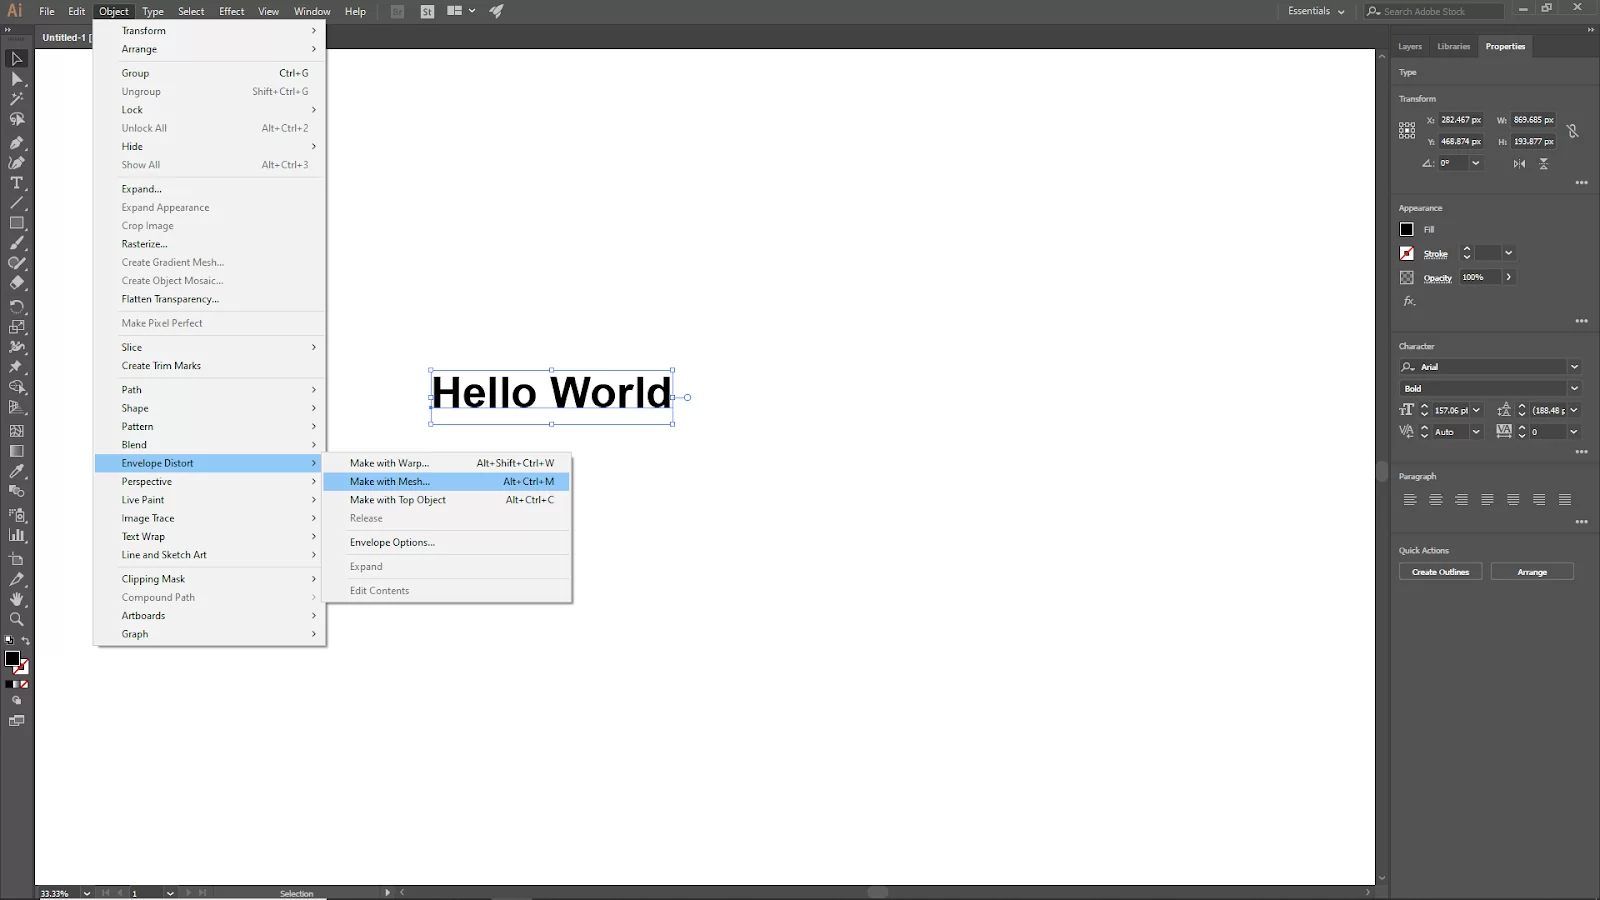
This method allows you to discord the text freely because there is no preset style. We will be using the anchor point to discord the text.
Go to Object > Envelope Discord > Make with Mesh or you can hit win [ Alt +Ctrl + M ] or Mac [ Option + Cmd + M ].
Step 2:
Now you will see there is an Envelope Mesh Panel Open. Input the columns and rows values and click ok.
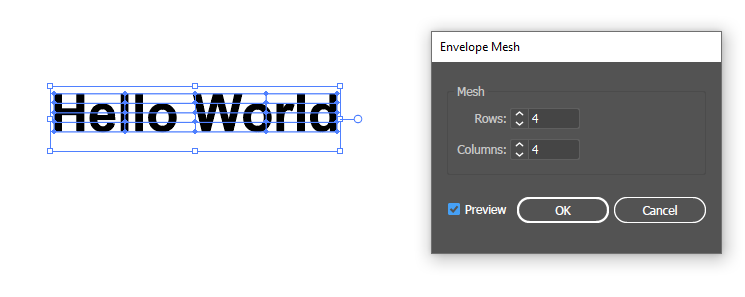
If you put more columns and rows, you get more anchor points, which means more details discort you can make.
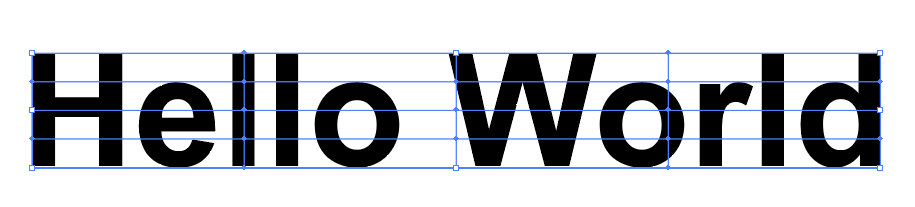
Now click on the direct selection tool from the toolbar, or you can press [A]. and click on the text, you will see anchor points. Click and drag the anchor points to distort the text.

Method 3:
In this method, we will use shape to warp the text.
Create any shape you want and bring the shape in front of the text. To bring it front, select right-click and go to Arrange > Bring to Front or short key win (Shift + Ctrl + [ ) or Mac (Shift + Command + ]).

Now select both objects and go to the upper bar Object > Envelope Discort > Make with Top Object.

Your text is ready to use. You can do this same method with the other shapes.
How To Convert Text To Outline on a Curve Using Illustrator
You can directly select the text and outline by using Command+Shift+O if you use Warp effects or Type on a Path to generate curved text. However, if you employ the Envelope Distort technique, you must double-click the text to make it an outline.
Curved Text Editing and Curving Text Without Distortion in Illustrator
Your curved text is directly editable on the path. Click on the text to change the text, font, or colors. Double-click on the text to make the edit if your curved text was created using Warp or Envelope Distort.
It is advisable to select the Arch option from the Warp effects if you want the ideal arch text effect. To prevent text distortion, leave the Distortion settings alone.
Curving Text Bottom Using The Path Tool
The demand for logo and design creation has skyrocketed over the years. People launching little businesses in their garages are creating logos poised to compete with the big boys. A great approach to get technical and make text with rounded bottoms is using the Type on a Path tool. Follow the steps below to give your logos a curved bottom using the path tool.
Step 1
Start by opening the File. If you work with multiple separate files, keep in mind that adding file names that are simple to remember will greatly simplify the task.
Step 2
For the next step, you need to create a Circle. One of the advantages of the Type on a Path technique is how quickly the effect can be produced. Drag a circle the size you require for your project using the Ellipse tool from the menu.
Step 3
Next, hold down the Type Tool. The tool menu’s buttons might each have additional features, and you should select the Type on a Path tool from the list of choices that appear when you hold down the type tool.
Step 4
Finally, write in the circle. After selecting the Type on a Path tool, the circle should be surrounded by your chosen font. Please enter your text and modify the settings so it rests on the circle.
Curving Text Bottom Using Menu
Follow the steps below to curve the bottom of your text using a Menu.
Step 1
Start by opening the File. Then you should select the best choice by clicking on File in the top left corner. If you are starting, the screen should be blank when you click New.
Step 2
To create a box with your letters inside it, choose the text and then click the text box. You can set the area by dragging and clicking, and a fake font will emerge.
Step 3
Use the Effect Tab by moving to the screen’s top and selecting the Effect tab. This tab offers many choices for modifying the text’s contour and shape. You should select the Warp option from this menu. A different menu with more options will be revealed when you select Warp.
Step 4
The next step is to Select Arc. Arc squinches a piece of the text to make it appear as though it is on an arch. A new box will show up after Arc has been selected.
Step 5
Following your selection of Arc, a menu box will display. The first thing you need to click when the menu box appears is the Preview arrow. The preview displays a scaled-down version of the text box along with the results of your selections. This menu’s options include arc percentage and horizontal and vertical text placement. Illustrator is also perfect for adding Fonts and logos. Fonts and logos are editing techniques that may require curved text bottoms.
Leave a Reply
You must be logged in to post a comment.