Changing the velocity of your video clips allows you to add an extra layer of creativity and visual interest. With CapCut, you can quickly and easily adjust the speed and velocity of your videos for added effect. We’ll go over how to use the velocity feature and tools in Capcut projects.
How to Make a Velocity Edit on Capcut
CapCut is the best velocity edit app on your Android and iOS devices.
Velocity edit is a process in which we can make the videos speed up and slow down at certain points in the video. Velocity edit is definitely a big part of editing in CapCut but you can also do other things with your CapCut such as editing using green screen.
Let’s follow these steps to make a velocity edit-
Open Capcut. Click on New project and import your video
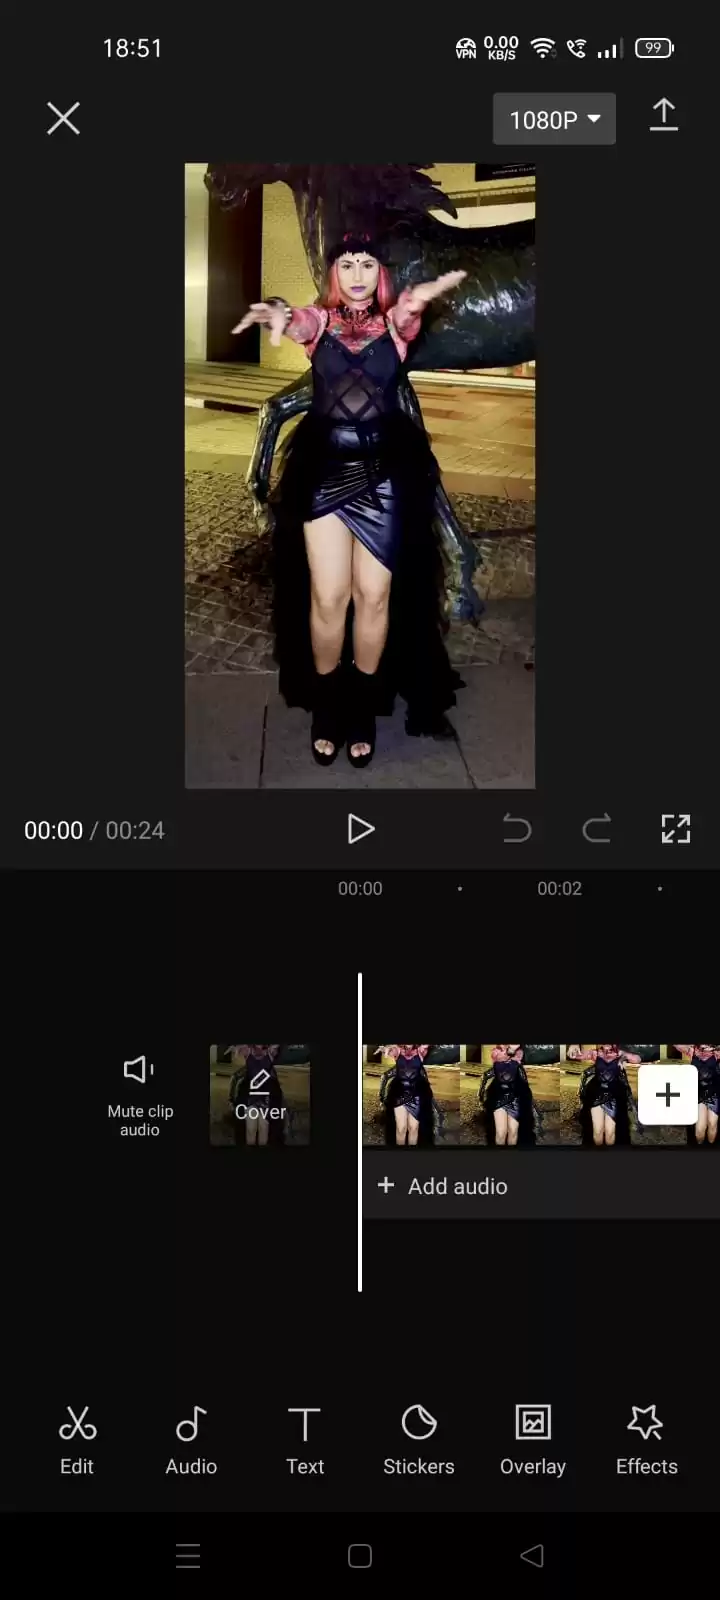
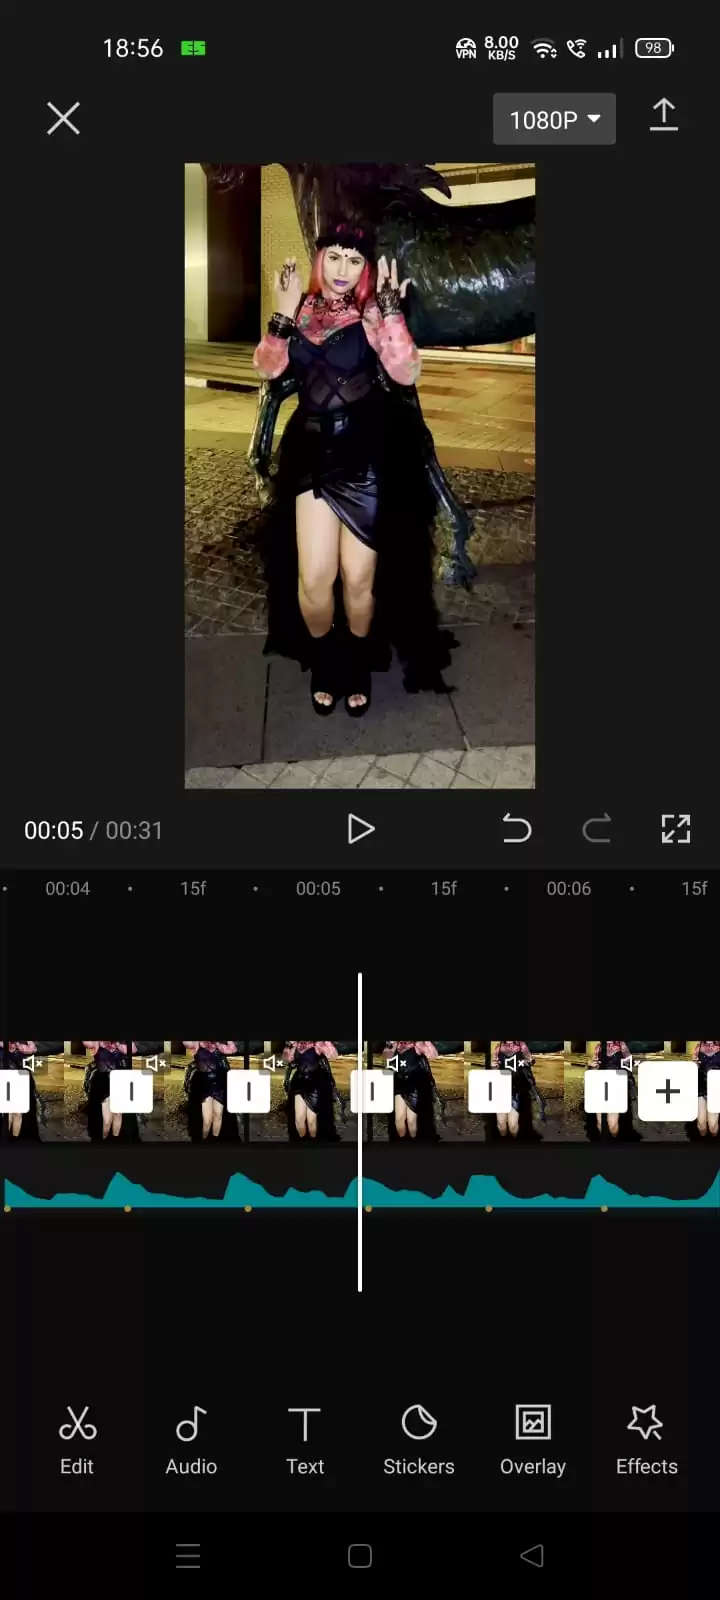
Step 1: Cut to the beats
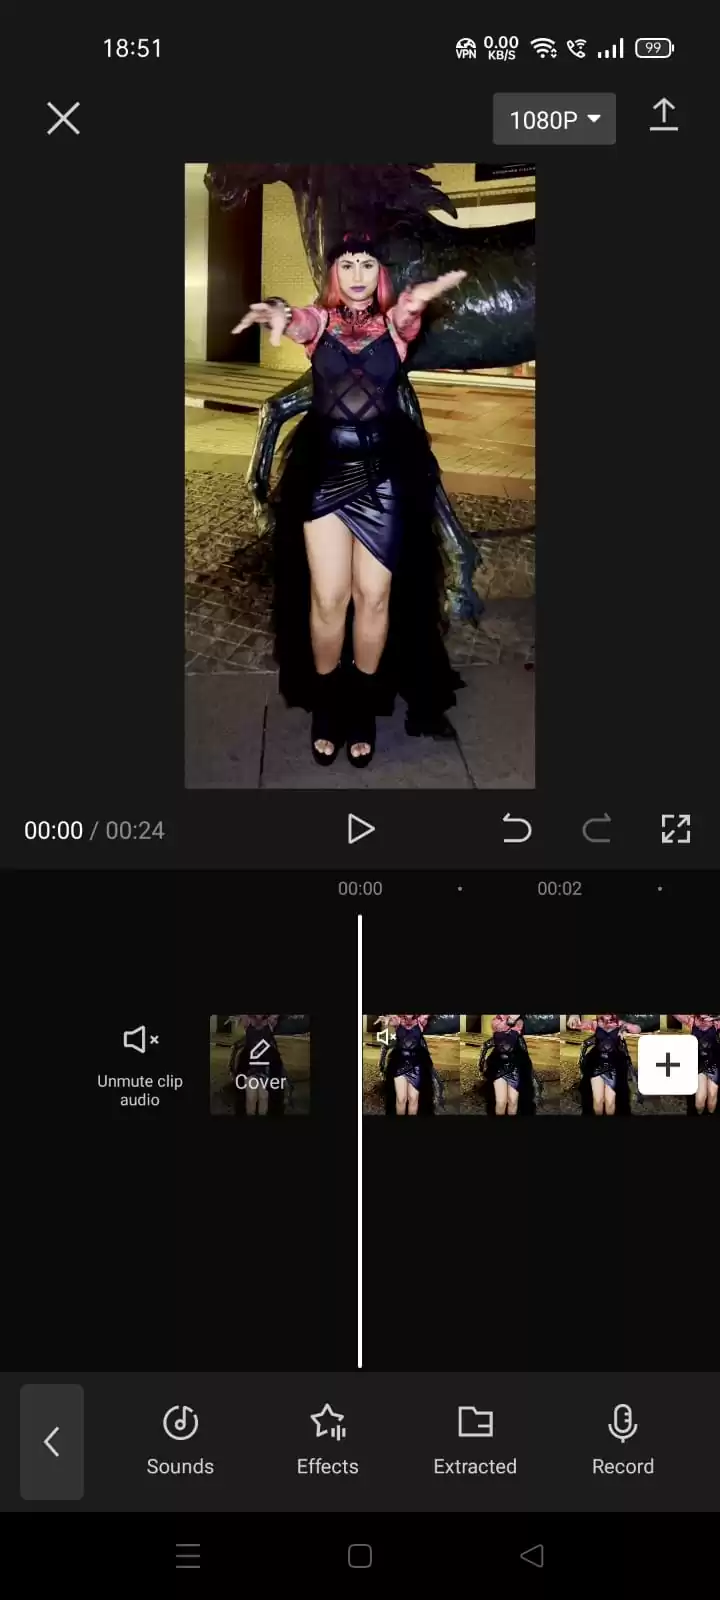
Add audio and click on that.
Then click on match cut

Click on Auto generate, this will automatically cut the beats of the song.
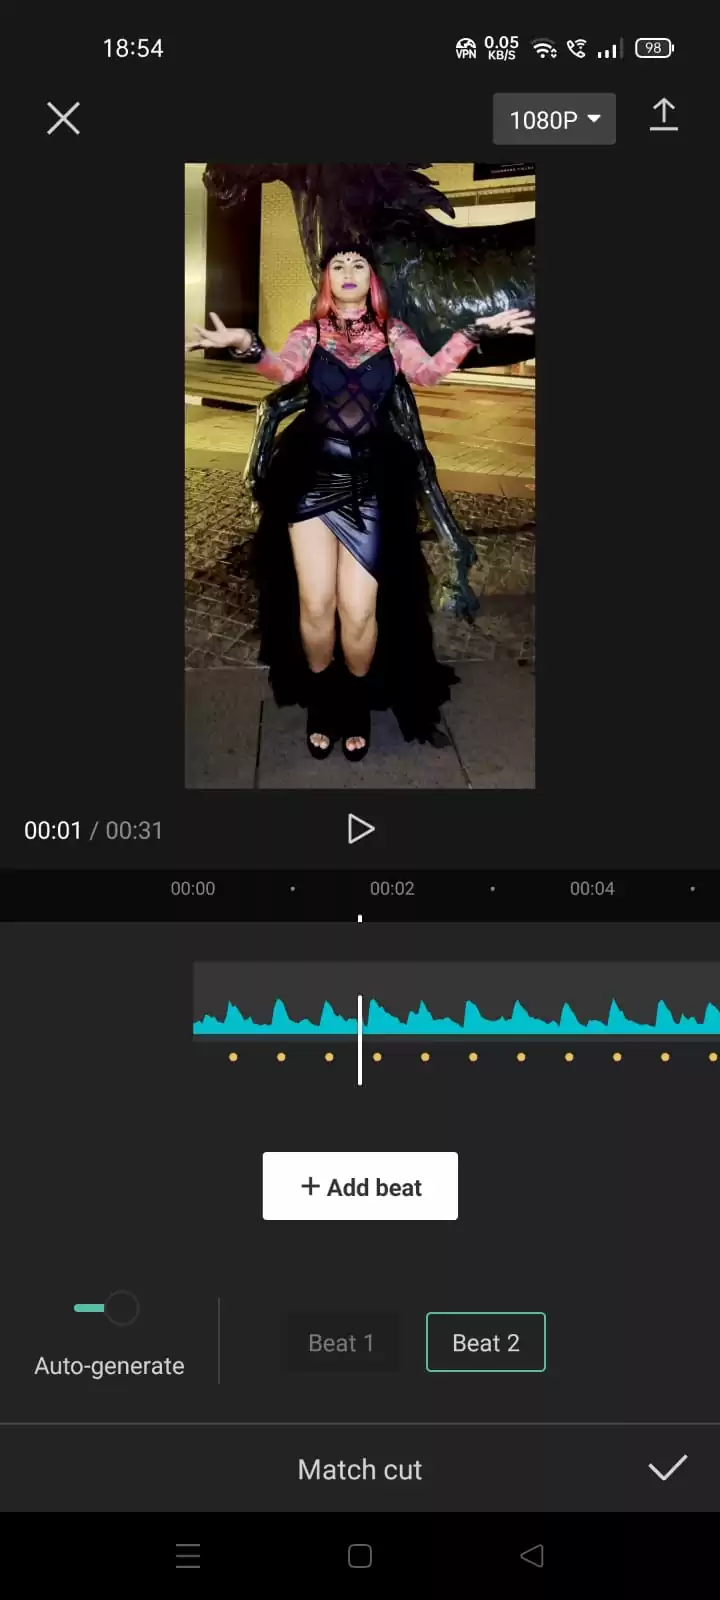
Each yellow is a beat, and that will help in creating velocity.
Zoom in on the timelines,
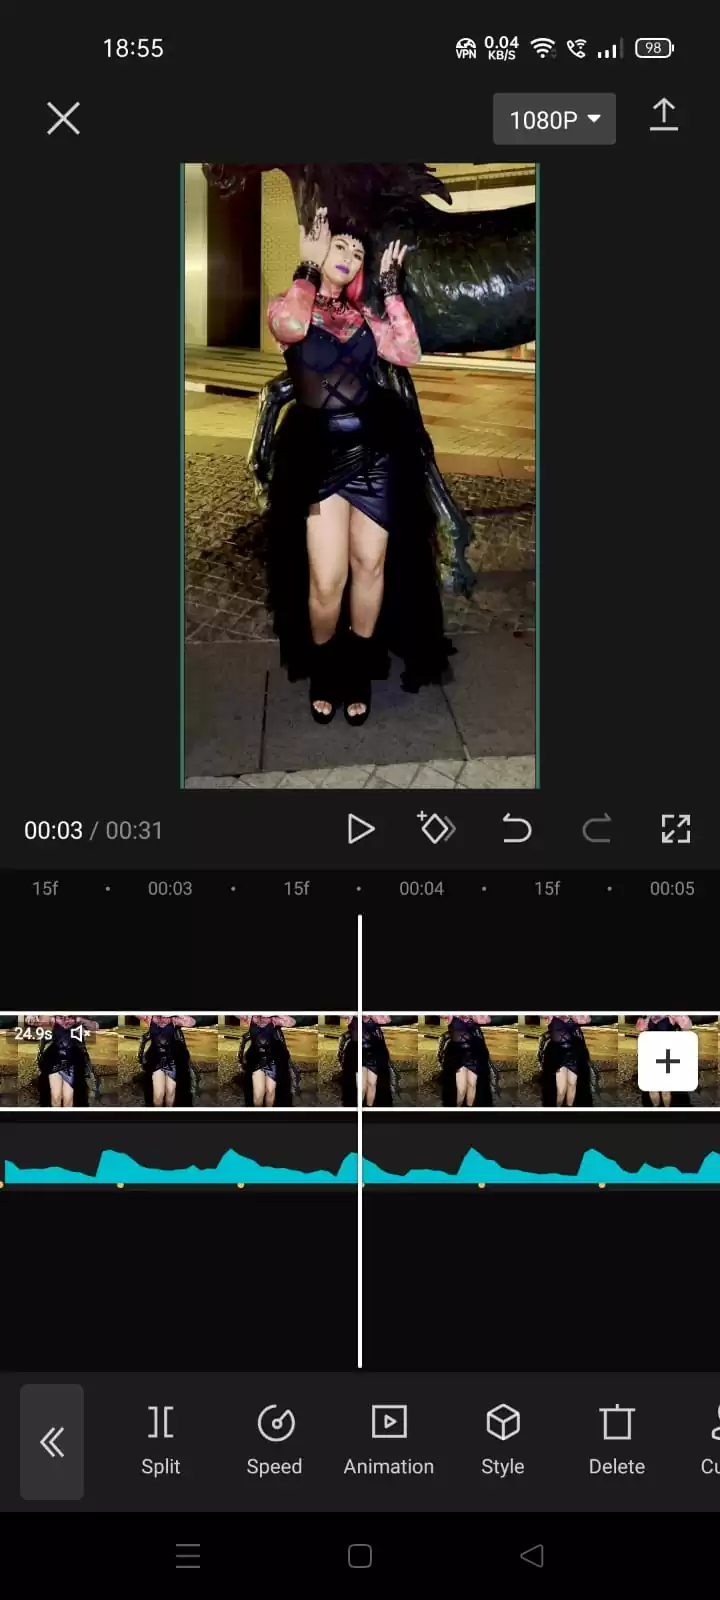
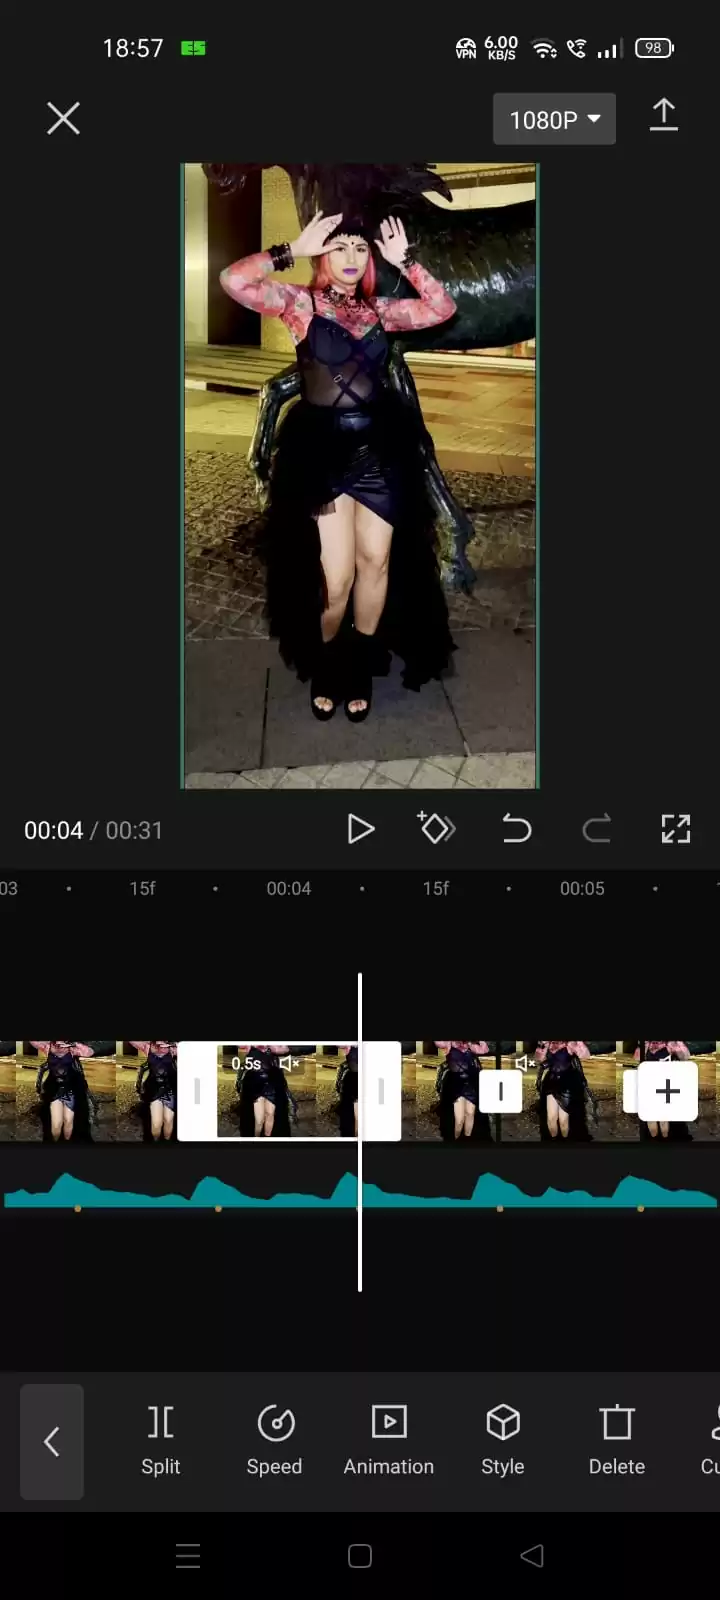
Just split the clips above where the yellow dots are showing

After splitting all the clips. It’s time to change the speed.
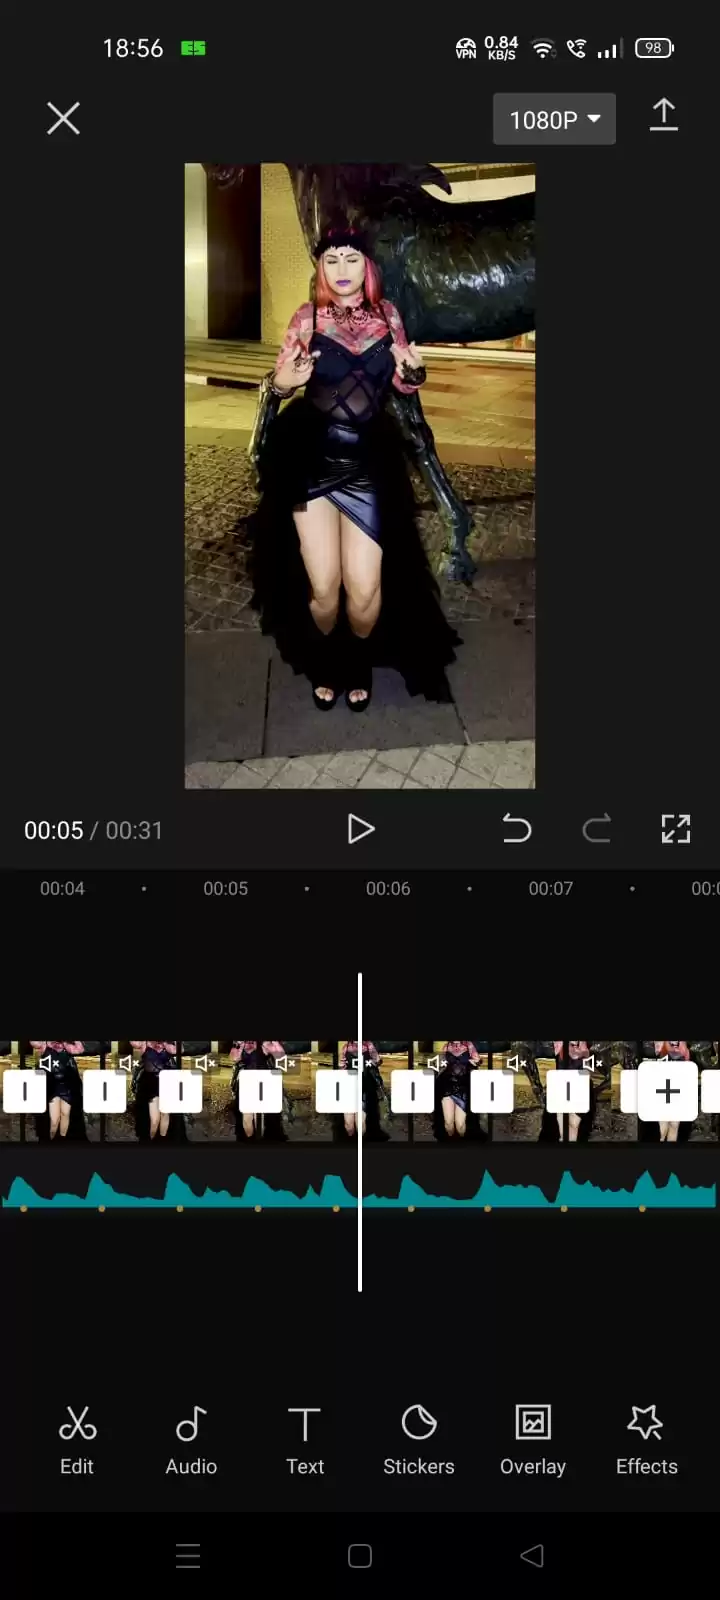
Step 2: Changing the speed.

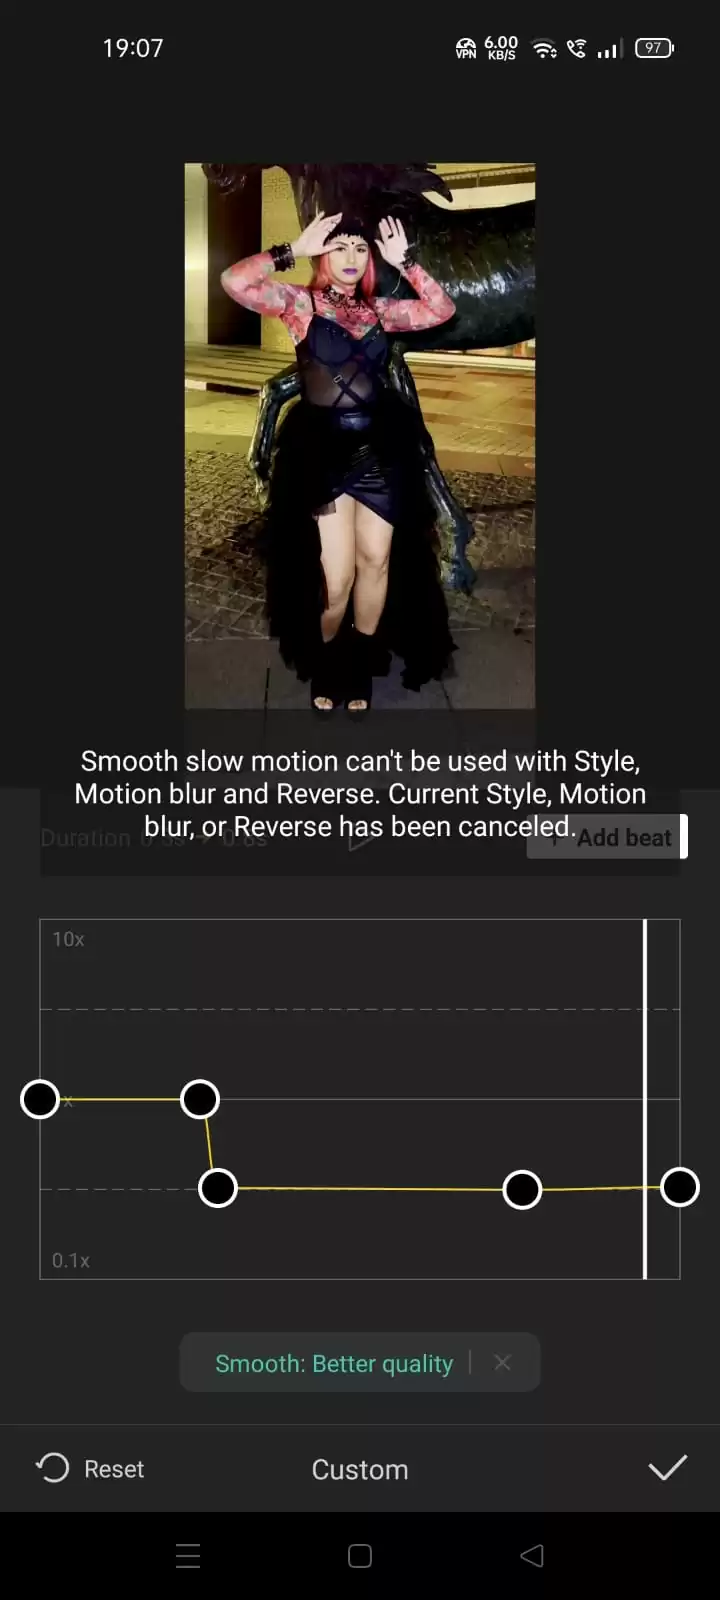
For every clip, we will go to speed, curve then custom.
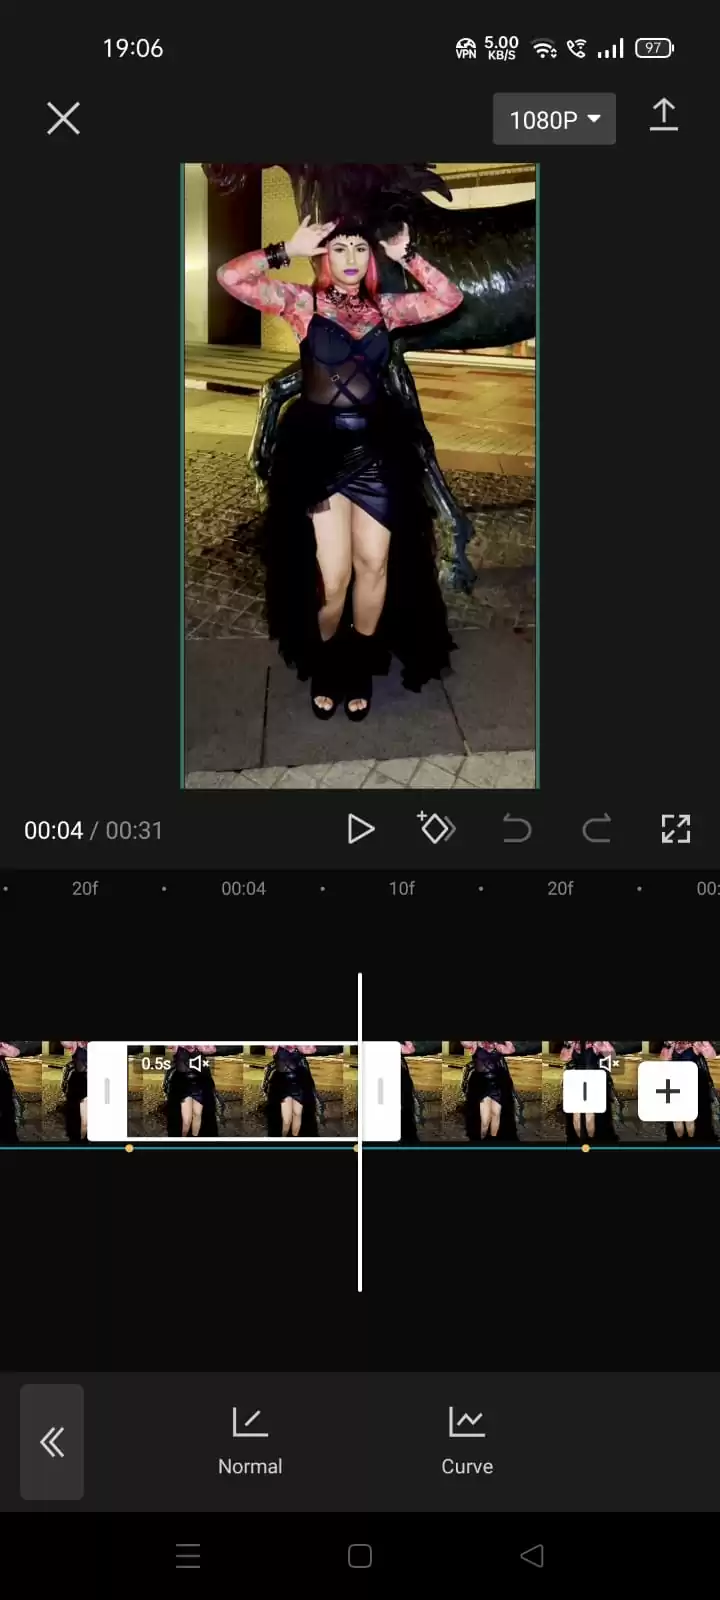

Tap on custom.
Take the 3rd dot below to the second dot and place the 4th and 5th dots to the bottom. For smooth slow motion, click on smooth for better quality.
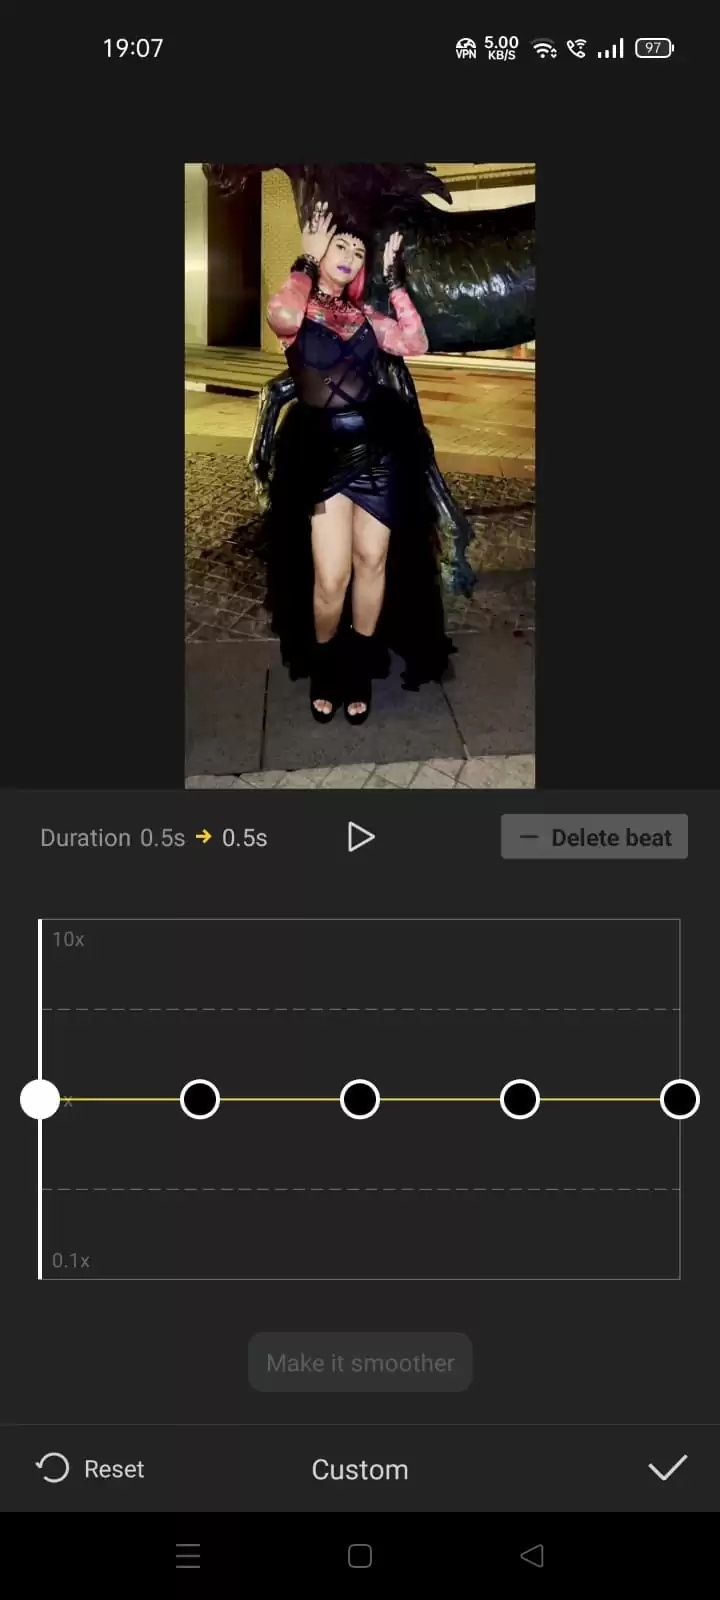
After doing this the split got longer.
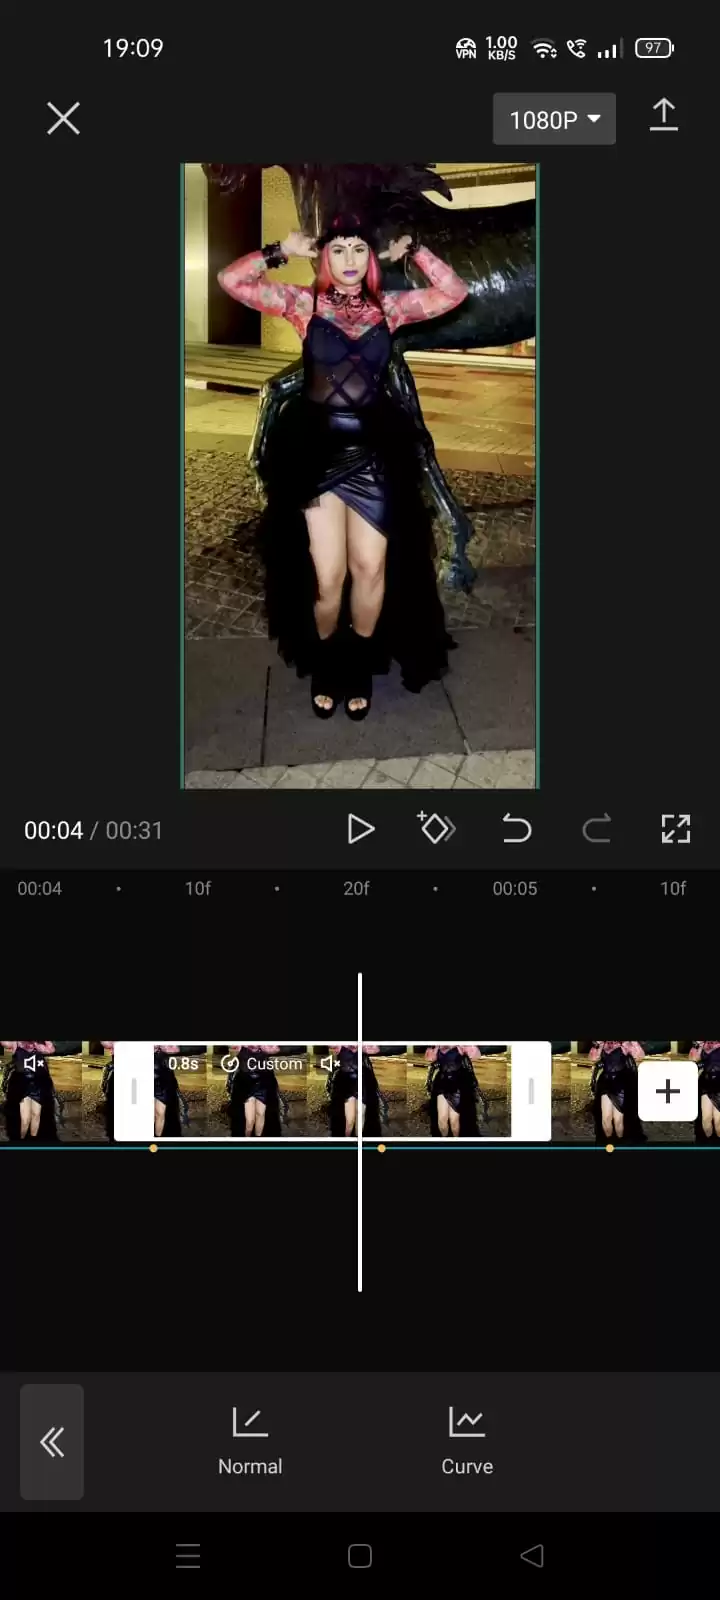
So we’ll trim it back to the yellow dot.
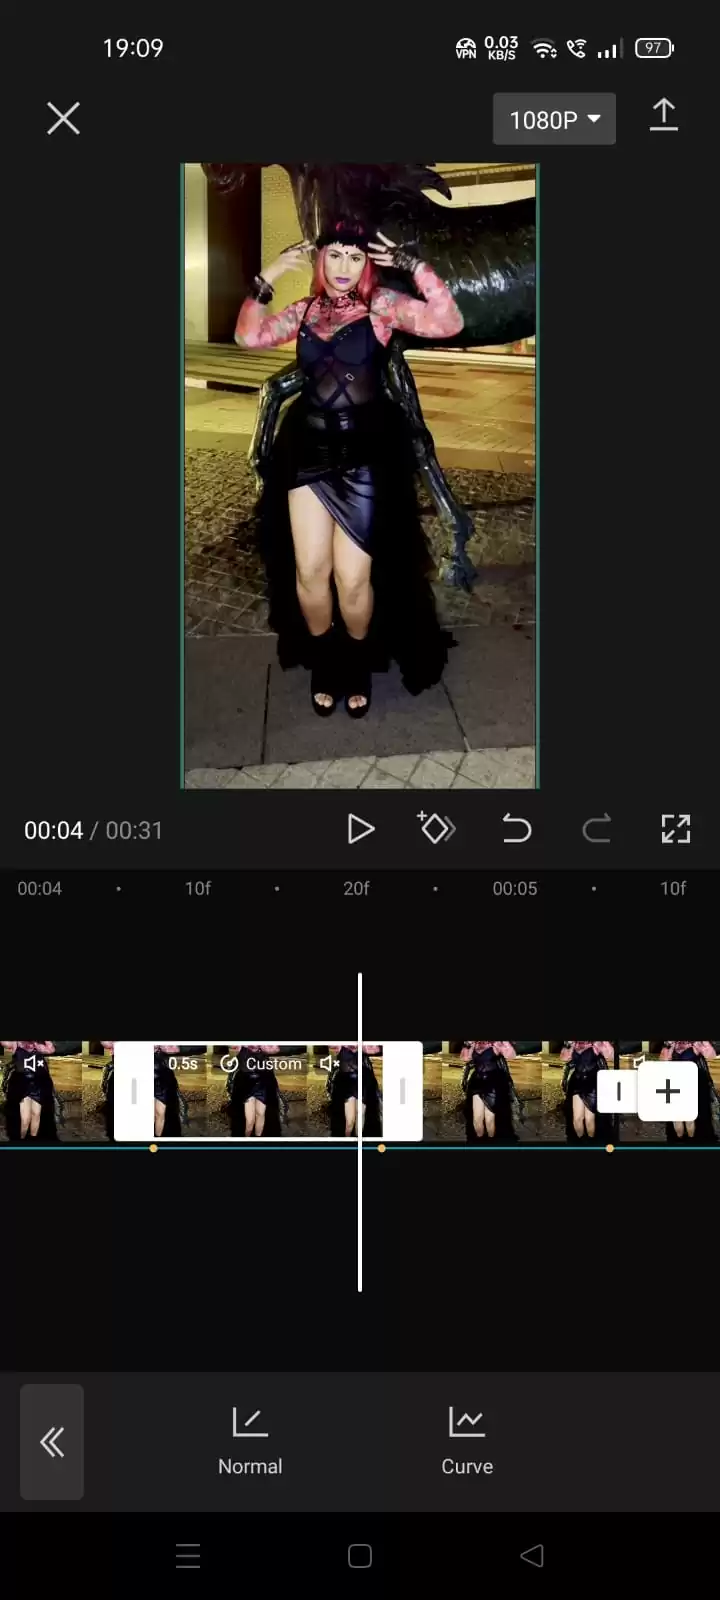
And repeat this process for all the clips (Speed, curve then custom. And after the split gets long we’ll trim it back).
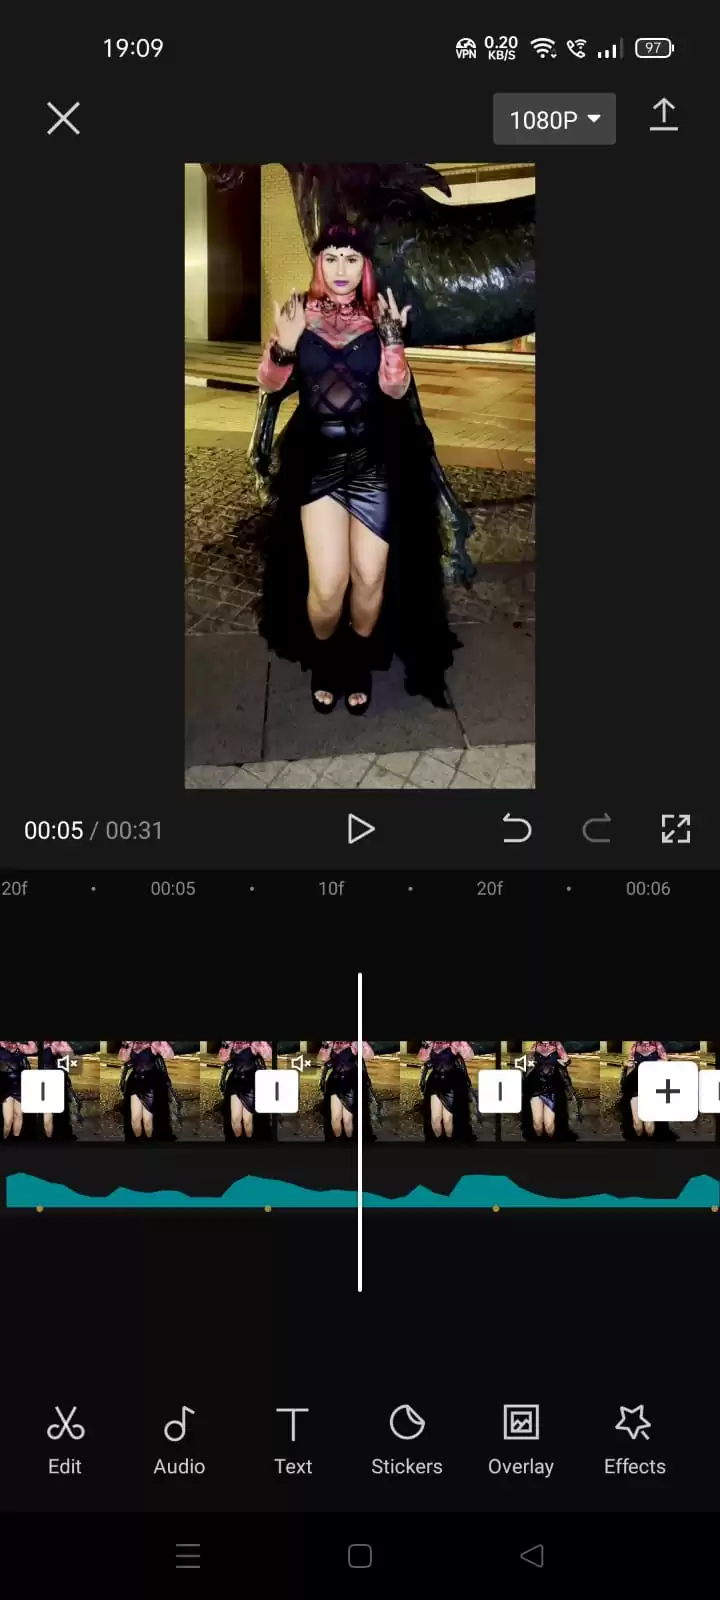
Step 3: So finally, it’s time to add velocity in your video edits.
Select the clip then go to Style then find auto velocity, and click on that.
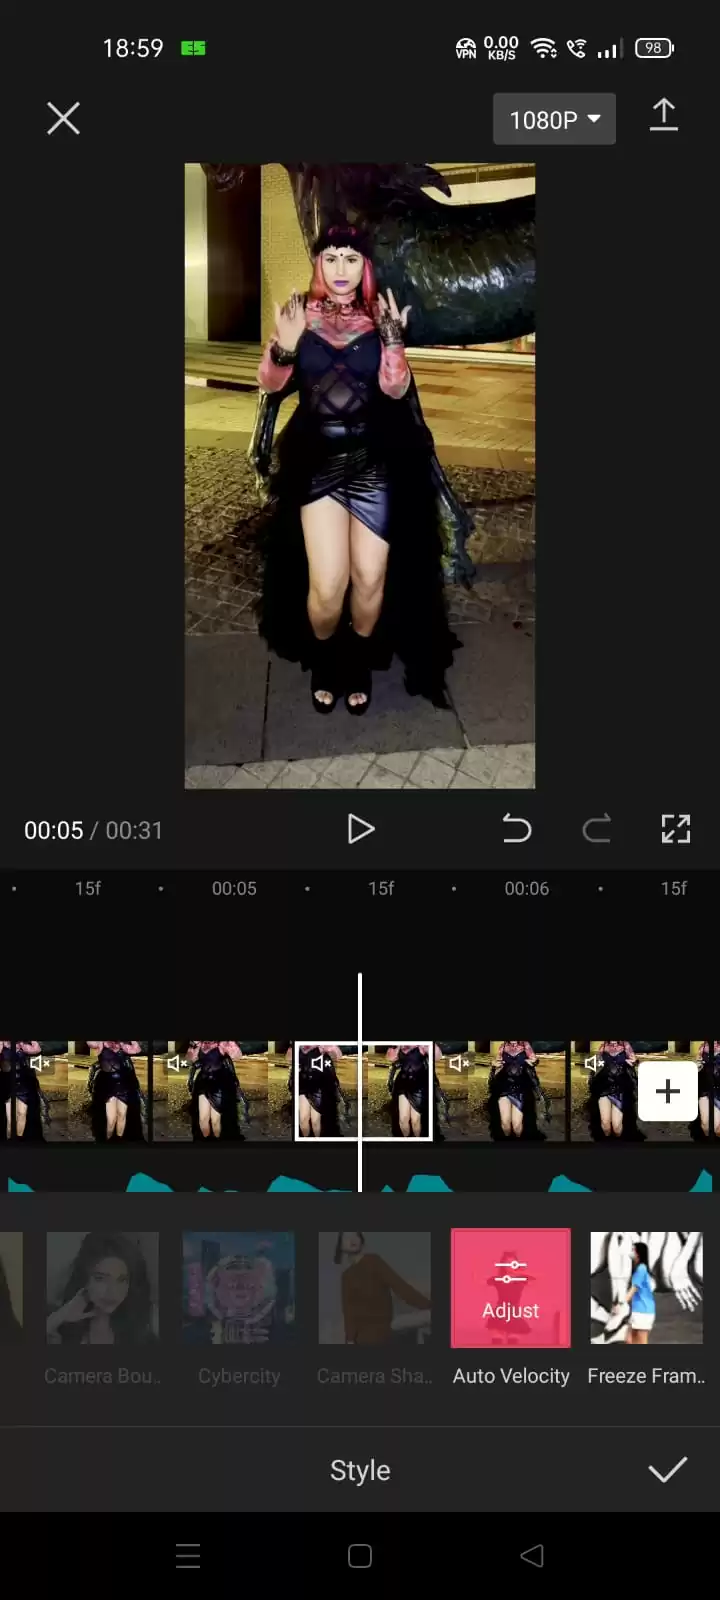
Generating will start.

Repeat this process for all the clips. Select each clip and click on Auto Velocity Style.
Play your edits, you will be happy to see the result.
You can also use effects for better editing.
Finally, click on the arrow icon at the top right. Save it to the gallery.
How To Do Velocity Edit on CapCut Using Flash
One of the best ways to smooth footage is by applying white flash effects to your video clip while performing a velocity edit. Most people choose to add white flash using CapCut’s overlay option. However, It takes a lot of time. Using the transition feature is a simple method, follow me as I show you how to do it. After velocity editing is complete, follow the instructions below.
Step 1
The area where you wish to create a flash effect should be where you position the playhead. Then, Press Edit > Split.
Step 2
The next step is to go to the transition menu.
A transition icon will show up between the two video clips when the video has been split. To open the menu, tap the transition button.
Step 3
Now you need to go to the basic transition section. The screen’s transition effects can be moved to the left. Next, select White Flash, then tap the checkbox.
Step 4
Now you need to export the movie. To do this, go to the top-right corner of the screen and tap the save button.
Velocity Edit: What is It?
Velocity Edit is a well-known editing feature on CapCut. Velocity editing is an editing that speeds up and slows down particular moments and scenes of the videos to present a more interactive aspect.
Using the CapCut video editing tool, velocity editing is simple to do. If you’ve used CapCut before to edit slow-mo videos, you can pick up the velocity editing technique quickly.
How to Make Your Velocity Editing Rhyme With Music
The great moments of velocity editing will be so much better when they flow with the music. I mean, everything is way better with music.
Follow the steps below to learn how to make your velocity edit flow with background music.
Step 1
You can use CapCut’s Match Cut option from the program’s main workspace to have beats for your videos created automatically so that they rhyme with the background music.
Step 2
For the second step, select Speed > Curve > Custom to view the music beat in the timeline.
Step 3
Finally, drag to change each beat’s speed. Just be careful not to change the horizontal alignment of the dots, or your beats won’t sync with the music.
How to Use Auto Velocity on Capcut
To use auto velocity on CapCut, you will need to update your app. After you have updated the app and have the song that you want to use, follow the steps below to use the auto velocity feature.
Step 1
Start by creating a new project in the CapCut application and then add the video you want to edit using the auto velocity feature.
Step 2
Proceed to add the song that you downloaded.
Step 3
Then, cut the video into 9 seconds. This is according to the length of the video.
Step 4
Next, open the Edit menu or tap the video layer on the timeline.
Step 5
Then find and open the styles menu.
Step 6
Now you need to select and tap the auto velocity feature.
Step 7
Wait for the process of creating the auto velocity. This will take a few minutes.
Step 8
Play your video to see the effects. Velocity is undoubtedly one of the easiest effects to use on CapCut.
Also, check out our in-depth article on how to reverse on CapCut.