CapCut’s intuitive Auto Velocity tool allows you to quickly and easily add dynamic effects to your videos. You can add motion blur, slow motion or even speed up your footage without having to manually adjust the timing of each clip. In this guide, we’ll look at how to get the most out of Auto Velocity and create stunning visuals.
What is a Velocity Edit?
Speed adjustment is a technique that is commonly used as far as video editing is concerned. Speed change refers to speeding up or slowing down an entire video. Have you ever watched a video and realized that it has different playback speeds at certain seconds? If you have, that means you have watched a video that has velocity edits.
You see, a velocity edit is a fantastic video editing technique that is often used to alter the playback speed of a film at specific points in the recording. This means that you can speed up and slow down a movie at the same time with velocity editing. Let us break this down using a practical example. If you have a 30-second video, you can slow down the final 20 seconds while speeding up the first ten seconds.
CapCut is undoubtedly one of the best apps to use when it comes to velocity editing. CapCut can be used on Android and iOS devices, and it is one of the most popular apps for TikTok video editors. In terms of speed adjustment for CapCut, there are two options available. The first option is Normal, while the other is Curve. An entire video can be sped up or slowed down using the Normal option. On the other hand, you can alter the velocity and simultaneously change the speeds of various areas of a video using the Curve option. Additionally, CapCut enables you to adjust the velocity edit in diverse ways. If you are not a fan of Auto Velocity and like going about it the old way, we have an article on how to do velocity on Capcut.
How to get Auto Velocity on Capcut
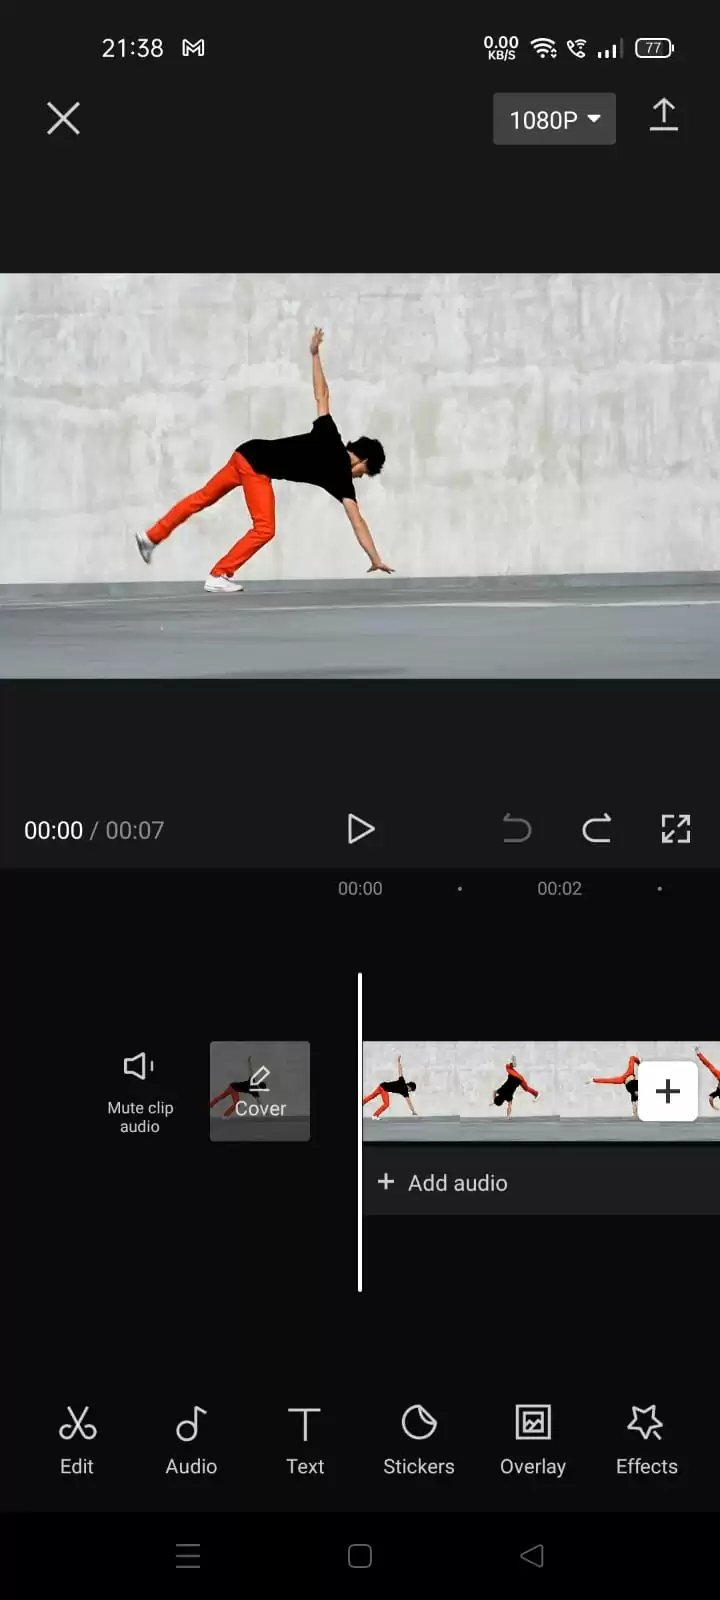
Open Capcut Application. Click on New Project. Select your Video and click on Tick.
Now your Video is imported. If you want to add audio click on add audio.
Play your video. Stop your playhead on a video clip from where you want to do the velocity. Then do the Split.
Your one video becomes two after splitting.
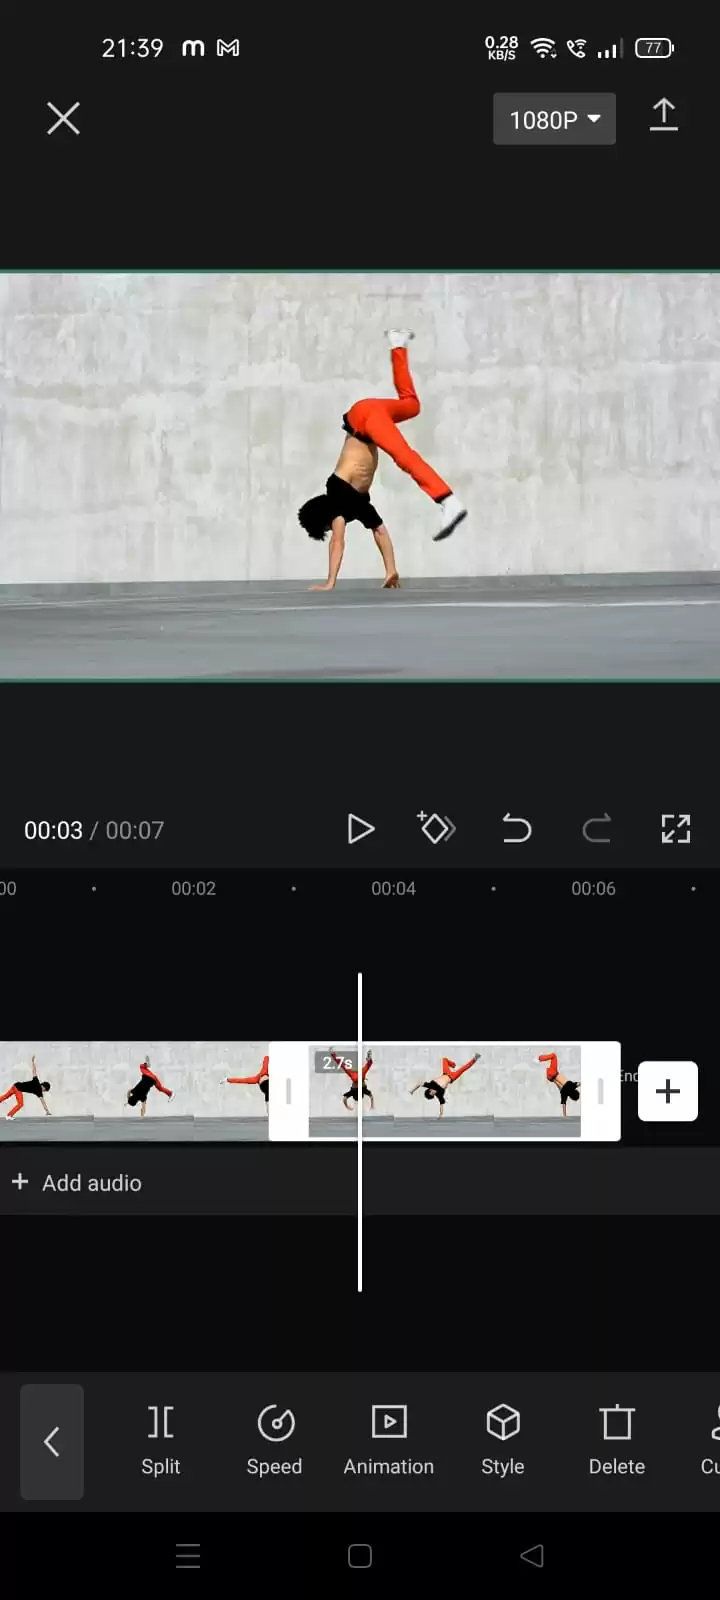
Then click on Style. Search Auto Velocity and click on that. Then tap on the tick.
You can play the video and see the auto-velocity effect.
Save the Video.
How To Fix CapCut Auto Velocity Not Showing
Are you not seeing Auto Velocity in your CapCut? Then it means that you probably haven’t updated your CapCut app in a while. Secondly, if Auto Velocity isn’t showing, you may have a bug or glitch problem. To fix the problem of Auto Velocity not showing, endeavor to update your app. Updating your app will take just a few minutes and a little data.
Adding and Deleting a Beat During Velocity Edit
When you are working with velocity, five beats are available for you to use. You can also add some more flexibility if you desire. Tap on the yellow time stream and select the portion you want to add a beat to, and tap on the Add beat button at the top right. You can manipulate the beat as much as you want when you are done. Tap on the tick button at the bottom right to save the edit.
If you want to delete a Beat, tap the curve and open the custom option, and you will see the number of beats you currently have in your video. Next, tap on the beat you want to delete and hit the delete beat button to get rid of the beat.
You may also like to read our information packed guide on How to use the green screen on CapCut.