Reversing your videos can be a great way to create a unique and creative effect. With CapCut, you can quickly and easily reverse your video, creating an interesting effect that adds dynamic movement. In this guide, we explore how to use the reverse feature in Capcut and get creative with your projects. Let’s get started!
How to reverse on Capcut
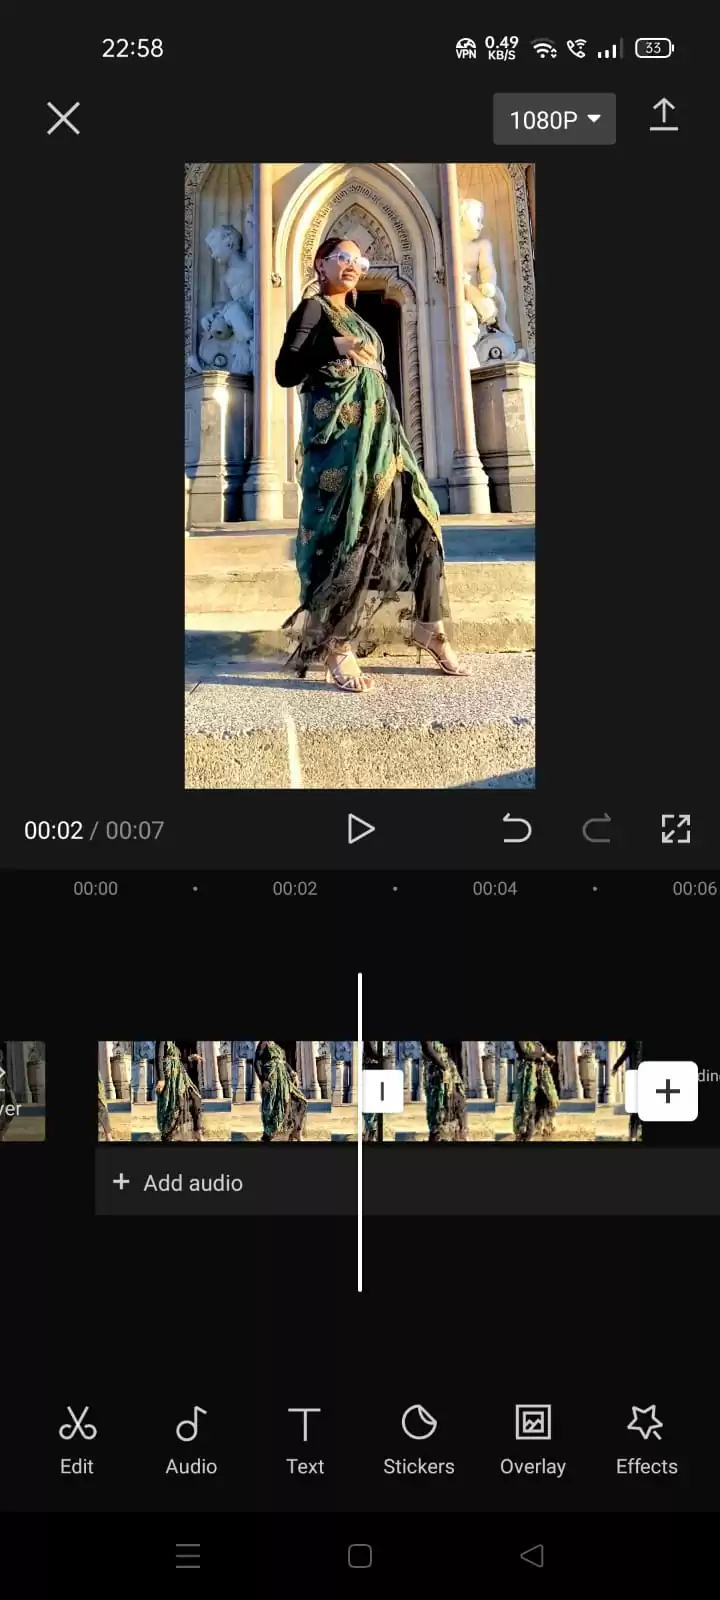
Import your clip.
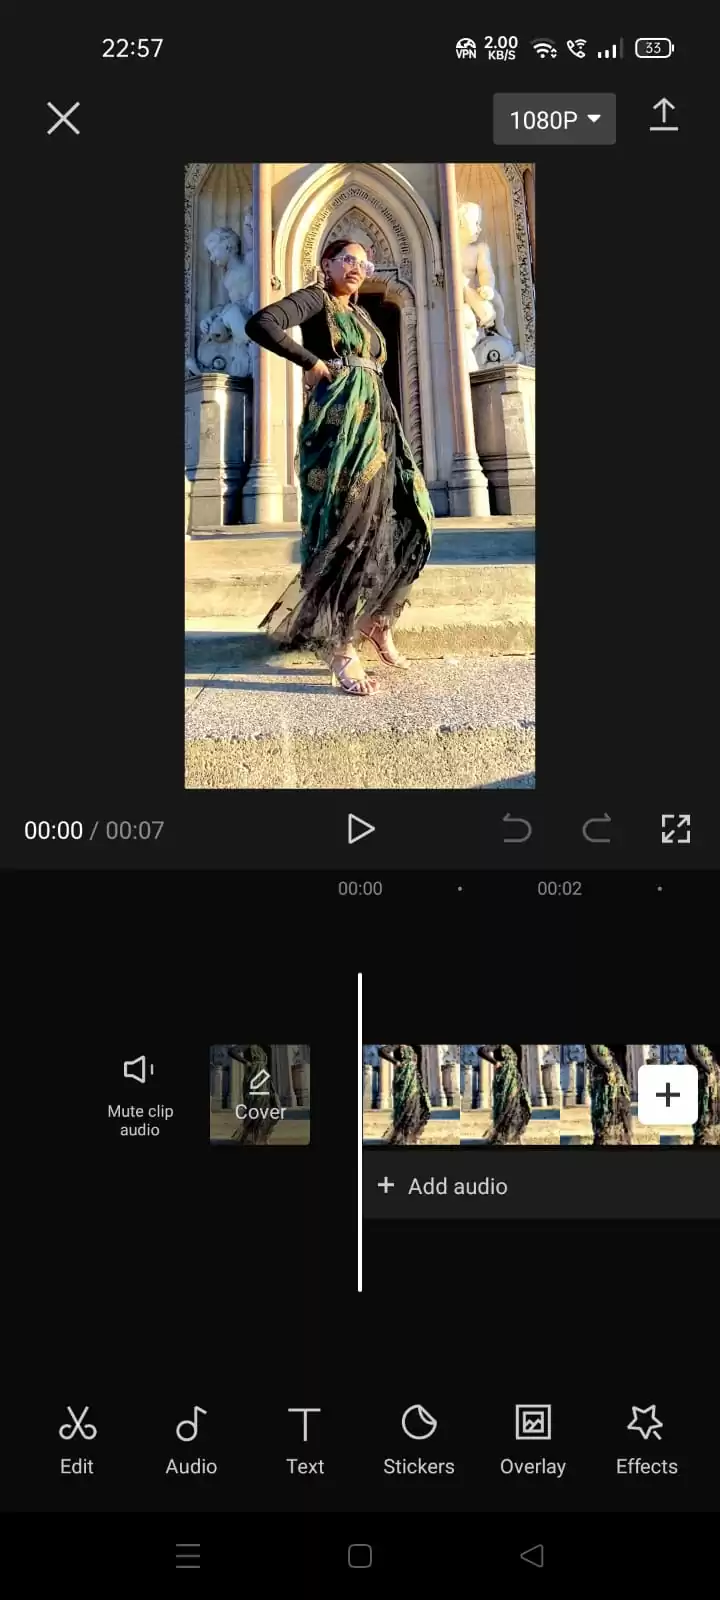
Then look for where in the clip you will do the reverse.
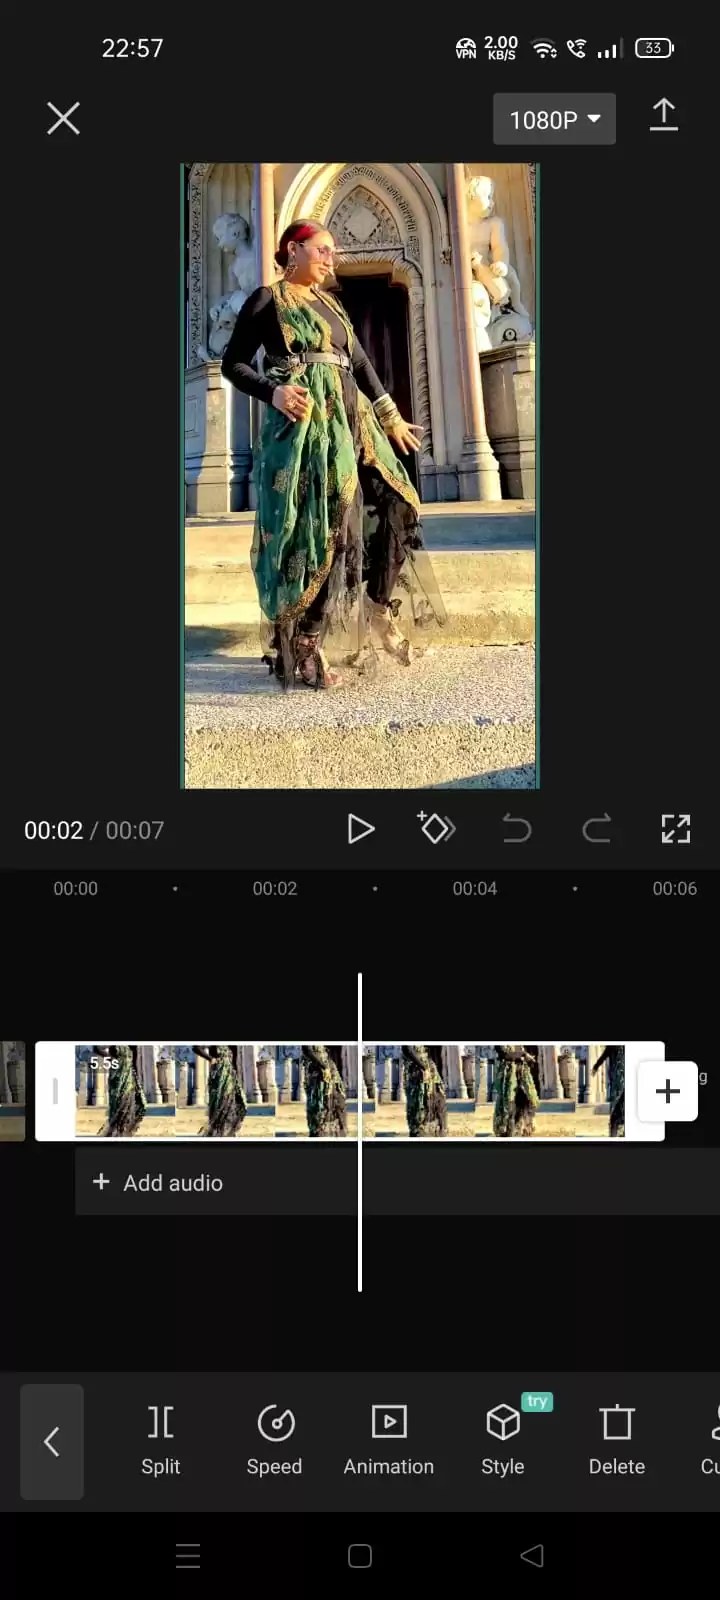
Split that section. If you want you can delete the rest after the split.
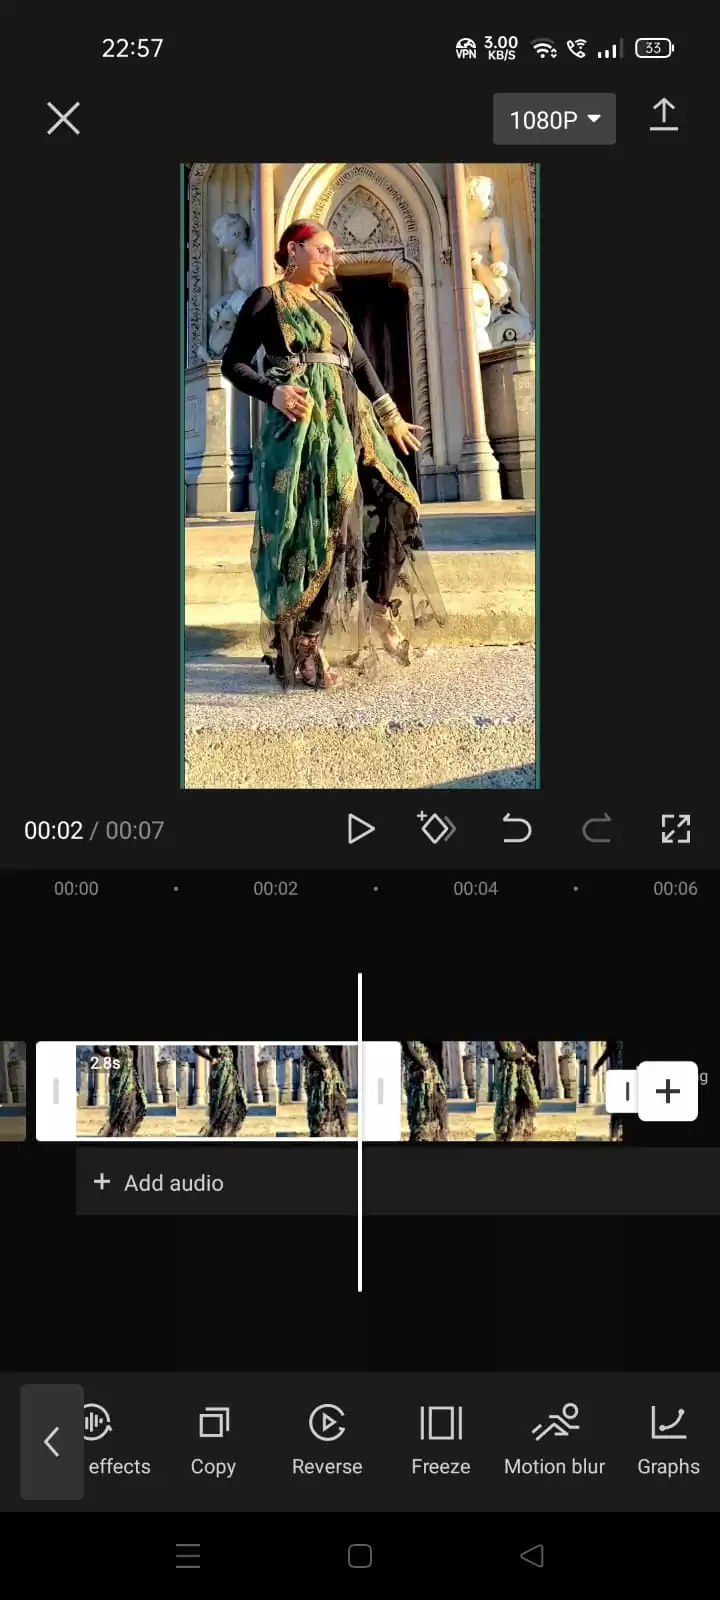
Now copy the clip you want to reverse. Now with the copied clip,
Press reverse and wait.
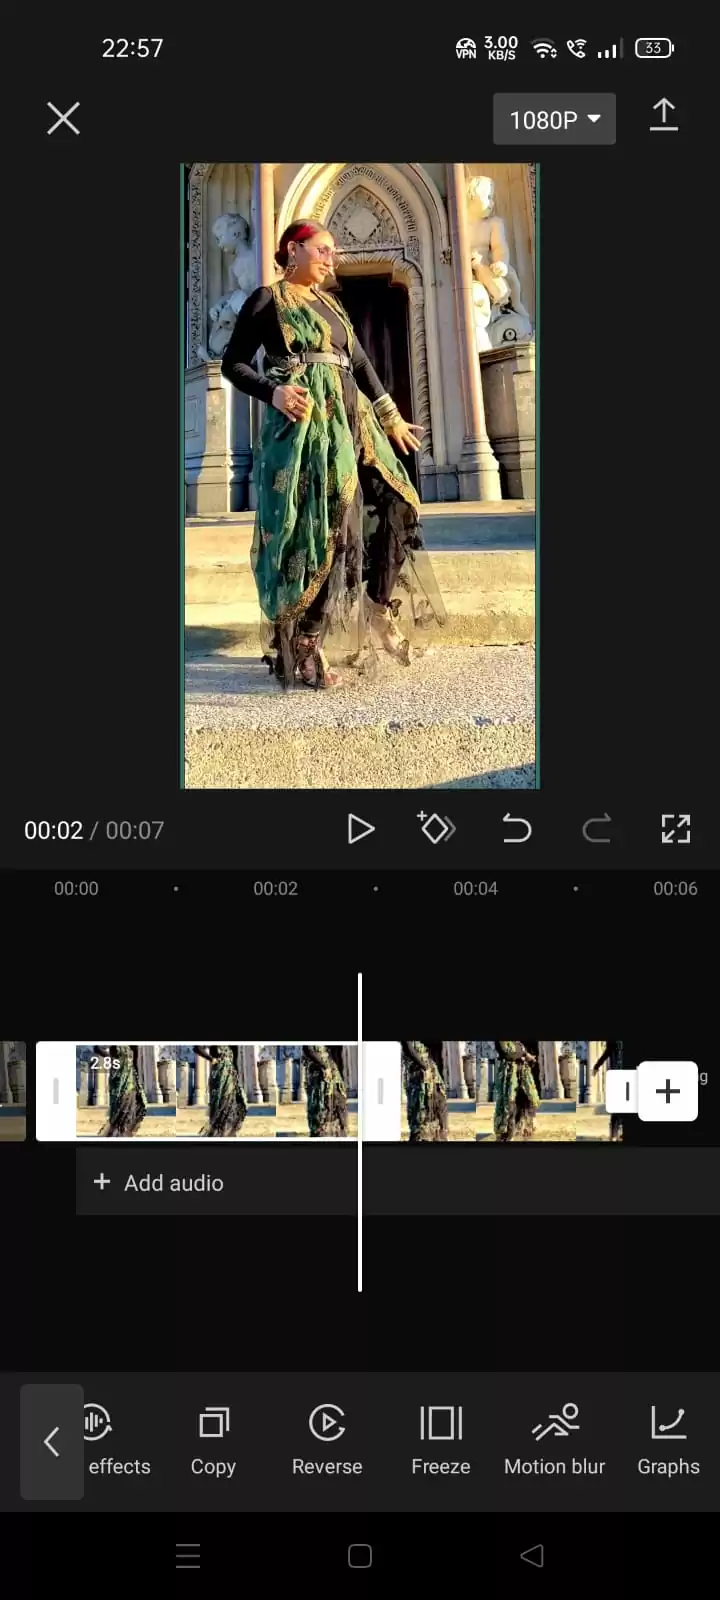

Now the reverse of the clip is done.
Reverse On Capcut: Can it Be Canceled?
Reverse can be canceled on Capcut. To cancel reverse, you will need to tap reverse again. The video will return to its original state after hitting Reverse. When you want to test something out without permanently changing your movies, reverse is quite helpful. CapCut will reverse your movie when you hit the Reverse button without requiring you to save the adjustments. However, you can stop the reversion by pressing the Reverse button once more. You can continue editing the video after you return to the original. I know the “tapping reverse” sounds like a lot of work but relax and try it, you’ll get the hang of it. If you are not sure how to do the reverse technique, read our article on how to use CapCut to get the hang of it.
Can The Audio of a Video Be Reversed in CapCut
In theory, you can’t reverse audio on CapCut alone because this feature is not yet available in the app. However, there is a way to go around it.
A video can be edited with audio, and the audio will also be reversed. To accomplish this, post a video without audio and then add the audio using the Add audio button. Proceed to export the complete video to your phone. Reverse the video you just exported, then upload it to a new CapCut project. The audio will also be reversed when you upload it to a new CapCut project.
Check out our in-depth article on how to use slow motion in CapCut.
Great Tips For Reversing Using CapCut
Reversing clips is a great way to give your videos the touch of a professional. When done right, reversing can take your viewer on a journey through the entire clip. However, if you are a newbie, it may be difficult for you to reverse clips on CapCut without making mistakes. That is why I will explain some tips in the next paragraph that will help you.
- Your Reversal Process Should Be Broken Down into Pieces
If you want each direction of motion to appear natural and the transitions between clip segments to be smoother when everything changes directions, start by breaking down your reversal footage into pieces that you can work with separately.
Additionally, this gives your viewers more control and flexibility over how long each inverted piece will last before switching back. This is far easier on the eyes for them to watch than a continuous, haphazard back and forth.
- The Export Selection Should Be made More Than Once
When you are dealing with imported files, it is possible to make mistakes during editing. Some of the mistakes include audio not properly lining up within seconds or even reversals going wrong where sections are cut off too abruptly.
Therefore, don’t be reluctant to export your selection more than once to prevent these types of problems from being noticed later. This is because most modern devices record at greater resolutions than they did in the past.
You will also enjoy our step-by-step guide on how to blur on CapCut.