You can create awesome videos using CapCut. CapCut is a video editing tool that can help you create lush, professional-looking videos in no time. With its range of intuitive features and controls, it’s easy to get started with CapCut. In this guide, we’ll look at the basics of using CapCut and everything you need to know to start creating great videos.
How to Use CapCut
Tap on New Project, and then select your video clip. You can select and add multiple clips at once if you have multiple clips.

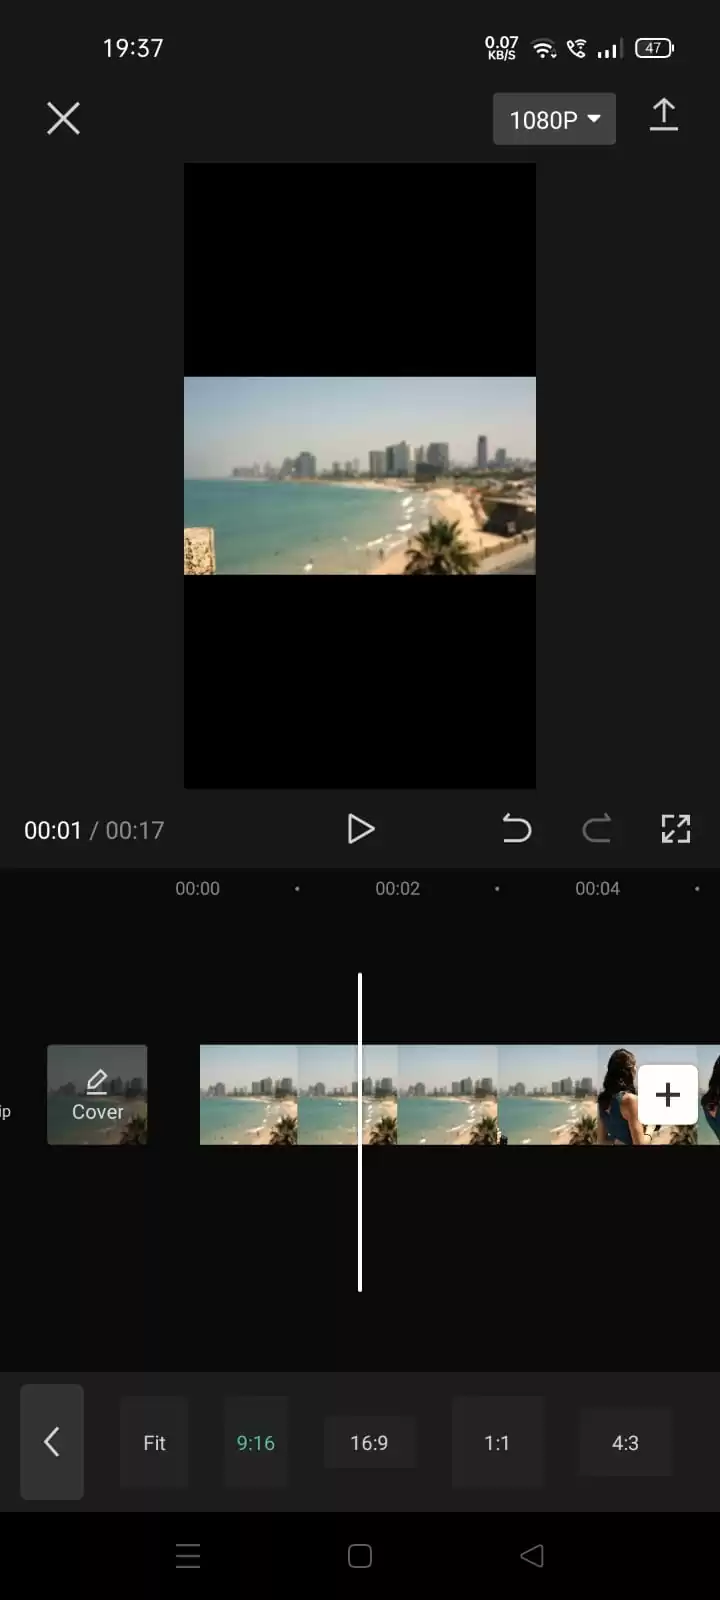
If you want to change the format size. Click on Format, and select the format you want.

You can create videos for TikTok, YouTube, Insta reels; there are lots of different format sizes available. For this video, I’m selecting 16:9.
There are undo or redo buttons over to the side, which we can press.
There is a maximize button, which will show your video in full screen.

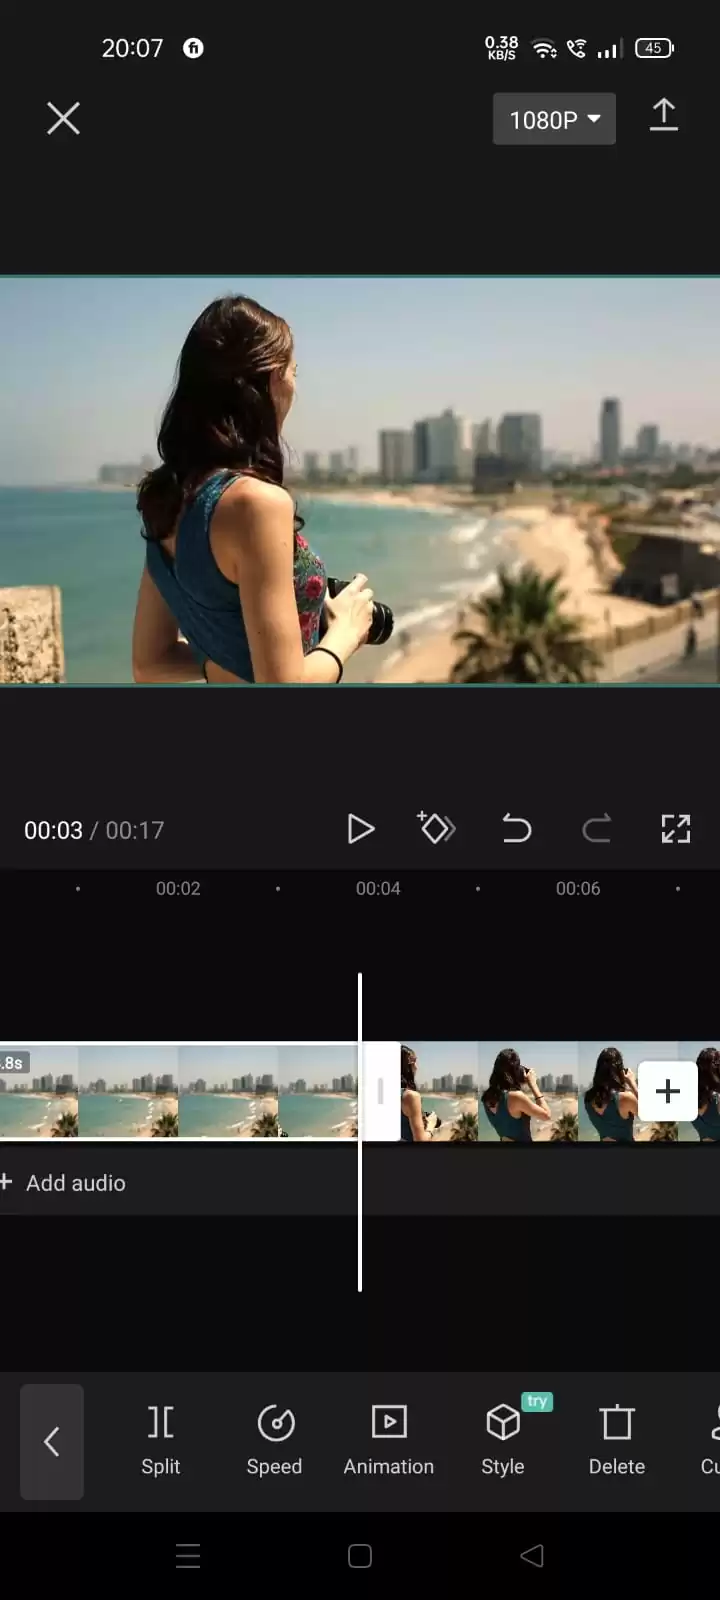
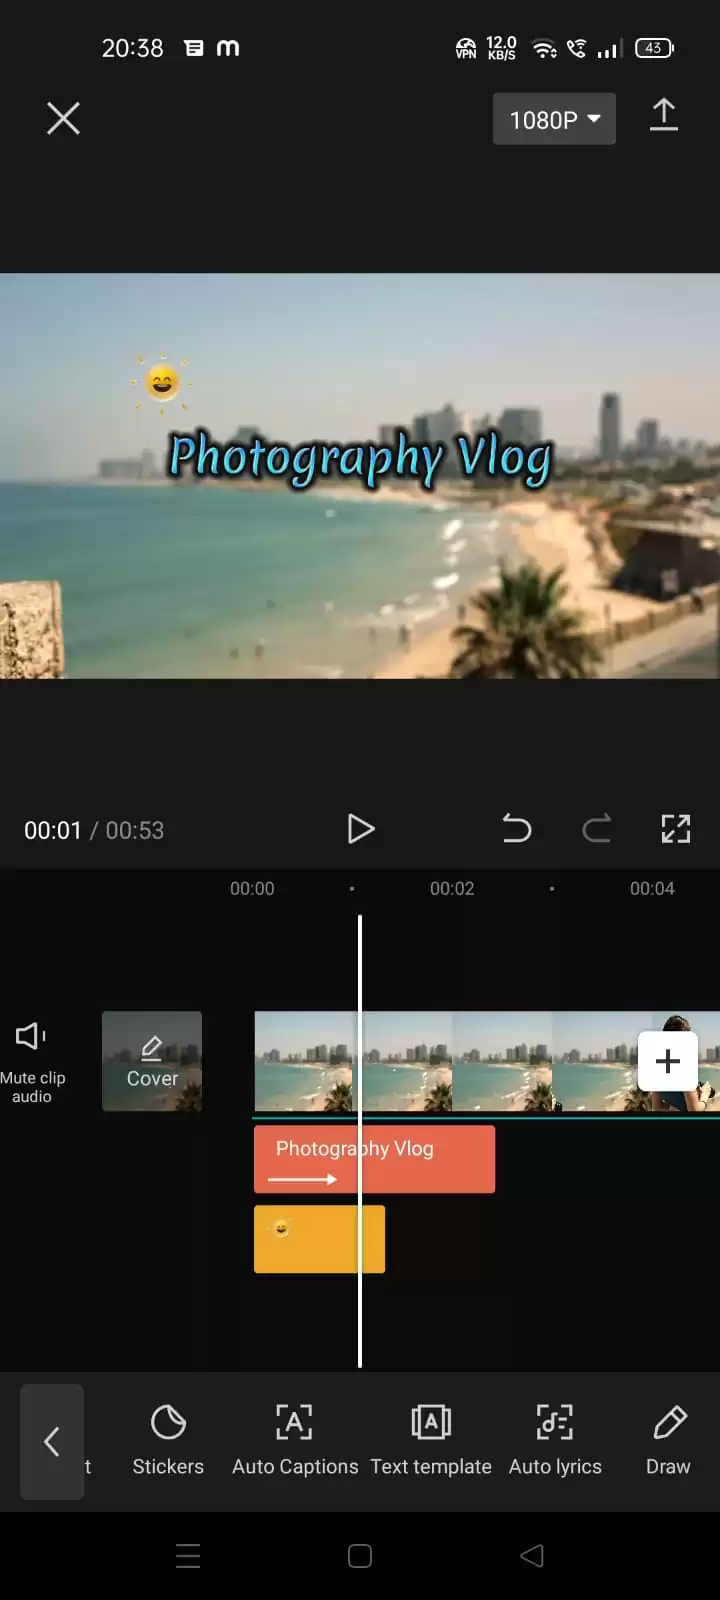
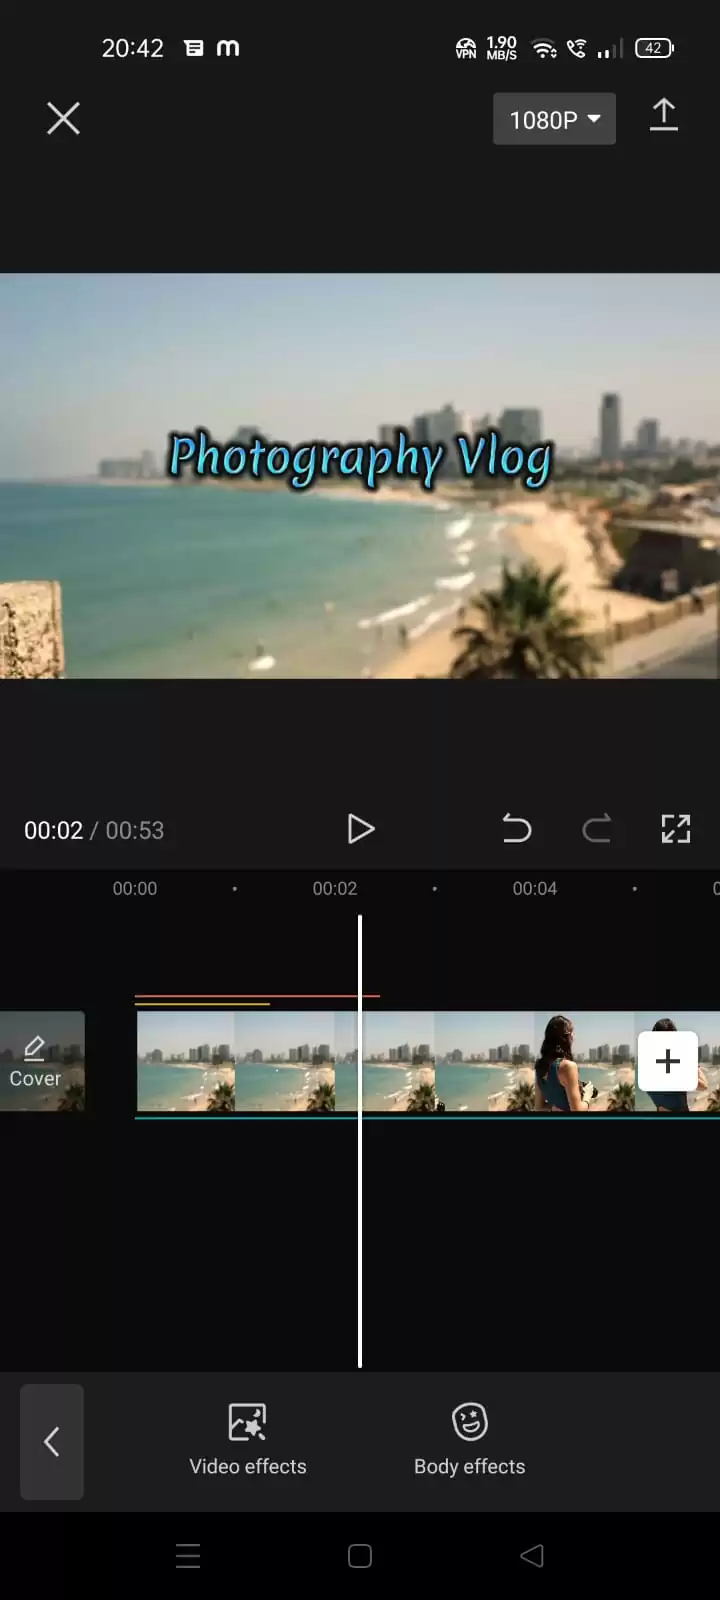
The timeline is the area of a video editing application where you arrange your video clips and map out all the edits you’d like to apply.
Sometimes, there are a few sections that we want to delete from the video clip. Then we can do the splitting, First you need to check where your playhead is. Put your playhead where you want to do the split.
Click on Edit or click on the clip and then click on split. Now we have two clips.
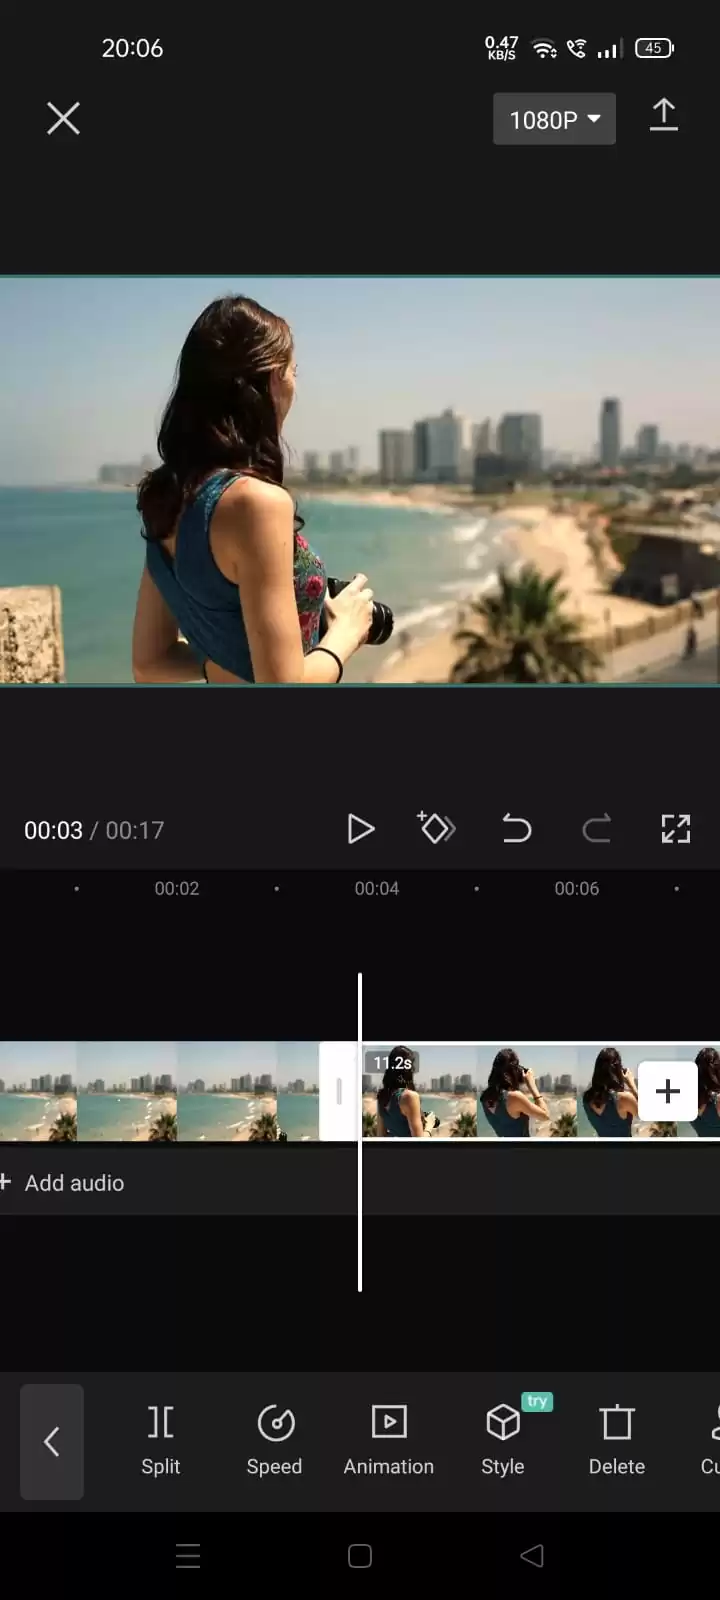
You can delete the clip by clicking on the dustbin in the element section below.
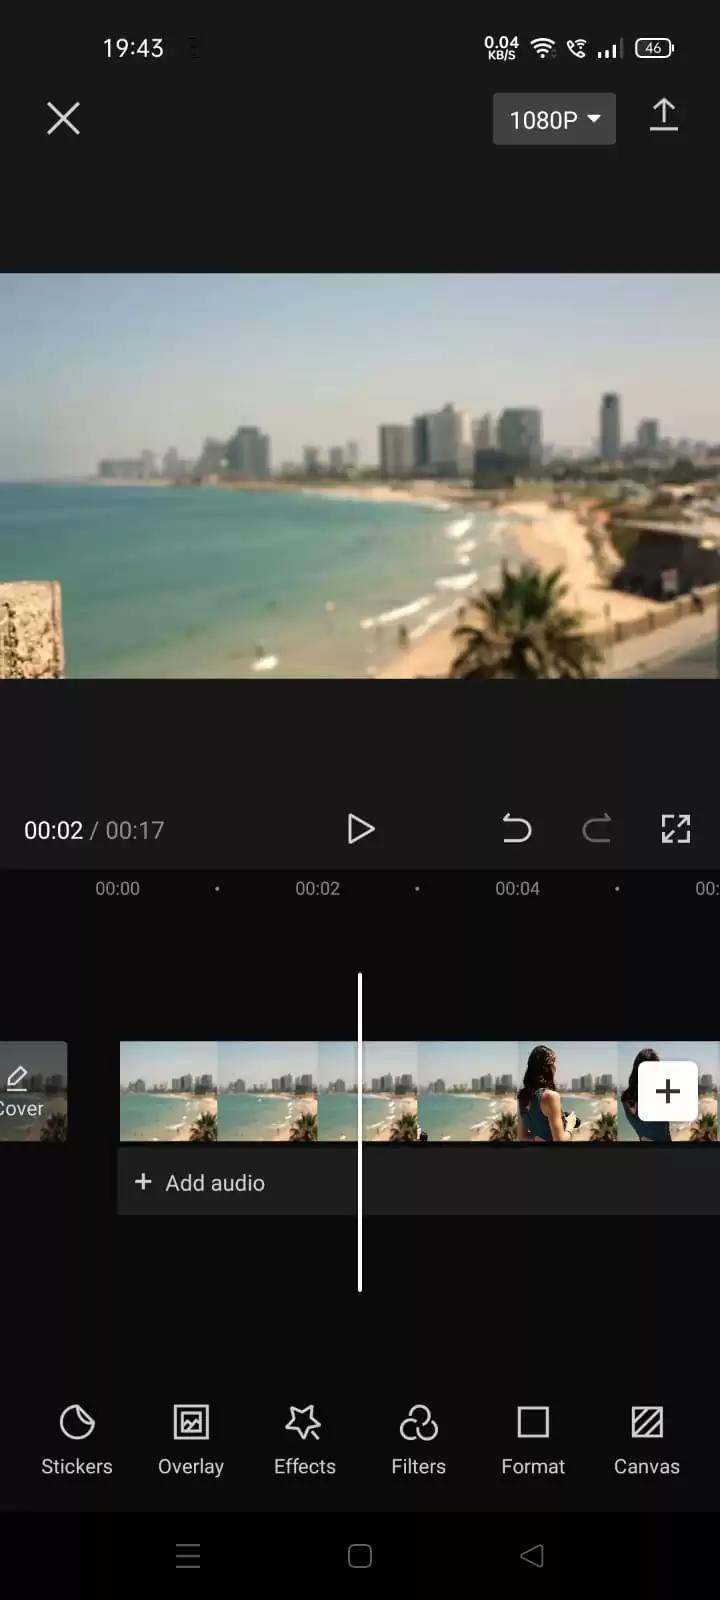
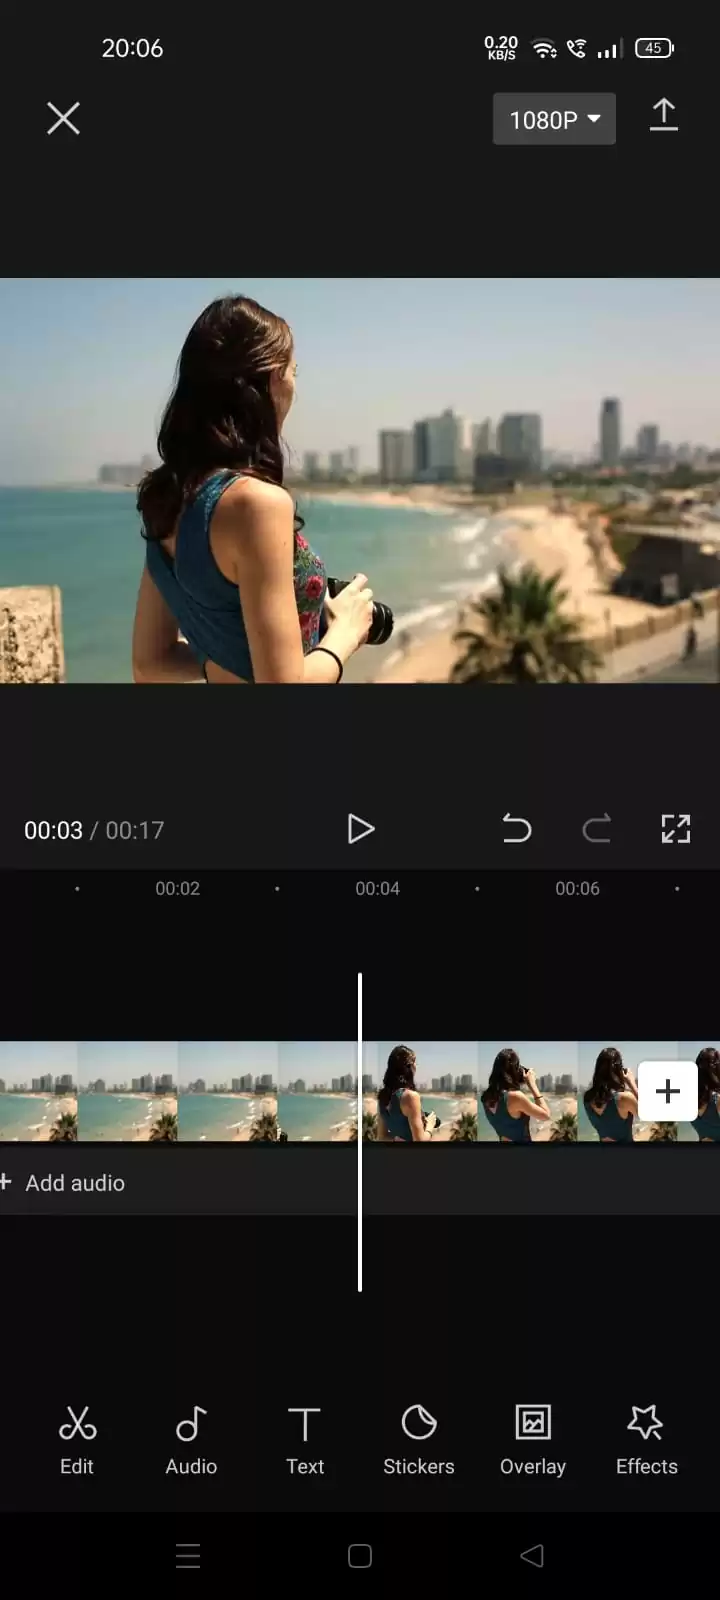
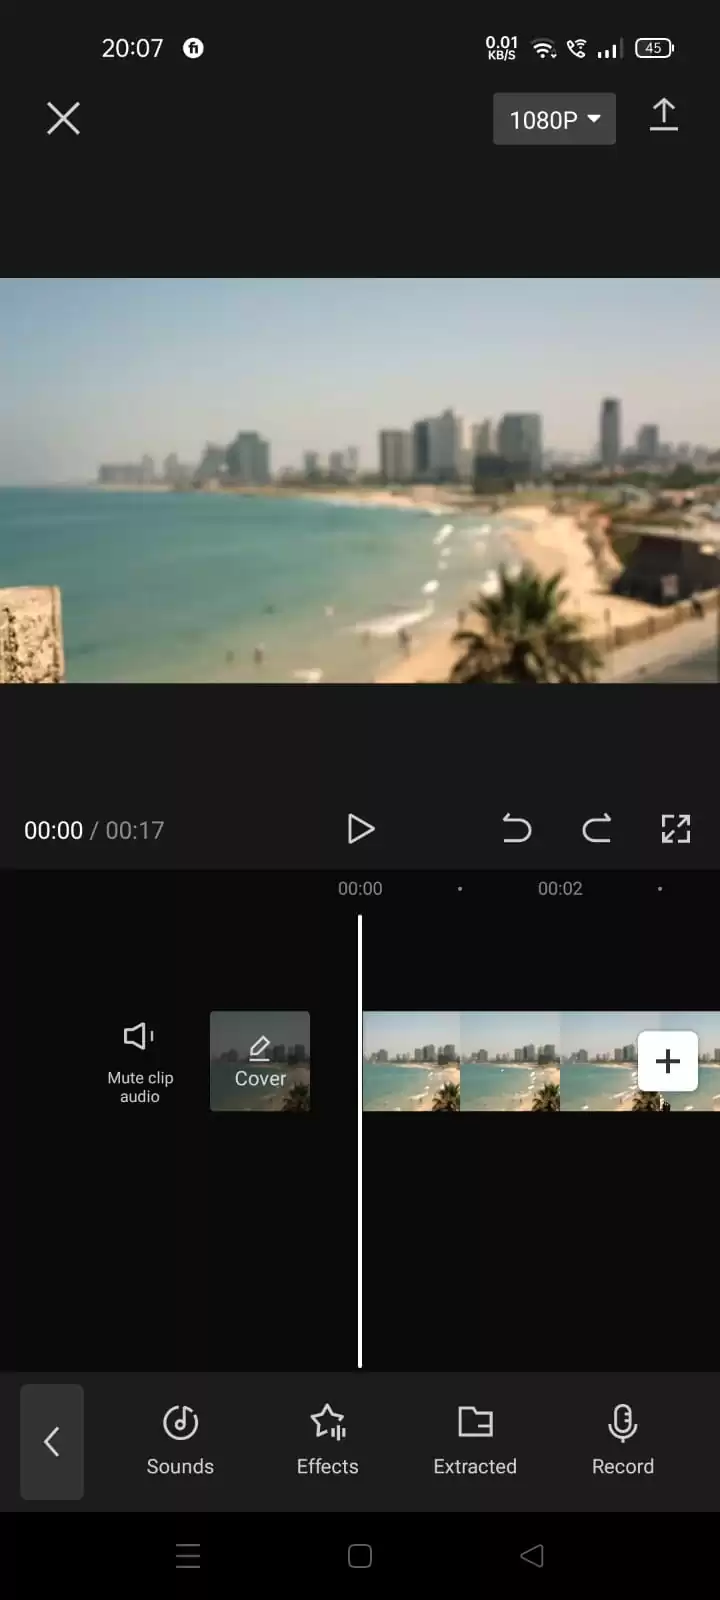
Let’s add some music. Click on Add Audio.

You’ll get the 4 options: sounds, effects, extracted, and record.
You’ll click on the sound if you want to choose a sound from Capcut itself. You can also extract the audio from the video. You can even record your own voice, same as giving voice-over. Whatever audio you select, you can always add the effects like cheering and applause, victory, taking photos, whistling, cheering for a goal, and many more.
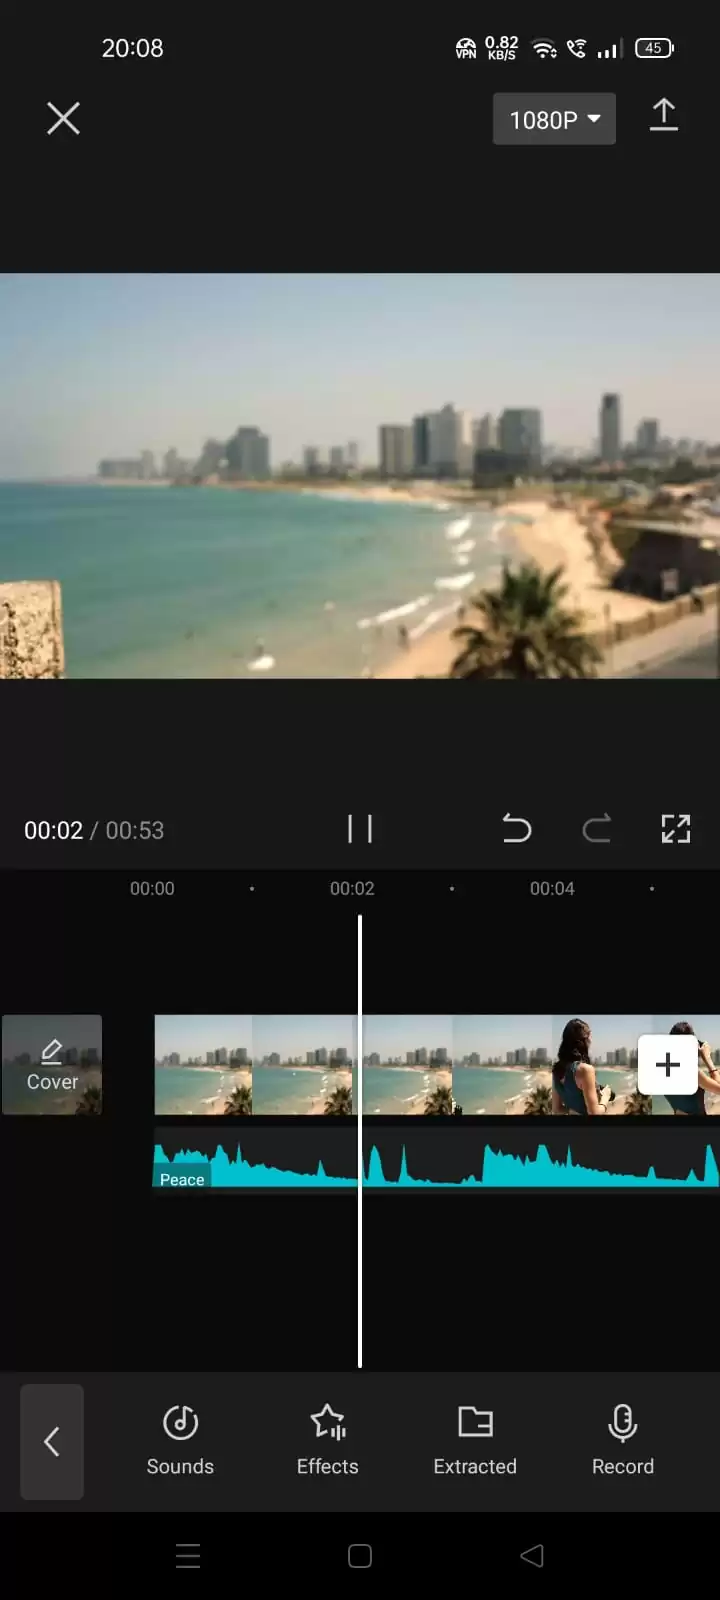
I’m taking audio from the CapCut. So I’ll click on sounds. Then we’ll get different genres of music. I’m clicking on Vlogs and selecting the sound named Peace. We’ll download and add this song.

After clicking on Plus, our song will be added and will show just below the timeline.
If you want to add Text, Click on Add Text.

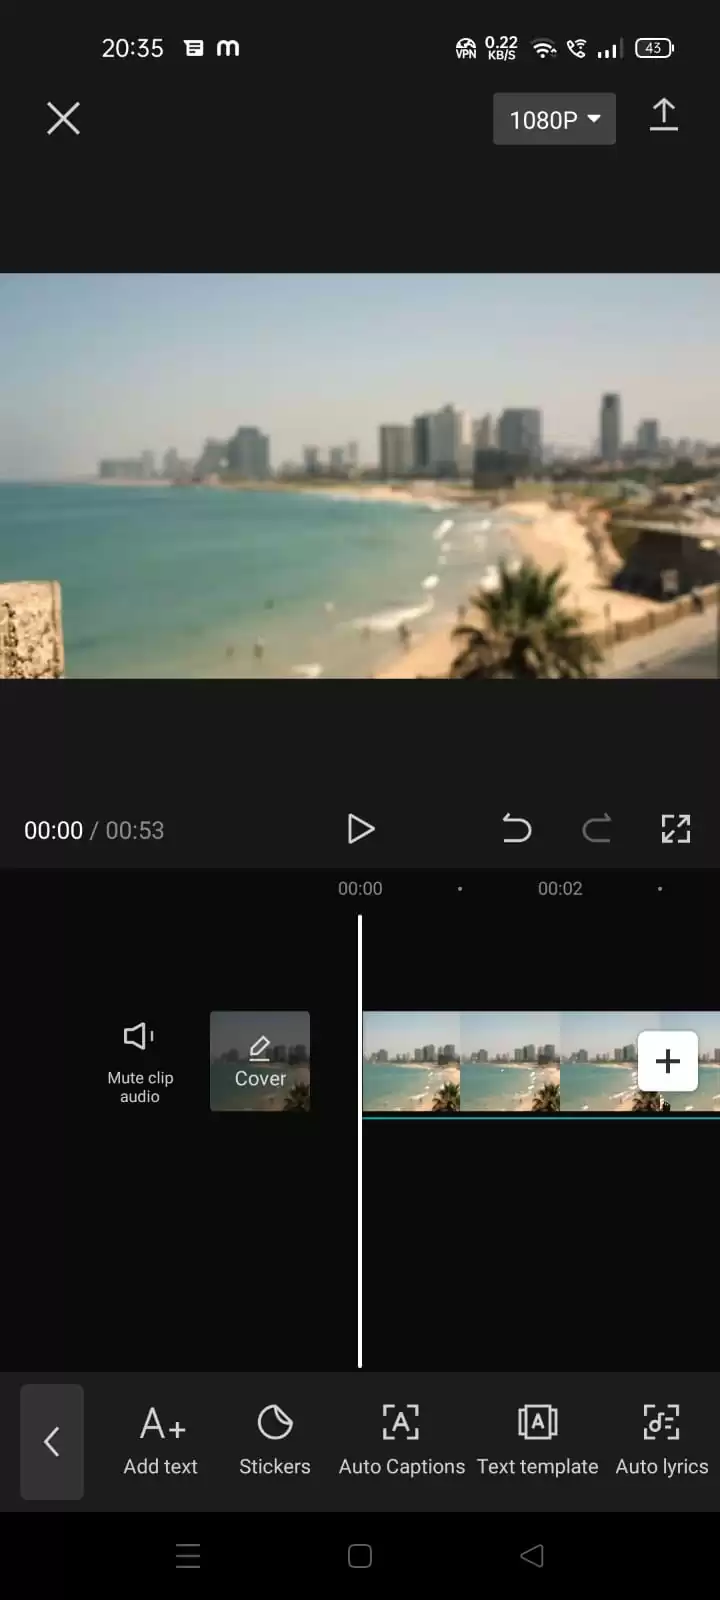
Type anything on your keyboard.
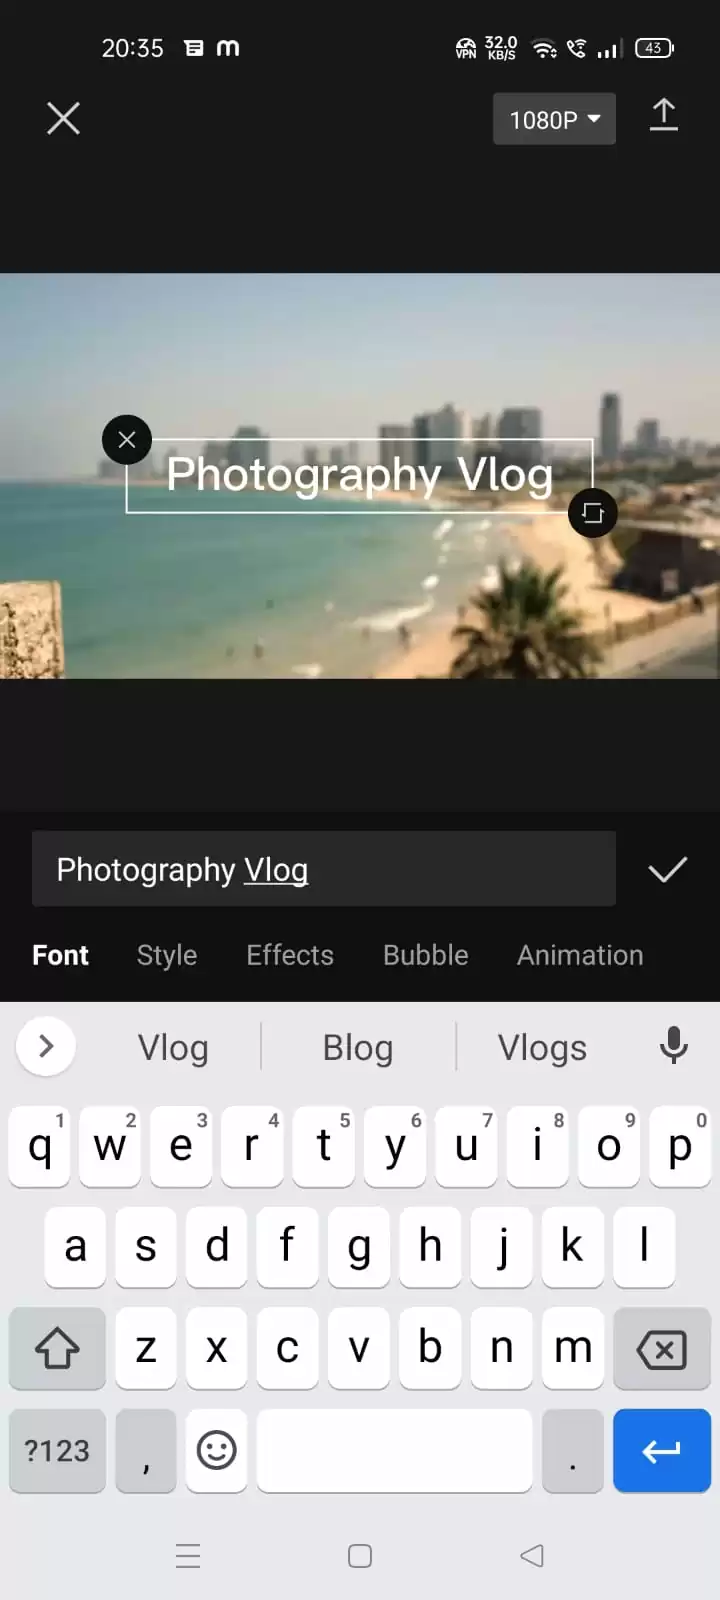
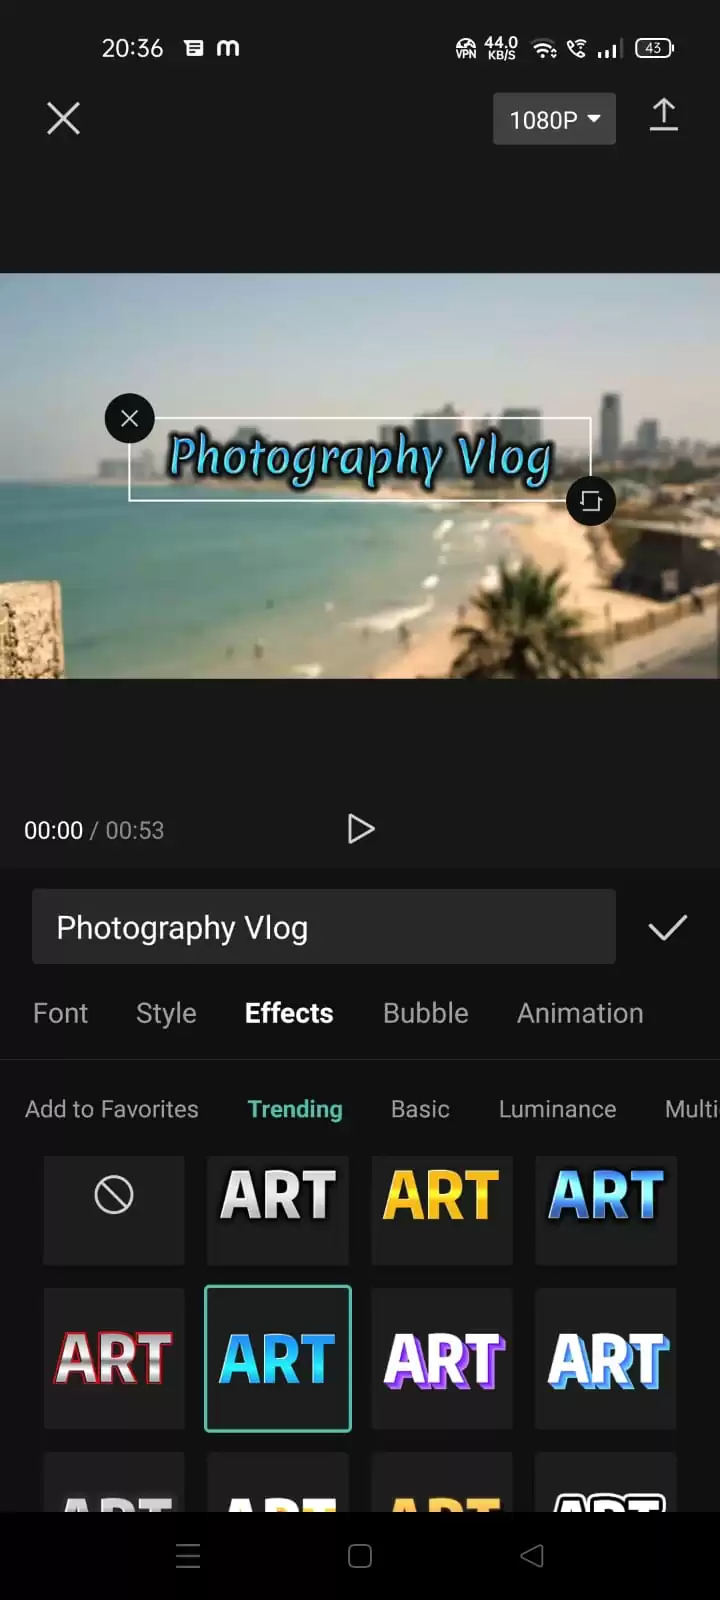
If you want to edit the text, you can click on Style.

We have Font, style, effects, bubbles, and animation in the Style section.
You can select the font style for your text. There are multiple fonts available in different languages.

When you click on Style, you can see Stroke, Canvas, Shadow, Spacing, and Bold Italic. You can increase the stroke weight, put some shadow around the text. You can increase or decrease the distance between letters or between words. If you want to make the text bold or italic, you can do that too.

There are effects you can use, like effects in trending, basic and luminance, etc. You can also use bubbles.

There are different animations available for your text. Animations like Elastic, Chromatic, Left, Right, Down, Up, Fade In, Flip Verbatim, Gather Light, Random Left, Glitch, Flutter, Dissolve, and many more. You can increase the duration of any animation.

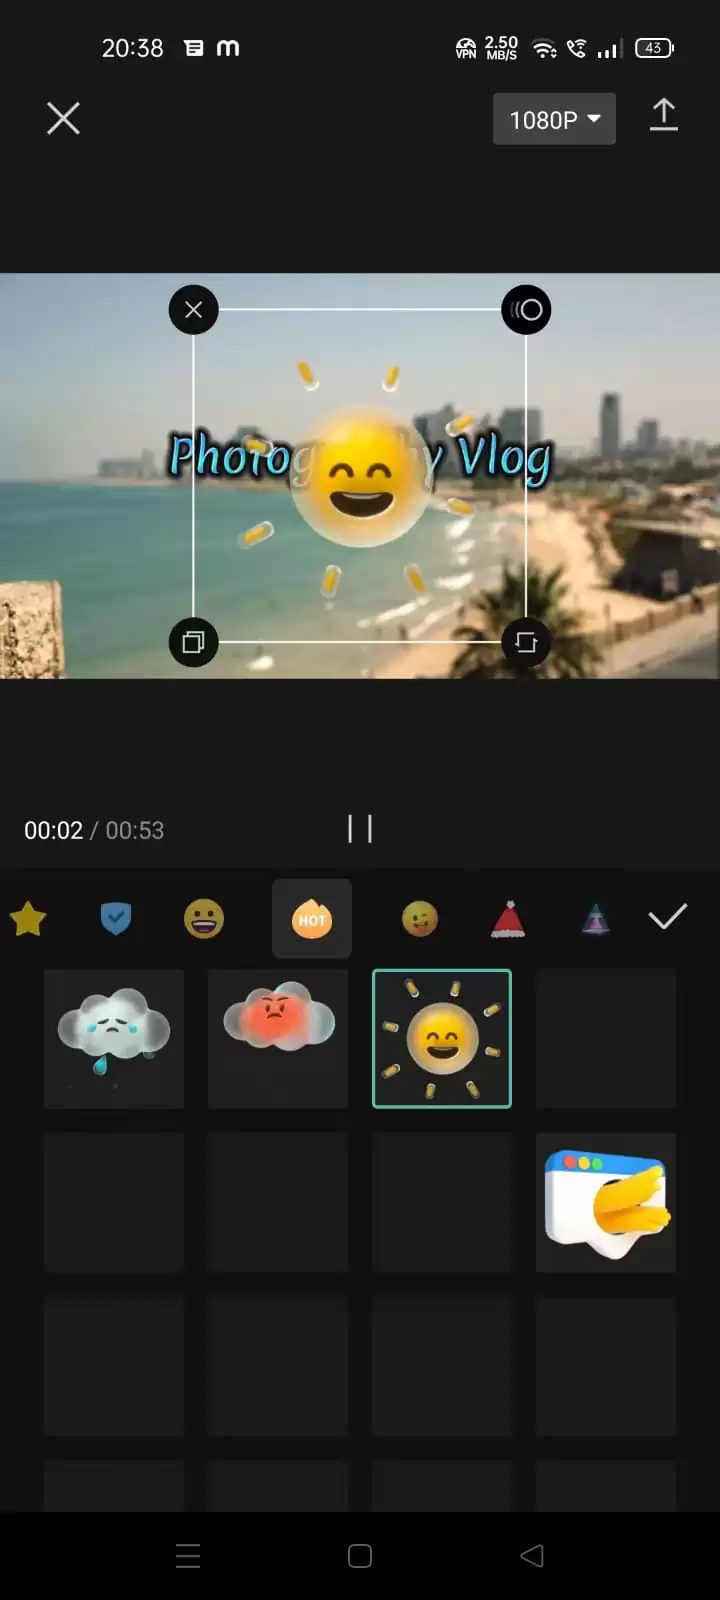
To add a sticker, click Stickers, and then choose a sticker. And adjust the size of the stickers and place them where you want.
You can add another layer on top of the video clip, click Overlay, then Add Overlay and select the photo or video you want to add as an overlay. You can do masking after that for better results.
Your simple video will become amazing just by using effects. There are two types of effects video effects and body effects.
We can use these effects for the entire video or just for the person’s body.


Click on Filters and choose any filter that you want to apply to your video or photo.


Click on Adjust. You can increase or decrease the brightness, contrast, saturation, and exposure, and sharpen the photo.


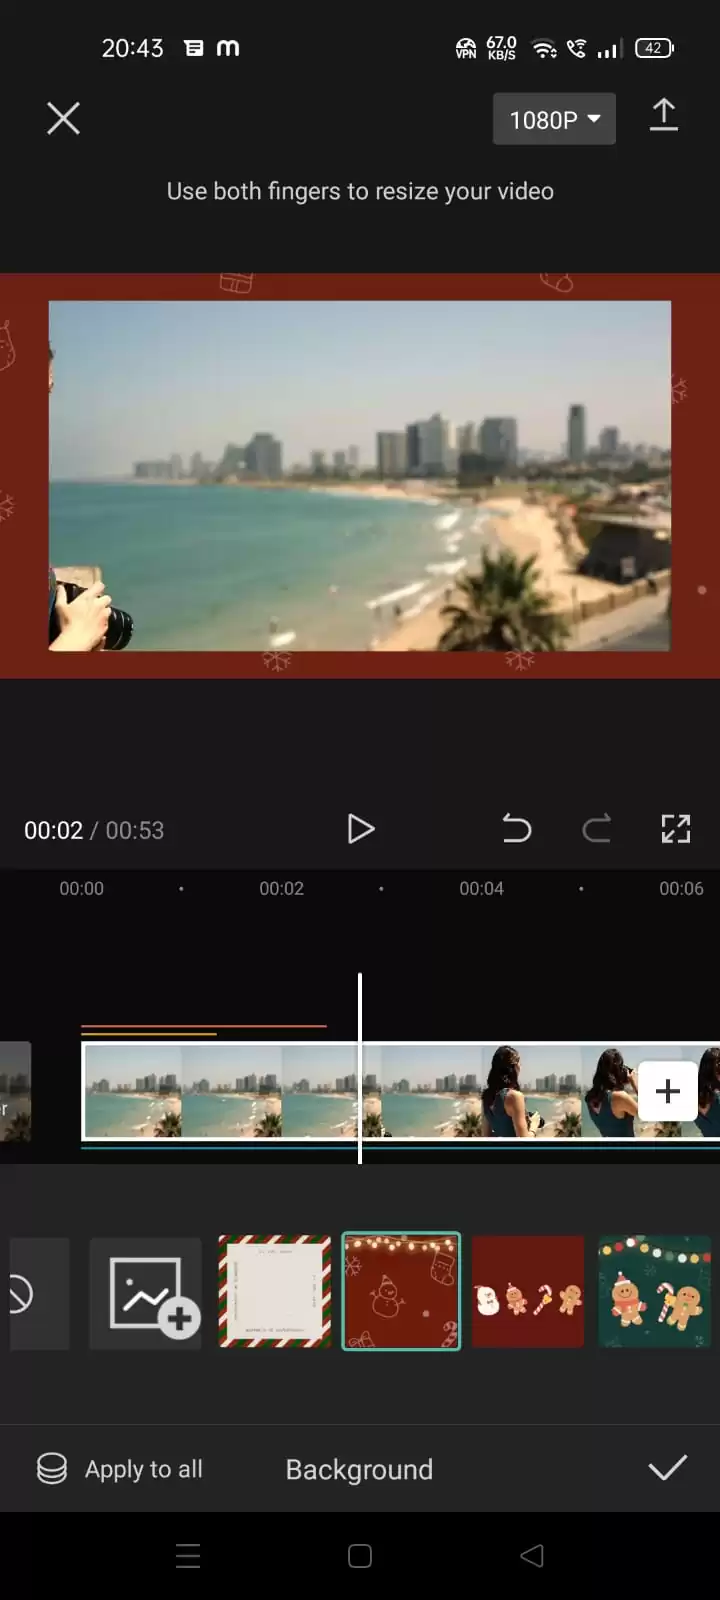
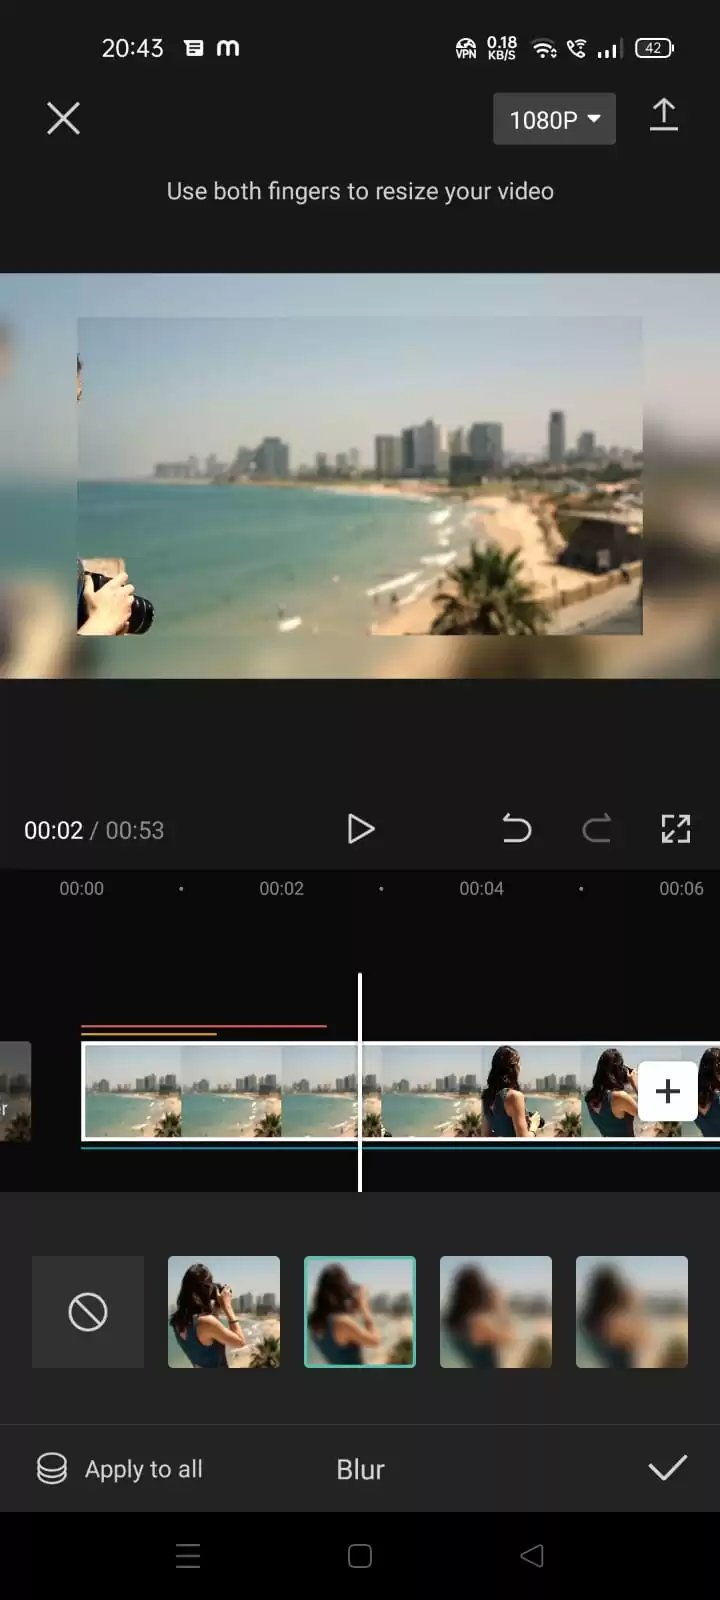
Click on Canvas, and then click on any Color, Background, or Blur. If you want to apply a simple color, you can click on the color and get the different colors you can choose from.


If you want a fancy background, you can click on the background. If you want a Blur background, click on Blur.
This is how all the tools work in CapCut. You can increase or decrease the resolution or the frame rate. For saving the video, click on the arrow.
Your file will start downloading.
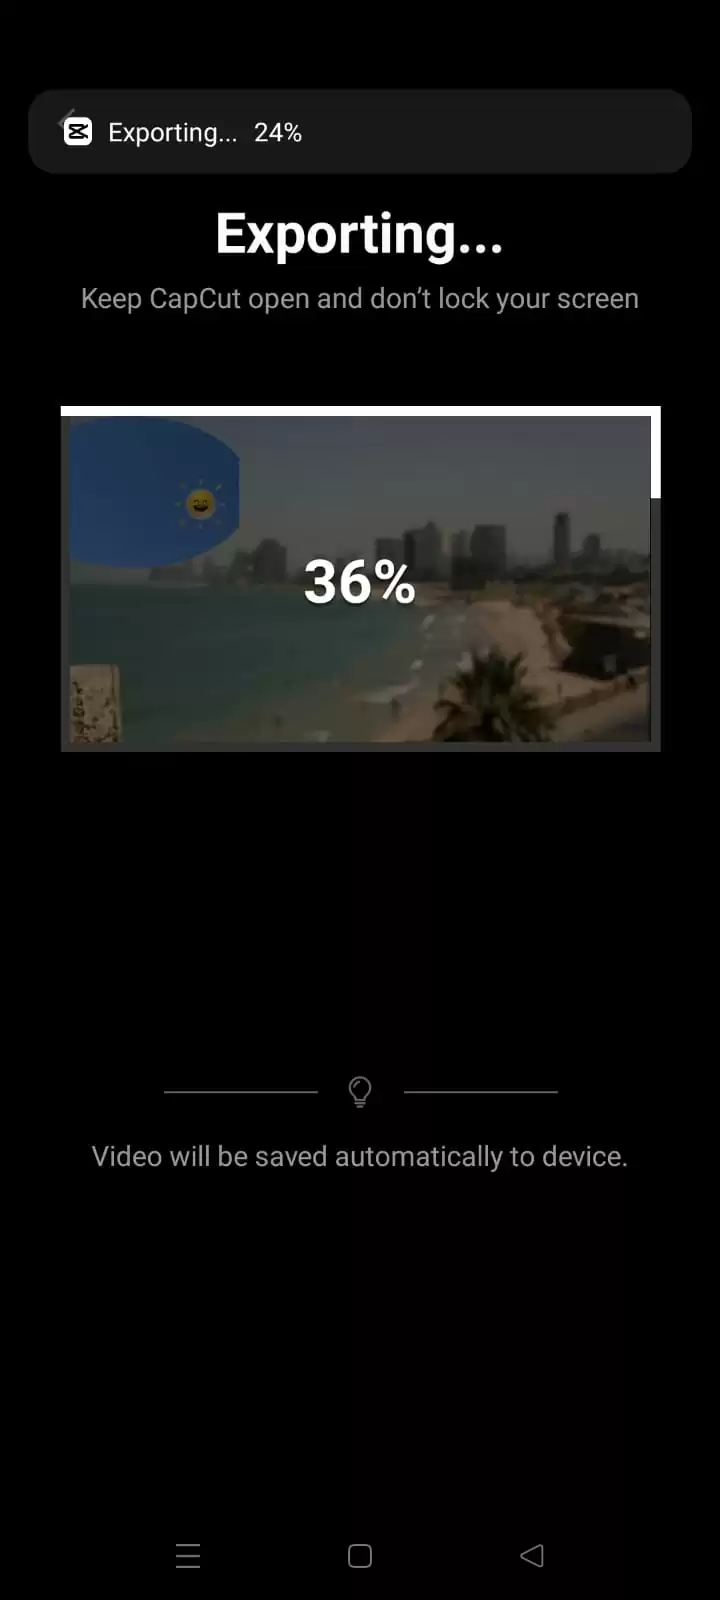
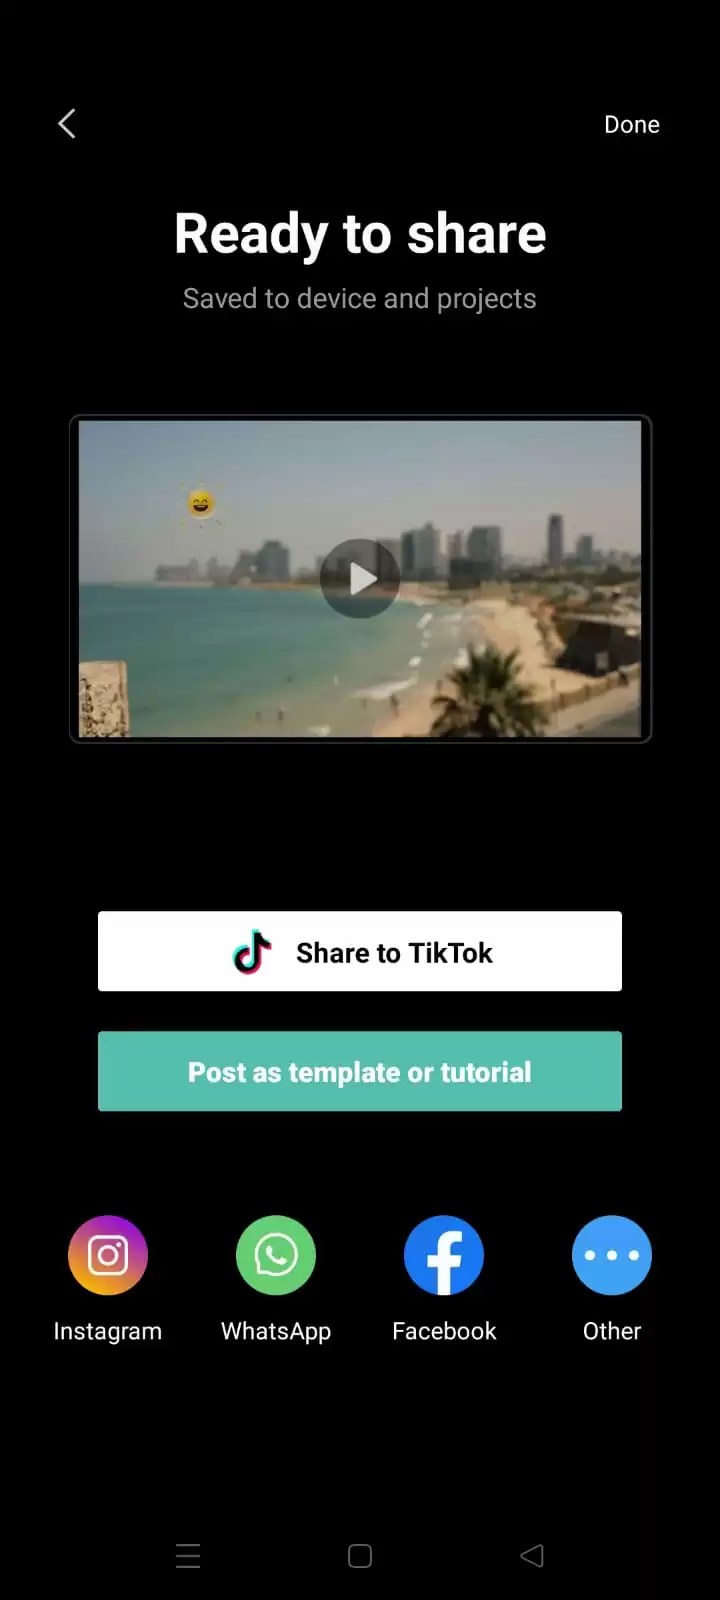
Your file is ready.
We also recommend that you see our step-by-step guide on how to do Auto Velocity on Capcut.
Other Ways To Use CapCut
Apart from the things I mentioned above, there are various ways to use CapCut. I’ll go ahead to mention a few in the next paragraph.
- Using Graphs
Graphs can be added to your project when editing with CapCut. When you add Graphs to your CapCut project, it gives your new work more individuality. In Capcut, graphs soften the transition between Keyframes and improve the visual appeal of your video. Graphs aren’t available For clips that lack Keyframes animation effects. Follow the steps below to add Keyframes to your video clips.
Step 1
Start by opening the CapCut app.
Step 2
Then, tap on new project.
Step 3
Now you need to select the video that you want to edit.
Step 4
Specify a point in the video where you want the zoom effect to begin.
Step 5
Proceed to bring up the editing menu by tapping the video layer.
Step 6
Next, tap the keyframes symbol.
Step 7
To make clear what you want to emphasize, zoom in and out of the video.
Step 8
Now press the play button to see the result.
Now that you know how to add Keyframes, it is time to learn how to incorporate graphs into any video.
Step 1
Start by opening the CapCut app and open a new project.
Step 2
Choose the video clip you wish to edit, then make the necessary adjustments.
Step 3
Now insert the keyframes.
Step 4
The second Keyframe should be used to move your video to the right side of your screen.
Step 5
Next, put the video between the keyframes. After you are done putting the video between the keyframes, proceed to bring up the graphs menu.
Step 6
Choose from any of the graph options. To edit the graph, click or tap the pencil icon. Alternatively, you can change the graph effect by selecting the button below the None indicator.
Step 7
Next, play the video. Then, export the video to the gallery using the upload icon.
- Using Overlays
Mobile video editing apps such as CapCut have a nice tool called the overlay. With Capcut’s overlay tool, you can edit green screen recordings, mix many videos or images onto one screen, add stickers or logos to a video, convert text into video subtitles, and more. Follow the steps below to make text overlay in CapCut.
Step 1
Start by creating a new project.
Step 2
Next, add a picture of a video that you want.
Step 3
Go to the text menu.
Step 4
Now, select the add text option.
Step 5
Proceed to type in the text that you want.
Step 6
Edit the text the way you want. Proceed to make the text overlay. You can make the text overlay by creating a new project and adding the video that you want.
Step 7
Now open the overlay menu and add the overlay.
Step 8
Select and add the text that you saved.
Step 9
Now open the splice menu.
Step 10
Select any overlay that you want.
Step 11
Now adjust the opacity. Preview the result and save it.
If you enjoyed reading this piece, check out this information packed article on How to use slow-mo on CapCut.