Adding text to your videos with CapCut can take your project to the next level. With a variety of customization options, you can easily add captions and titles that fit your aesthetic. In this guide, we’ll explore how to get the most out of CapCut’s text features, from font selection and background settings to positioning options and color palettes.
How to Add Text on Capcut
Import a Video into Capcut.
Click on Add Text.
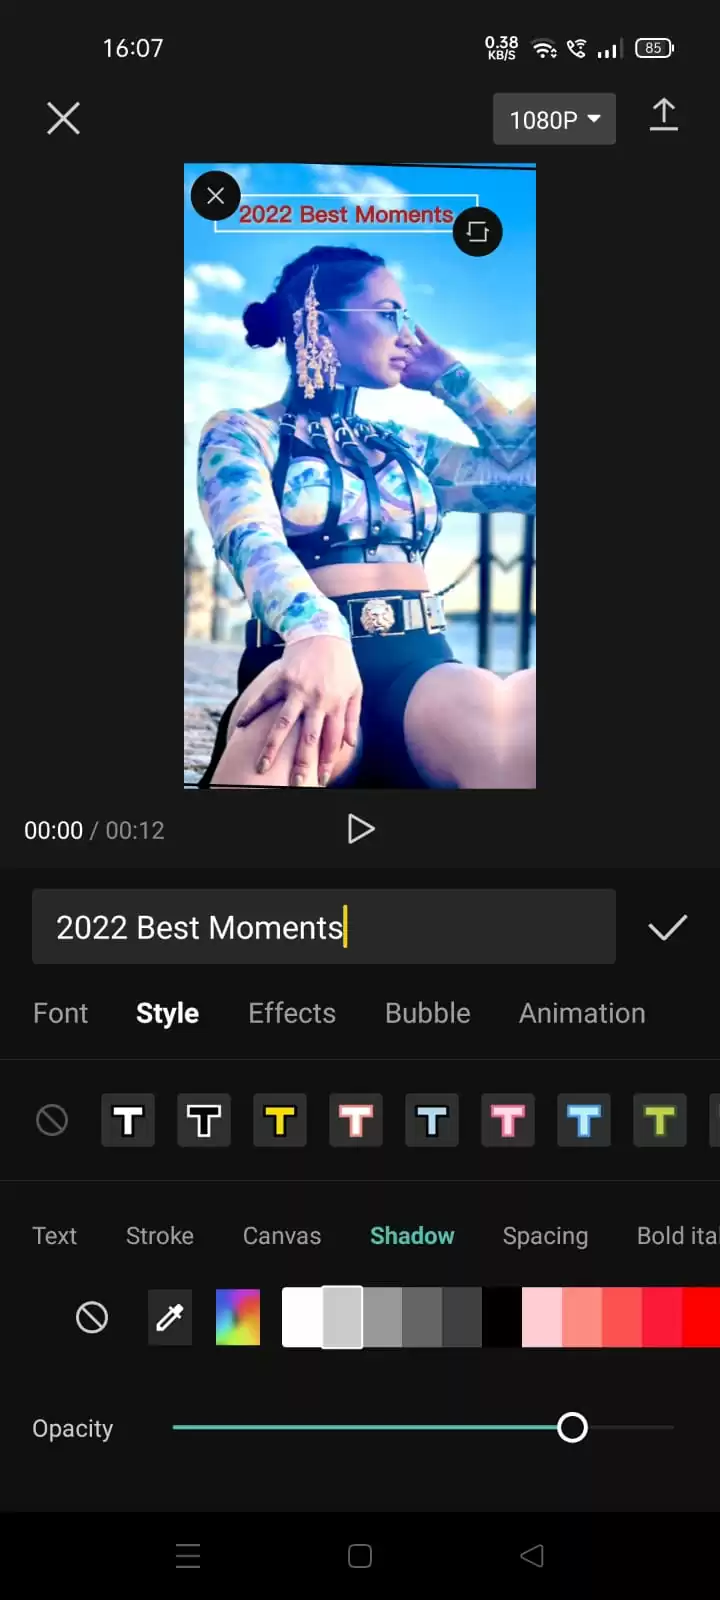
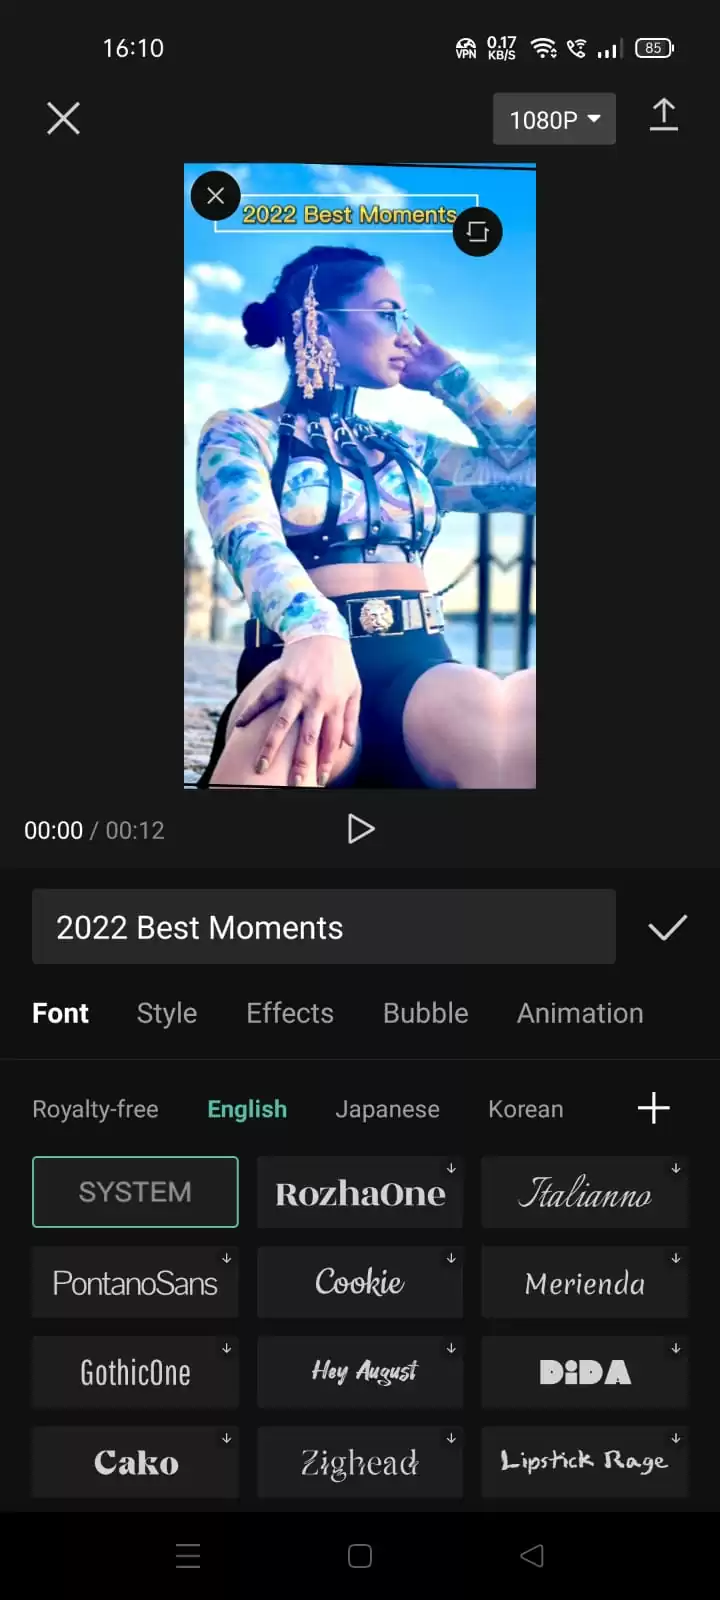
And write something. Example: “2022 Best Moments”. Your text will be shown in the center of the canvas. You can move the text, Increase or decrease the text size.
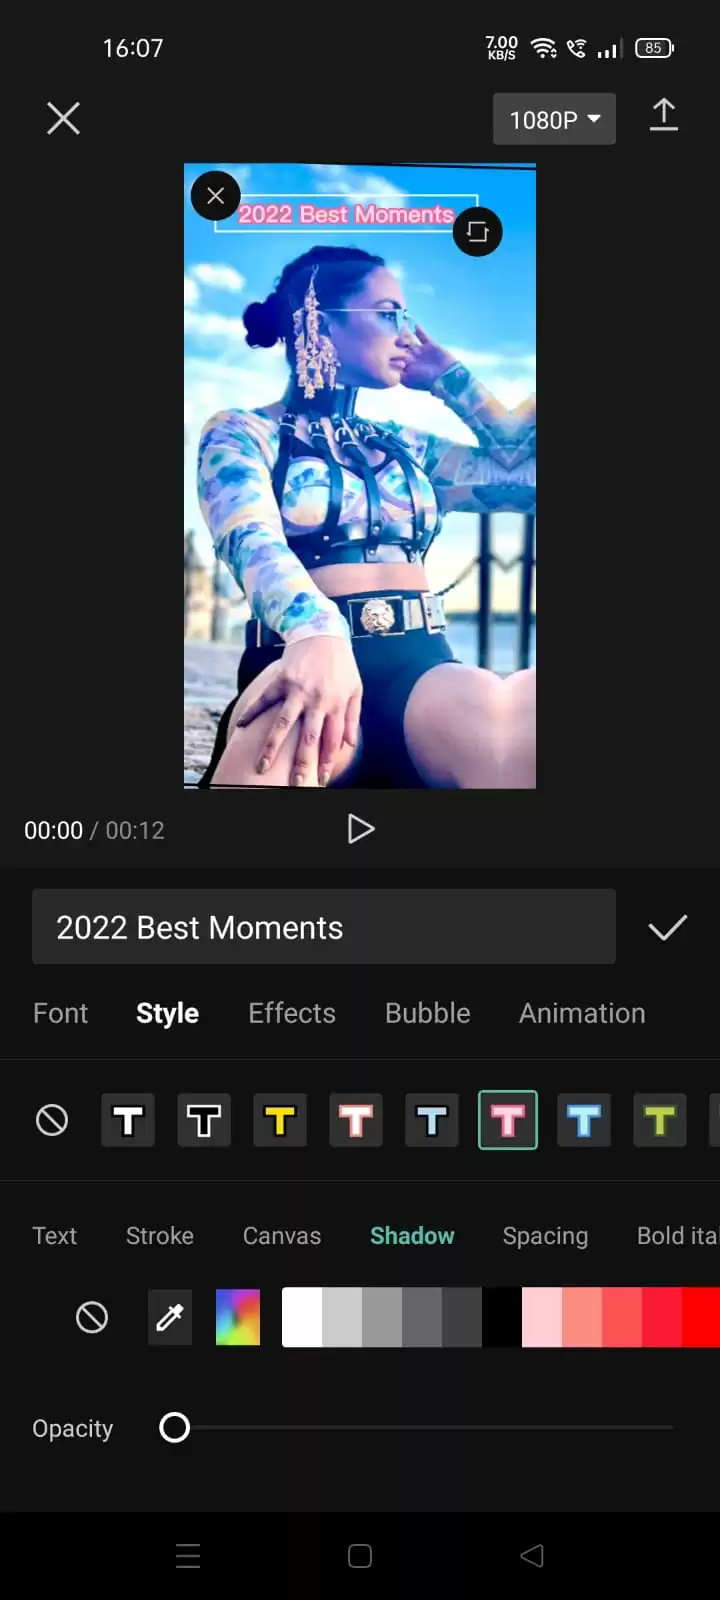
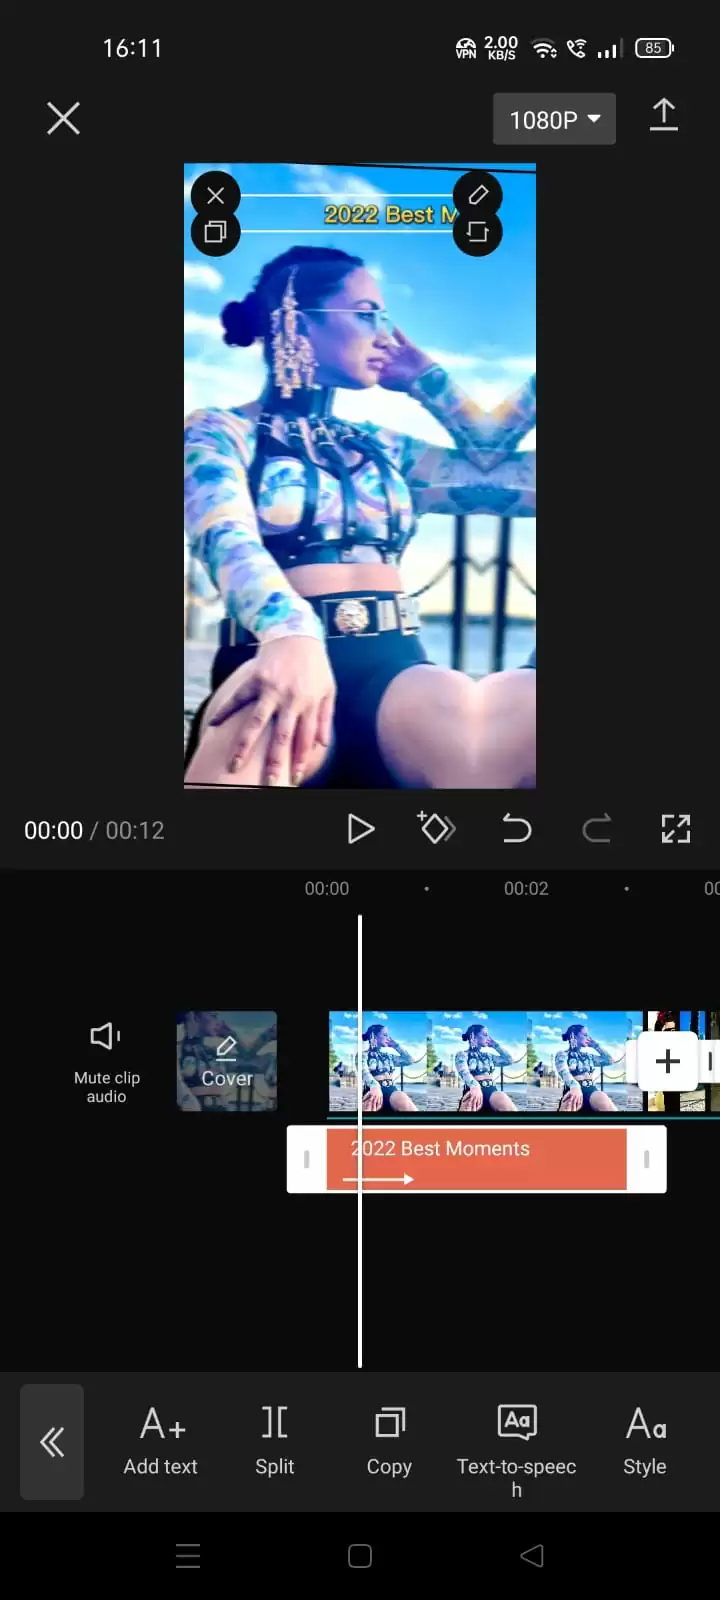
You can always add the style to your font. You can add a stroke (which is an outline), or a shadow to the text. You can always increase or decrease the spacing between letters or words.
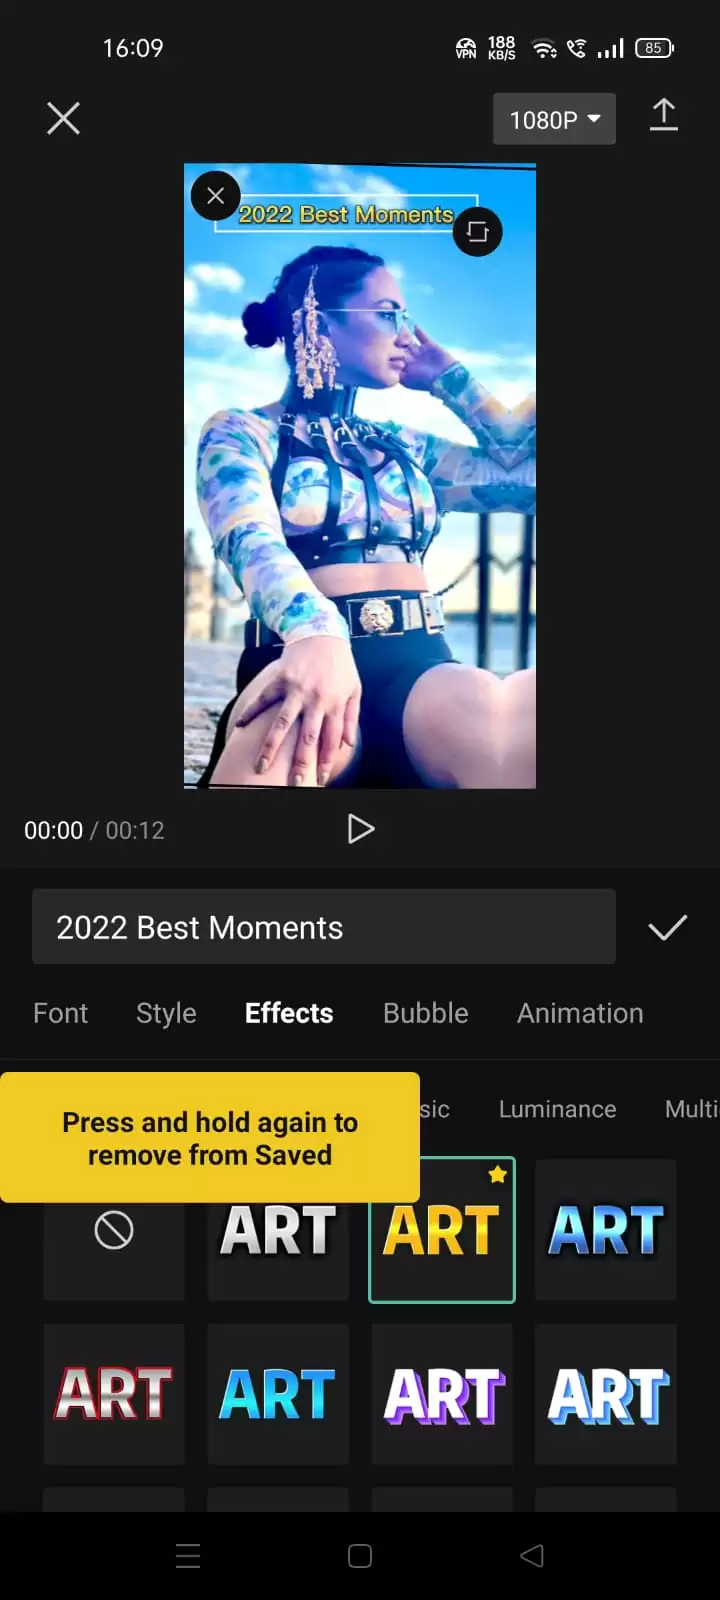
Multiple effects are available in Capcut which can be used just by selecting. You can even use the Thanos effect using CapCut!
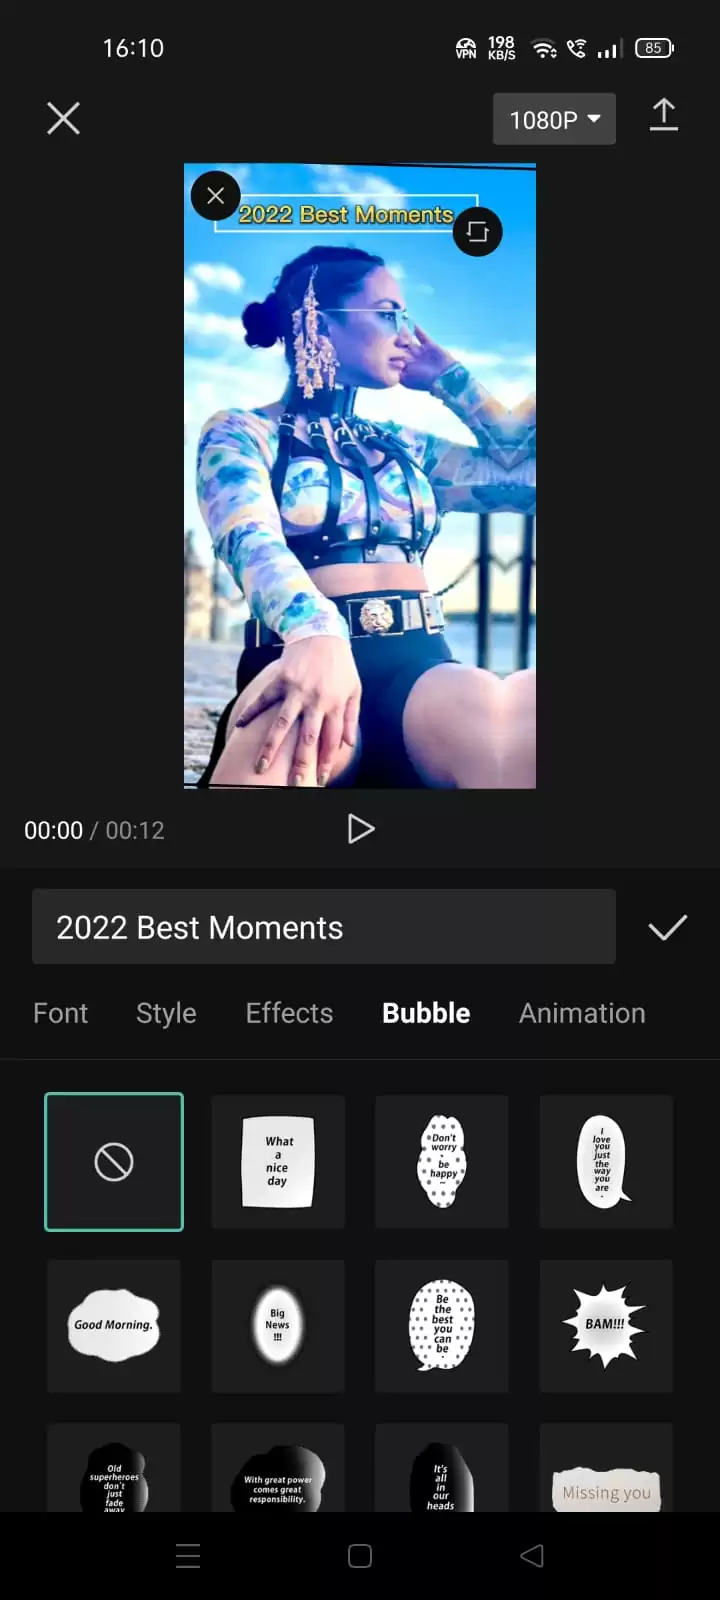
If you want to show a dialogue going on a picture, even in a video, you can use these pretty Bubbles to show dialogues or the thoughts of an individual.
You can use animation for your text to make your edit more eye-catching.
There are so many fonts available for your text. You can choose any of these. If you want, you can add more fonts to your Capcut editing application.
After editing, click on Tick ✔. Then save your edit into your gallery.
How To Add Text in CapCut Using iPhone
No matter the operating system you are using, CapCut caters to you. Follow the steps below to add text in CapCut using iPhone.
Step 1
The video preview, the timeline, and the navigation bar are all visible when you open a video in the CapCut app. To access your settings, Click Text.
Step 2
When you tap the Add text button, a menu with many tabs will appear. The tabs appear so you can alter various parts of your content. In the text menu tab, you will find the keyboard, style, effects, bubbles, and animation.
Step 3
When the menu appears, it will, by default, be on the “Keyboard” tab. This is where to type your text.
Step 4
When you’re done, switch to the next tab, and the text will be superimposed on the video. Your text will first be displayed in a simple style, but you can go to the Style tab to personalize it further. This tab contains three settings, and each has its ribbon.
The first ribbon contains fonts that you can choose by tapping on one of the buttons displaying a font preview. The second ribbon has options for text borders, backgrounds, and highlights. The final ribbon is the most complex of all. This ribbon has detailed options that are related to text colors and effects.
Step 5
Finally, there are several text animations in the Animation area. The text can be animated separately when it enters and leaves the frame, or you can set a looping animation that plays continuously. When you are done with your setting, tap the checkmark on the right side, and the text will be added to your video.
Also, check out our in-depth article on how to get CapCut templates.
Features That Comes With The Style Ribbon
There are many customization options that come with the third ribbon. These customization features can make your text very unique, and a few of them are mentioned below.
- Color
You can change the color of letters using the simple color settings. When you choose a color, a slider for opacity will show up below the color palette so you may choose how transparent the text is.
- Stroke
This is responsible for controlling the stroke color.
- Background
The background option is used to change the background color. When you tap the background option, it will bring up the opacity slider.
- Shadow
The shadow feature creates a colored shadow behind the letters. Two more sliders will show up when you select the shadow color. One slider regulates opacity, while the other one manages shadow blur.
- Spacing
Spacing doesn’t have anything to do with color. But in this spacing feature, you will find various text alignment options here. The great thing about the spacing feature is its ability to adjust alignment both on a top-to-bottom and left-to-right axis. There are two sliders in this option, and one is below the editor. Both sliders control text spacing.
- Bold Italic
Bold italic is the final menu in this ribbon. It allows you to change your text to bold, italic or underlined.
We also recommend that you see our information packed guide on How to blur using CapCut.