Adding particles to your videos can be a great way to create a unique and creative effect. With CapCut, you can add particles to disperse an effect in your video. In this guide, we’ll explore how to use the particle disperse effect feature in Capcut and get creative with your projects.
How to use particles to disperse effect in Capcut
Import the Photo in Capcut.

Click on the photo, then Go to Style and Search for the particle disperse.

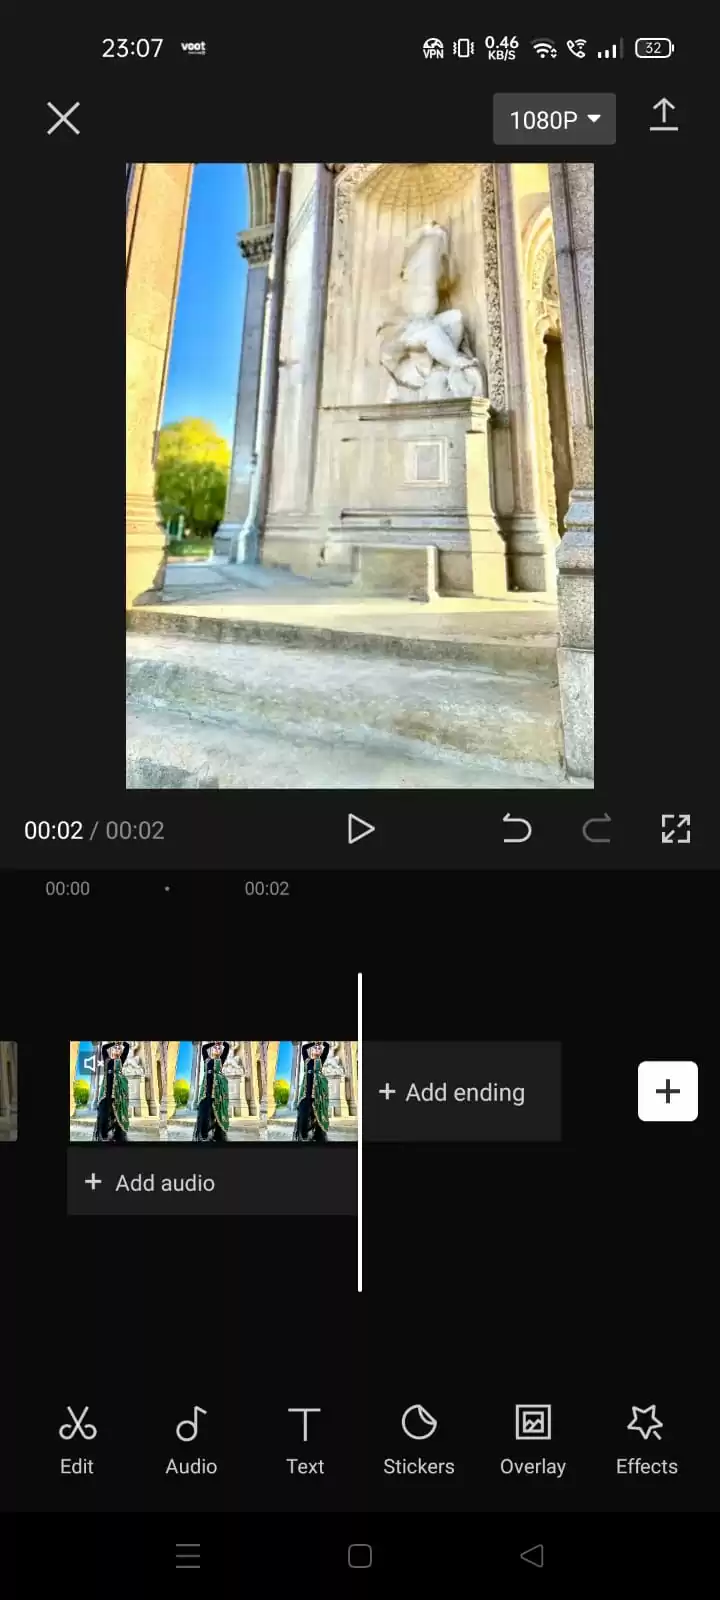
Now see the result.
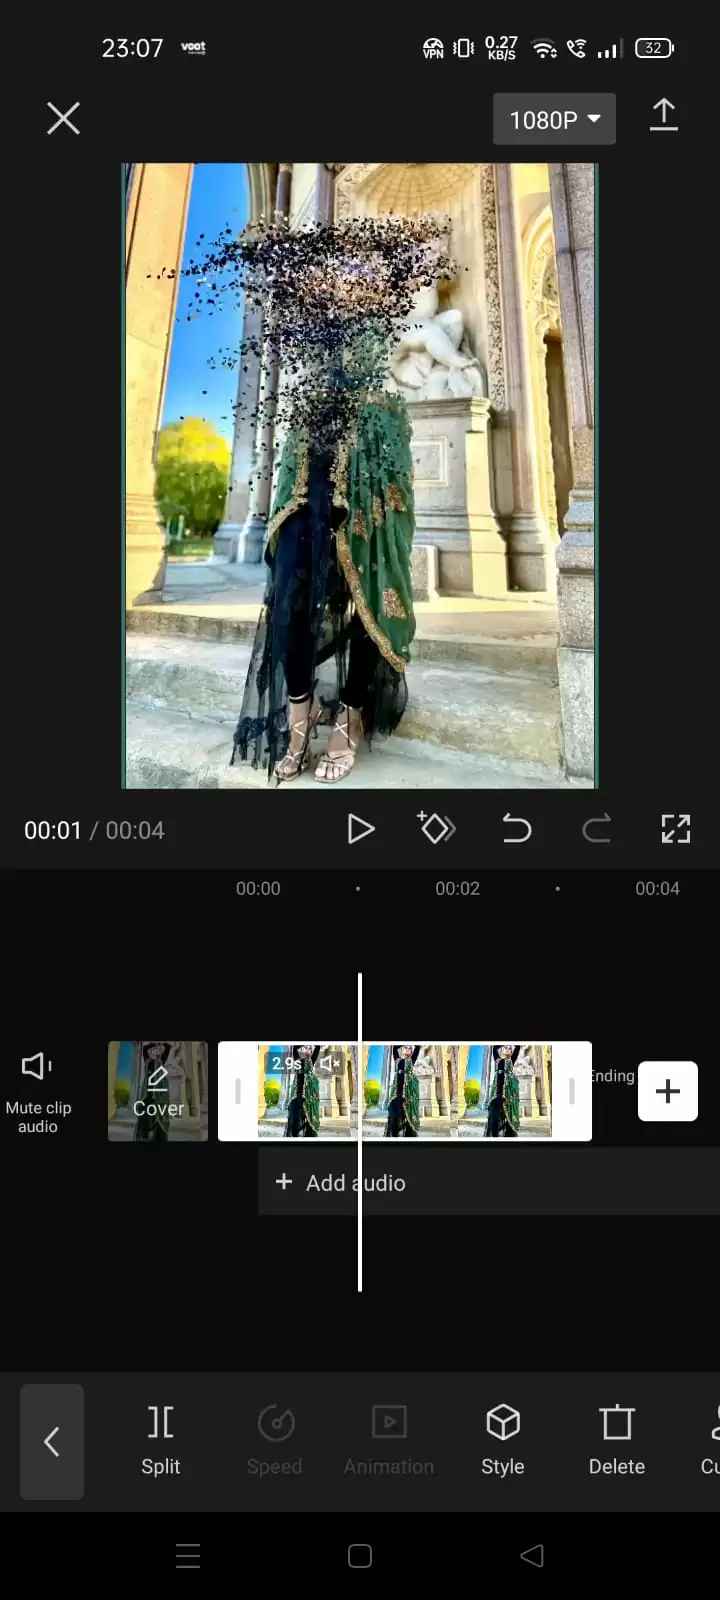

In the end, she will disappear from the background like a particle.
Other Transition Effects You Should Know
I love using the dispersion effect when working on my projects. I like to refer to it as “Thanos effect.” Apart from the dispersion effect, you can also do other editing tasks on CapCut such as adding text.
While dispersion is a great effect in video editing software such as CapCut, there are other transitions you should know. In the next paragraph, we will examine a few of them.
- Cutting
This is perhaps one of the most popular transition effects in video editing. Cutting is a very popular transition because you don’t need specialized renderer or graphics editors to pull it off. To pull off this transition, place two clips close to one another. It may seem strange to discuss something so basic in a piece like this, yet surprisingly few people see the benefits of this fundamental editing method.
Nowadays, with all the features that some software comes with, it is easy to get sucked into artistic effects. However, a cut transition is a quickest, smoothest, and cleanest way to move from one image or video clip to another. Sometimes you want your audience not even to recognize the shift. When you are utilizing this transition, there are a few things to keep in mind. One of the things you need to keep in mind is the fact that you should be careful not to cut off anything important. Also, you need to avoid jump cuts.
- Dissolves
This is also another transition that is used frequently. This effect is also referred to as a cross-dissolve. This effect simply combines two clips to create a smooth transition from one image to another. You probably see this effect in several videos every day without even realizing it, and that’s the goal. A dissolve is a subtle method to hint to your viewers that the time, place, or subject is changing without really saying it.
Keep in mind that you should only use dissolves for specific purposes. Dissolves shouldn’t enter between each shot. Take into account the dissolution’s duration as well. Standard dissolve times are usually one second.
- Light Flash
The light flash has recently gained popularity. The light flash transition rapidly turns the screen white for a split second to mimic a camera flash. Compared to fades and dissolves, this effect is a little bit more of a novelty, but it still has some professional applications. Wedding videos frequently employ these transitions. Making the switch from moving images to still photos is simple. In sports footage, it is used quite a bit as well. When timed to the sound of a baseball being smacked out of the park or a basketball player hitting a tremendous dunk, this transition comes out well.
If you enjoyed this piece, you can also check out our step-by-step guide on How to get CapCut templates.