Trimming a video in iMovie is a simple process that allows you to remove unwanted sections of footage, make a video shorter, or adjust the timing of a video clip.
iMovie has several ways to trim a video, which can be useful for both beginners and advanced users. In this tutorial, we will show you the different ways to trim a video in iMovie and how to use the trimming tools effectively to achieve the desired result.
With this guide, you can trim the beginning or the end of a clip, remove unwanted footage, or adjust the timing of a video.
How to Trim Video in iMovie
Step 1: Select the clip you want to trim using your mouse cursor.

Tip: Once a clip is selected, you will notice a yellow border around it.
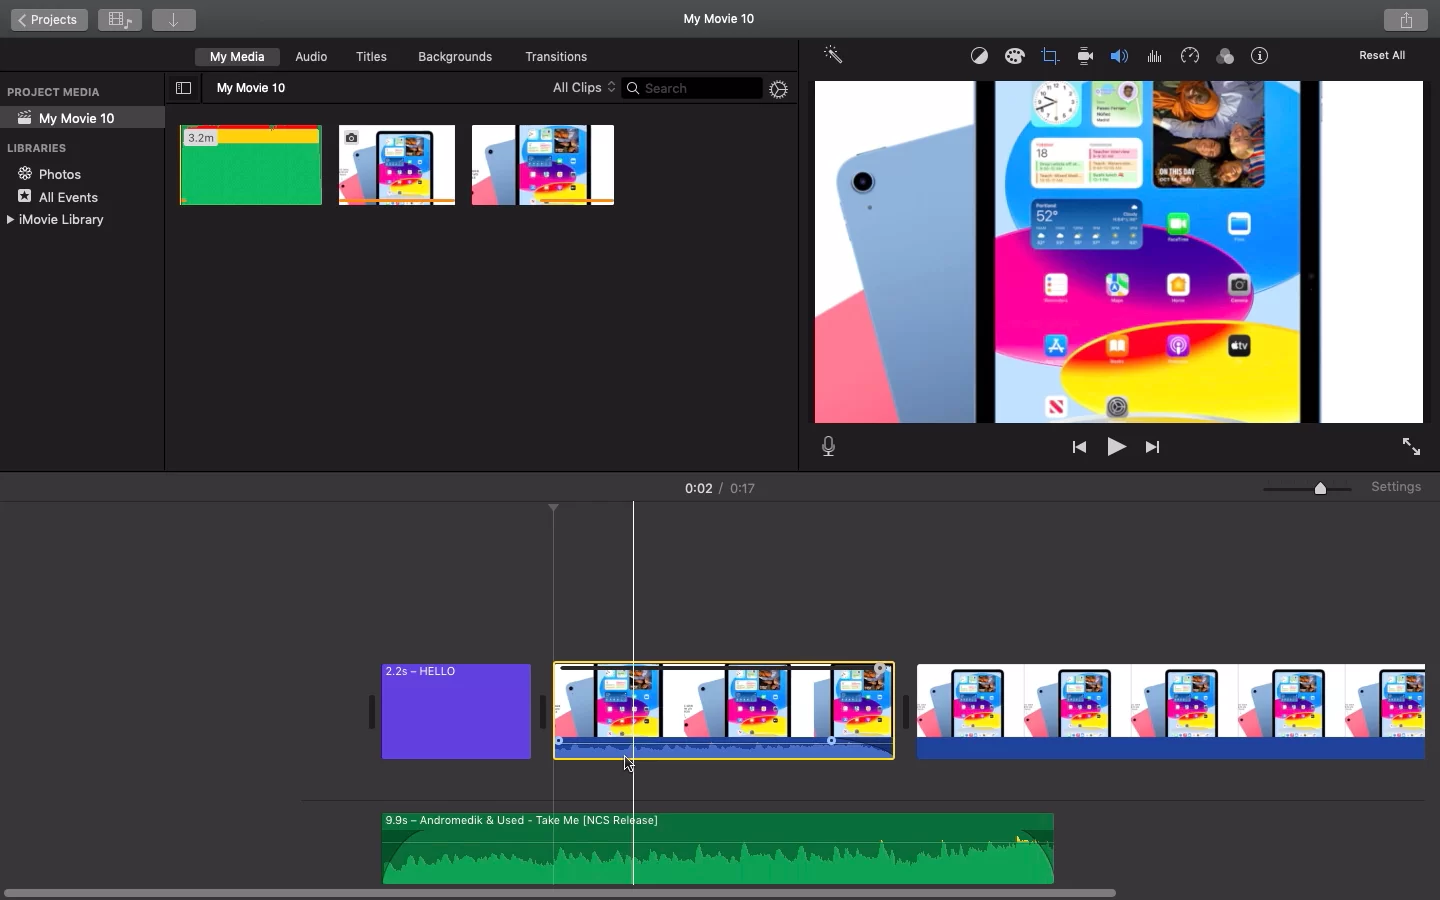
Step 2: Drag the play-head to the correct position depending on the exact trim you want to achieve on your clip.
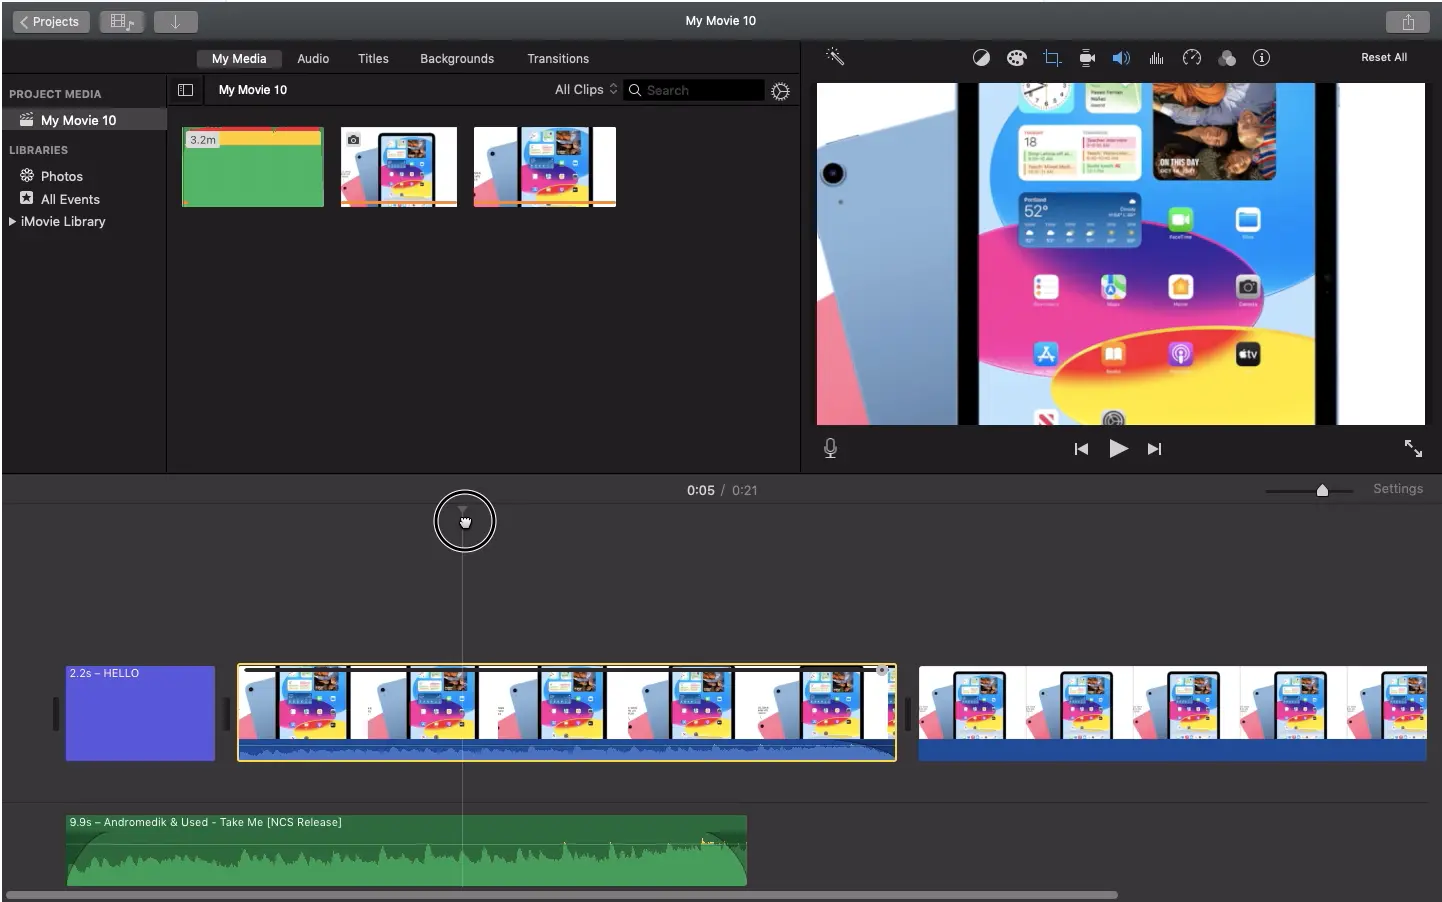
Step 3: Now right-click on your clip to reveal the trim

Step 4: Now click on the Trim To Playhead option to retain the part to the left of the playhead.

You video is now trimmed.
Check out this information packed article on doing a voice-over on iMovie.
Trimming Videos in iMovie With iPhone
iMovie avails you the opportunity to do so much with your iPhone. For example, you can use iMovie to add subtitles to your videos. Also, you can edit the length of a clip, rearrange the order of the clips, and even break a clip into two after adding it to the timeline of your project. Follow the steps below to trim and split a video in iMovie using iPhone.
Step 1
Tap the image or video in the timeline while your project is open. The chosen clip will be surrounded by a yellow highlight.
Step 2
Pinch open in the timeline’s middle to enlarge the clip. The clip can be easier to edit as you zoom in because you can see more information in it.
To shorten or lengthen the clip, drag its beginning or end.
Step 3
Drag the clip’s edge away from the clip’s center to extend the clip and then drag the clip’s edge in the direction of the center to shorten it.
There might not be any more video at the start or end of the clip if you are unable to drag its edge. Keep in mind that you can’t make the video longer than 20 seconds. If you are not able to drag the edge of the video, It may also indicate that the clip is at the 0.3-second limit set by iMovie. Change the clip’s speed if you still want to alter the length of the clip.
Follow the steps below to arrange and split clips using iMovie for iPhone.
Step 1
You can alter the order in which the clips appear in the timeline to alter the timing of when a specific clip appears in your movie. Open your project, tap and hold the video or photo until it rises off the timeline, and then drag the clip to a different place in the timeline. To split the clip, move the playhead to the desired location in the timeline by scrolling. The playhead is the white line.
Step 2
To enlarge the clip, pinch open the timeline’s middle as appropriate.
Step 3
Tap the actions button, then tap Split after tapping the clip. Alternatively, you can tap the clip and then swipe down over the playhead, as if slicing the clip with your finger.
Adding or Removing Clips in iMovie
Depending on your needs, you can use iMovie to add or remove frames from a video. The preview function will let you see how much of the film is being used, making it extremely simple to do. Use the steps below to add frames to a video.
Step 1
From the Projects section of iMovie, add a clip to the timeline.
Step 2
After adding it, select Window > Show Clip Trimmer. The timeline will display the video trimmer.
Step 3
To prolong the movie and add more frames, drag the clip’s edge away from the center.
Step 4
Make sure you alter the beginning and ending frames while maintaining the same length for the video.
Step 5
By using the Return key, you can end the selection.
You can also check out our detailed guide on splitting clips using iMovie.