In After Effects, the anchor point is the point around which all transformations are made. The anchor point can be moved to a different location, allowing you to adjust the position of a layer without affecting its other properties. This can be especially useful when working with complex animations or effects.
Mastering how to move the anchor point in After Effects can help you create more precise and sophisticated animations, and ultimately improve the overall quality of your final product. In this tutorial, we will show you step-by-step how to move the anchor point in After Effects, so you can start using this powerful tool in your projects.
3 Steps to Move Anchor Point in After Effects
In After Effects, Every visual layer has an anchor point, whether it’s a shape, video, image, vector, or text layer. You need to position the anchor point for your desired animation or motion effects. Here are three steps to move the anchor point in After Effects.
Step 1:
First, Open Adobe After Effects. Then you should see a home window panel where you can create your blank project. Click Create New or you can go to File > New for the short key win [Ctrl + N] or Mac [Cmd + N].
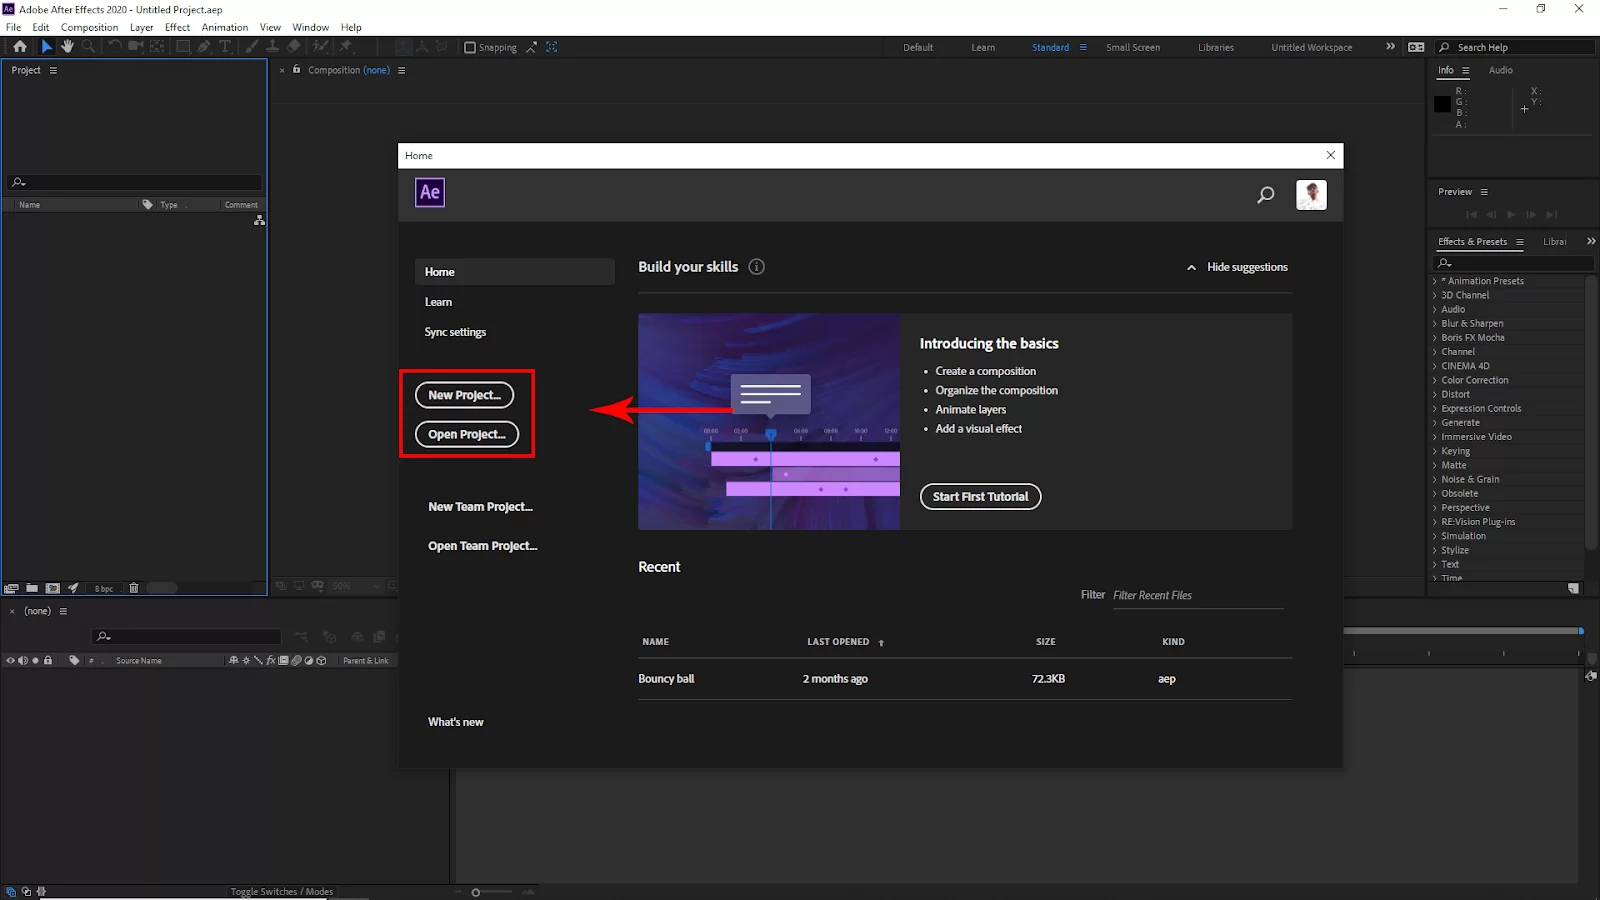
Or, if you have an existing file you can open it from here just Click Open Project and select your project from the file and click open.

Another way to open an existing file, go to File > open and select your File. Short Key windows [Ctrl + O] and Mac [Cmd + O].

After clicking on Creating a new project, you should see the Composition Settings panel. Here you will set your project Width and Height and select your project background color. You can also set the Frame Rate. Then Click Ok.
Step 2:

Let’s create a shape with the rectangle tool. Select the rectangle tool from the upper bar, or you can press just [ Q ] to select the tool. Now click and drag on your composition to make a rectangle.
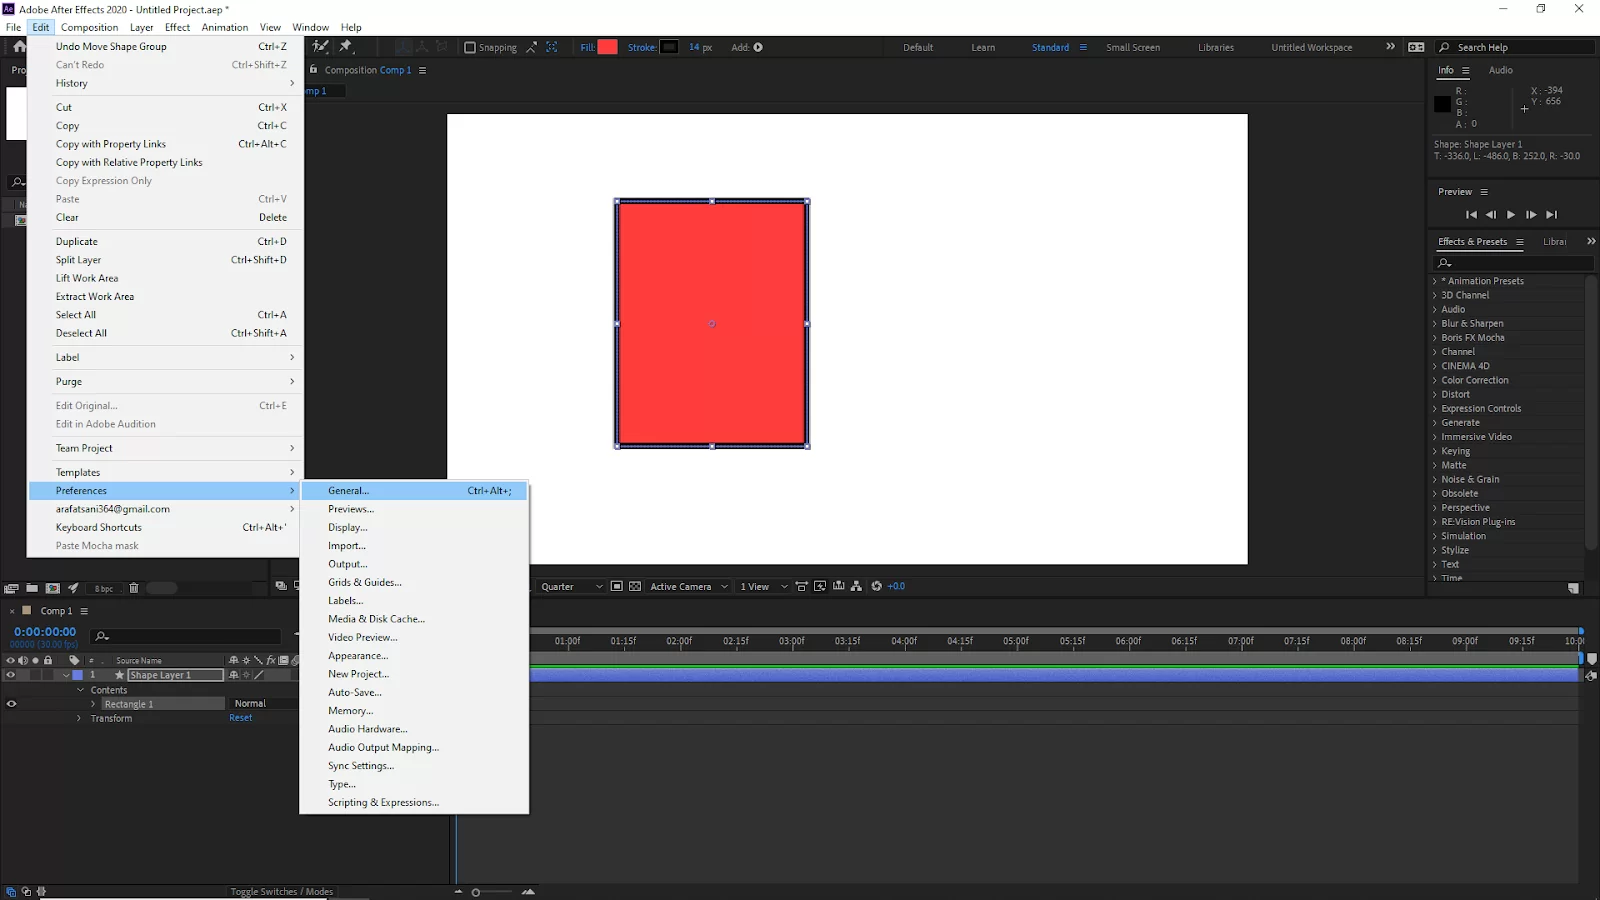
By default, your anchor point of the shapes is not in the center. To create any shape with the anchor point in the center. Go to Edit > Preferences > General or you can use the short key win [ Ctrl + Alt +; ] or Mac [ Cmd + Option +; ]. Now check the box of the Center anchor point in the new shape layer.
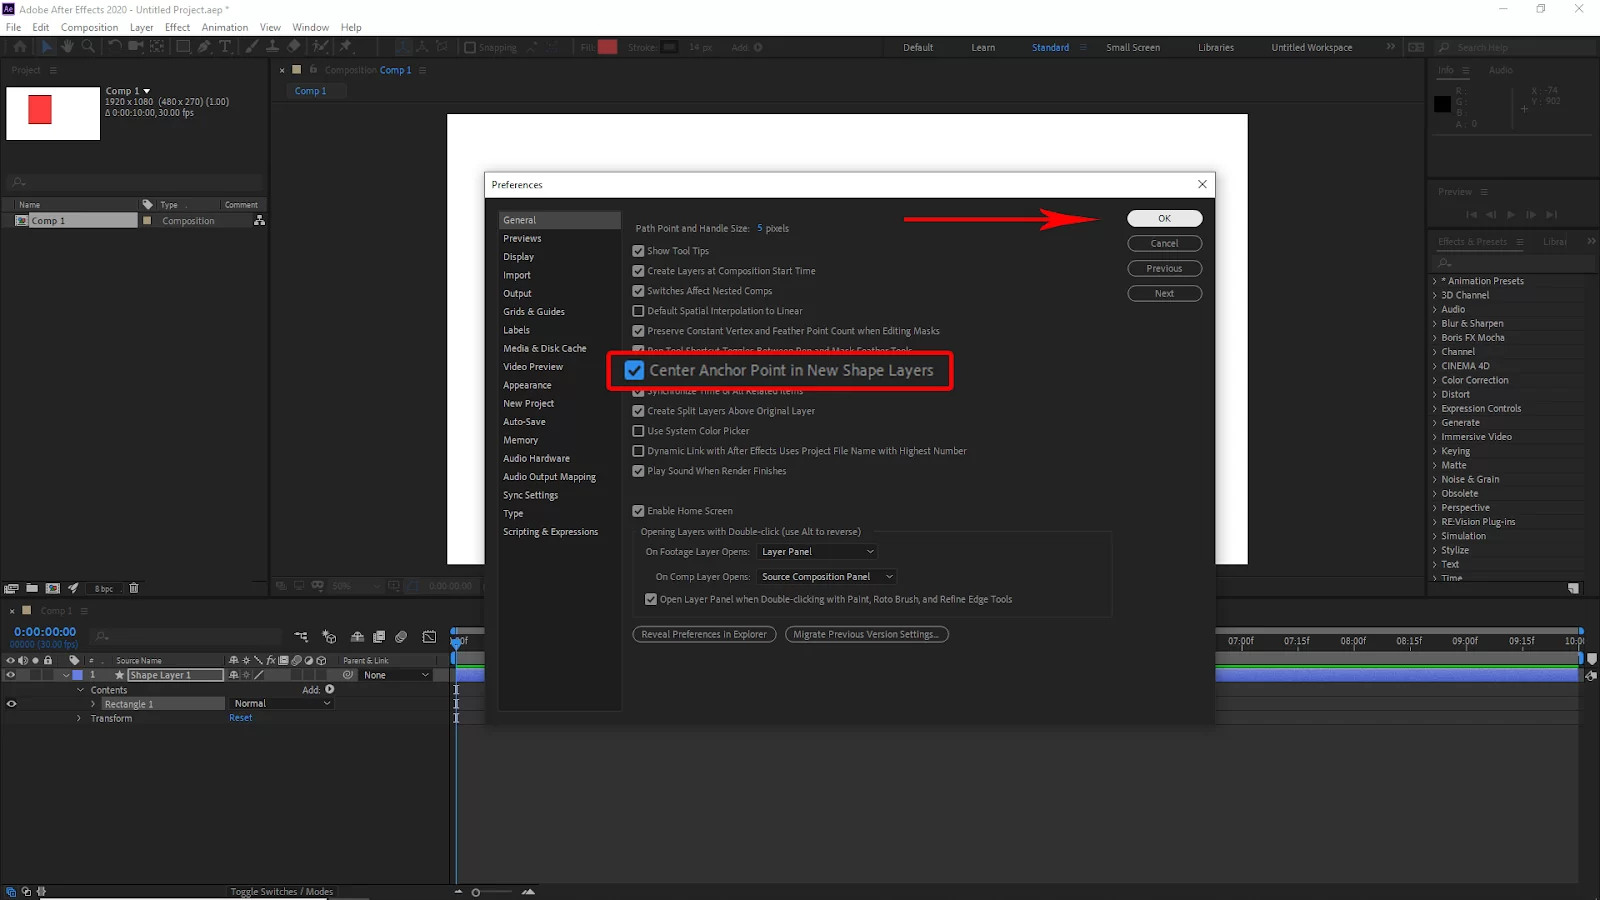
Now every time you create a shape the anchor point will automatically be in the center.
Step 3:
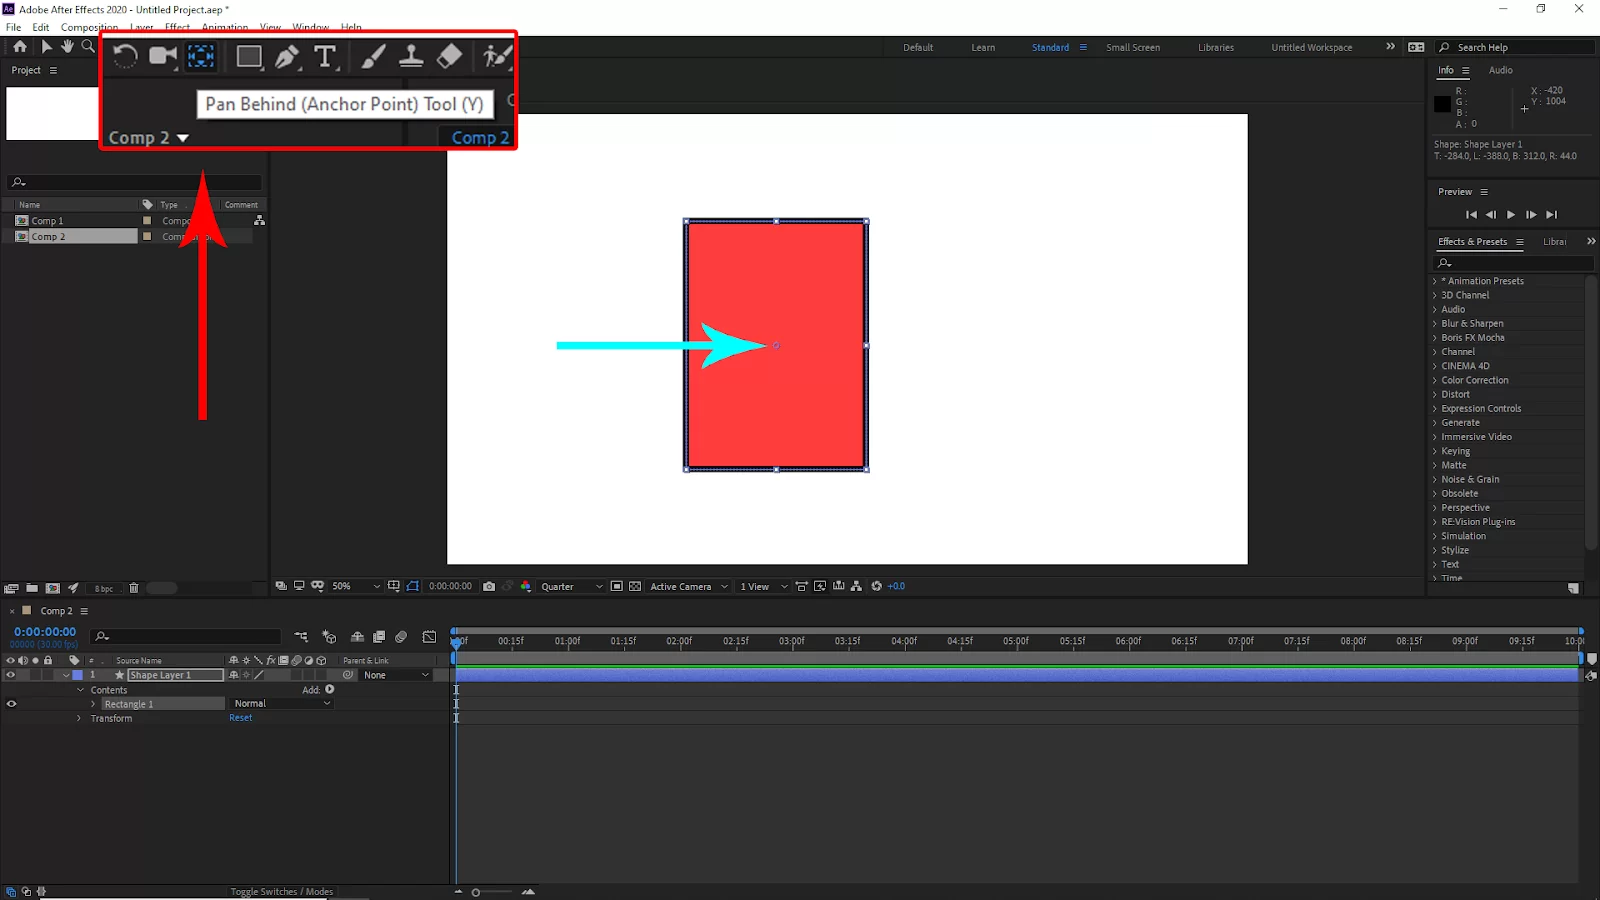
Now to move your anchor point go to the upper bar and then select the Pan Behind (Anchor Point) tool. Or you can press just [ V ] to select the tool.

Now you can select the anchor point and move it anywhere in the composition.
We aalso recommend that you see our step-by-step guide on duplicating layers in After Effects.
How to Change Anchor Points Using Anchor Points
The anchor point in After Effects is always positioned somewhere in the middle. If you want to change the position of the anchor point, there are two things you must do. The first step is to use the Selection tool to select the entire shape by left-clicking on it.
Next, select the Anchor Point Tool by moving your cursor up to Modify. Select the Anchor Point Tool, click on the shape, and then drag the anchor point to the desired location. When you have carried this out, your anchor point will no longer be in the middle but somewhere closer to the side of the image.
We also recommend our in-depth article on rendering video using After Effects.
Anchor Point Tips You Should Know
Now that you have a fundamental knowledge of anchor points, there are a few tips you should know. Here are some of them.
- Tightening and Loosening Anchor Points
You can tighten the position of an anchor point by clicking on it and dragging it toward the center. An anchor point’s position will get looser if you move it out from the center. You can use this to make minor changes to your layers and keyframes.
Let’s see an example. If your layer has been aligned with another layer but you need to move it a little more, just grab the anchor point and drag it back and forth till you get the right position. When you get the right position, you release it.
- Changing the anchor point without changing the position
By default, when you move the anchor point, the position of the layer will also change. However, you can change the anchor point without affecting the position of the layer by holding down the “Alt” key while moving the anchor point.
- Use the Pan Behind tool
The Pan Behind tool, also known as the “Anchor Point” tool, allows you to quickly and easily move the anchor point to any location in the composition. It can be found in the Tools panel, or by pressing “Y” on the keyboard.
- Snap to layers or guides
You can enable snapping to layers or guides while moving the anchor point, by going to Layer > Transform > Snap Anchor Point to Layer or to Guide.
- Use the Layer Transform properties
The position, scale, and rotation properties in the Layer Transform properties of a layer are affected by the anchor point. Changing the anchor point can affect the way these properties are transformed.
- Pay attention to the relationship with the layer’s content
When moving the anchor point, pay attention to the relationship of the anchor point with the content of the layer, as it can affect the way the layer is transformed.
- Use the “Anchor Point” effect
The “Anchor Point” effect allows you to change the anchor point of a layer through expressions or keyframes, giving you more control over the animation process.
- Experiment and practice
As with any tool, the best way to become proficient at using the anchor point in After Effects is to experiment and practice with different techniques.
What To Do When After Effects Deselects The Pan Behind Tool
By default, the Pan Behind tool in Adobe After Effects will move around the screen after you make a selection. This may be unpleasant and makes panning behind other objects challenging. So, what can be done to fix this? I’ll tell you as you read on.
Step 1
Start by Launching After Effects. Then go to Select File > Import > Import Video. Next, select a video file.
Step 2
Right-click one of the layers in your layer panel and select Precompose. Give the new composition a name you want.
Step 3
Pick your new composition, then select New > Layer from the Composition Layer menu. Ensure that your newly created layer is displayed in the layers panel above all your existing layers. Finally, drag your deselected item into the timeline of your brand-new layer.
If you enjoyed reading this article, you will also enjoy our step-by-step article on adding Keyframes in After Effects.
Leave a Reply
You must be logged in to post a comment.