Working with layers in Inkscape is an essential part of creating beautiful and complex designs. With layers, you can organize your artwork, control which elements are visible, and apply blending modes to objects. If you’re new to Inkscape, read on to learn how to work with layers and make the most of this powerful tool.
How to Create and Use Layers in Inkscape?
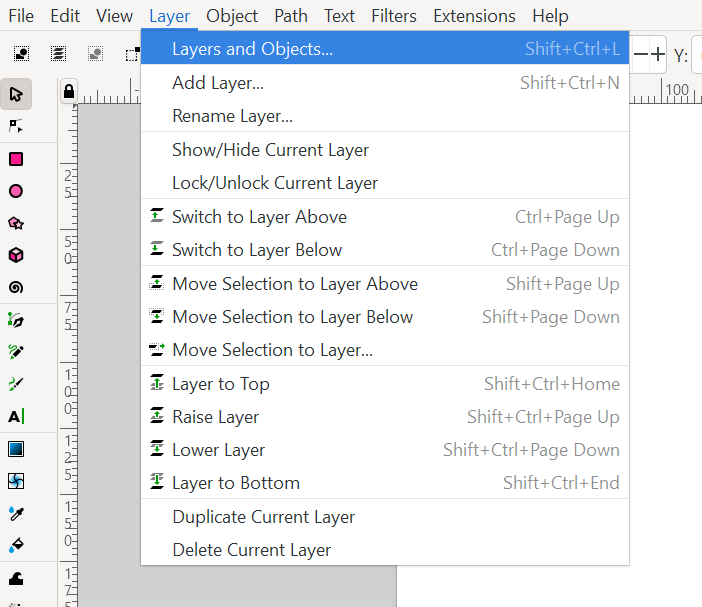
Step 1: Go to the Layer option in the menu bar.
Then click on Layer and Objects.
Dialogs for specific functionality like for Layers are available and will, by default appear attached to the right of the canvas, also known as Docking area.

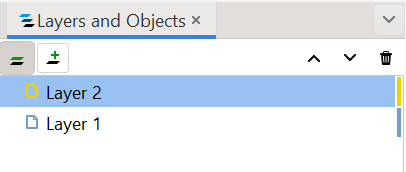
Step 2: Click Plus + sign on LAYER Box. A small dialog box will appear. We want the layer above to the current layer. So we will Click on Add.

Step 3: Now, a new layer is formed. You can rename it.
Step 4: Let’s understand this by designing.
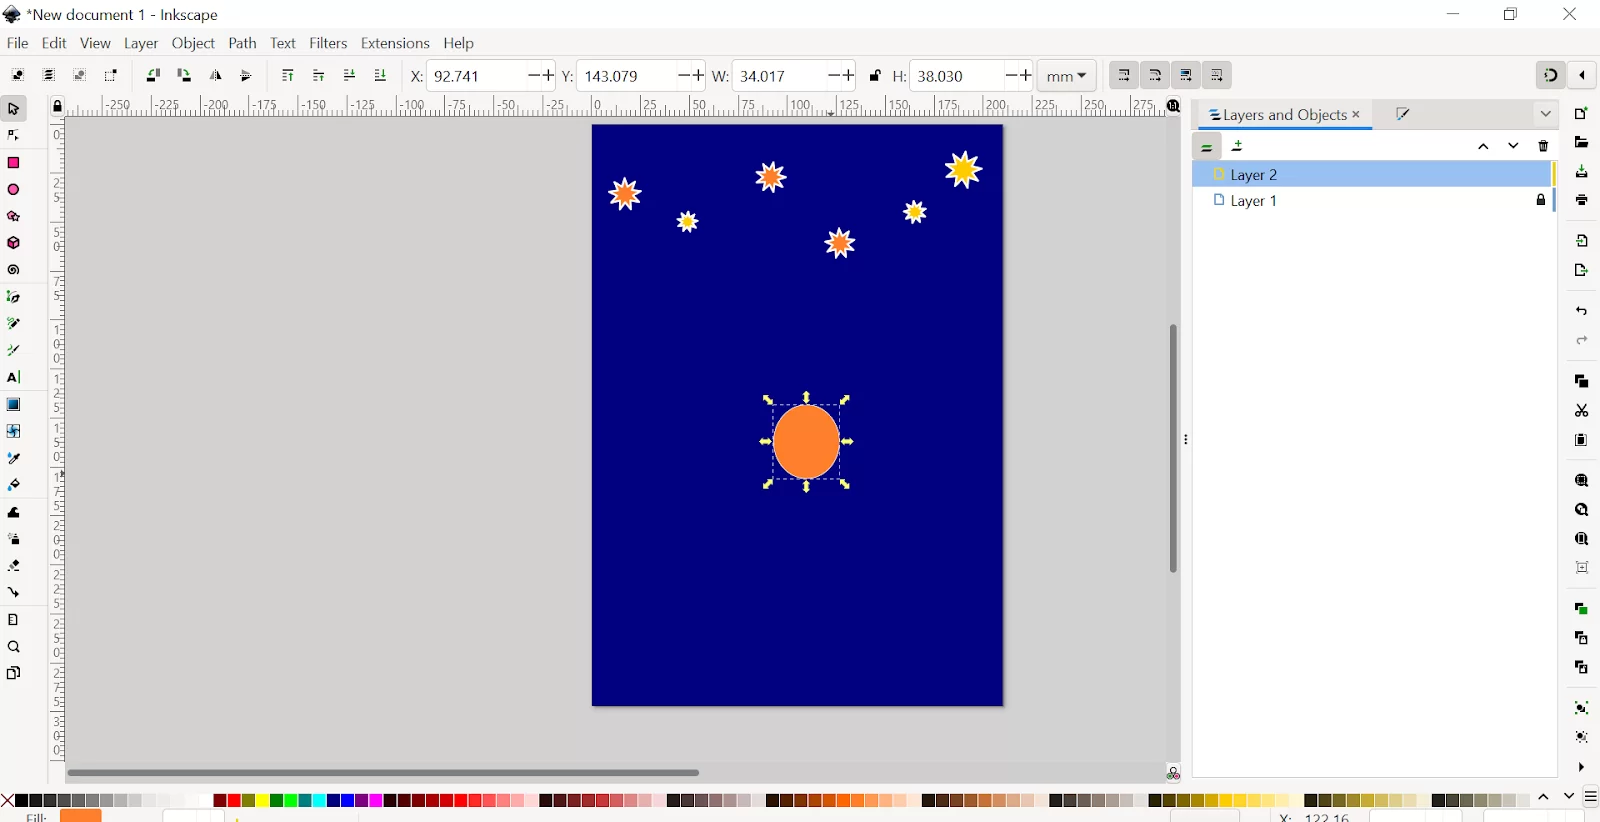
First, create a rectangle on Layer 1.

On Layer 2, add some stars like shapes. Lock the first layer so that it will not move while creating other things.
Then Draw a small circle on Layer 2.
Make another long circle for petals. Duplicate this long circle and rotate it to make a complete flower.

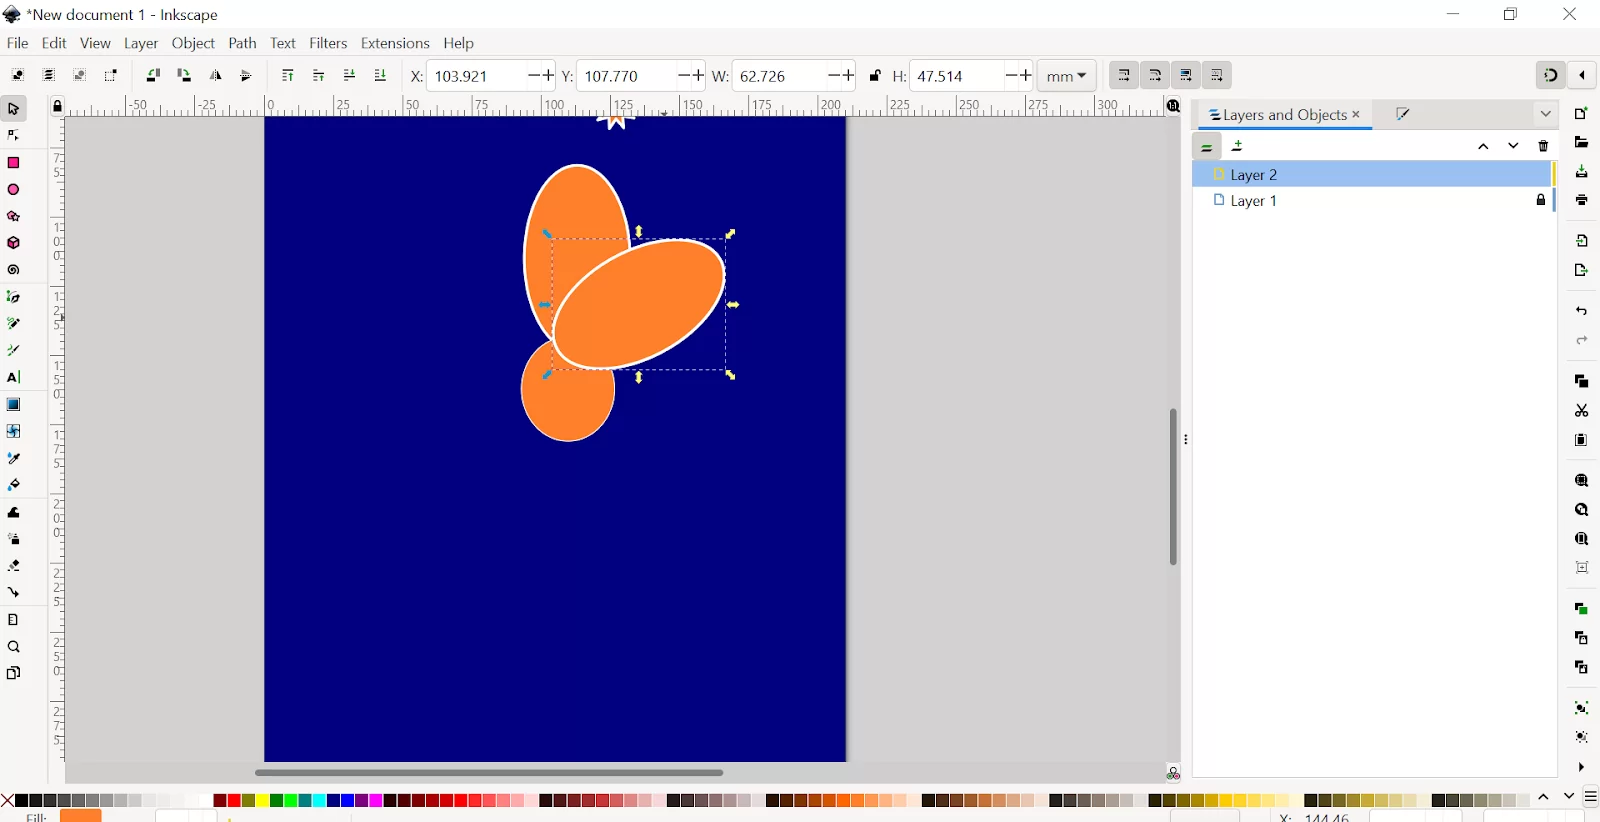
After creating the petals, now I want to raise some petals to the top, so I’ll click on the first option as shown in the image.


After coloring the petals, Suppose you want to write something on Flower. Then you have to add another layer above this layer. Lock the 2nd layer.

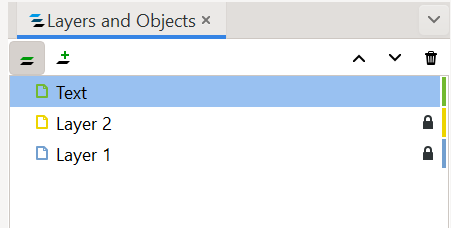
Type text on petals or anywhere you want.

Suppose you want to edit something from Layer 2 or Layer 1, first, you need to Unlock that layer, then you will be able to do the editing. You can see I have changed the color of the circle from brown to yellow.
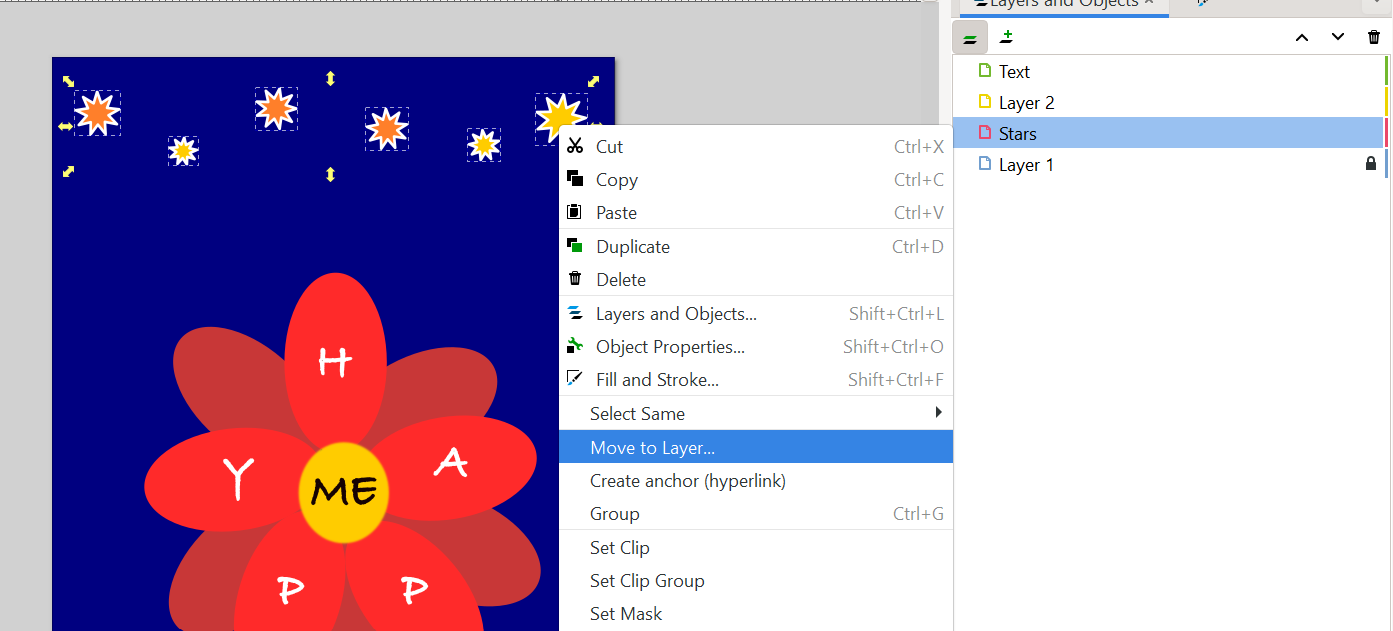
If you want a different layer of stars. Then create a new layer, and name it Stars. Then select all the stars and right click. Next click on Move layer and select star layer, and Click Move. Your stars will be shifted from Layer 2 to Star Layer.
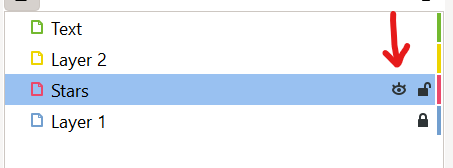
If you do not want to see the stars, but you also don’t want them to be deleted, what should you do? Not to worry. You can click on the eye icon. Now your star is gone, But if you want it back again, click on the eye icon.

This is how the layers work in Inkscape.
You can also check out our in-depth article on how to use Inkscape on Mac.
Layer Organization in Inkscape
Inkscape allows you to organize a document in layers. The panel layers can be opened by clicking on the view button in the toolbar. Alternatively, open the panel by choosing layers.
You can show or hide a layer by clicking on the corresponding “eye” icon in the Layers dialog. You can hide and show each layer and sublayer to know which elements belong to which layer.
We recommend you check out our detailed article on downloading Inkscape software.
How To Add Fixed Layer in Inkscape
Follow the steps below to add a fixed layer in Inkscape.
Step 1
Start by pressing the add layer button and proceed to choose landscape. Next, in the timeline, choose the cell that corresponds and lines up with the first frame and the landscape layer.
Step 2
Next, in the preview area, zoom in and move the landscape layer until the rectangle almost fills the area. Ensure that only the elements in the landscape layer are affected
Step 3
Now go to the Properties pane on the right. Notice that the field outline ID should read rect- landscape. The rect- landscape is the SVG identifier for the sizable red rectangle that surrounds whatever you are drawing.
The Landscape layer should now be updated such that the rectangle fills the preview area after clicking the Fit to element button on the right.
To conceal the rectangle, click the Hide Element button.
Step 4
You can hide the elements outside the rectangle when you play your presentation. This is especially true if the browser window has a different aspect ratio. At the top right of the properties pane, press clip.
How To Create a Layer in Landscape
If you are an ardent user of layers in Inkscape, you will notice that a document by default only contains one layer. You can add more layers and rename them as you work. You may quickly choose and edit things based on their organizational structure by layering them on different layers. You can modify the type all at once without affecting the rest of the artwork, for instance, by adding type to a separate layer.
Step 1
Start by checking if the layers are visible on the screen. If the layers aren’t visible on your screen, press Layer>Layers to display them. As an alternative, you can click on the view layers icon in the commands bar.
Step 2
Next, in the Layers Palette, double-click the layer name to highlight it. Next, type clock in the text box and press enter to set the new name.
Step 3
Now choose Layer>Add Layer and also right-click on the clock layer bar in the Layers palette. By now the layers shortcut menu appears.
Step 4
Next, click on Add layer. The Add layer dialog box should appear. The layer name should be clock 1. The name can be edited. Change the layer name to numbers.
Step 5
Select As sublayer of current by clicking the down arrow next to the selection list arrow in the position selection box. To add the Numbers layer as a sublayer beneath the Clock layer, click the Add button.
Did you enjoy reading this article? You may also like our in-depth guide on How to use Inkscape.
Leave a Reply
You must be logged in to post a comment.